Social media has introduced us to a completely new world – the things we are accustomed to using now are things people wouldn’t have imagined about 20 years ago.
One such thing that social media introduced us to, and is now a common sight for us, is “filter.”
Filters are a feature on different applications that help modify and enhance pictures and videos.
We use filters very commonly on apps like Instagram and Facebook. But all credit goes to Snapchat for introducing filters and making them popular among netizens.
Snapchat was one of the very first social media platforms that allowed photo editing on-app.
In just one swipe, you can enhance the colors of your picture by applying a filter to it.
Moreover, Snapchat also introduced funny and super cool filters that modified pictures by adding various animations.
And so similarly, with time, they have introduced photo lenses that work as filters and help enhance photo colors.
However, you may wonder if these filters and photo lenses are limited to just pictures taken by Snapchat at that moment. Well, the answer is no. You can add a Snapchat filter to an existing photo – here is how.
How To Add Snapchat Filter to an Existing Photo?
Follow these steps:
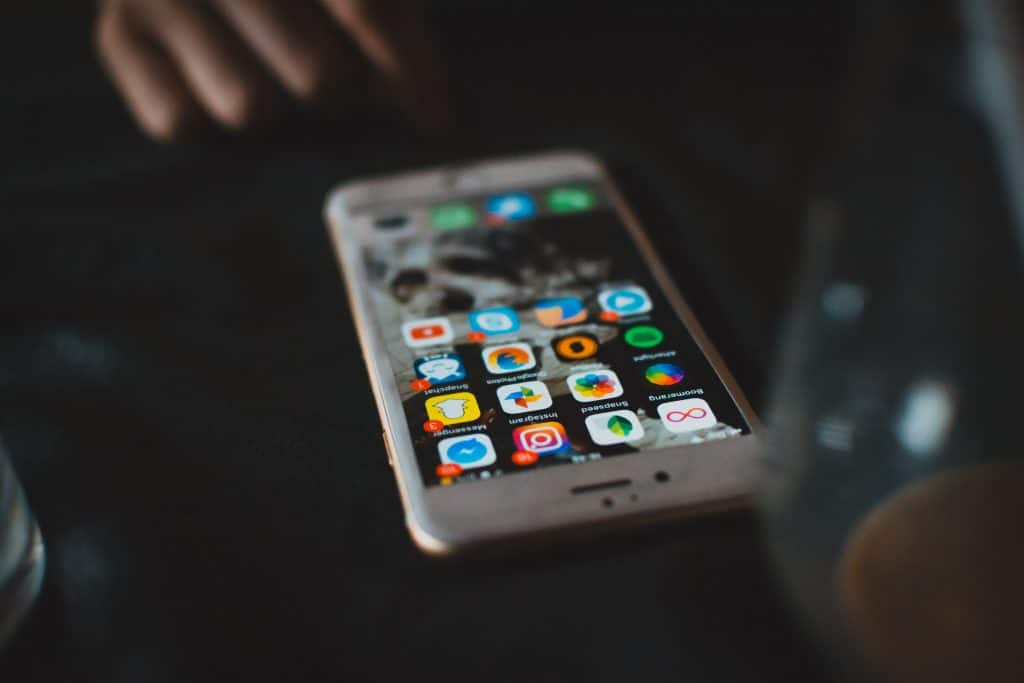
- Open the Snapchat application on your phone.

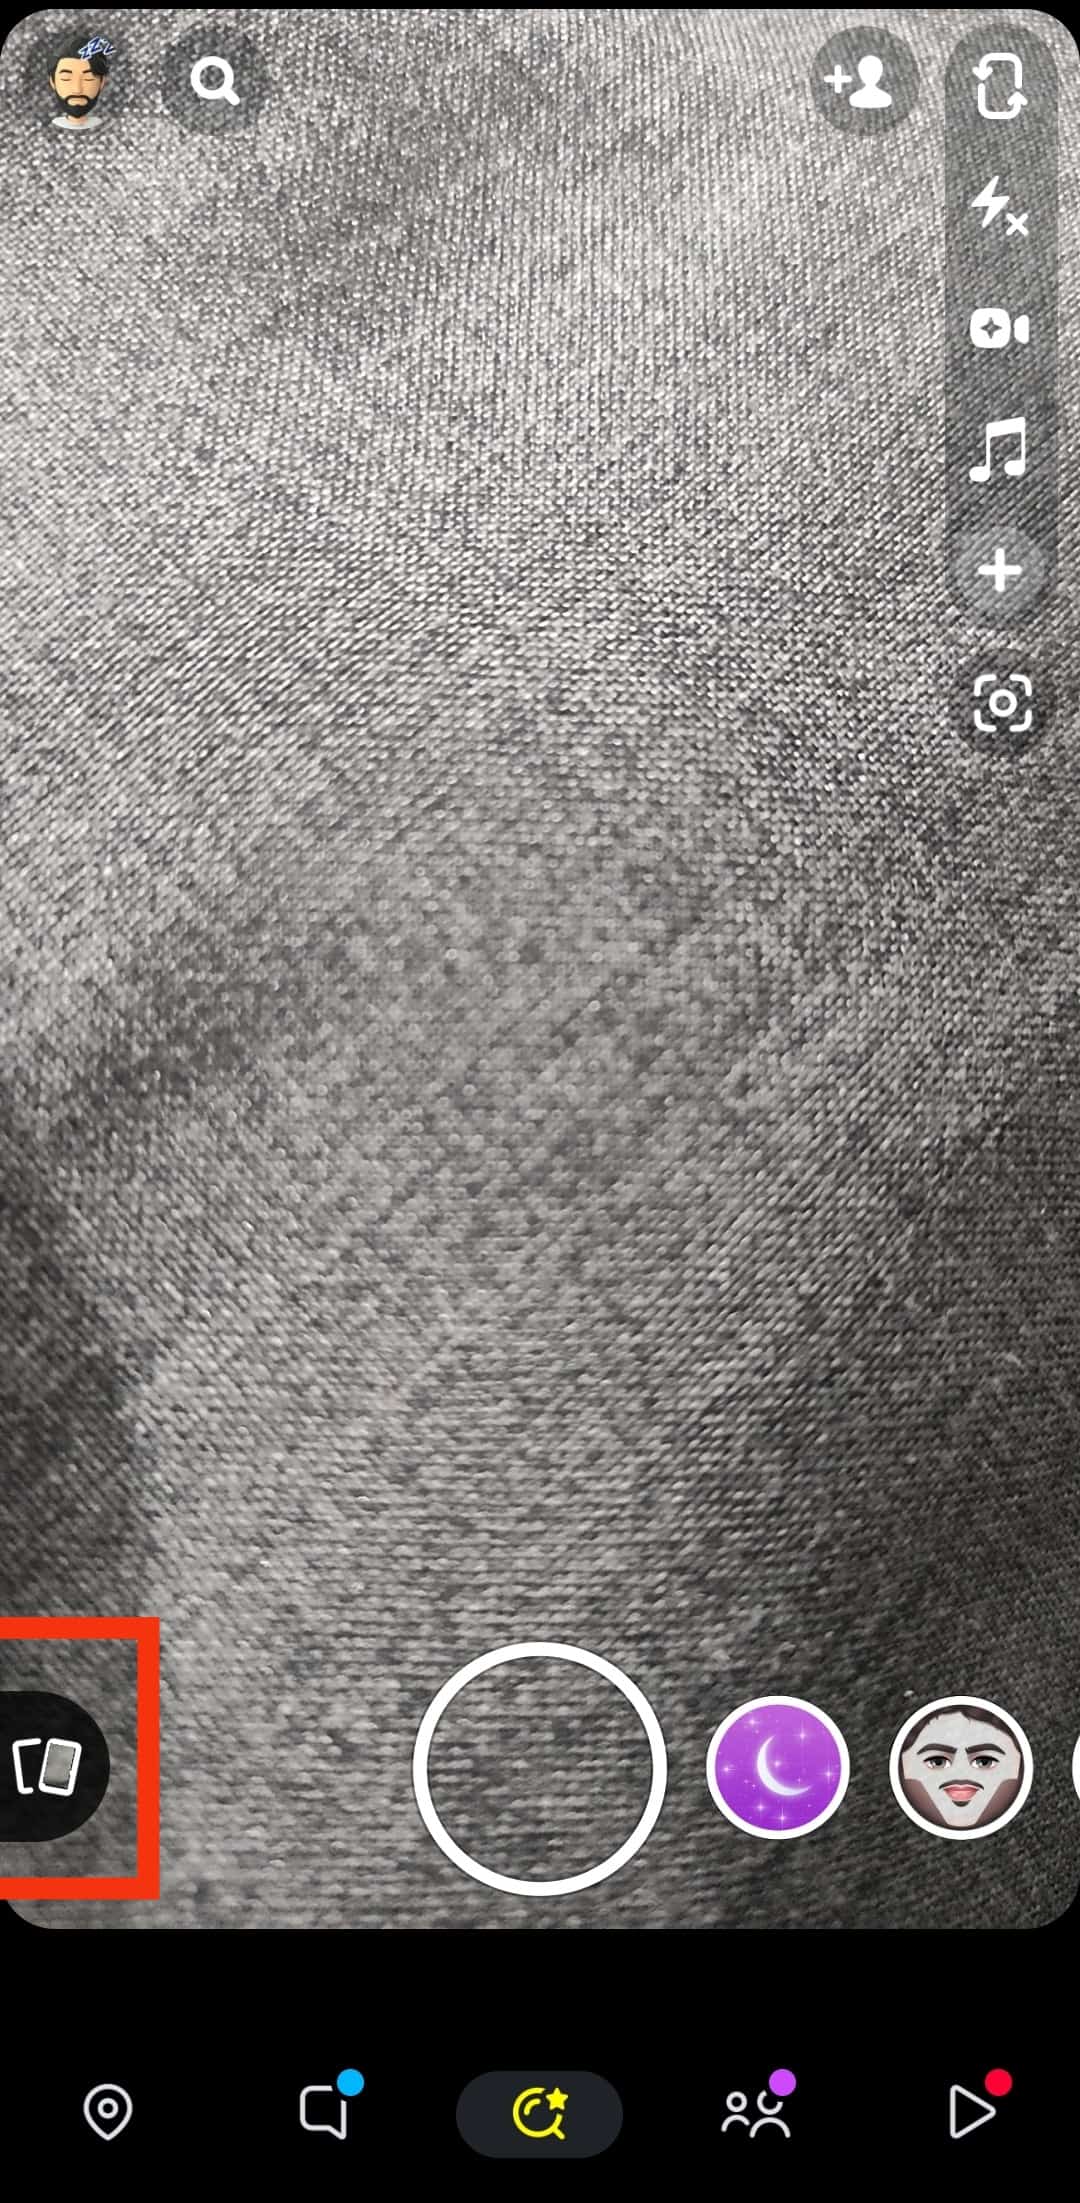
- When you open Snapchat, you will find an icon on the left of the camera button. That icon has two rectangular cards and is known as the “pictures” icon. Tap on it.
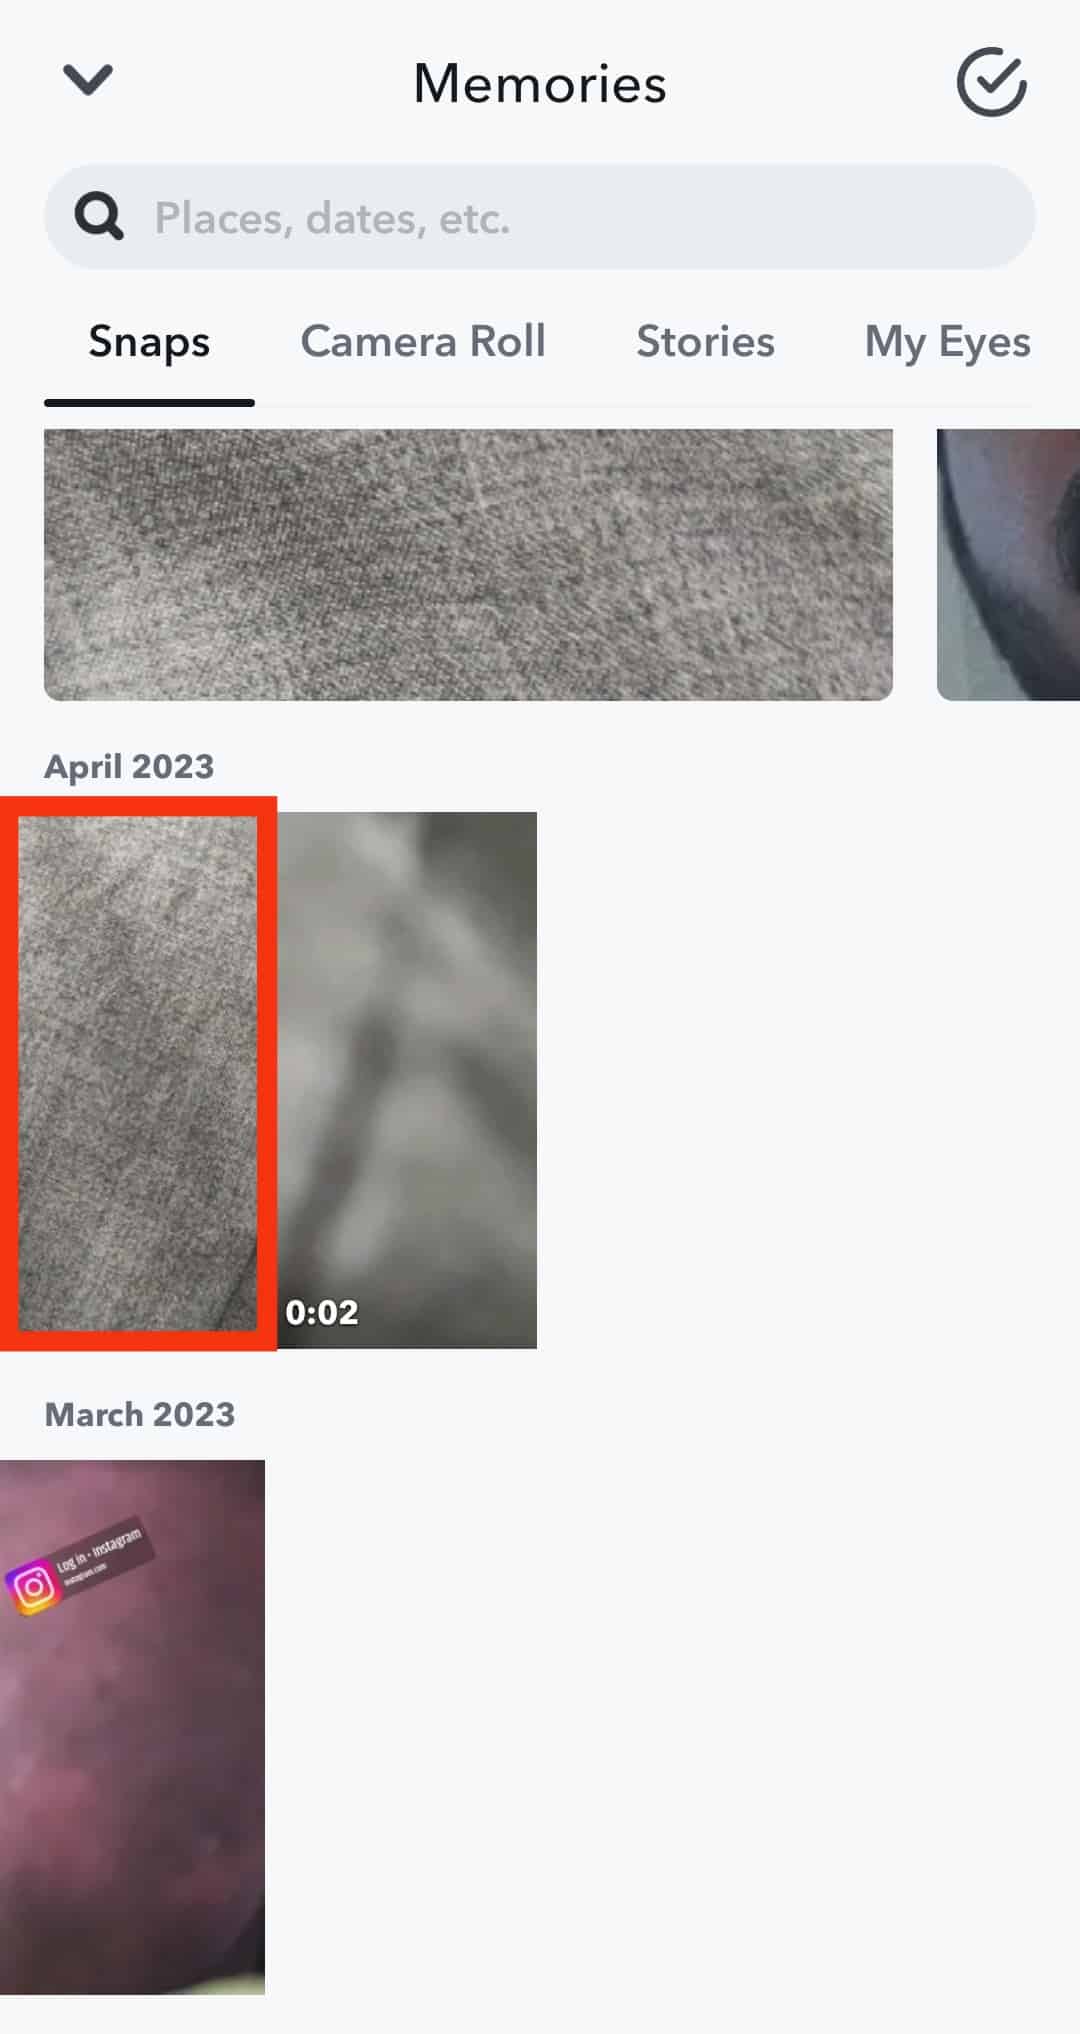
- Snapchat will take you to your Snapchat memories once you have tapped on this. You can either select a picture from Snapchat memories or an existing photo from your camera roll. For editing an image from your memories, you can scroll down and click on a picture to select it.
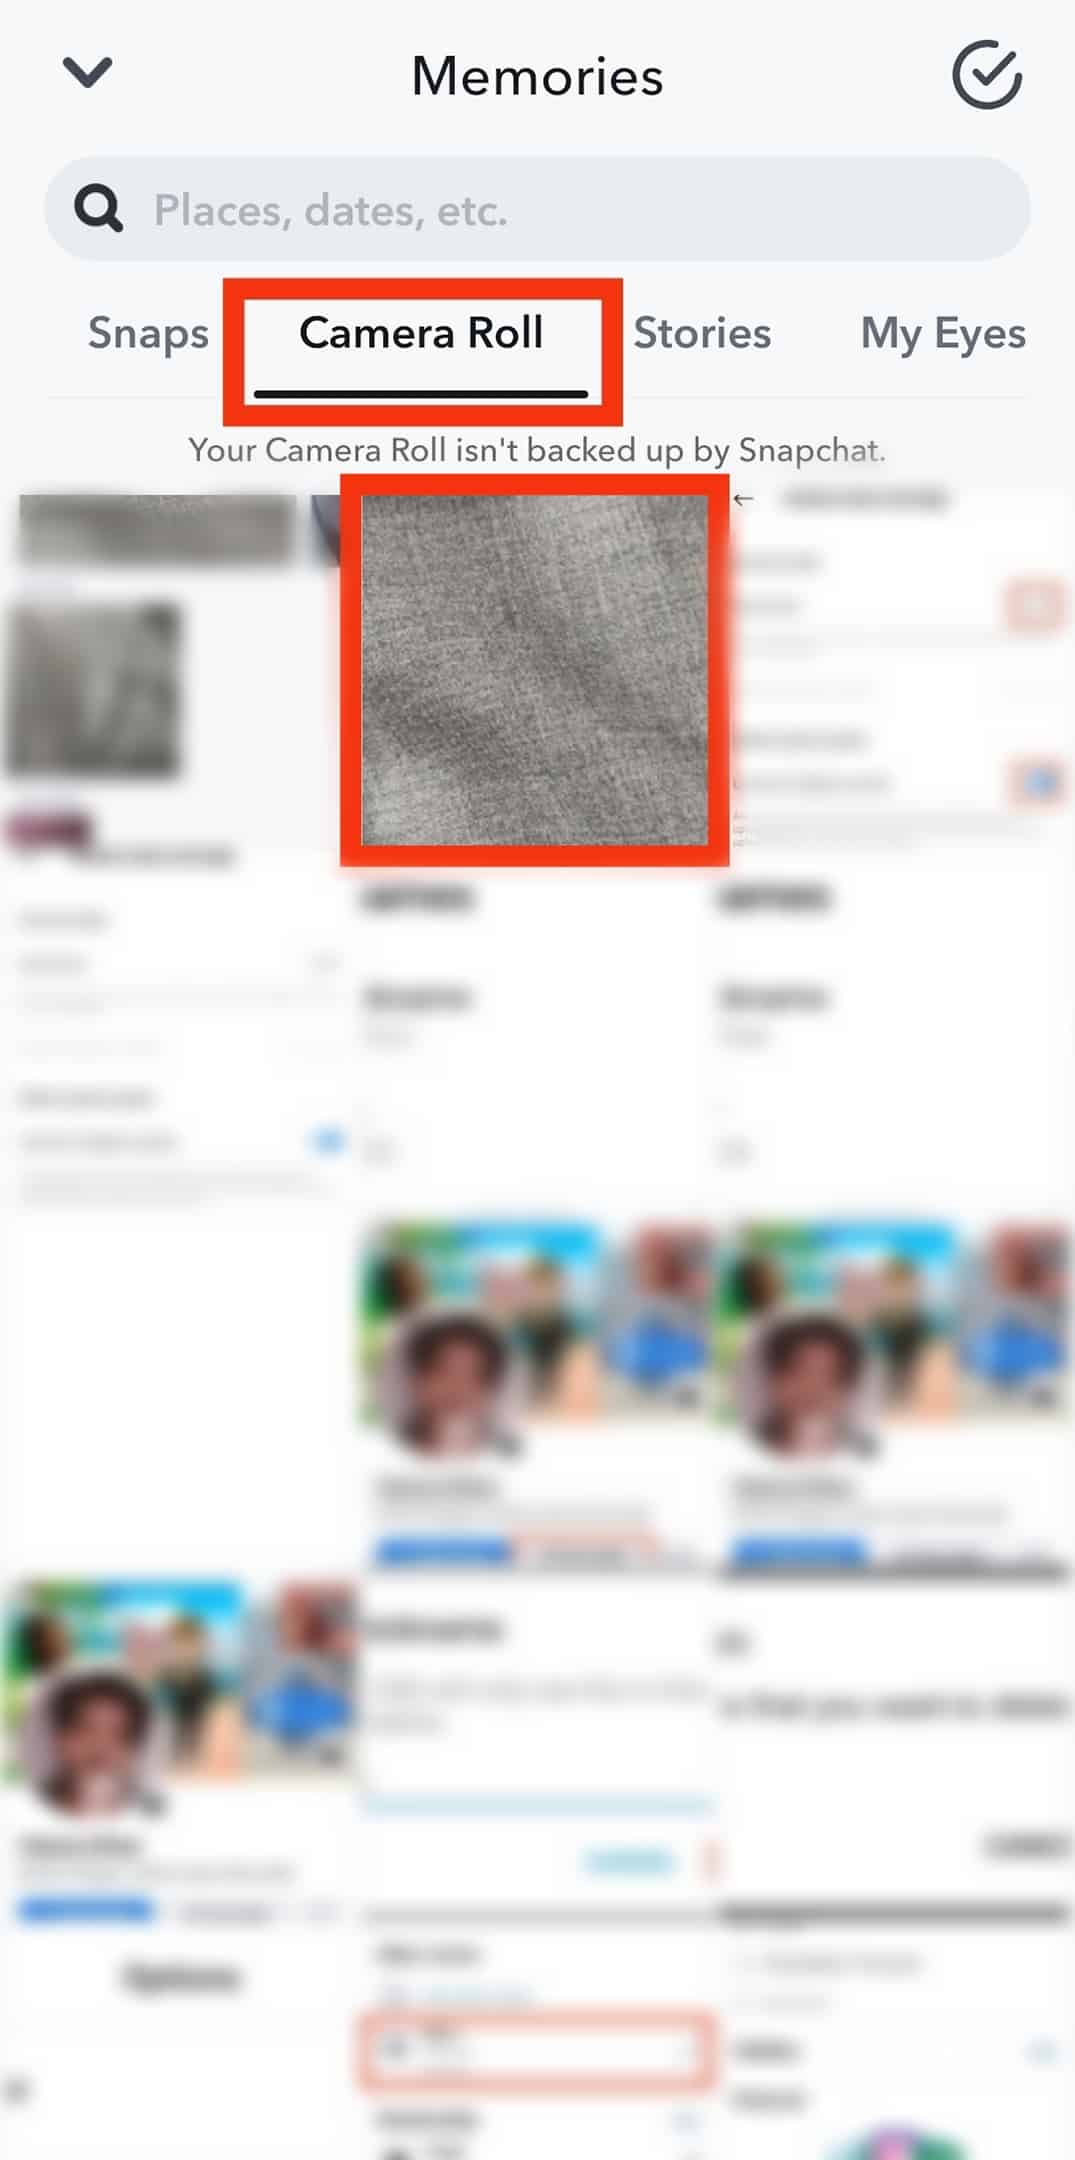
- To add a filter to a picture existing in your camera roll, swipe left when opening the memories tab or tap on “Camera Roll.” You will have a camera roll written on top, and pictures from your camera roll will appear. Now select an image and open it.
- Once open, you will see a small pencil icon in the bottom left corner. This represents editing. When you tap on this option, you can edit your picture.
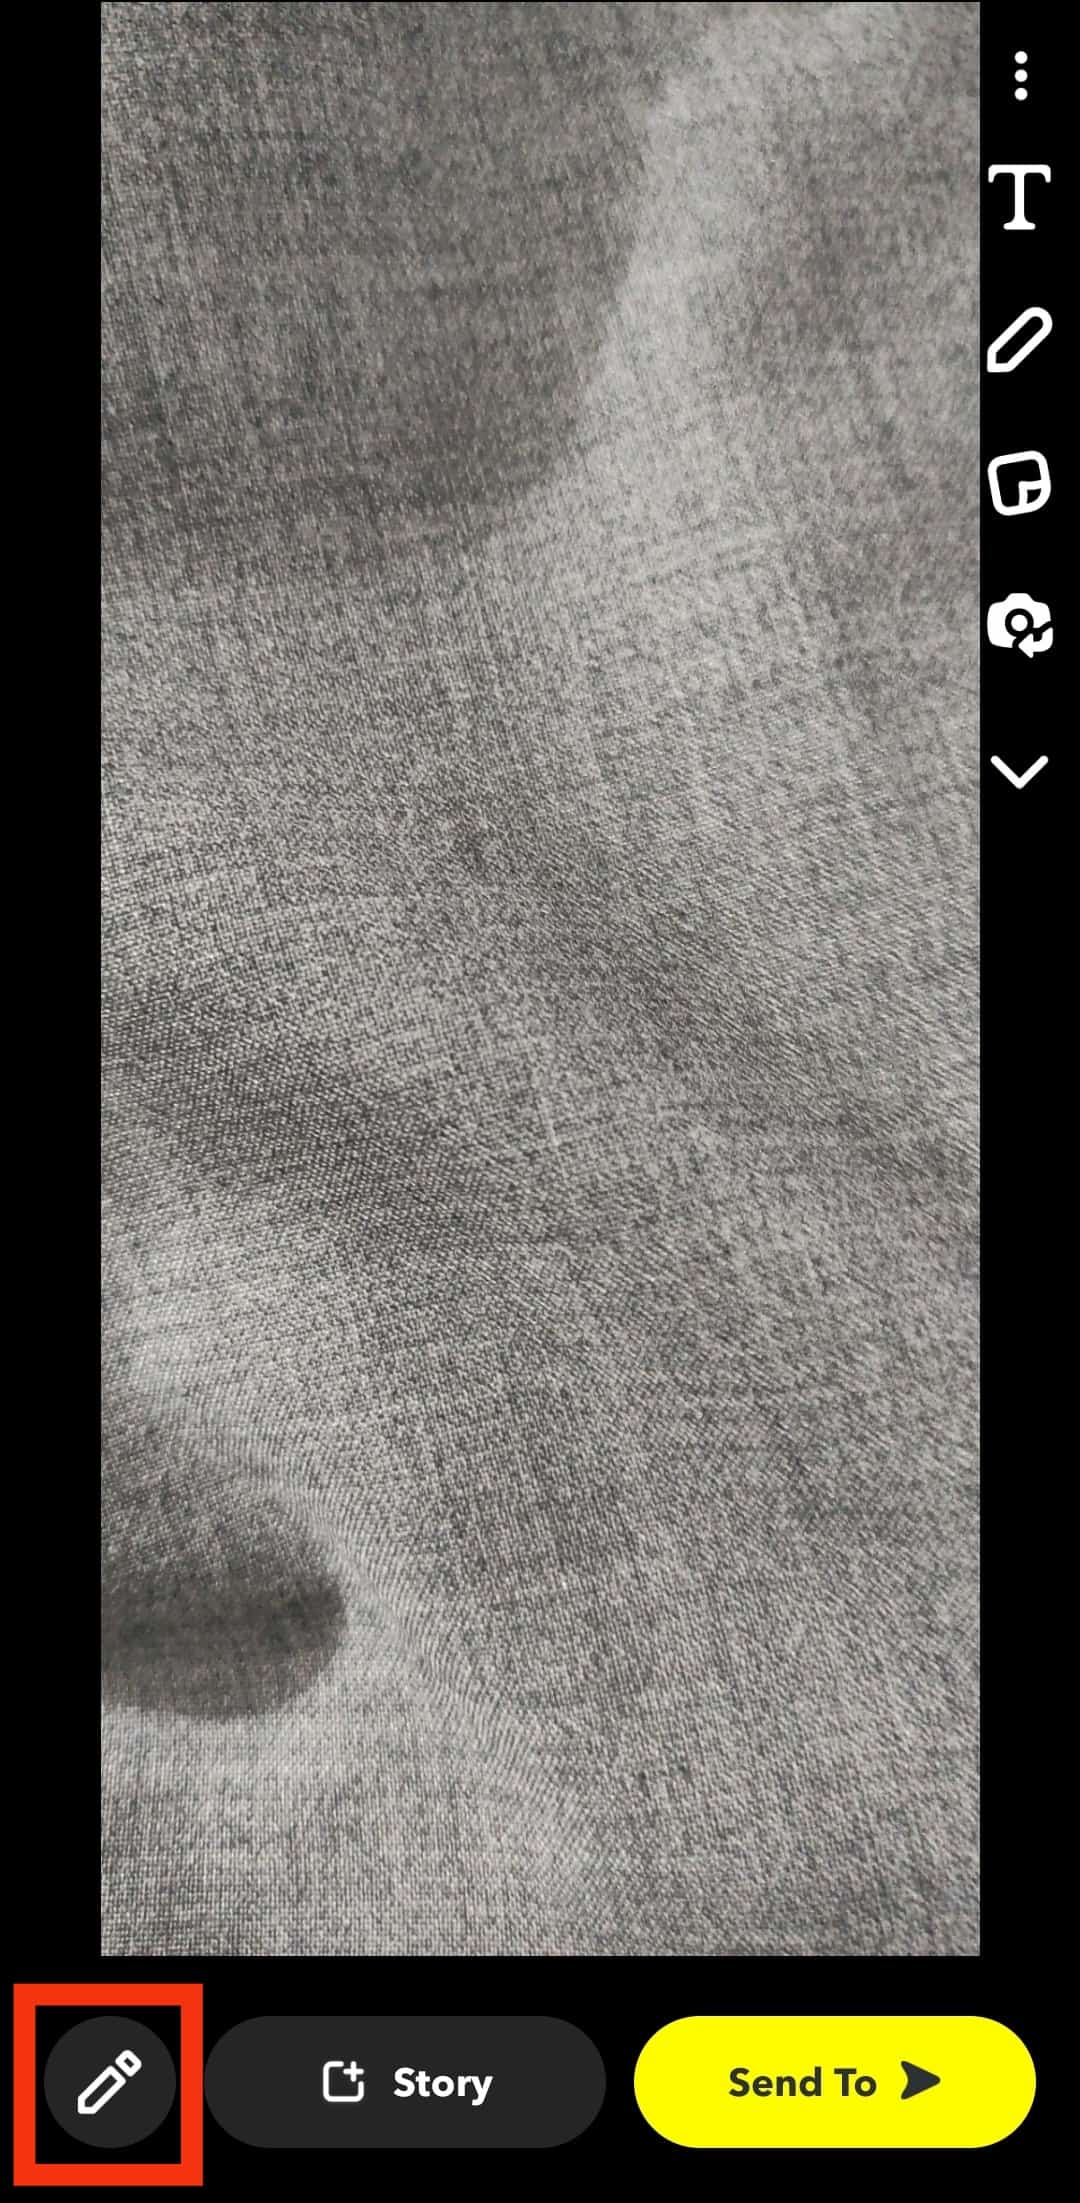
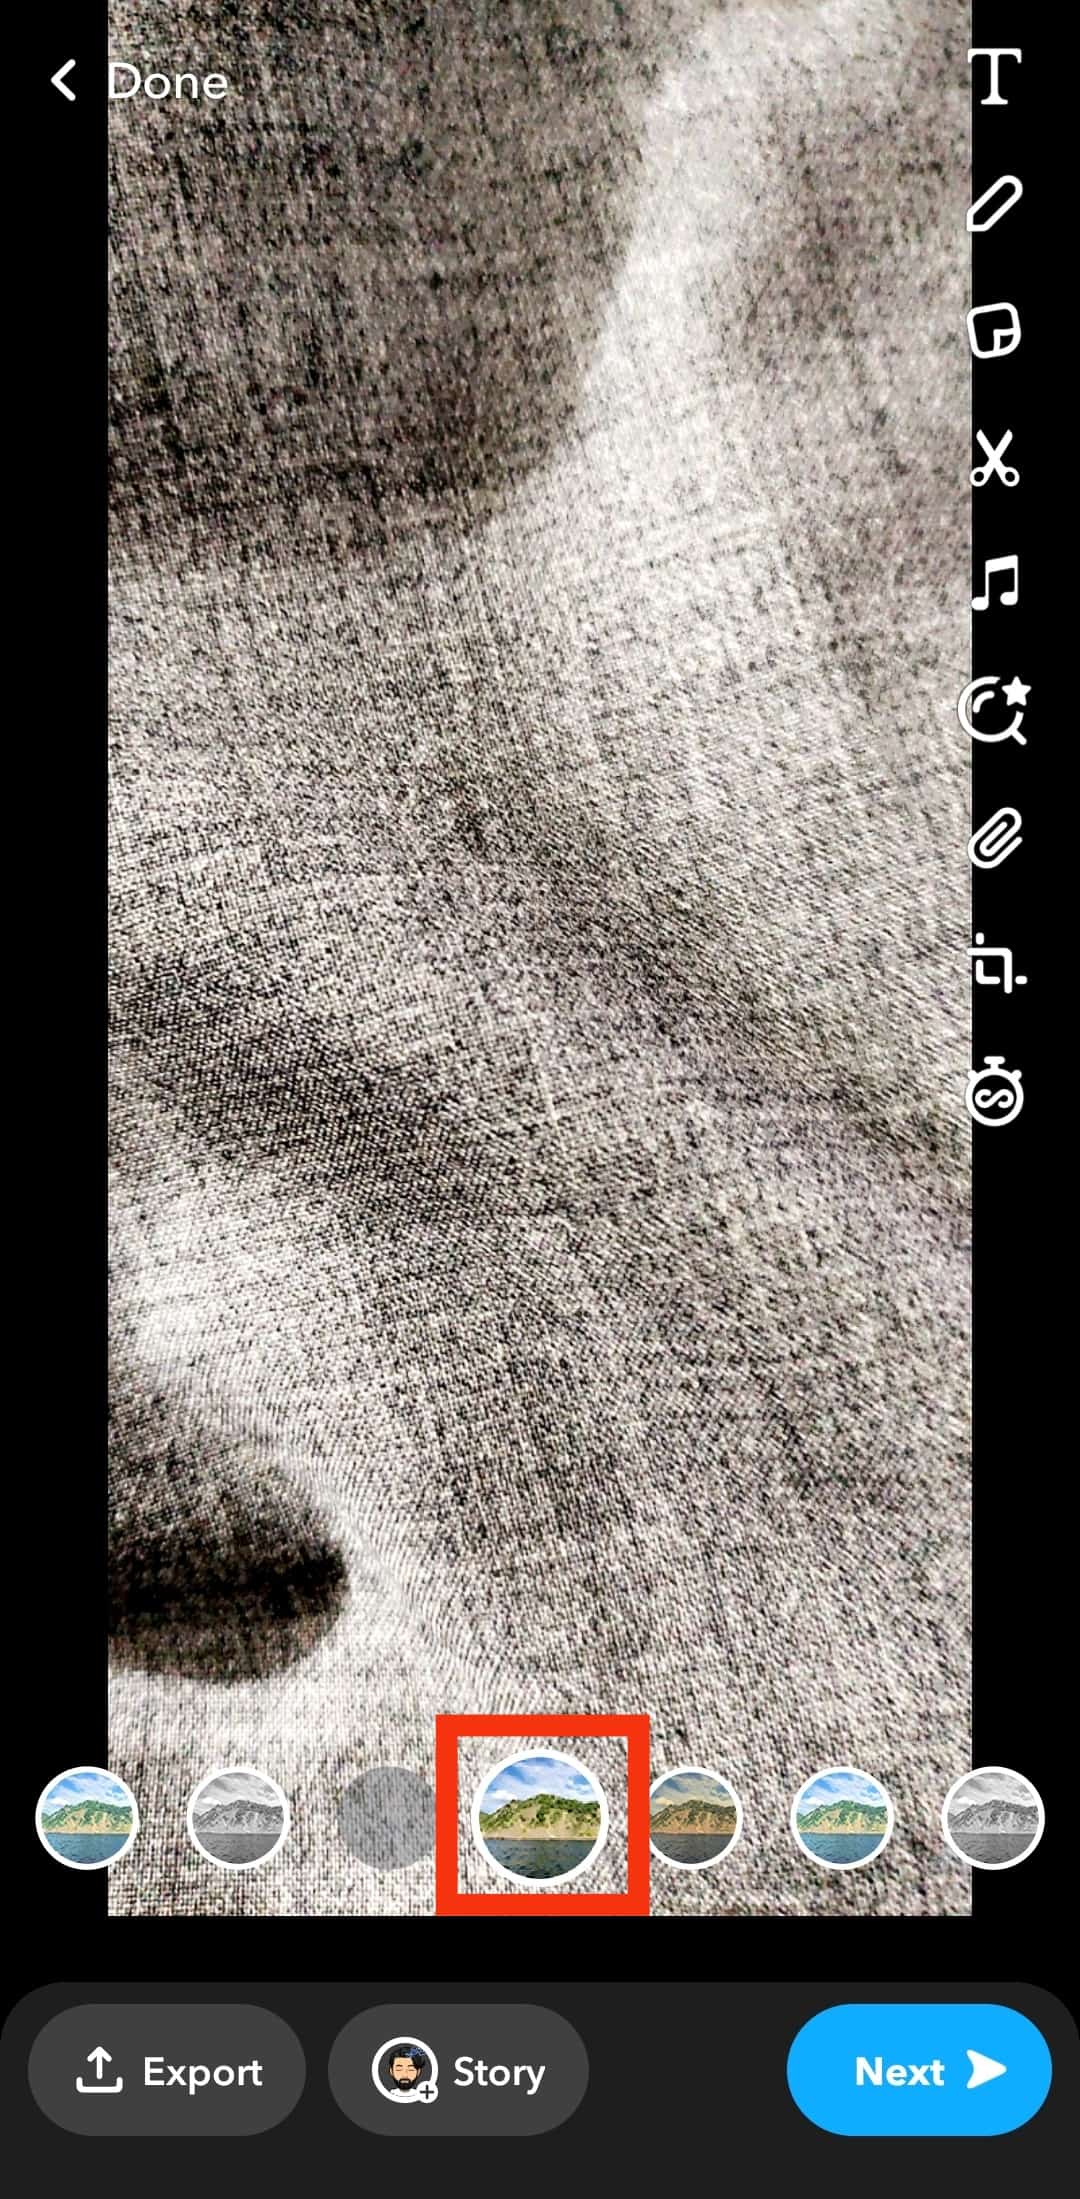
- Now that the picture is open, you can edit it like any other. For adding basic Snapchat filters, swipe left, and you will see that the colors of your picture will change – which shows that the filter has been applied.
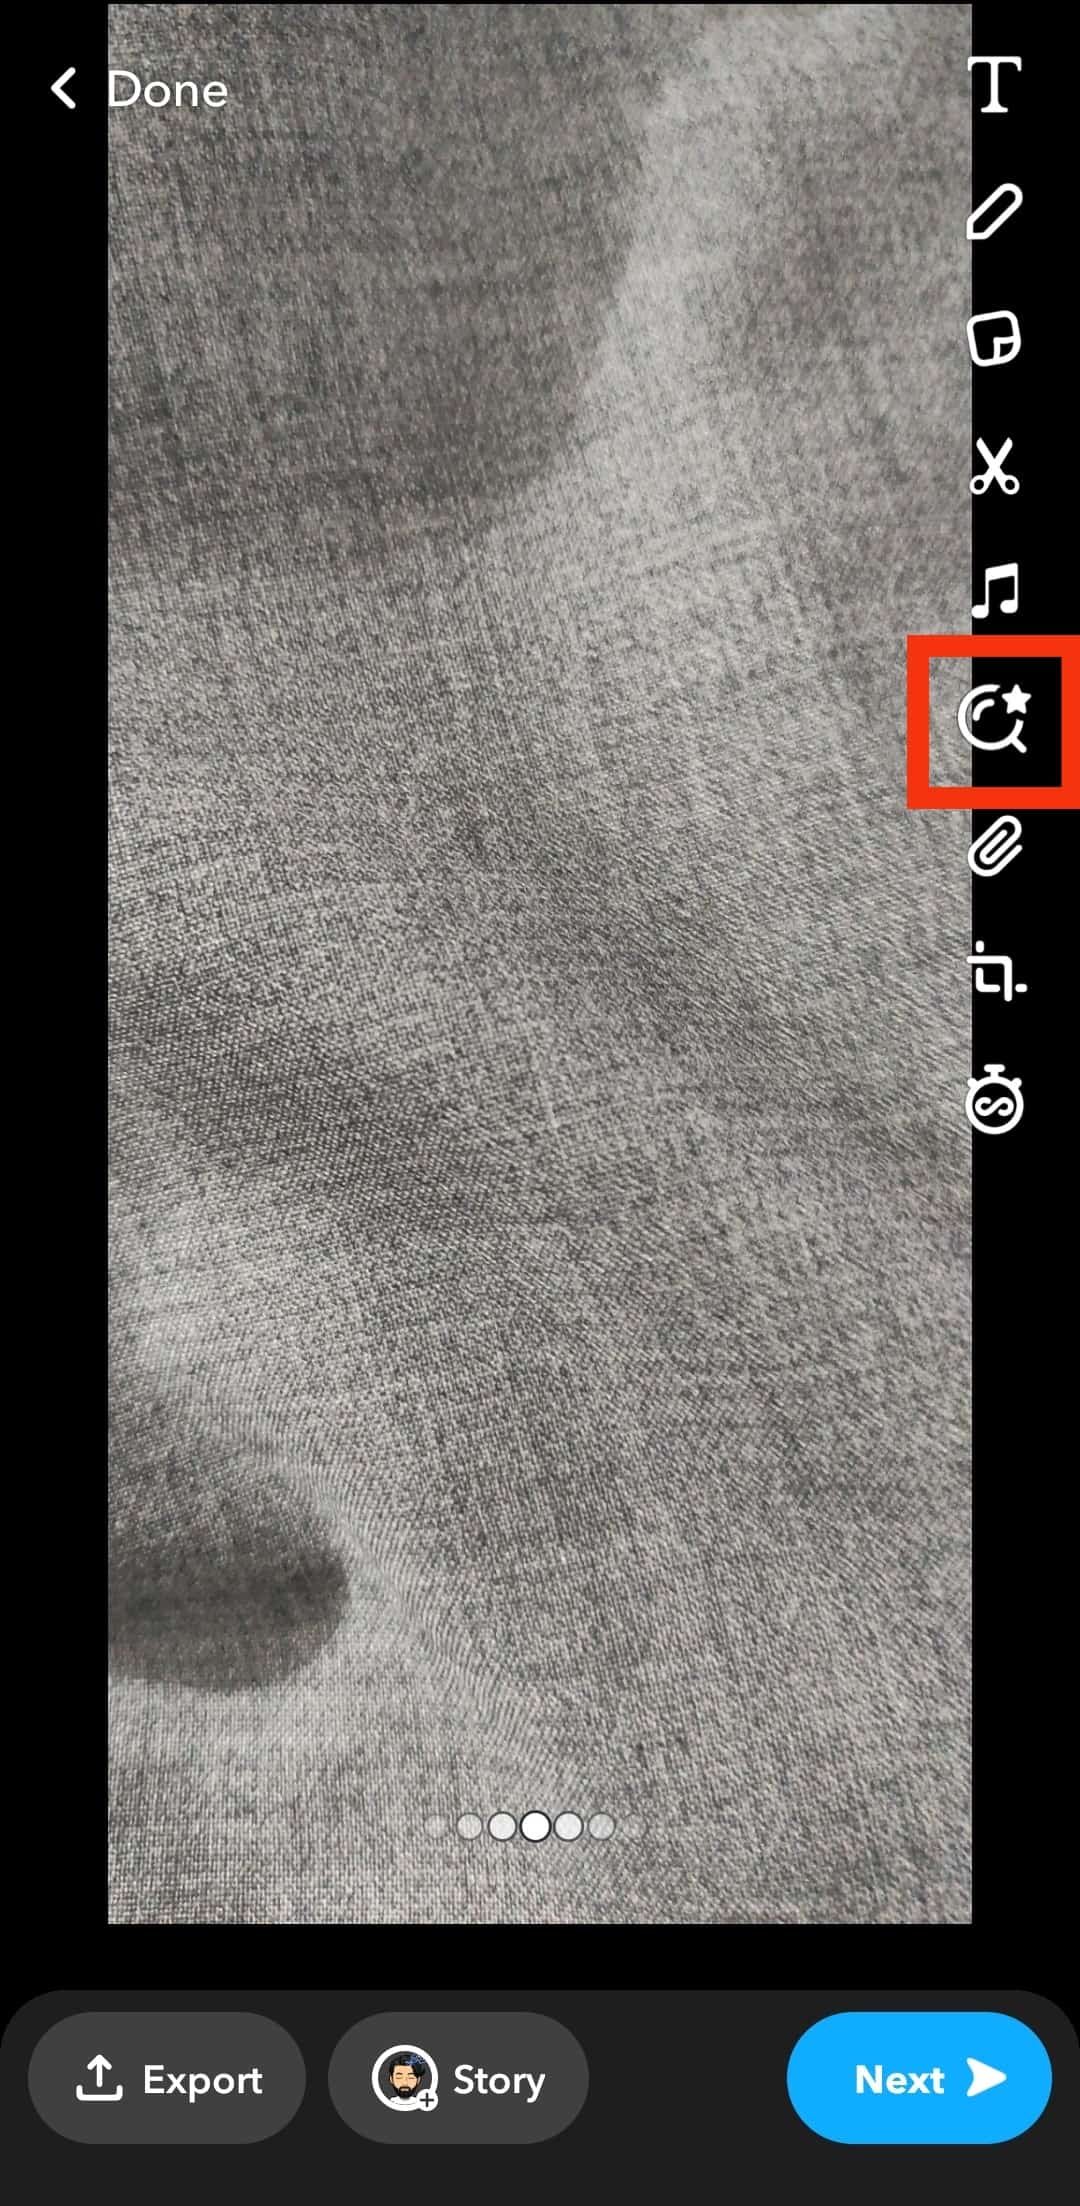
- You can also apply the photo lens filter to an existing photo. There is a list of options available for editing an image; these options are listed vertically on the right side of the screen. Find an icon that shows a magnifying glass with a small star beside it from the list of options; tap on it.
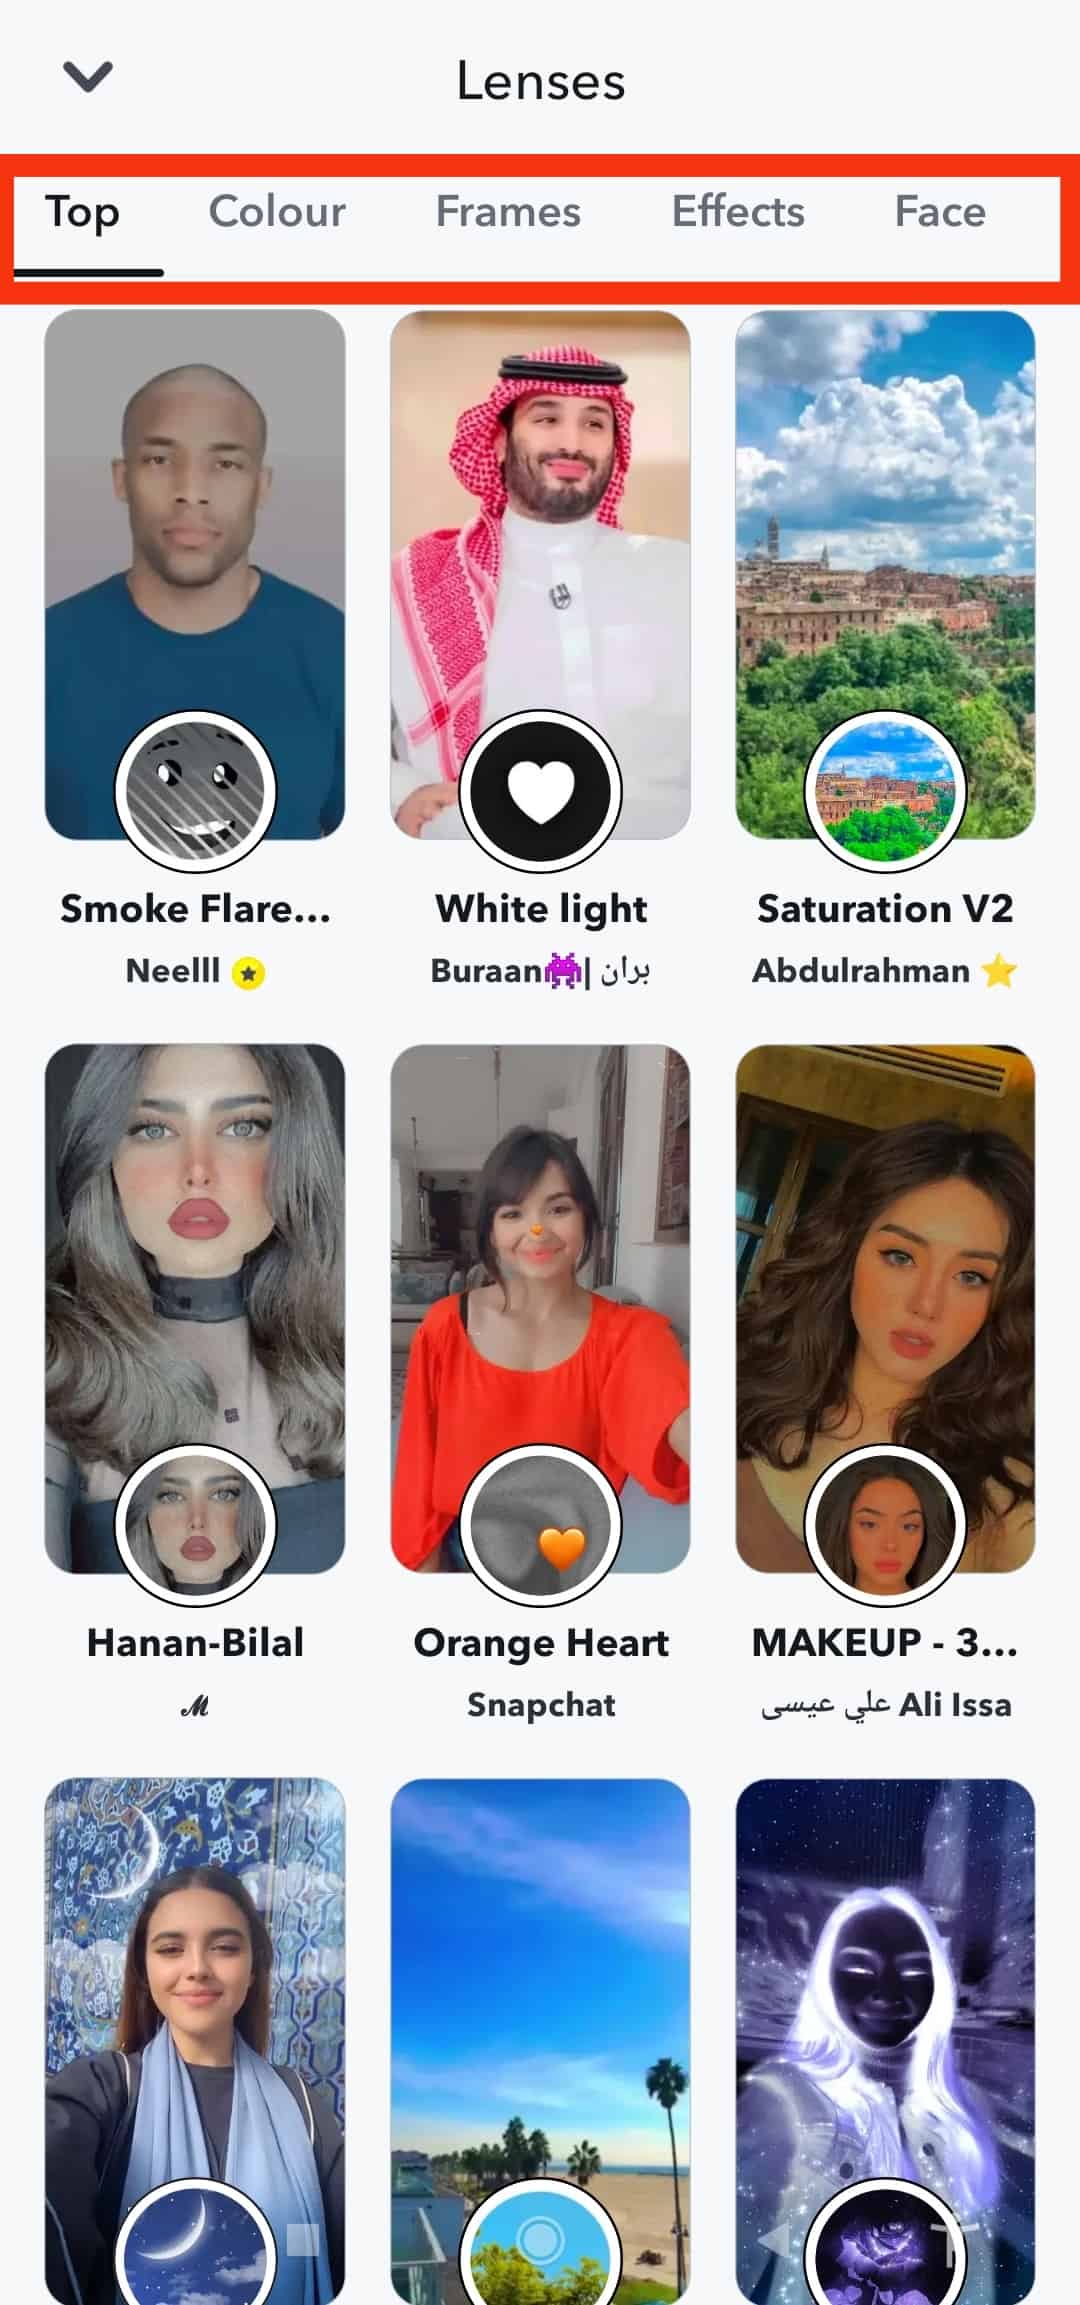
- This option opens a huge collection of photo lens filters. You can select any filter from this collection, and it will apply to your picture.
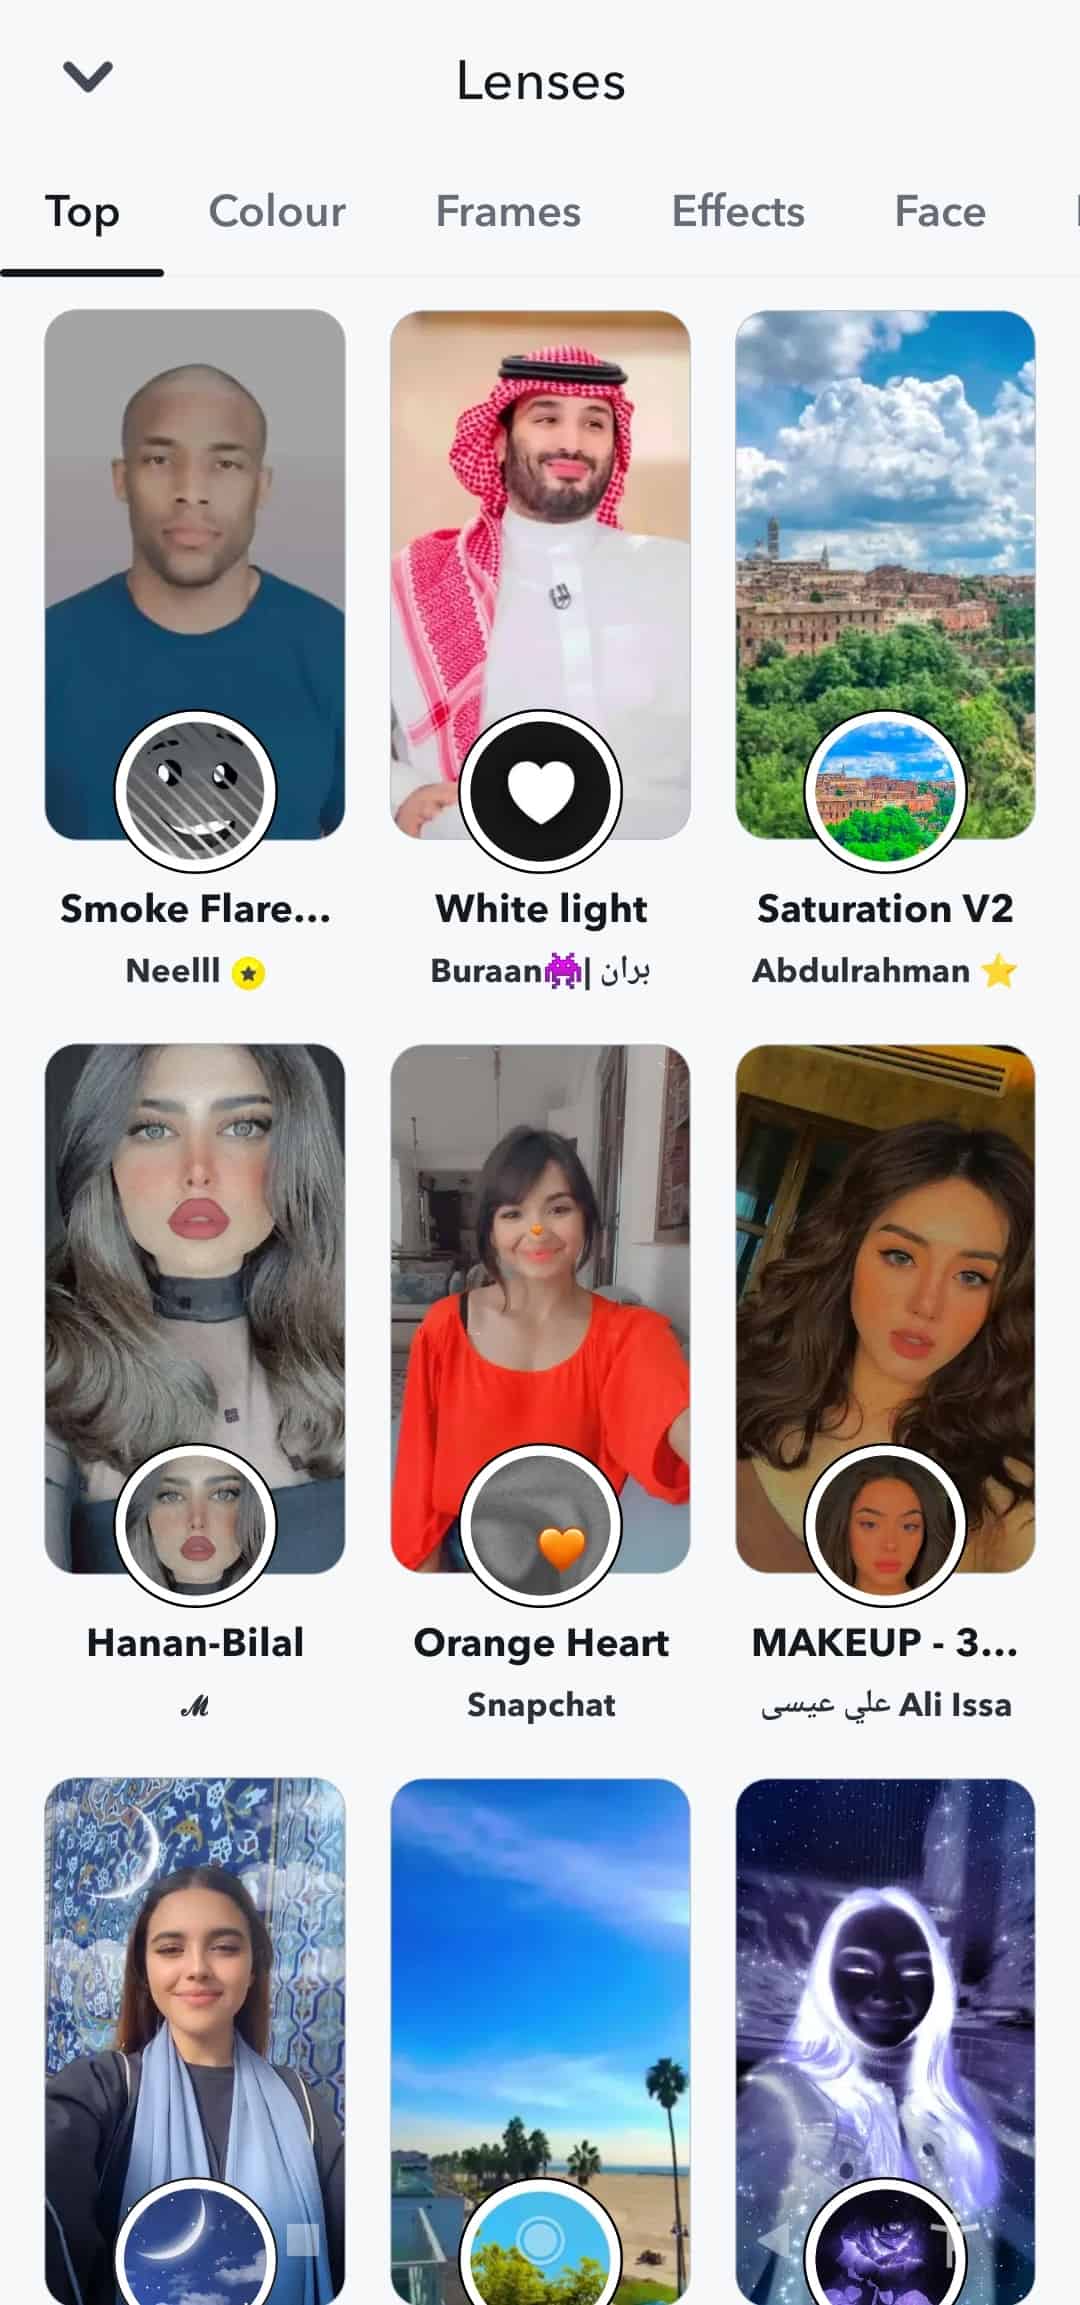
- Selecting an appropriate lens filter has been made easy on Snapchat. When you open the lens, you will find multiple categories listed on top, such as: “Frames,” “Effects,” “Colour,” and “Face” Snapchat has categorized different filters in this way to make it easy for you to find your favorite filter.
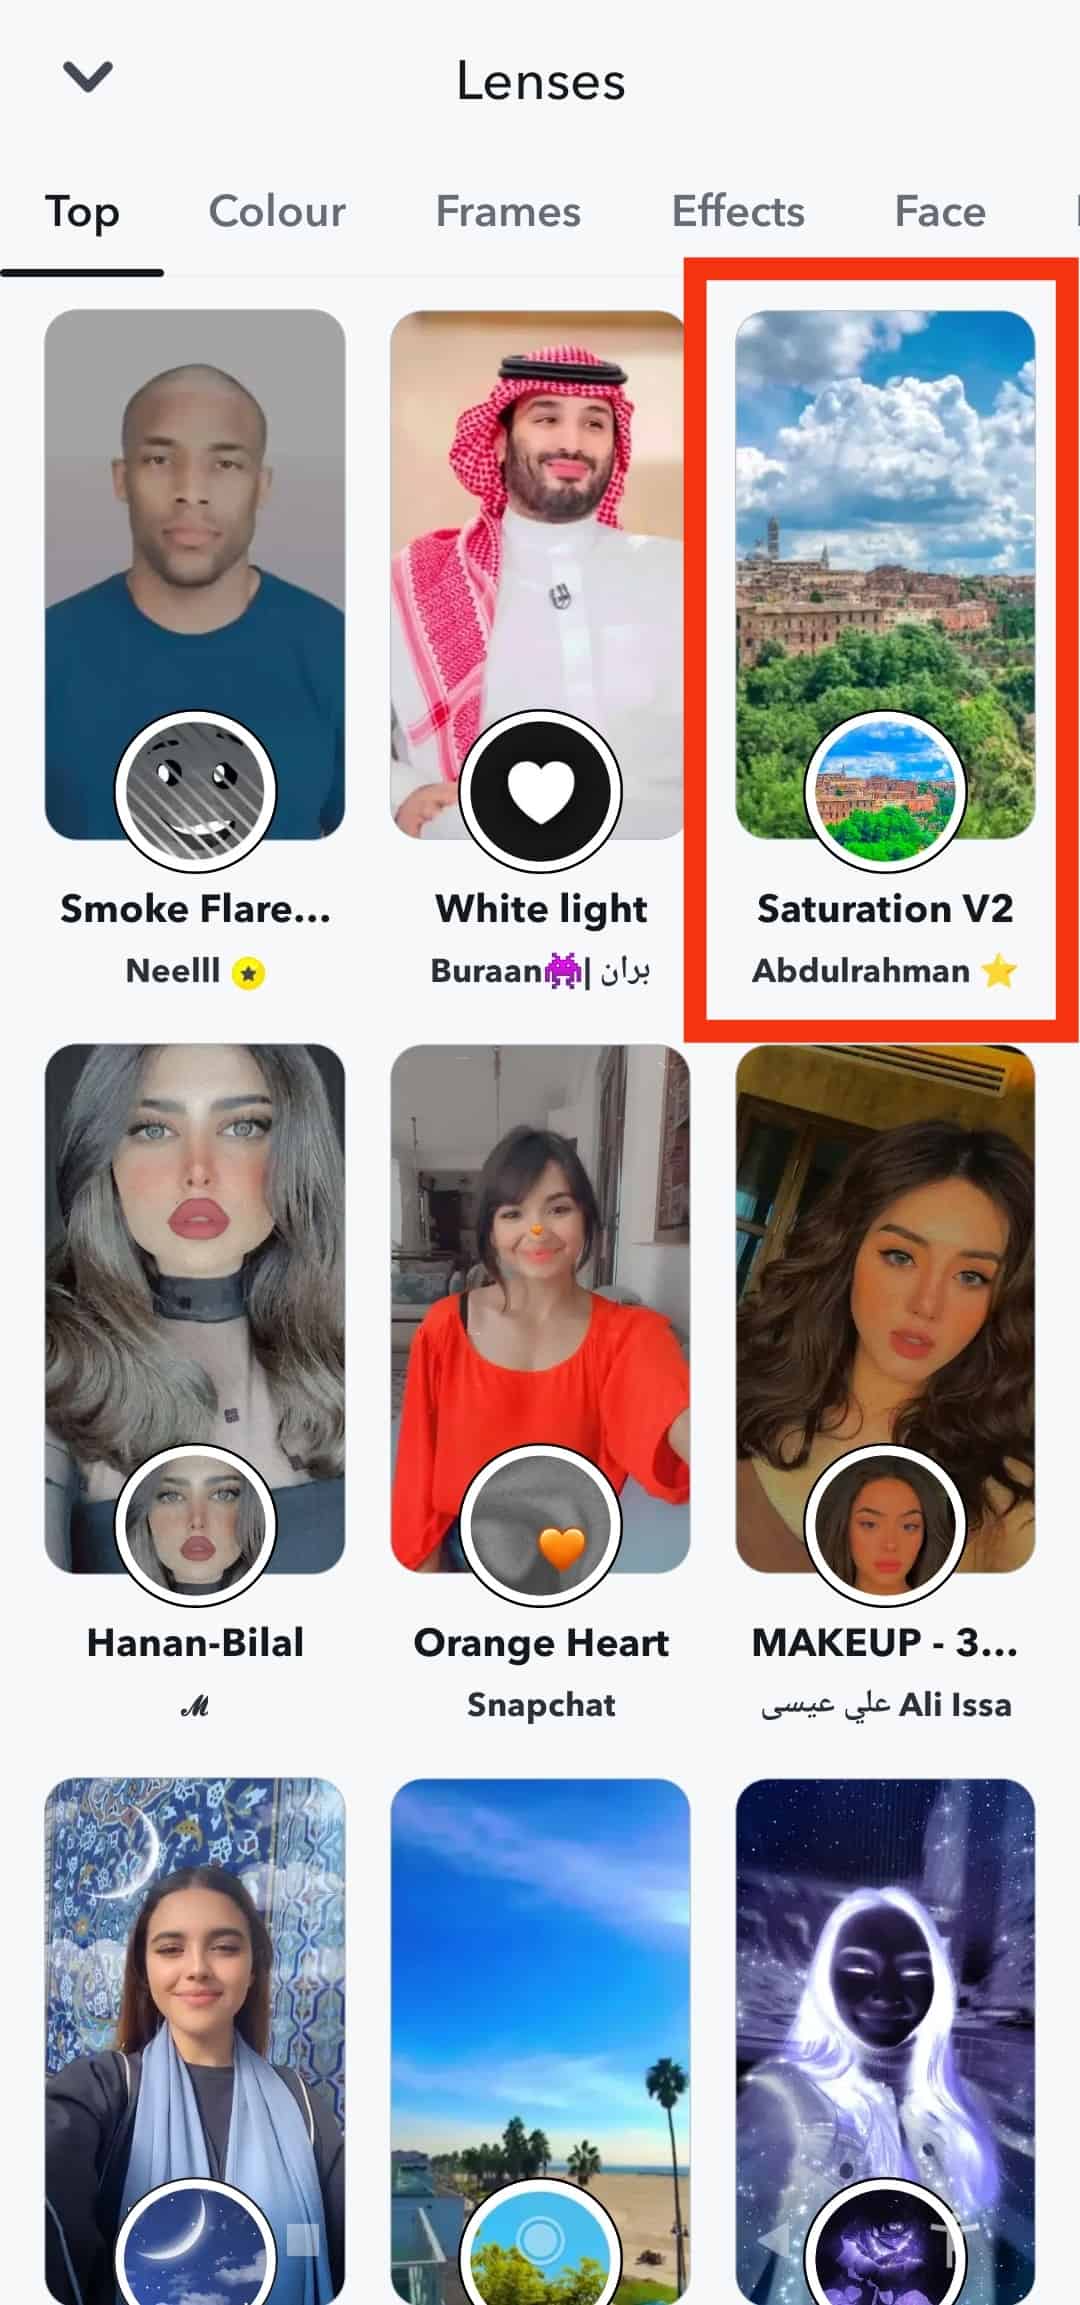
- Once you have found the best filter or lens to apply to your picture, tap on it, and you will see a change in your photo.
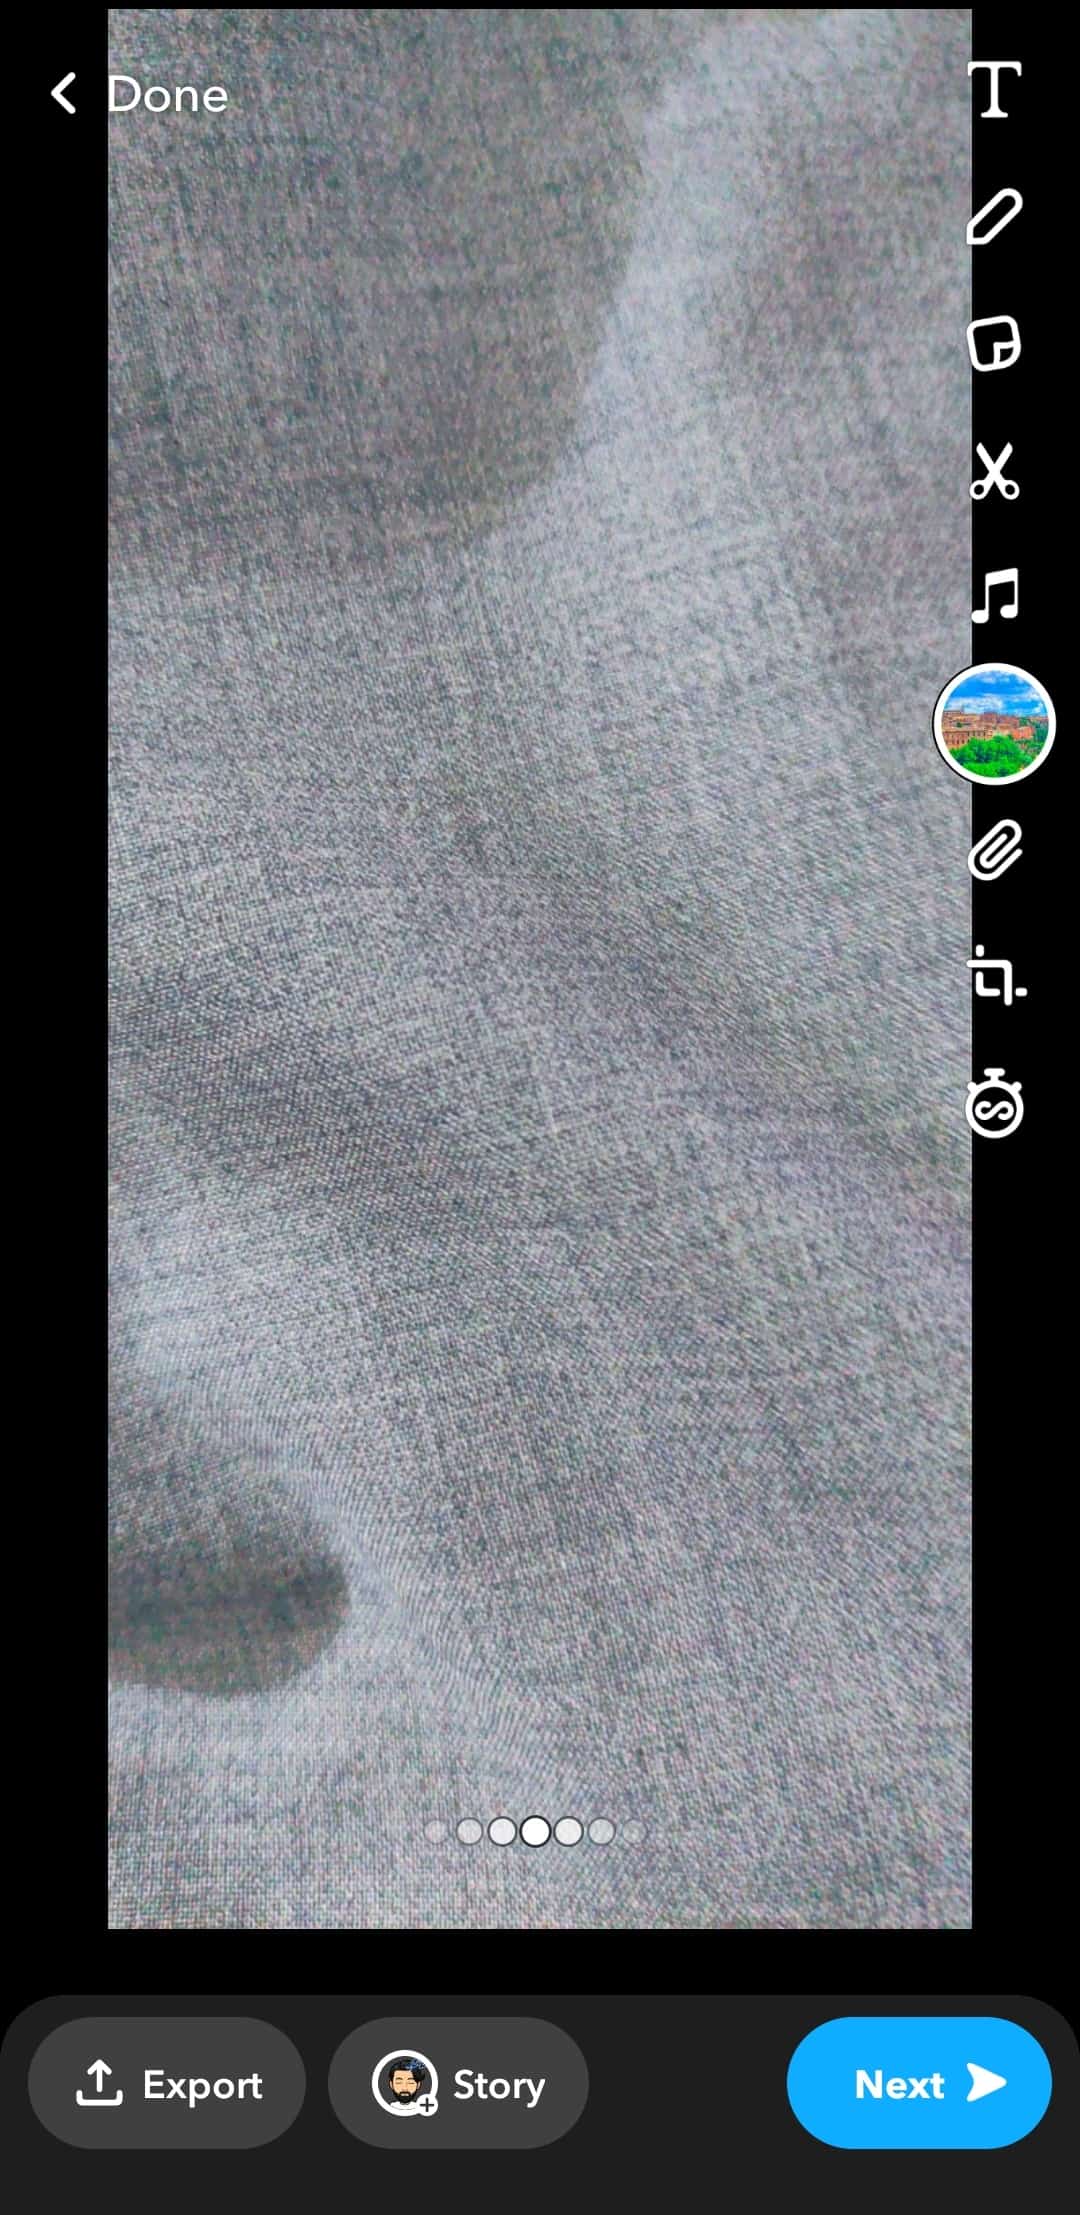
- Once you have applied a Snapchat filter to an existing photo, you have four options. You can either send it to your friends, post it on your story, save it back to the camera roll or memories, or share it on other applications such as WhatsApp.
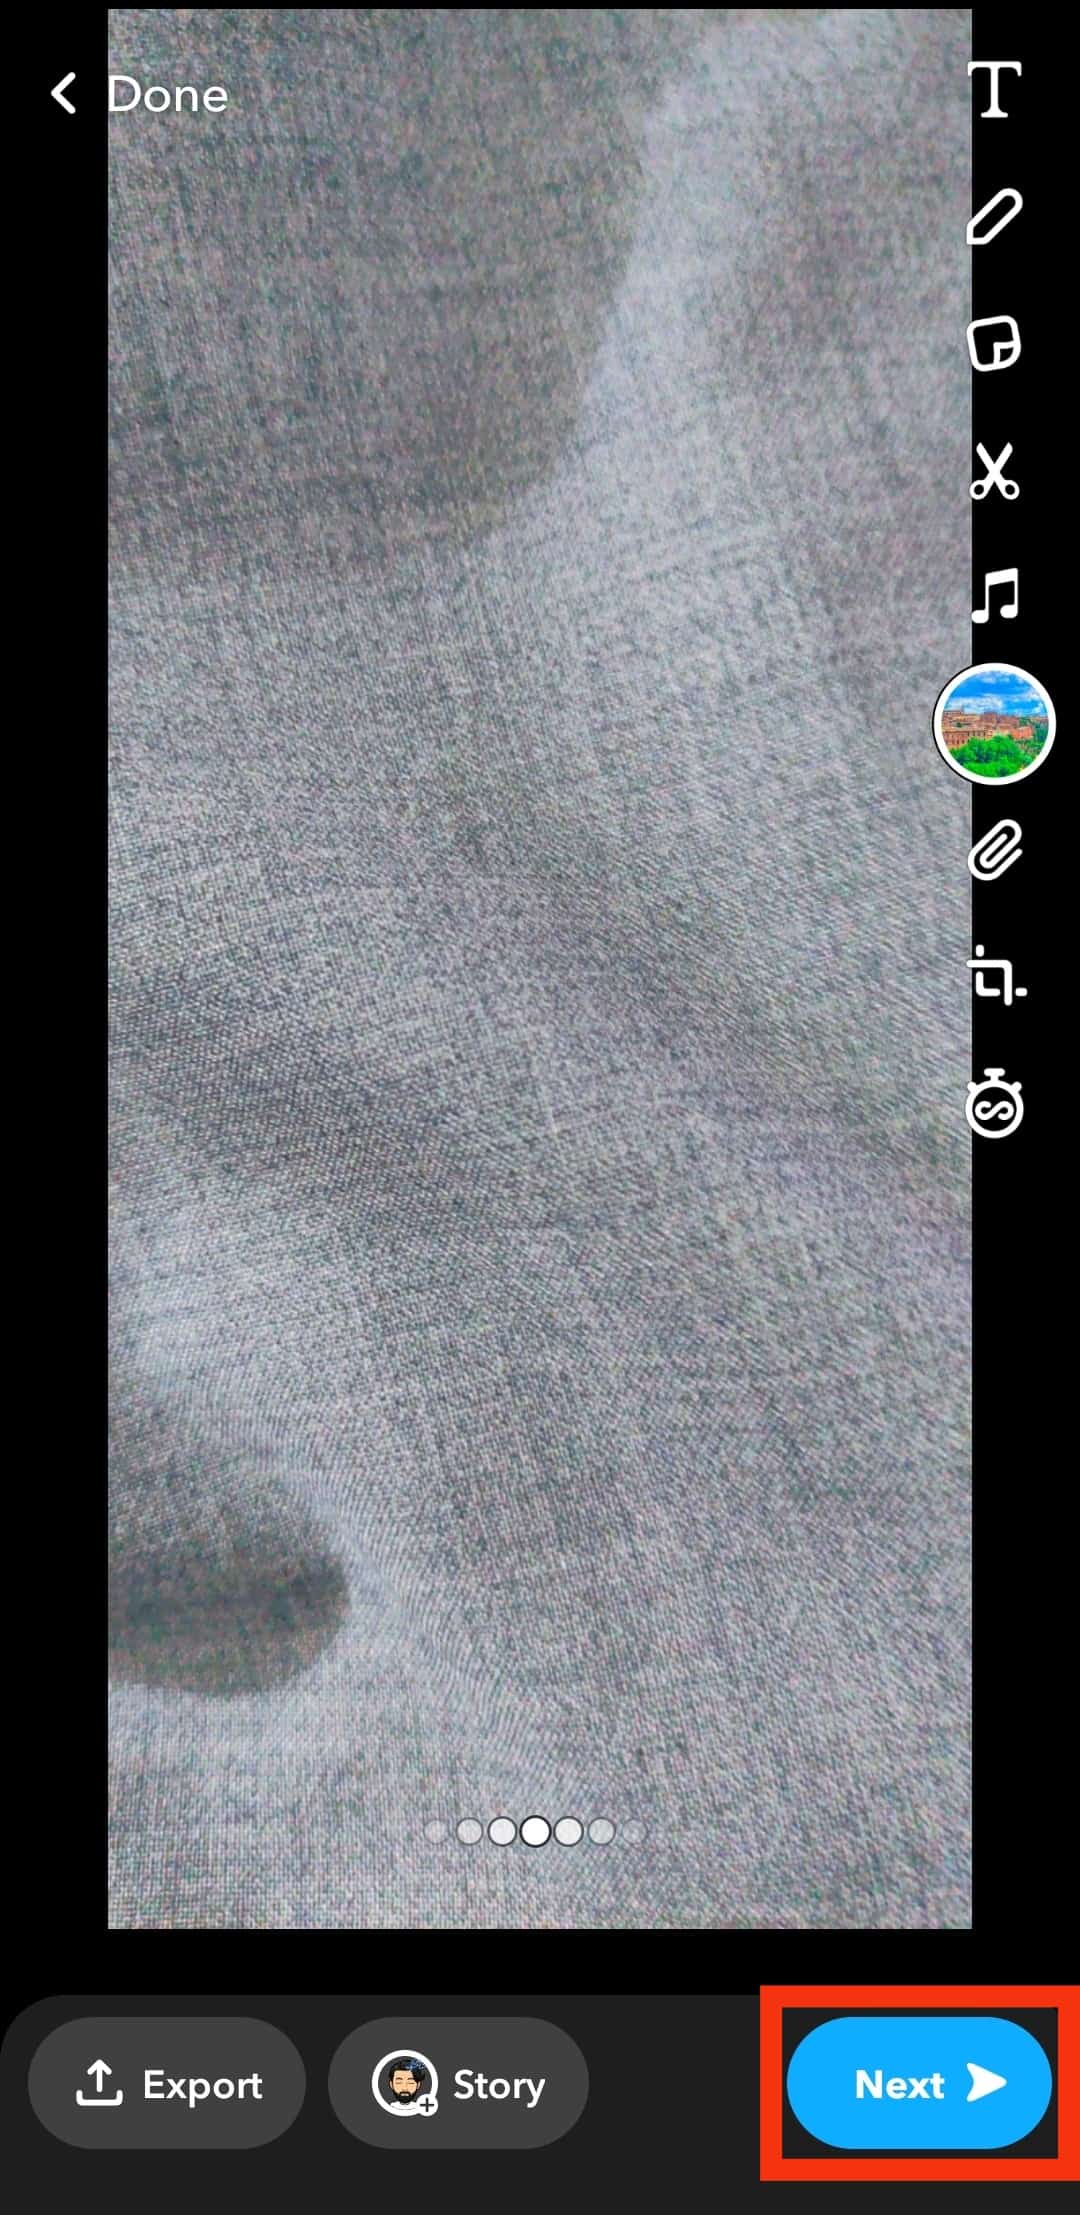
- To send the edited picture to your friends, tap on the option in the bottom right corner of the screen. The button says “Next“. When you tap on it, it will take you to your list of friends, and you can individually send it to anyone from your friend’s list – it will be sent to them as a message.
- To post the picture on your story, tap on the “Story” option.
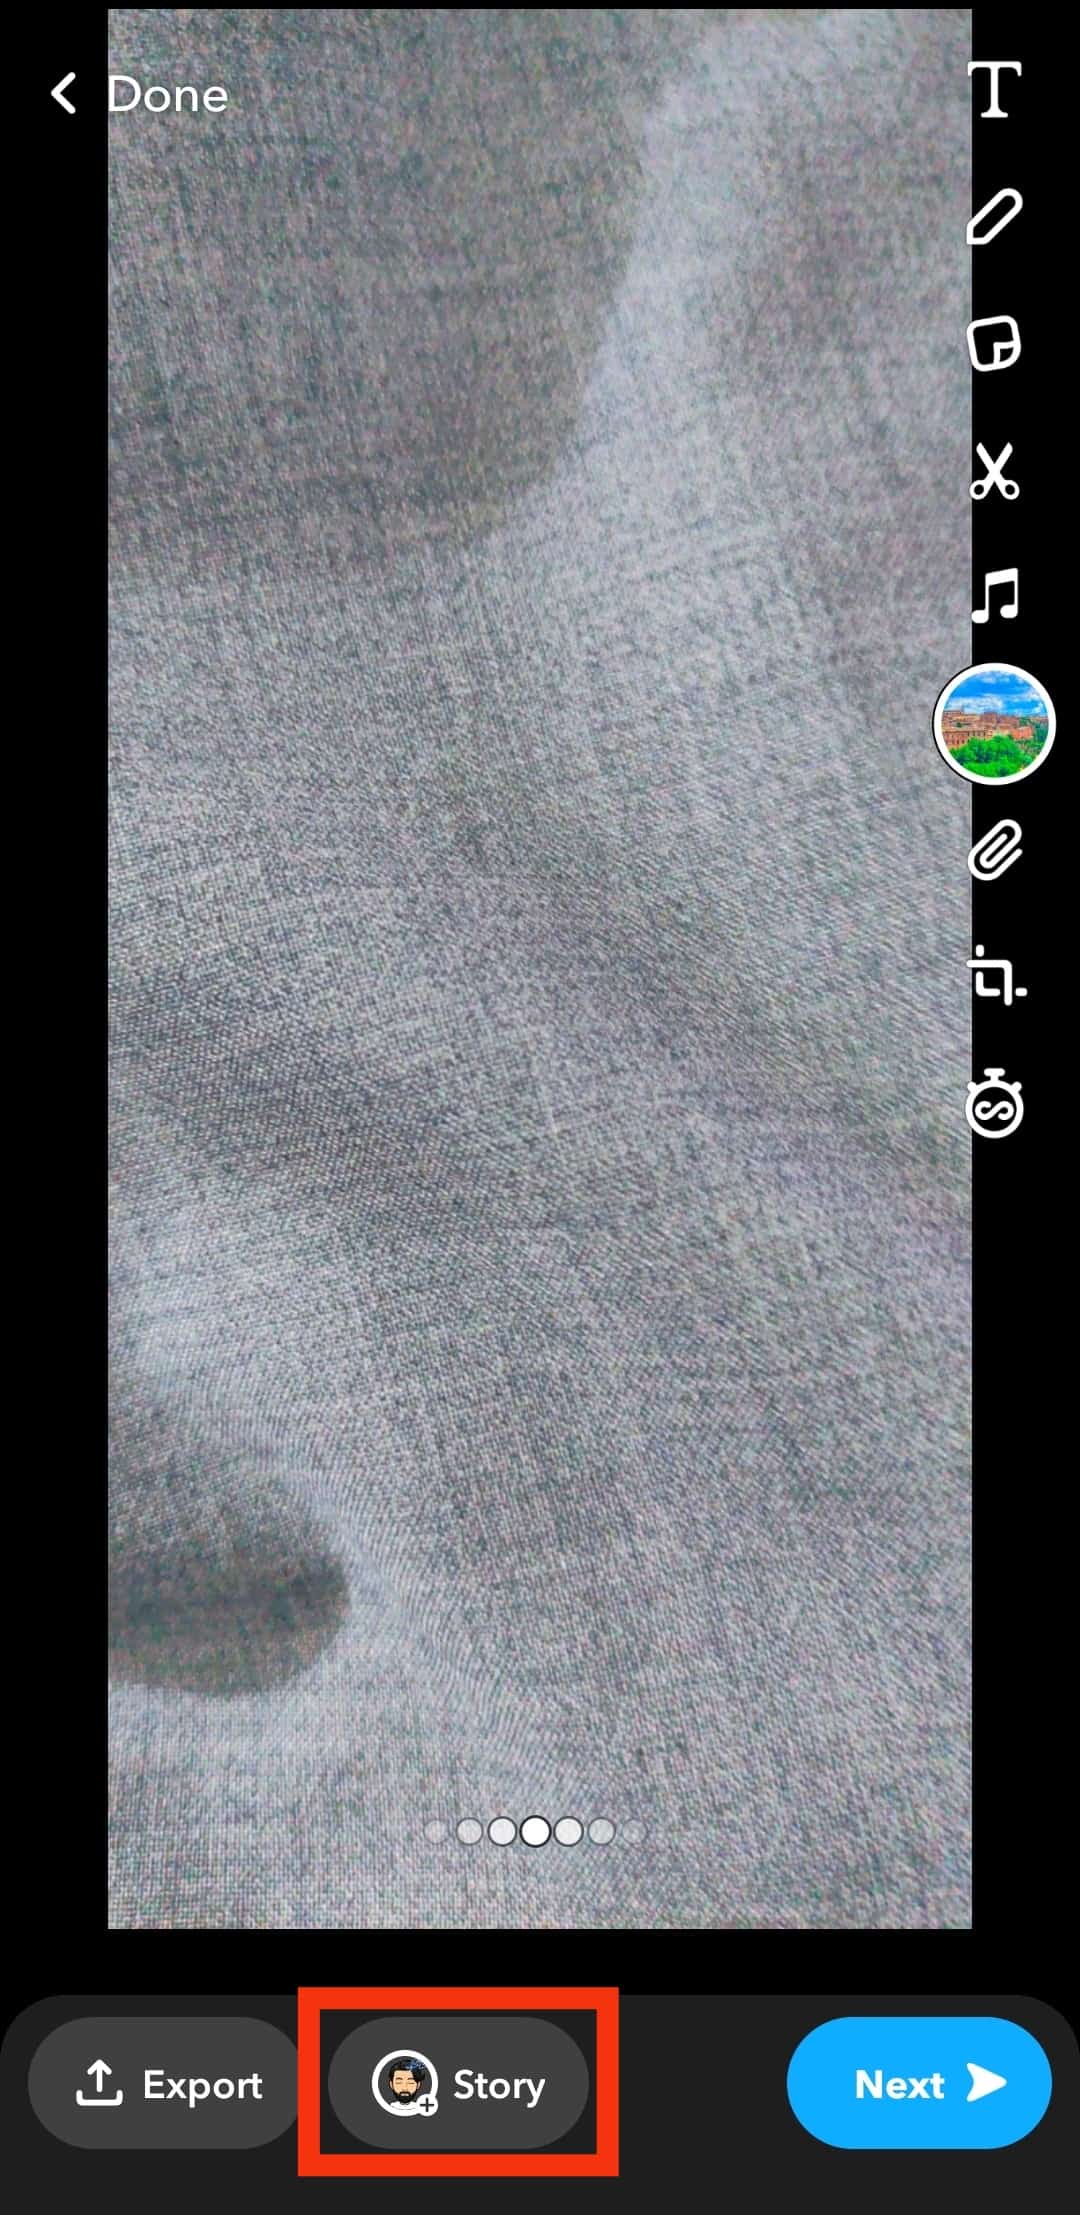
- To post the picture on your story, tap on the “Story” option.
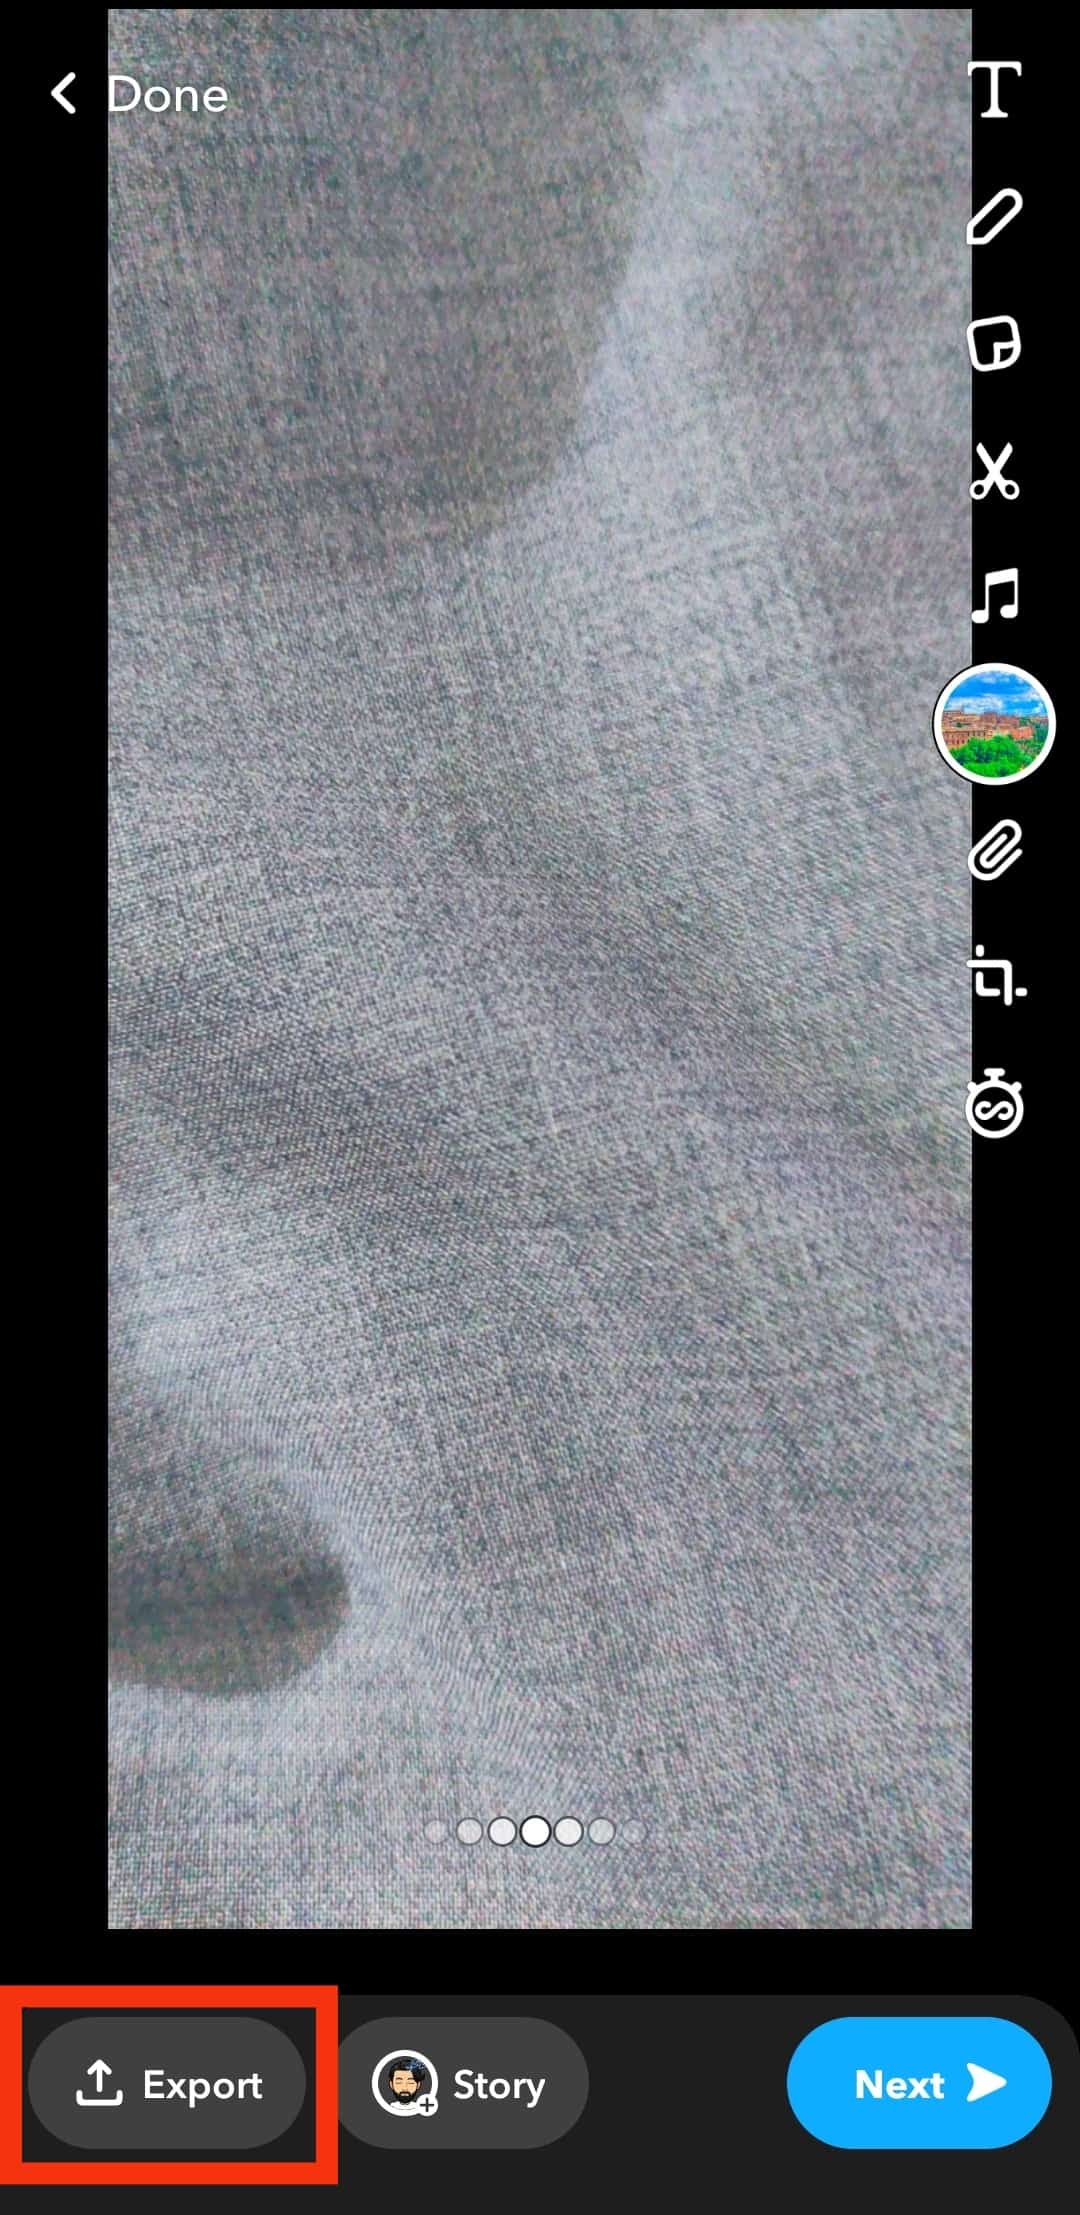
- To share the picture with other social media platforms, tap the “Export“ option at the bottom; you will find it on the bottom right beside the “Story” option. When you tap on it, it will ask you if you want to share your picture on other apps and give you a list of apps. You can select the app and share your picture with your friends through it.
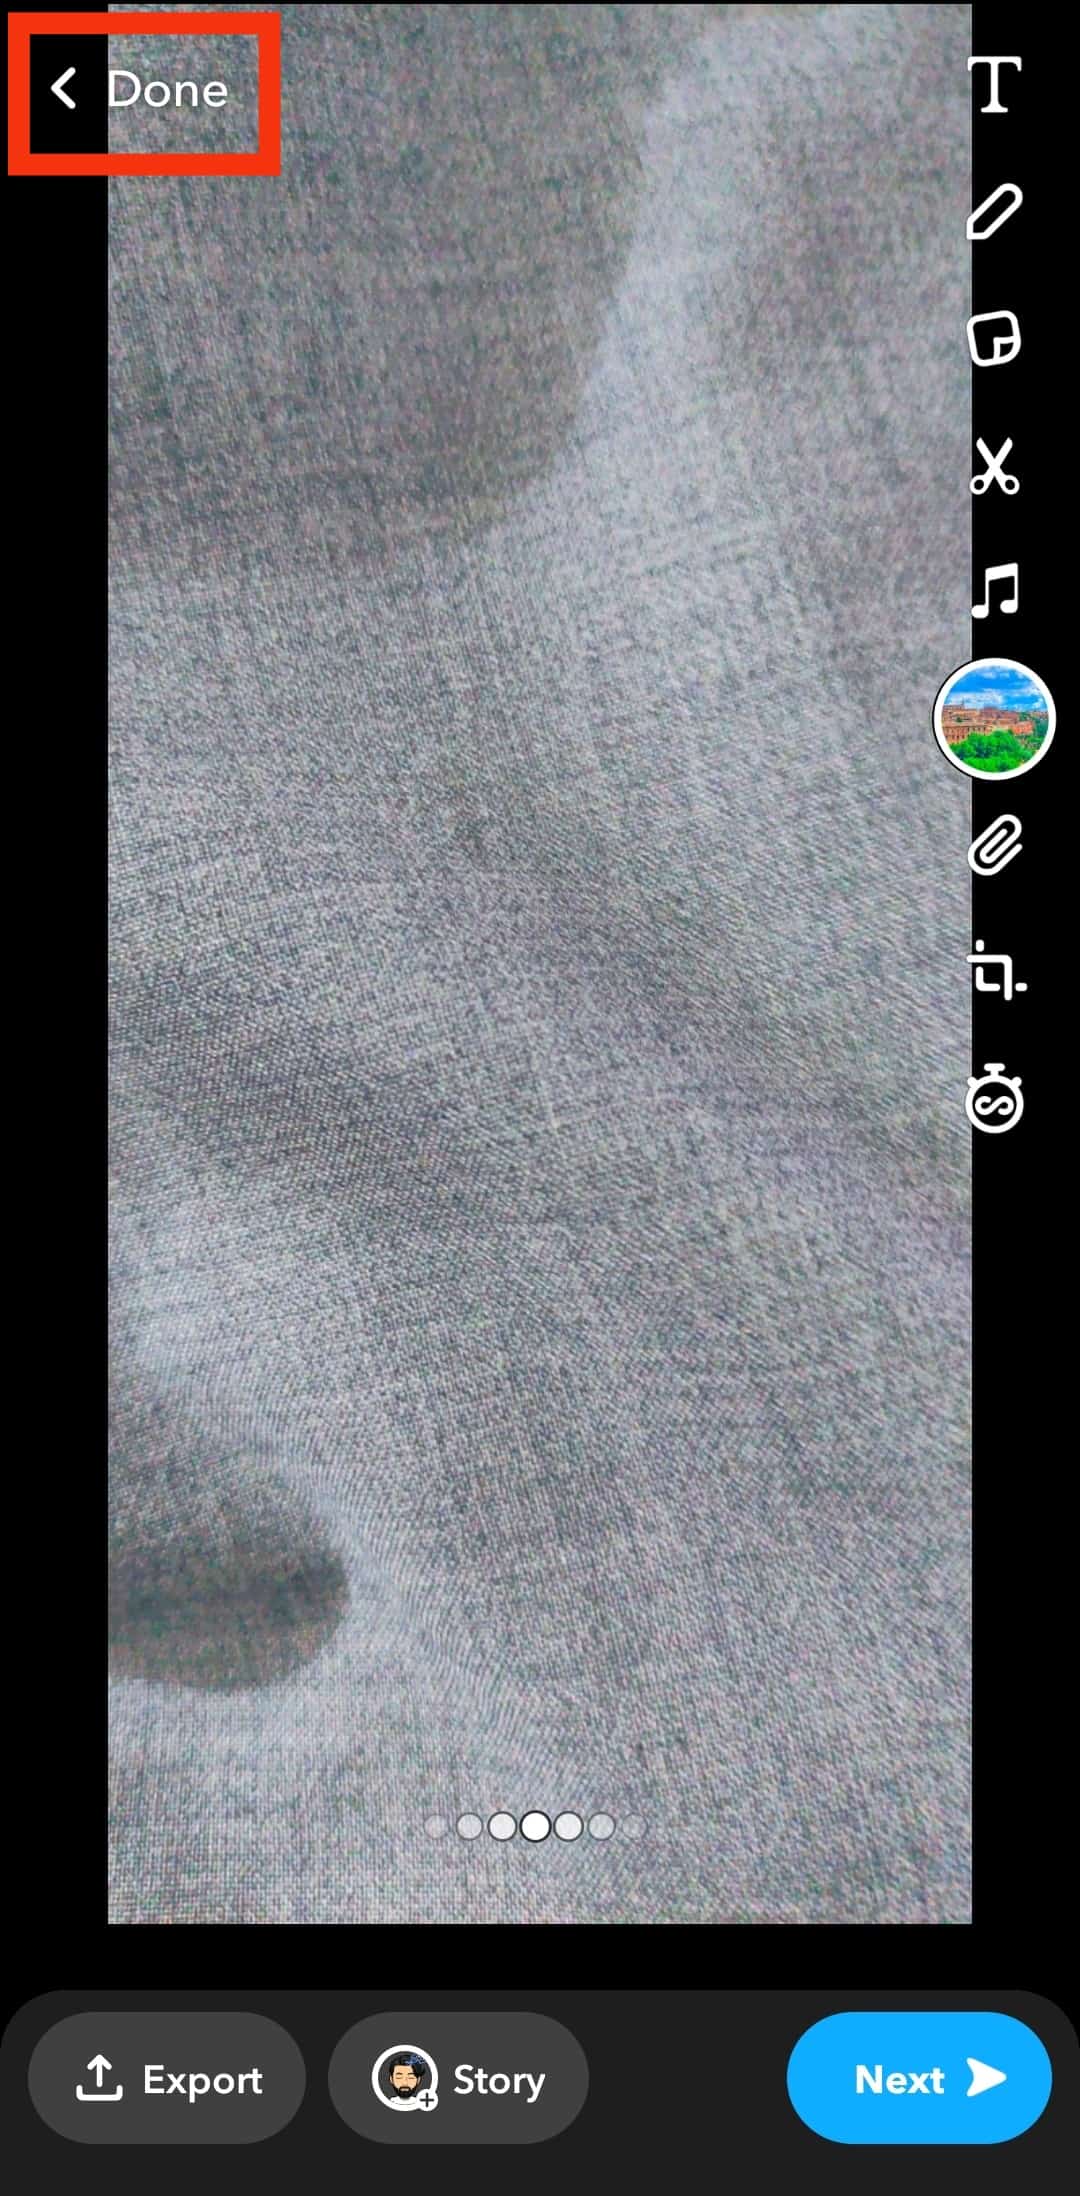
- Lastly, if you don’t want to share the picture anywhere and just want to save it with the changes, here is what you can do. After editing the image, tap “Done,” which you will find in the top left corner of the screen. It will ask if you want to “Save as Copy” or “Discard Changes.” Select the appropriate option, and you are done.
- To send the edited picture to your friends, tap on the option in the bottom right corner of the screen. The button says “Next“. When you tap on it, it will take you to your list of friends, and you can individually send it to anyone from your friend’s list – it will be sent to them as a message.
Conclusion
Applying a filter to existing photos is super easy on Snapchat – saving your pictures with cool Snapchat filters will hardly take you minutes.
The best thing about this is that you can reverse these changes any time you want; just follow the same steps again, and it will take you back to your original photo.
Moreover, you are not limited to just Snapchat pictures.
Pictures taken from your camera or any other app can also be edited using Snapchat; therefore, don’t worry about missing out on cool filters!