Photos are part of us, and when you take pictures to capture various moments, it makes sense that you want to add them to your Facebook album.
A Facebook album is an excellent way of organizing your photos and videos.
Besides, your Facebook friends can view your photos based on a given album and all pictures associated with a given event or memory.
So, how can you add photos to an album on Facebook?
The question is, how do you add photos to a Facebook album? Here’s the kicker – Facebook allows you to create a new album and add photos when creating the album. Alternatively, you can have an existing album and add pictures to it. Still, you can add photos to a Facebook album by moving them from another album.
We’ll cover the three ways of adding photos to a Facebook album. We will see the steps of using the mobile app and the Facebook website to analyze which best works for you. If that sounds good, stick around, and let’s get started.
How To Add Photos to an Existing Facebook Album
Facebook only allows you to add photos to your album or if you have a shared album to which you are a contributor.
Use any of the methods below to add photos to an existing album.
On PC
Follow these steps:
- Open your Facebook account via a browser or the desktop Facebook app.
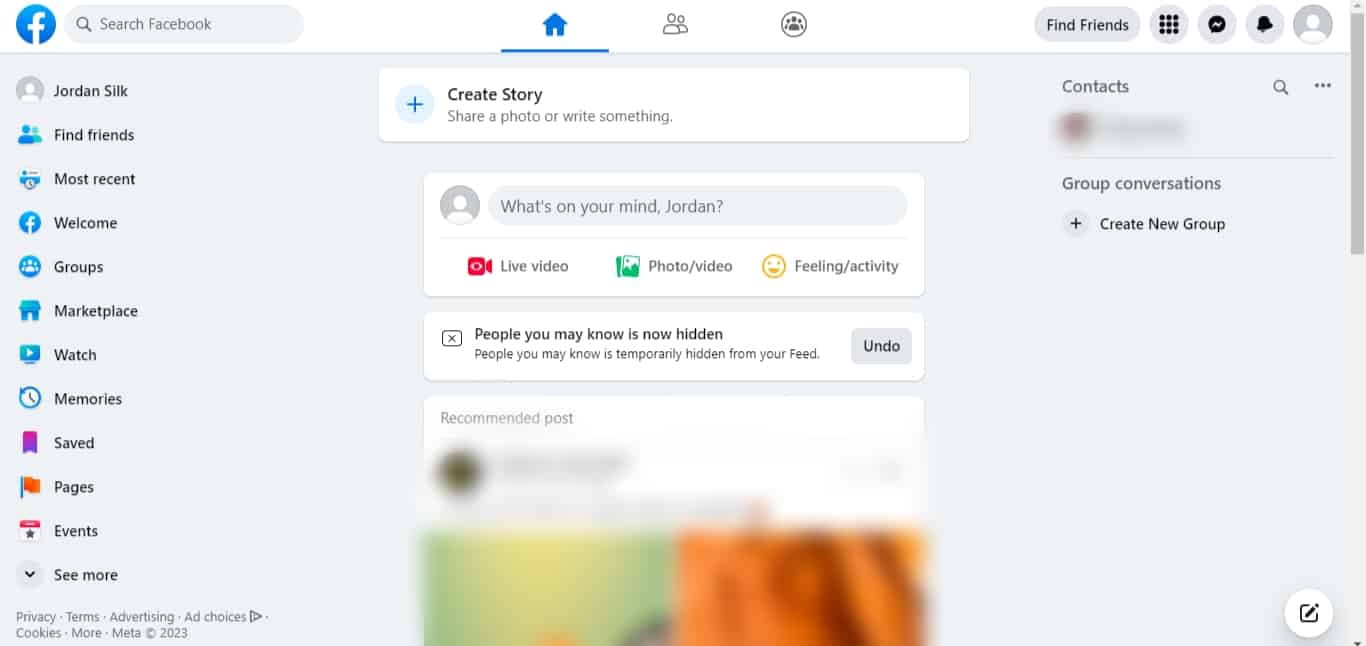
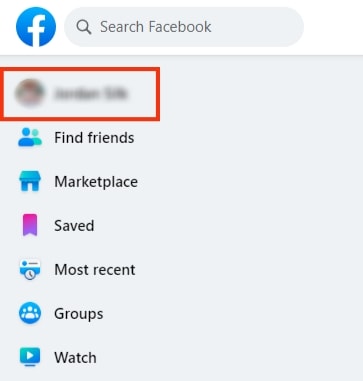
- Once logged in, click on your profile picture or name at the top left.
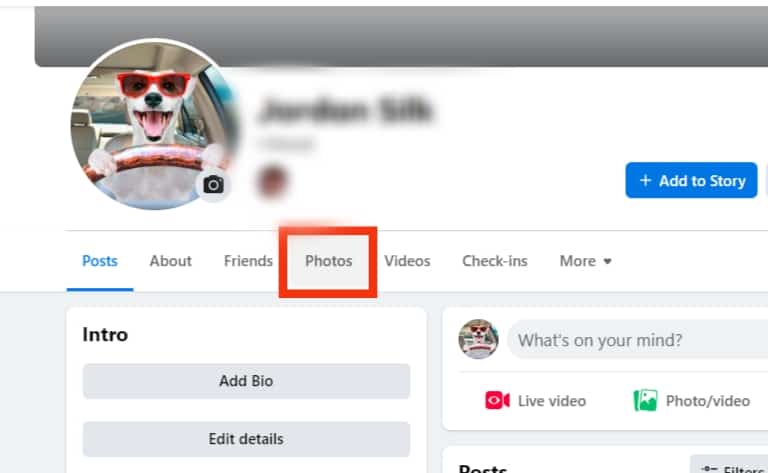
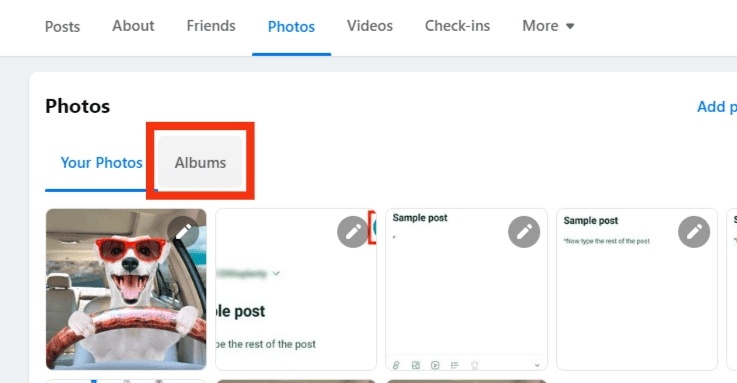
- Navigate to “Photos.”
- Locate and click on “Albums.”
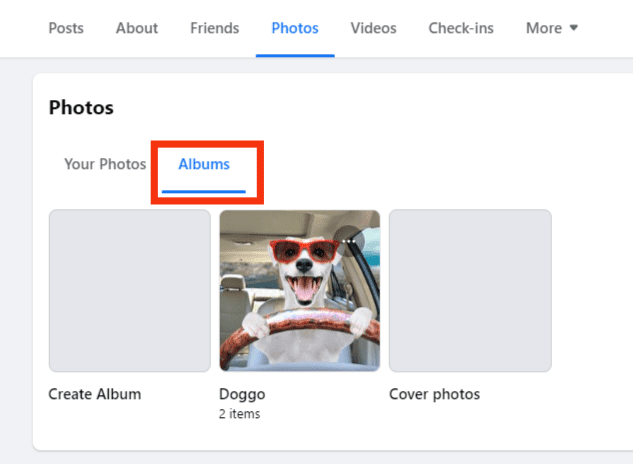
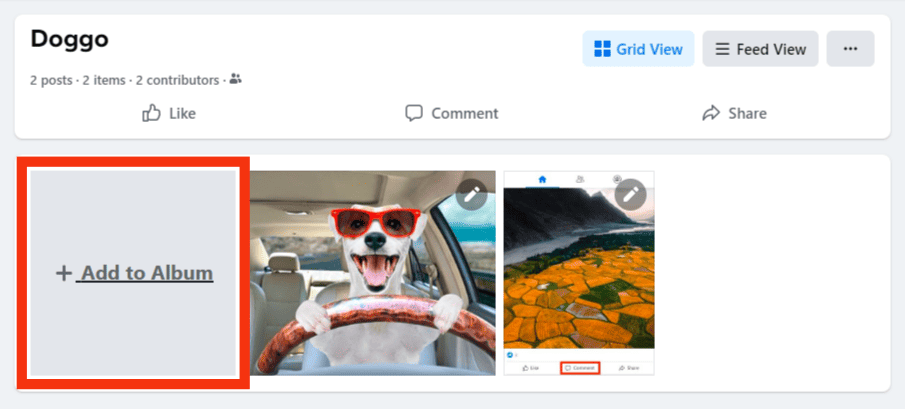
- Choose the album you wish to add photos to.

- Click the “+ Add to album” option.
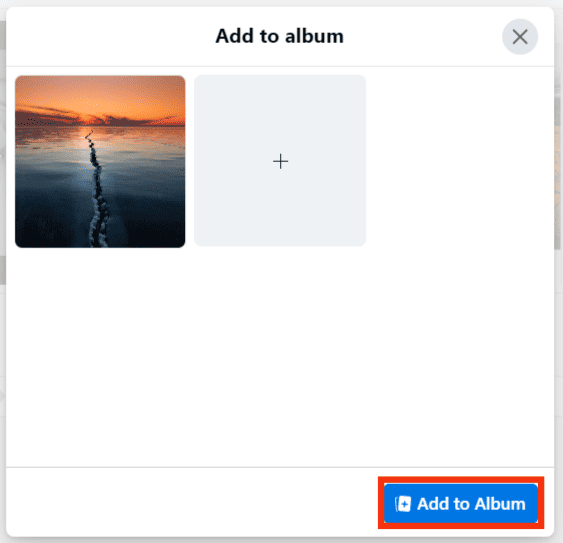
- Tap the “Upload Photos or Videos” option and choose the images you wish to add.

- Once added, click the “Add to Album” button.
Your uploaded pictures will get added to your existing album.
On Mobile App
The steps below work for your case using Android or iPhone:
- Open the Facebook mobile app.

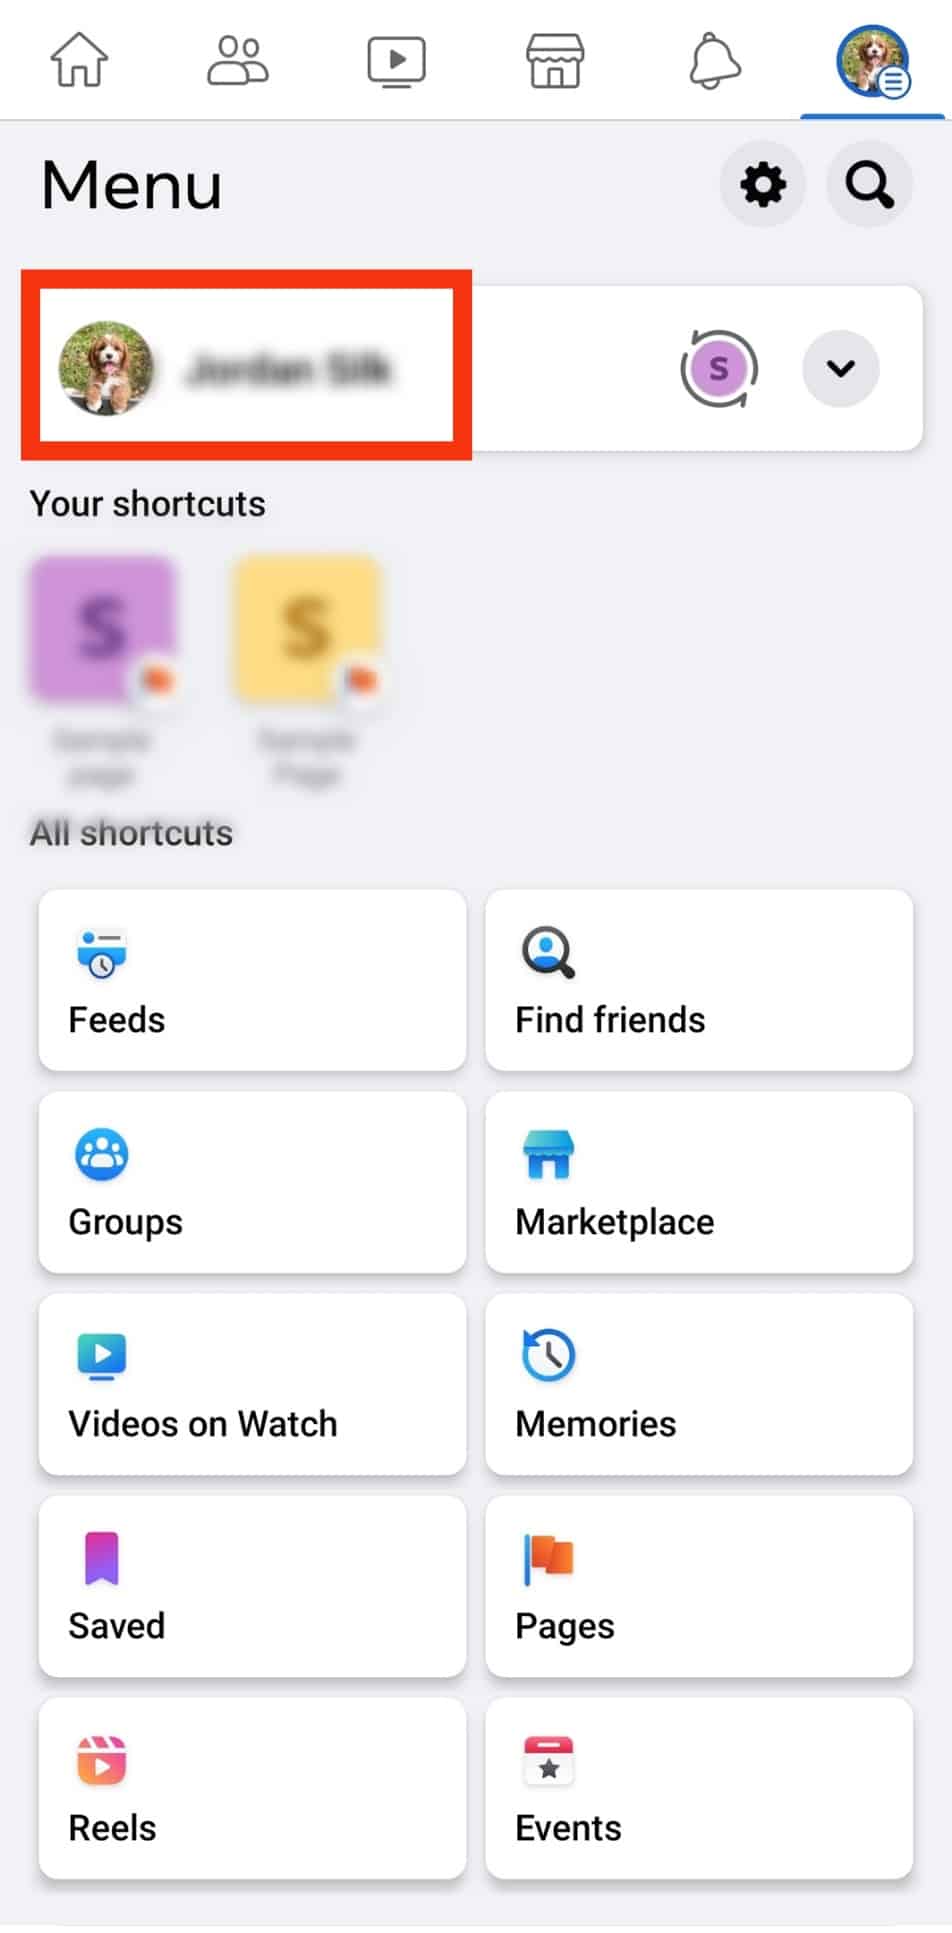
- Tap the menu icon at the top (for Android) or the bottom (for iPhone).

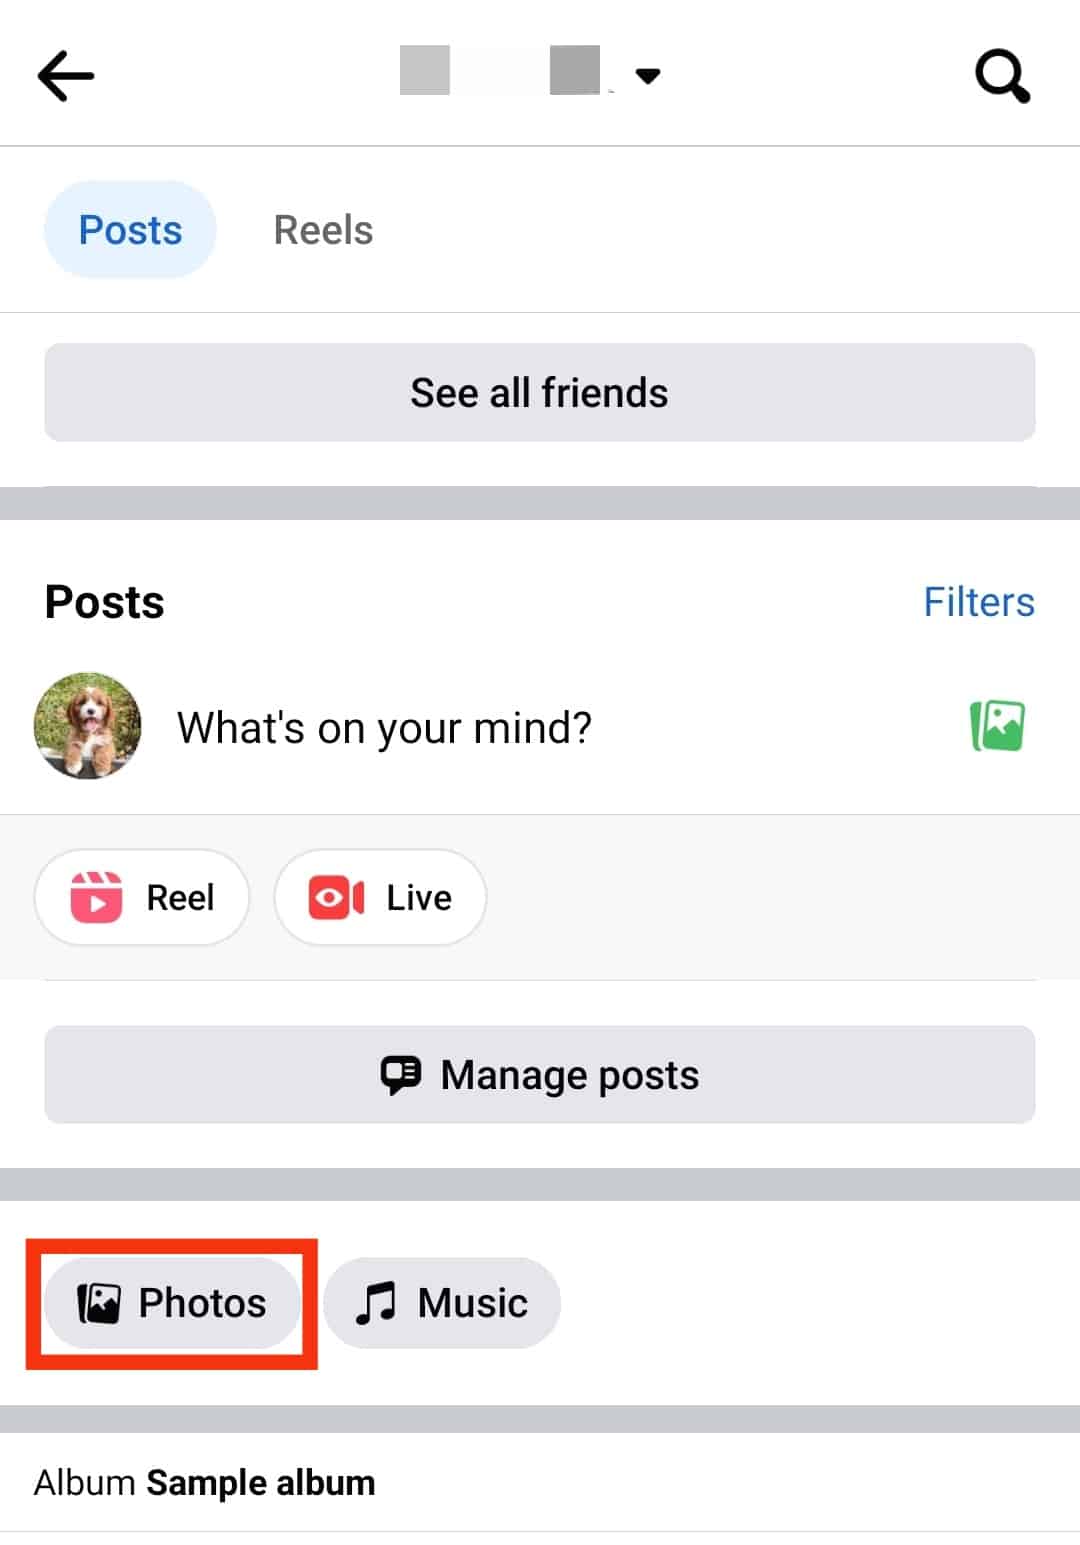
- Next, tap on your Facebook name.
- Navigate to “Photos.”
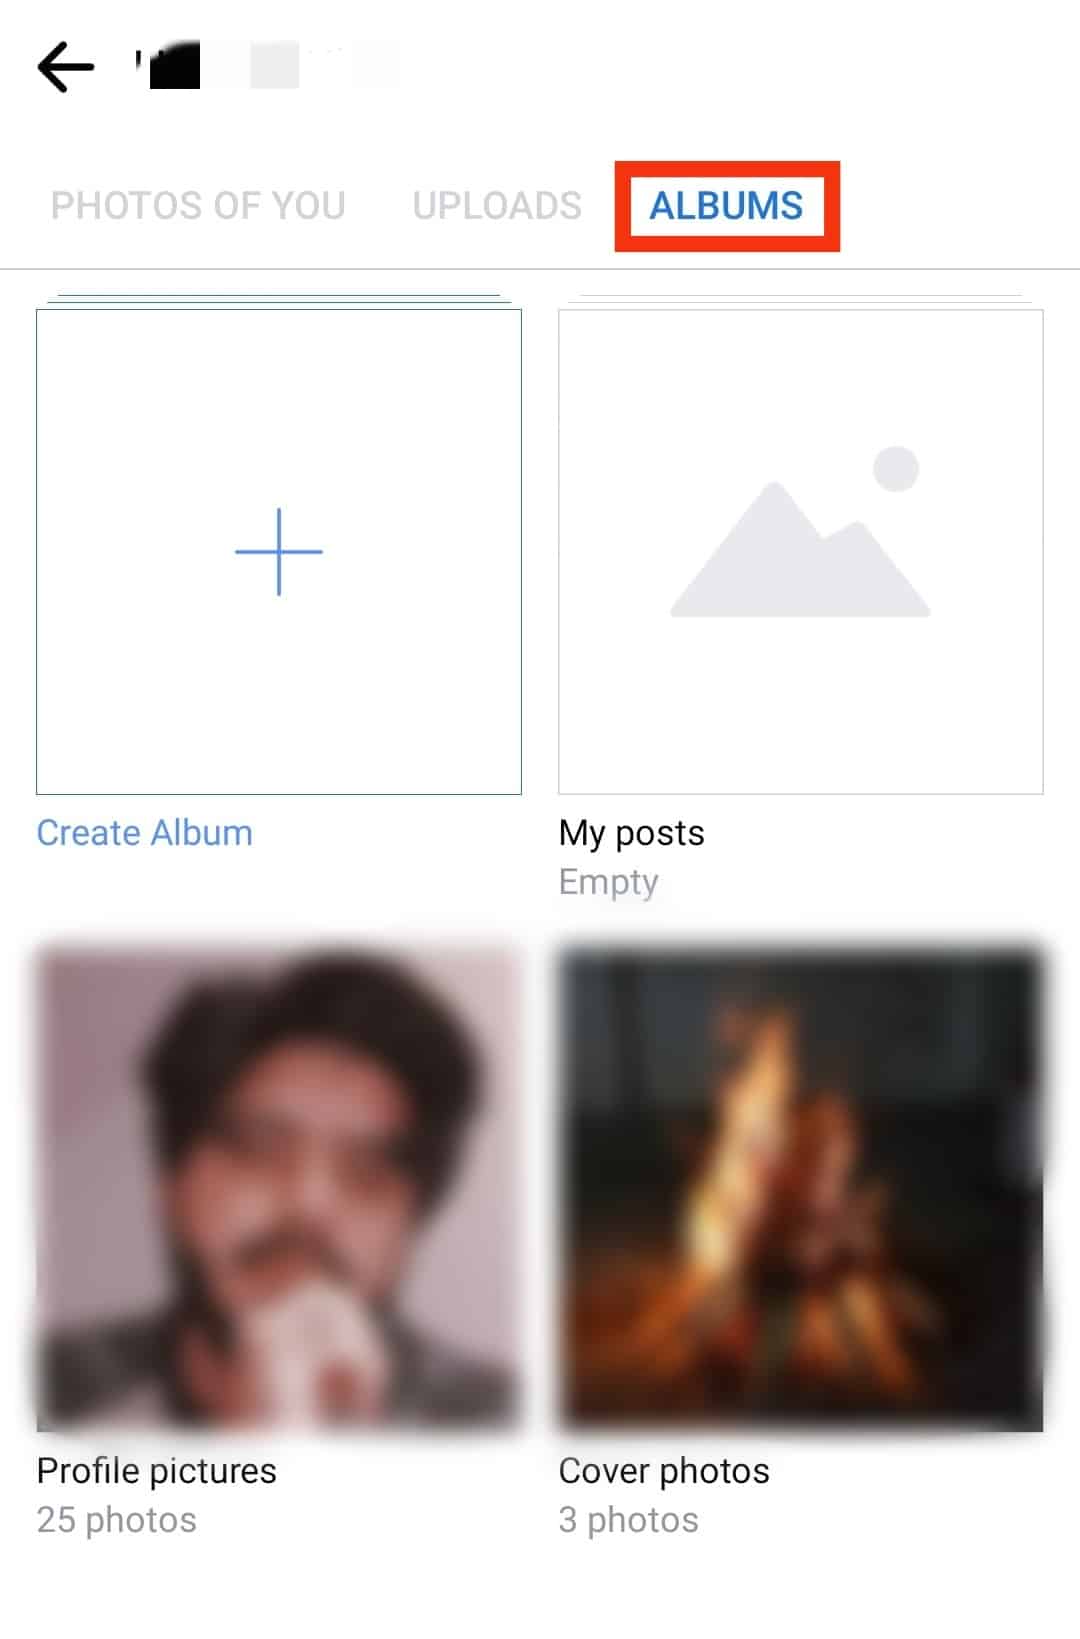
- Locate and click on “Albums” on the right.
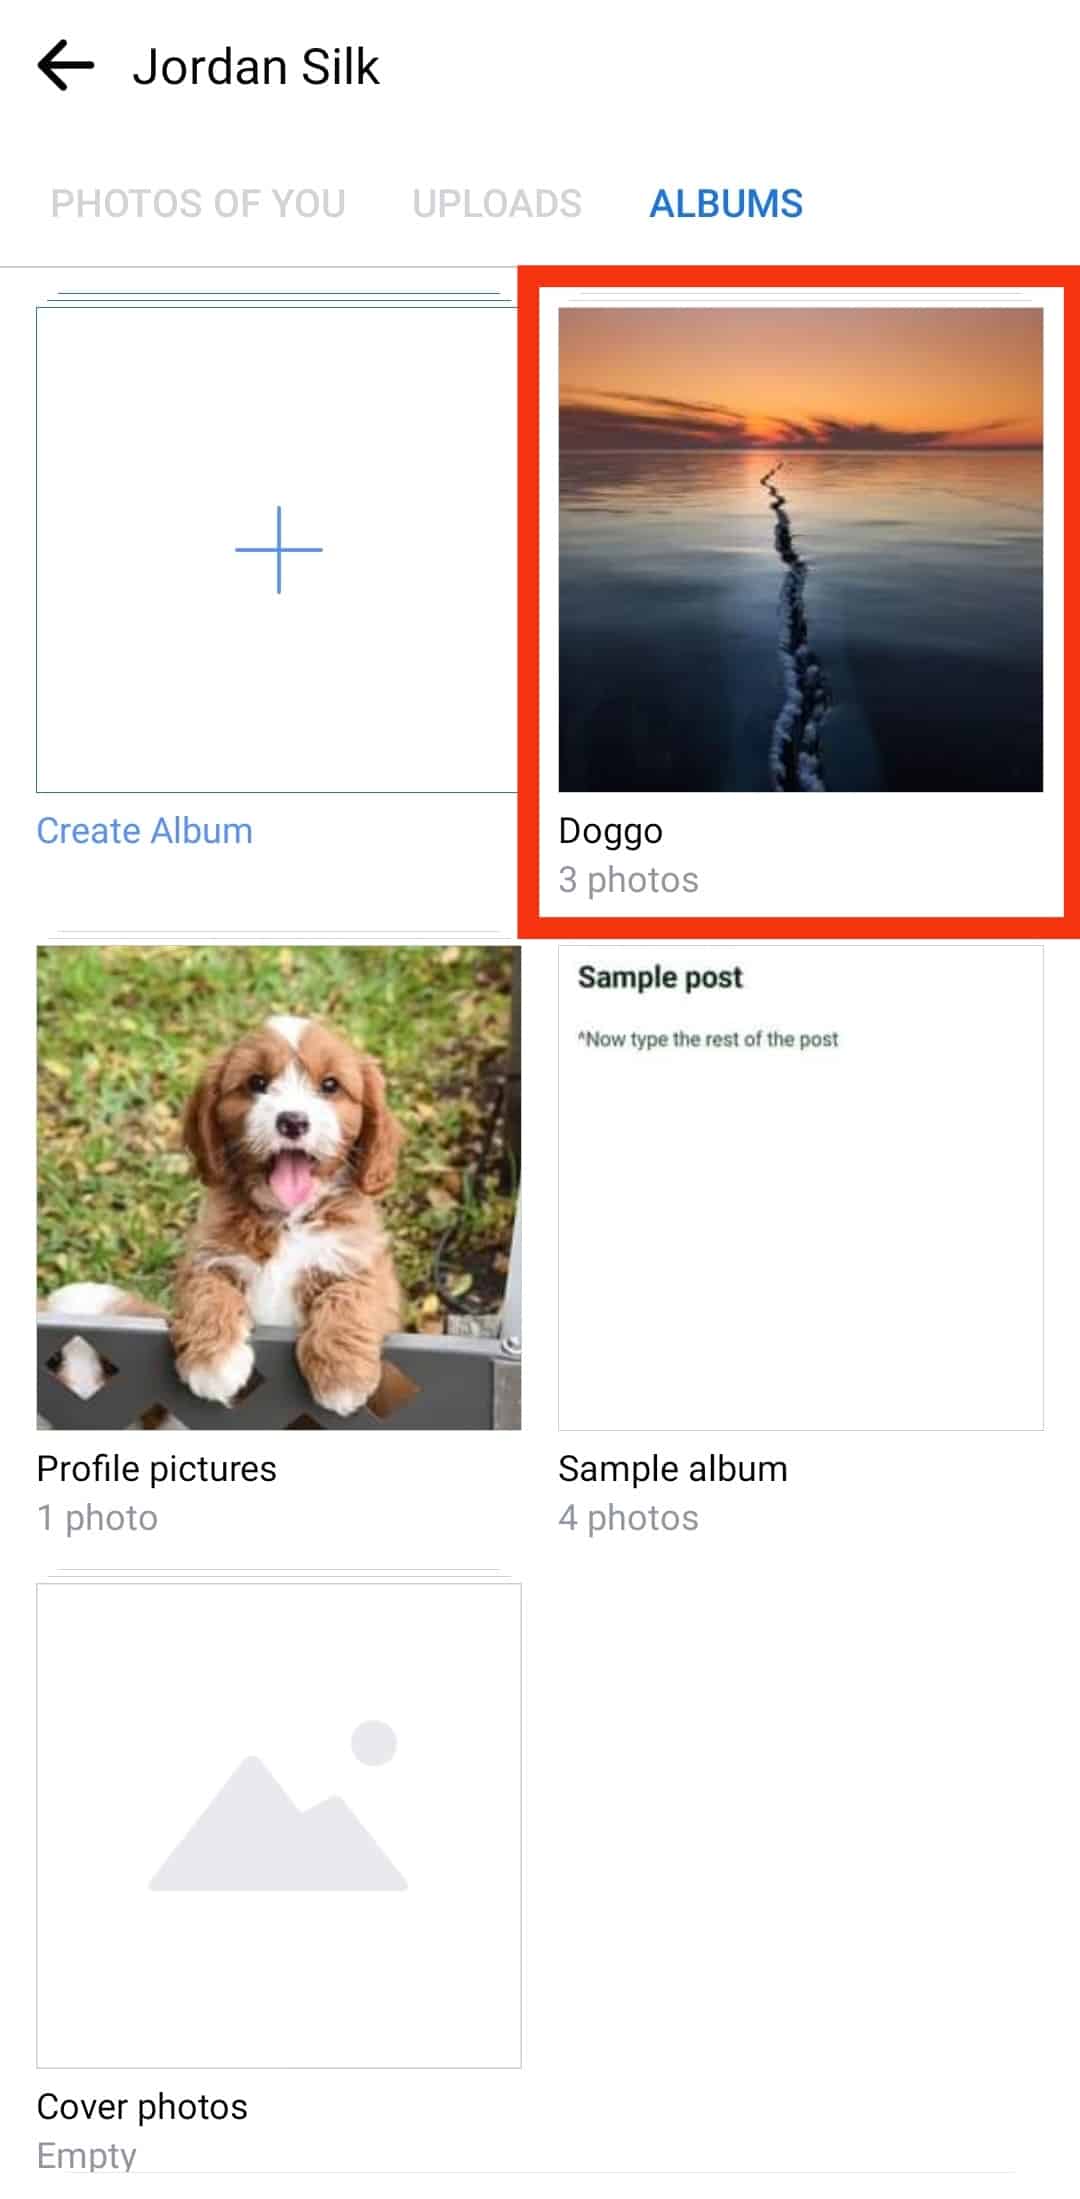
- Tap on your target album.
- Tap the “Add Photos/Videos” option.
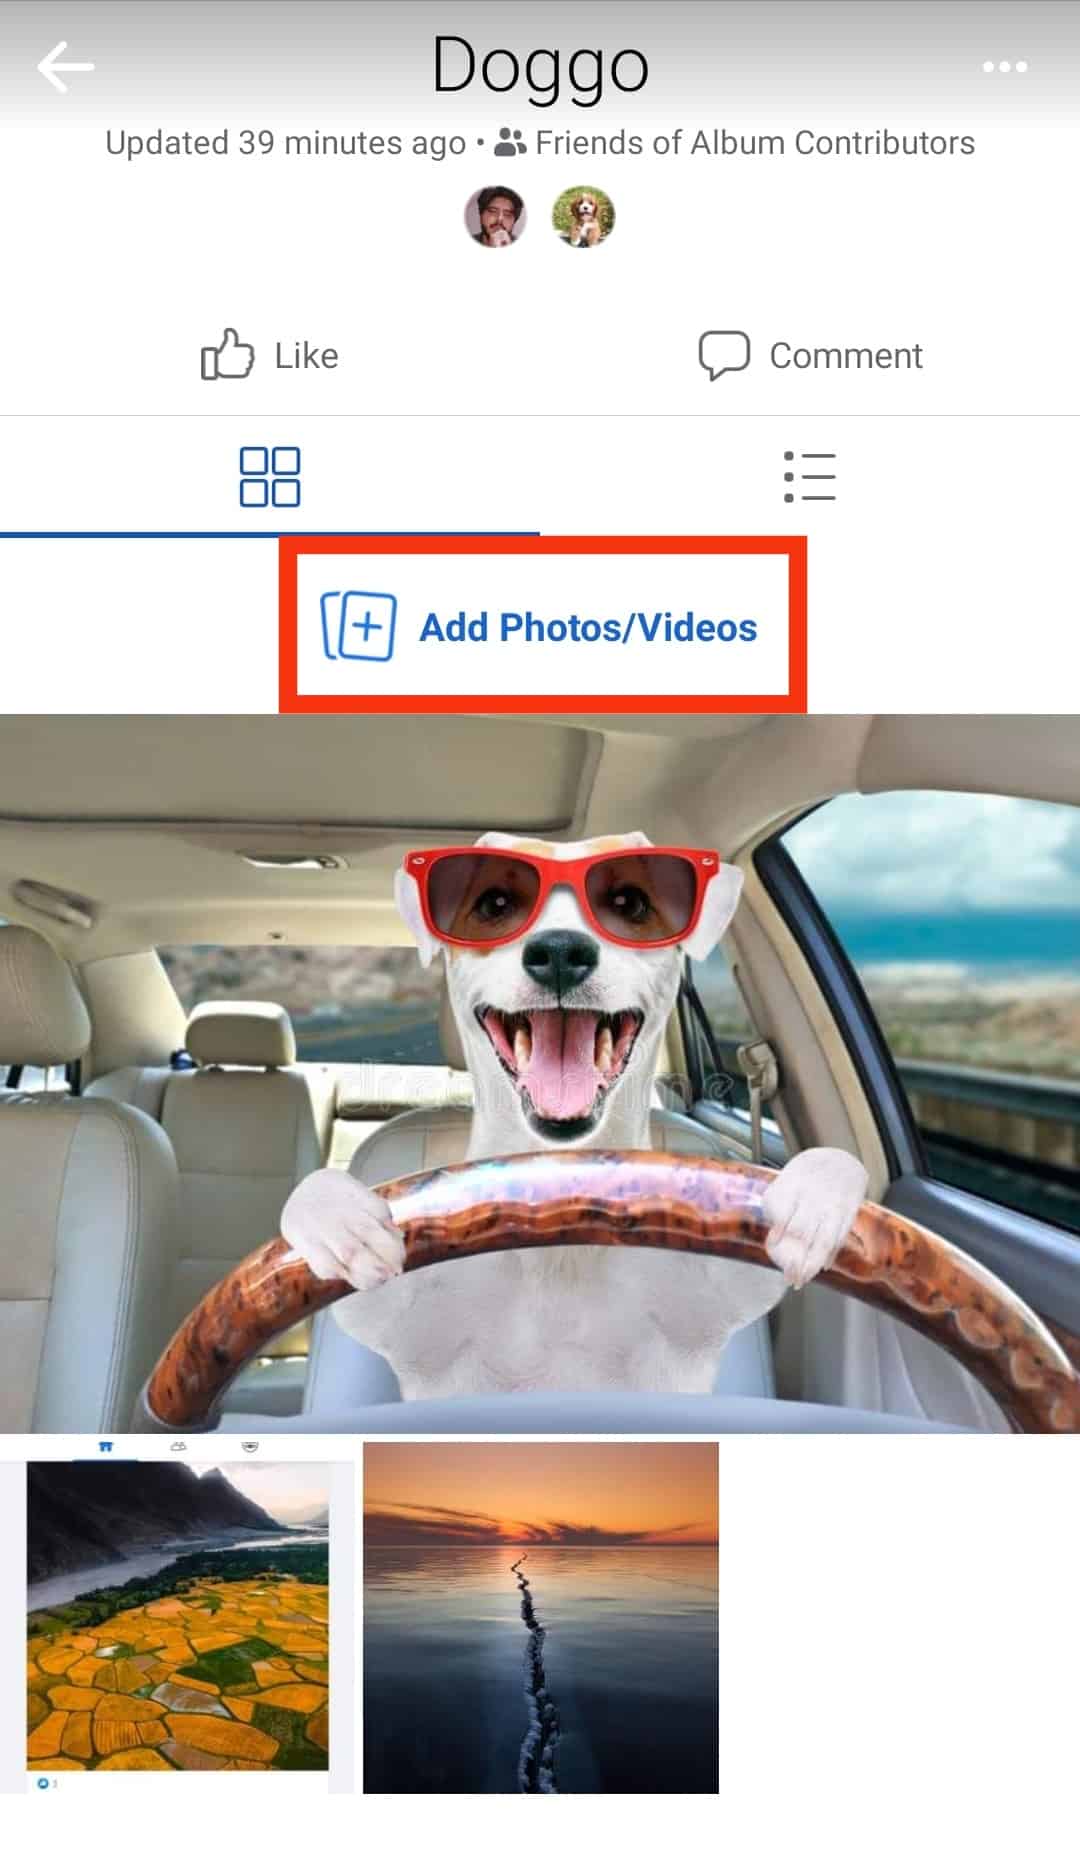
- Select the photos you want to add.

- Tap “Next” in the top right corner.

- Finally, tap the “Post” option.

That way, you’ve successfully added your photos to an existing album you created or are a contributor to.
How To Create a Facebook Album and Add Photos
Facebook allows creating an album as a collection of your favorite or event photos. Follow the steps below.
On PC
To create an album on your computer, start by accessing your Facebook account, then proceed with the steps below:
- Visit the Facebook website and log in to your account.
- Click on your profile icon or name in the top left corner.
- Navigate to “Photos.”
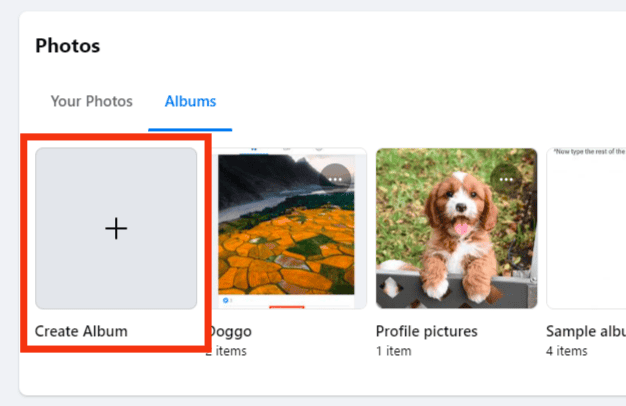
- Tap on “Albums.”
- Click the “Create Album” option.
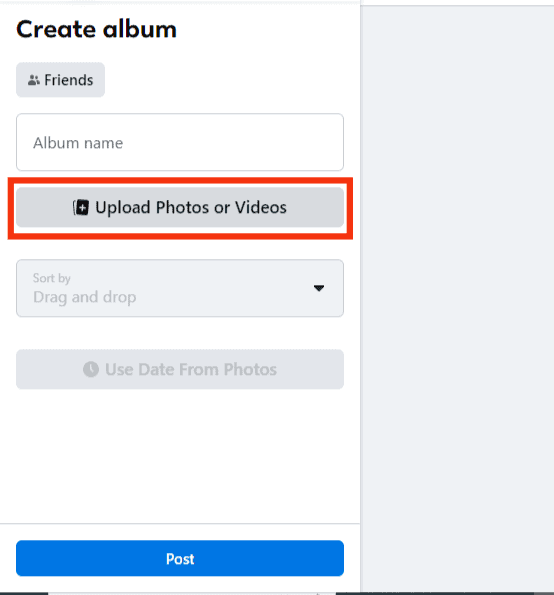
- Click the “Upload Photos or Videos” option.
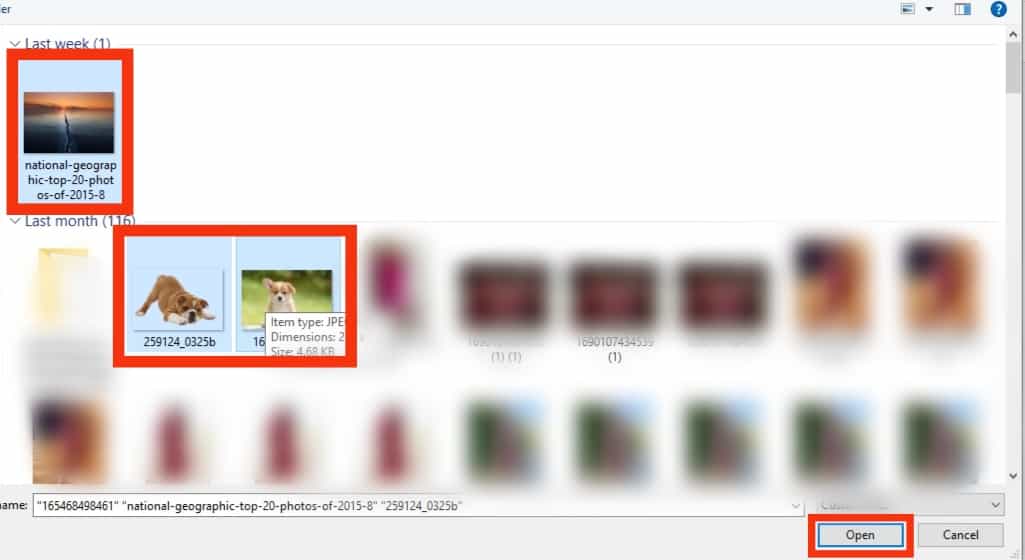
- Choose the photos you want to add from your computer’s local storage and click the “Open” button.
- Type the name of your album and choose your audience.
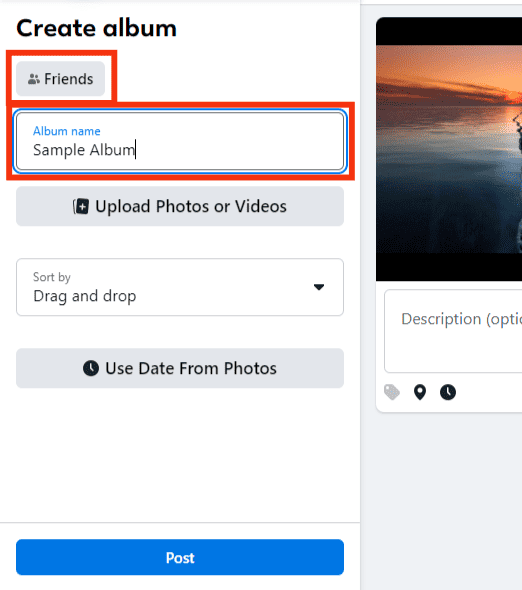
- Finally, click the “Post” button.
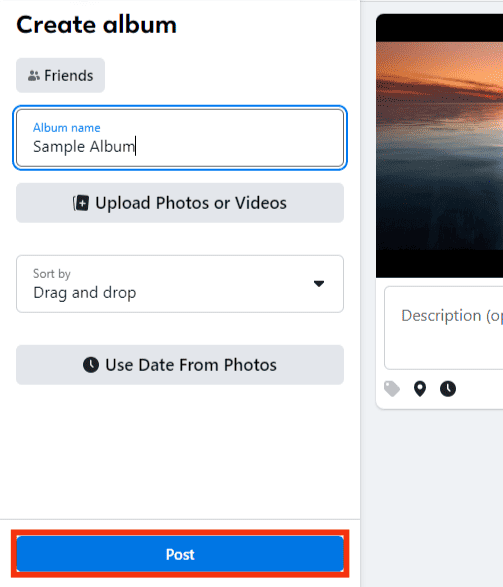
You will find all the uploaded photos in your newly created album.
On Mobile
Creating a new album and adding pictures is the same on Android and iPhone.
Follow the below steps:
- Open the Facebook app.
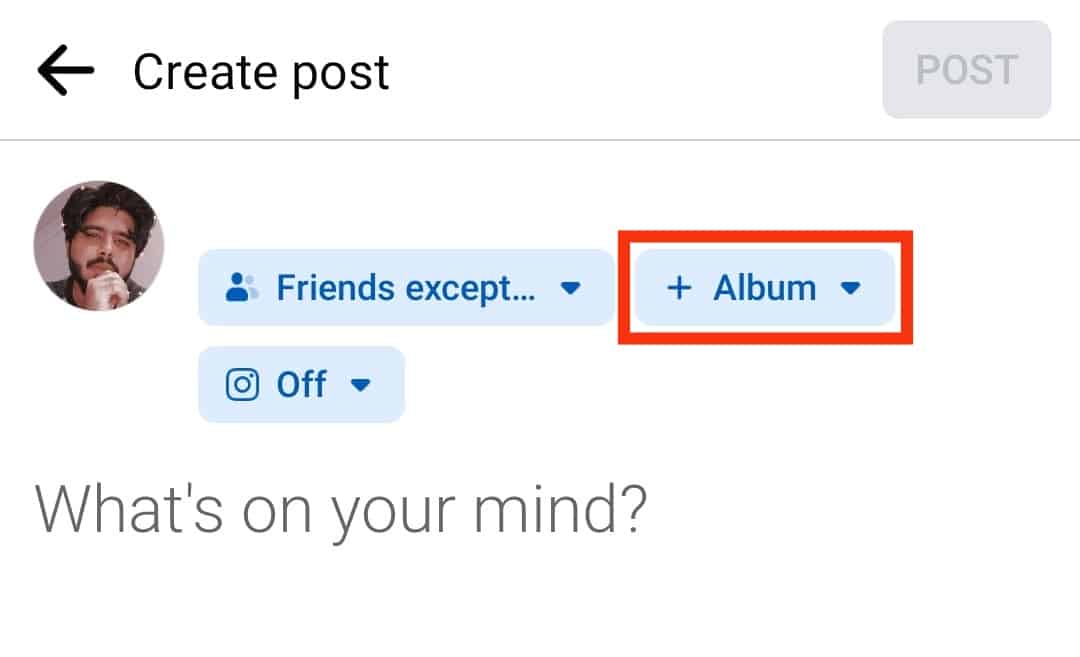
- Tap the “What’s on your mind?” option on your home page.

- Next, tap the “+ Album” option.
- Tap on “+ CREATE NEW ALBUM.”
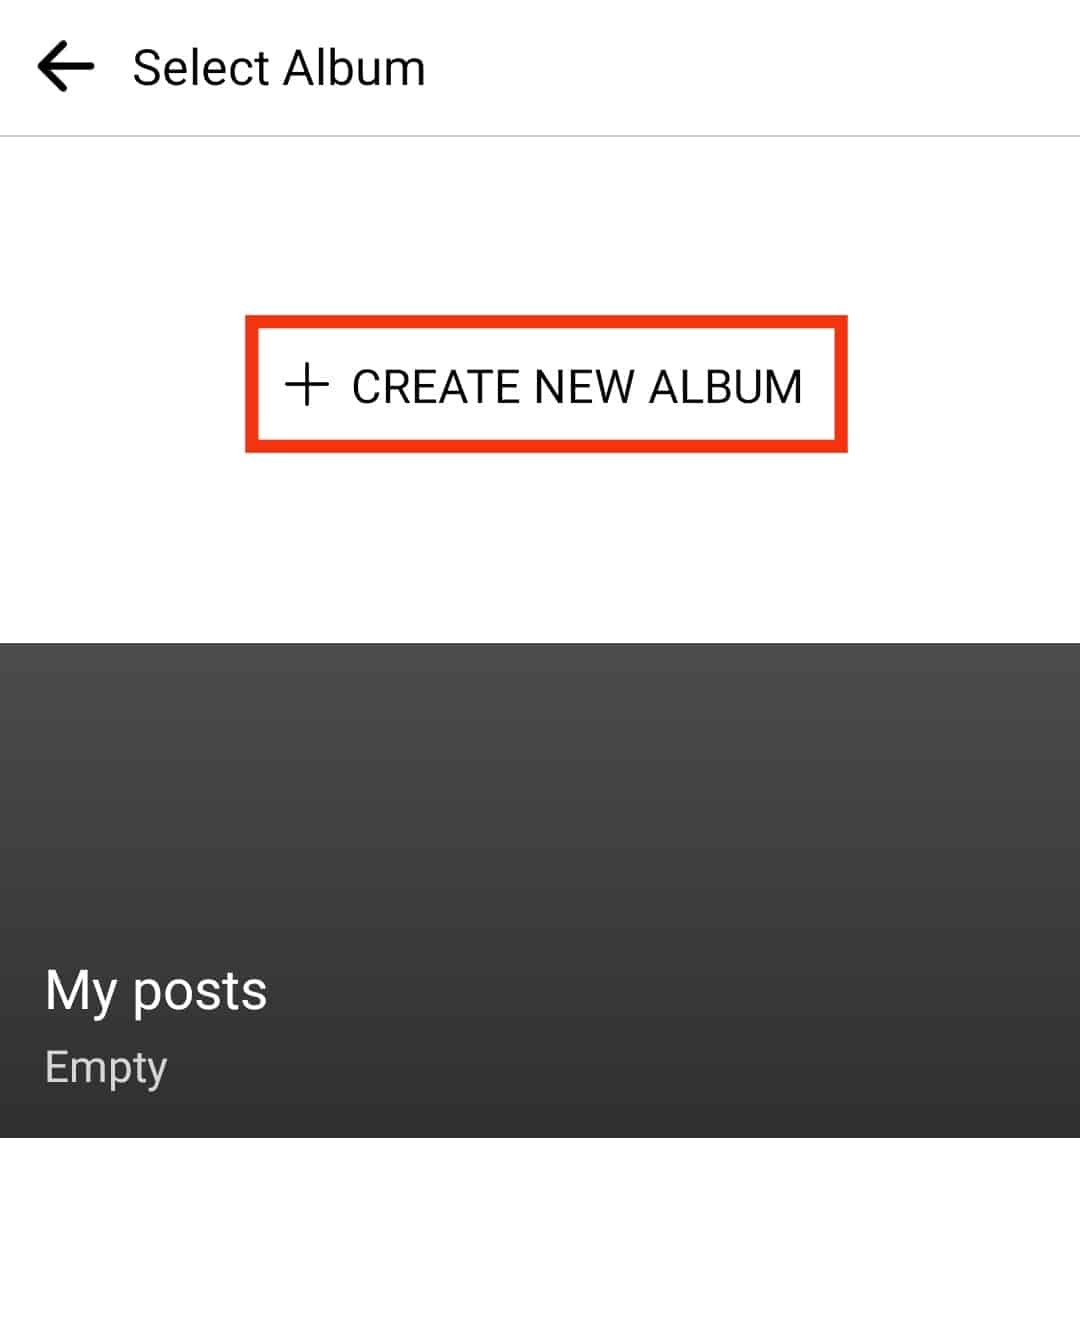
- Type the name of the new album and select a suitable audience.
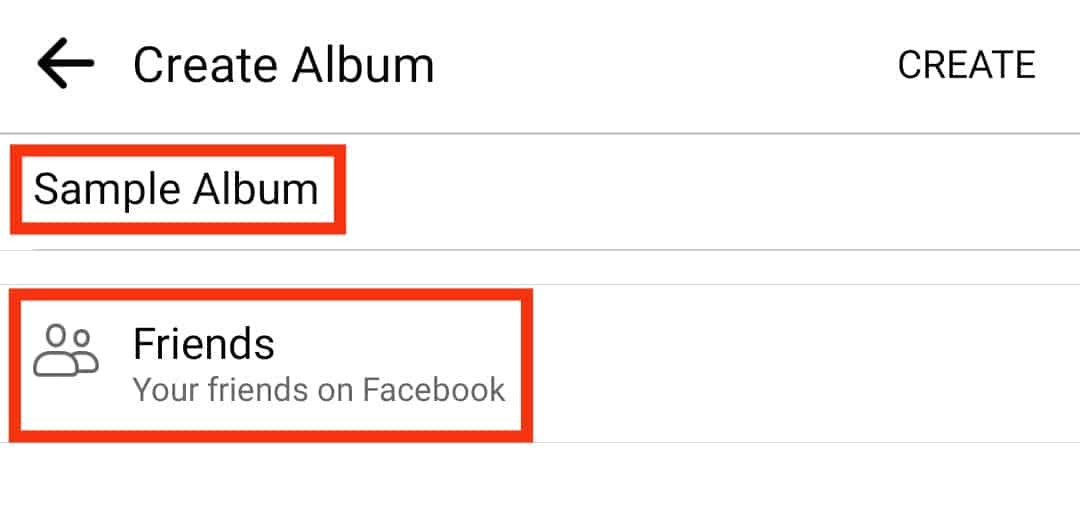
- Lastly, tap the “Create” button at the top of the screen.

With your album created and the photos added, you can add pictures later to increment the album.
How To Move Photos Between Albums
You can also add photos to a Facebook album by moving them from another album. However, this method only works when using a computer, not the mobile Facebook app.
Use the below steps:
- Visit the Facebook website on your PC.
- Click on your profile picture or name in the top left corner.
- Navigate to “Photos” and click on “Albums.”
- Locate the album containing the photo you want to move and click on it.
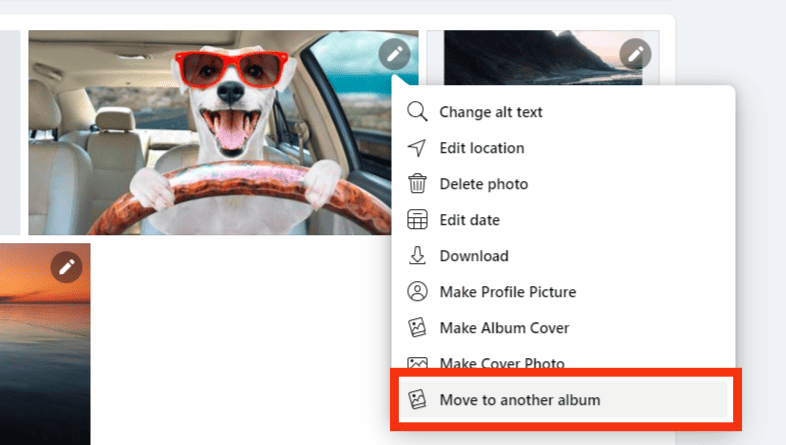
- Once you find the target photo, click on the pencil icon next to it.

- Click the “Move to another album” option.
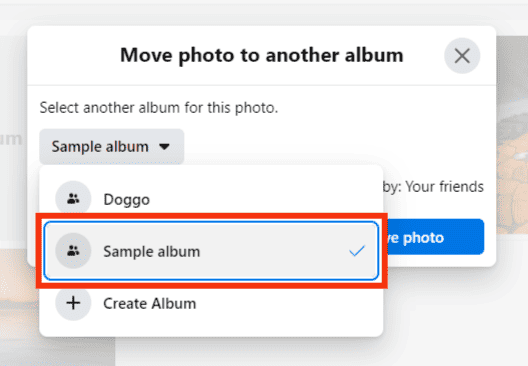
- Choose the destination album.
- Tap the “Move photo” option.
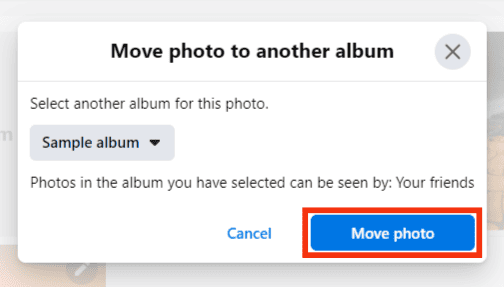
That’s it. Your photo is now added to your target Facebook album.
Conclusion
Facebook albums are a good way of creating a collection of your pictures.
You can easily create a new album and add photos to it or add pictures to an existing Facebook album, as described in this article.
Hopefully, you now understand how to add photos to a Facebook album.