Rules are crucial for any online community, including Discord servers. You can create them yourself or use bots to set up server rules. Why should you worry when you can ask a Rule bot to help set up server rules?
The bot will help you create and publish rules that guide all the server members. So, how does one use the Rule bot on Discord?
You’ll have to invite the Rule bot to your server to use it to set server rules. Once it’s a server member, set it up to use the bot on Discord. You can use the v!setup command to set up the bot on your server. You can also use the v!help command to view all the instructions necessary to set up the Rule bot on your Discord server.
Bots automate many operations and tasks on Discord. Today’s article will cover what the Rule bot can do on your Discord and how to use it on Discord.
What’s a Rule Bot?
Bots make everything easy on Discord. You can virtually get a bot that can help you moderate the server, welcome new people to your server, play music, et cetera.
You don’t need to be a guru in code to use these bots. There are lots of ready-made bots, like the Rule bot, that automate Discord operations.
A perfect example of a ready-made bot is the Rule bot. The bot helps you create rules for your Discord servers. The bot has an Autorole feature. The feature automatically assigns any new member the “not verified” role.
The bot also automatically checks if a new member has gone through and agreed to the server rules. It also auto-verifies any bot you add to your Discord.
Once you set up the Rule bot on your server, the bot will publish your new server rules on a “Verification” channel. It’s a new channel that you’ll create before setting up the bot.
Server admins and new members are the only ones who can see the “Verification” channel.
How To Establish and Use Rule Bot on Discord?
You’ll have to set up the “unverified” and “verified” roles before inviting the “Rule” bot to your channel.
Step #1: Set Up Channels
Do it as follows.
Discord Mobile
Follow these steps:
- Open the Discord app on your mobile device.

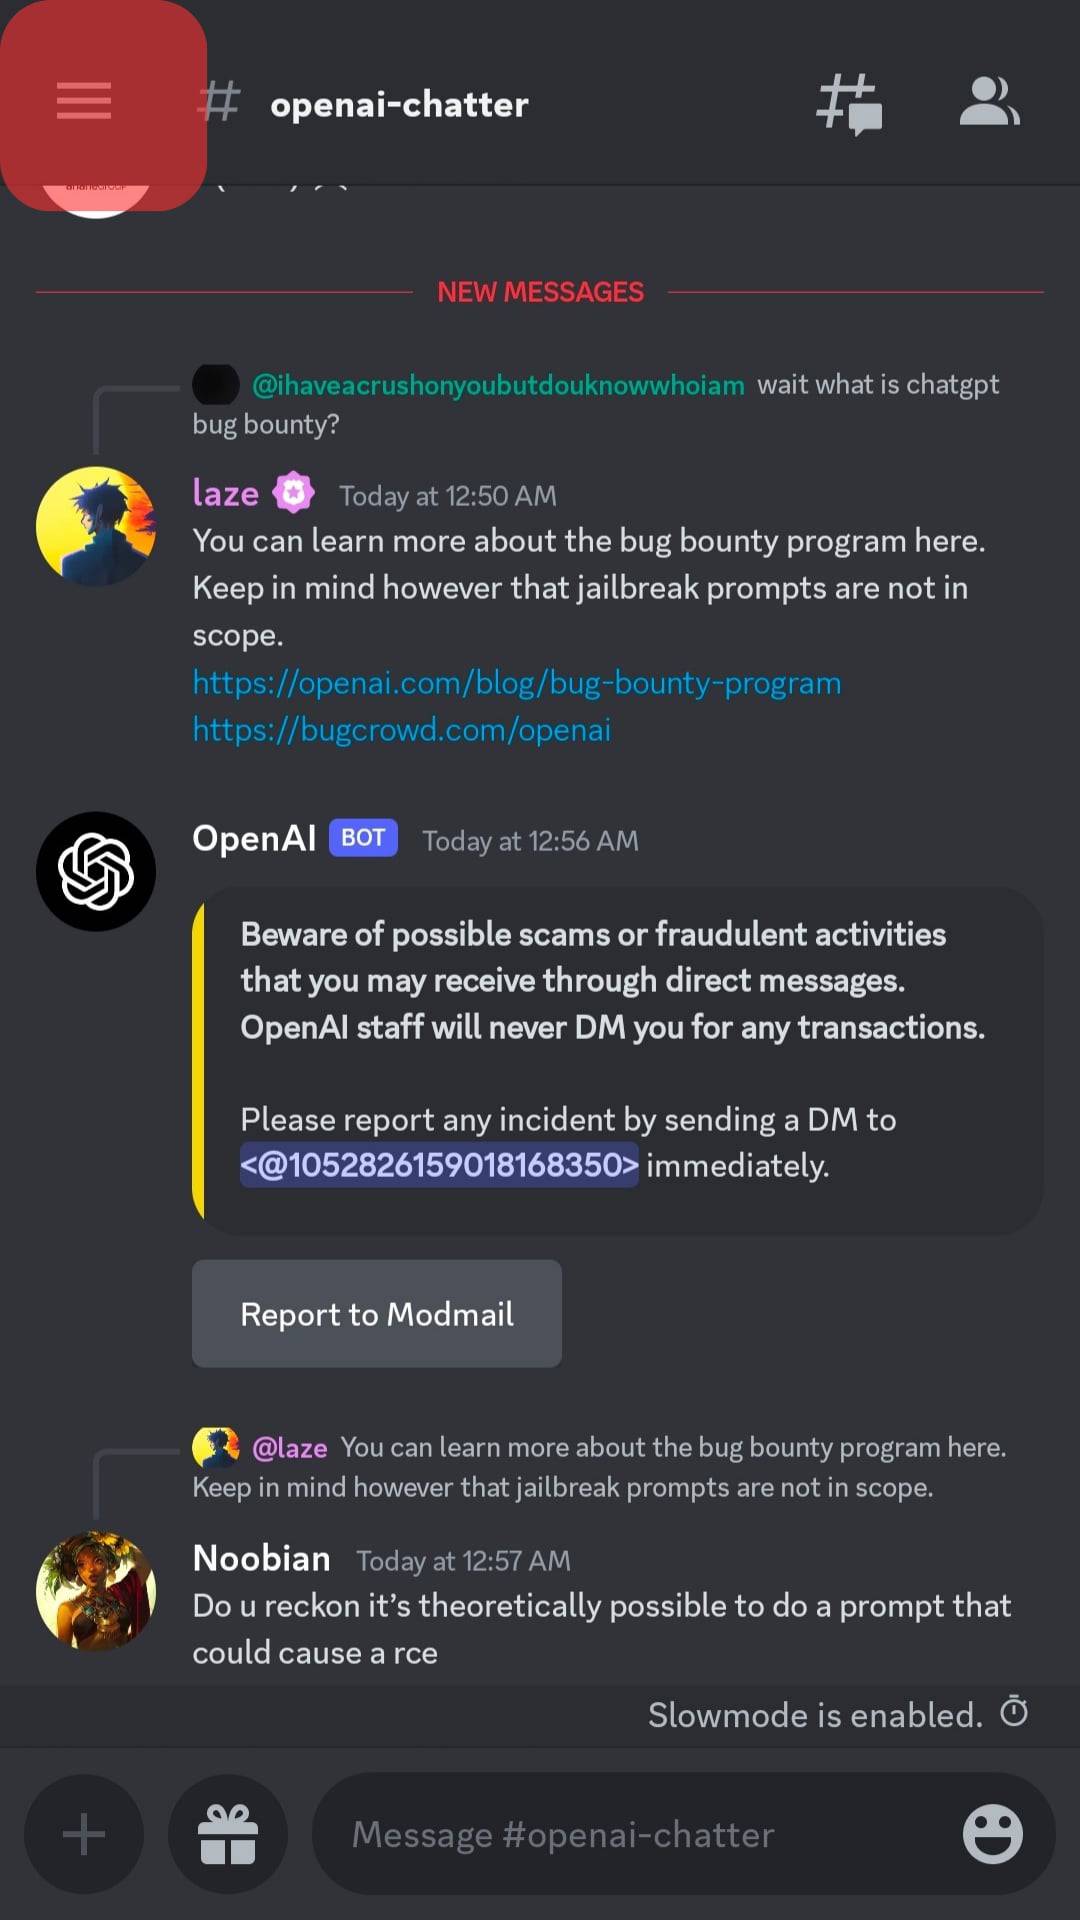
- Tap the hamburger menu icon in the top left corner.
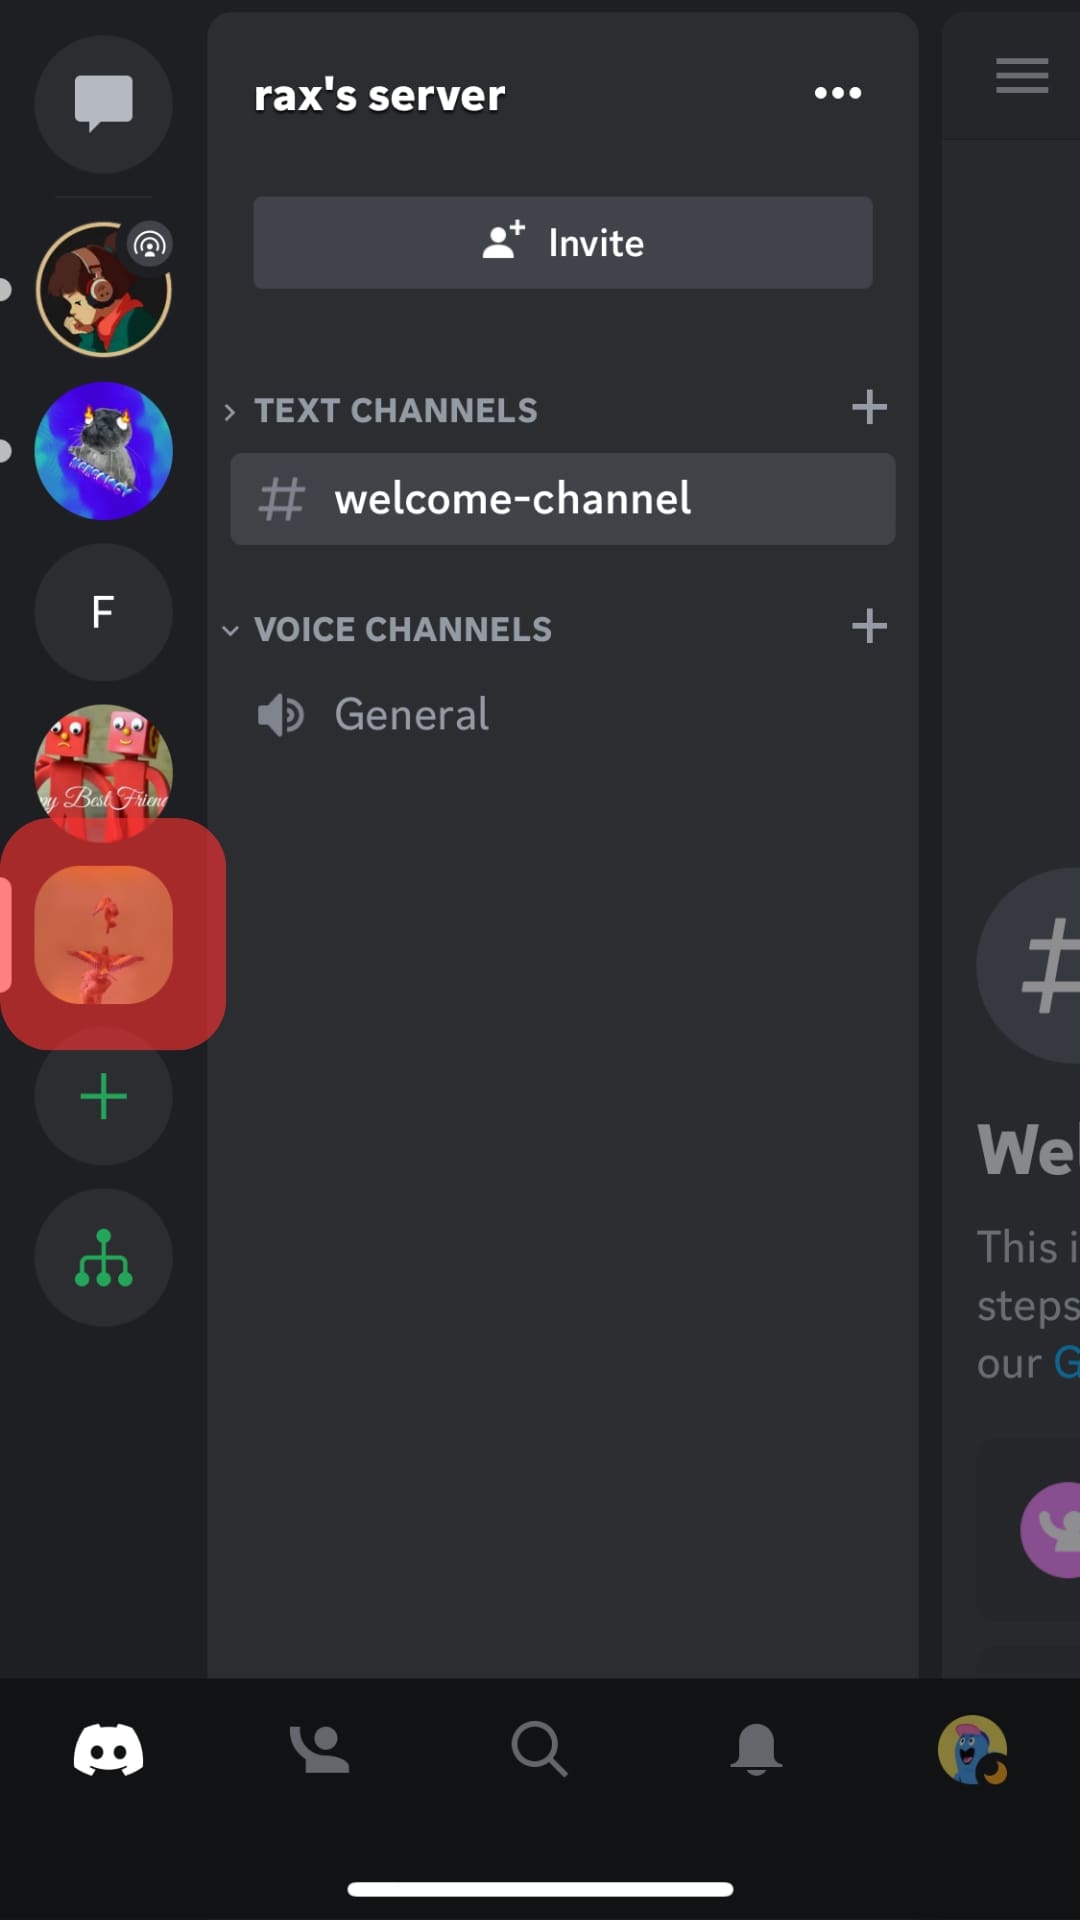
- Select your server from the left navigation.
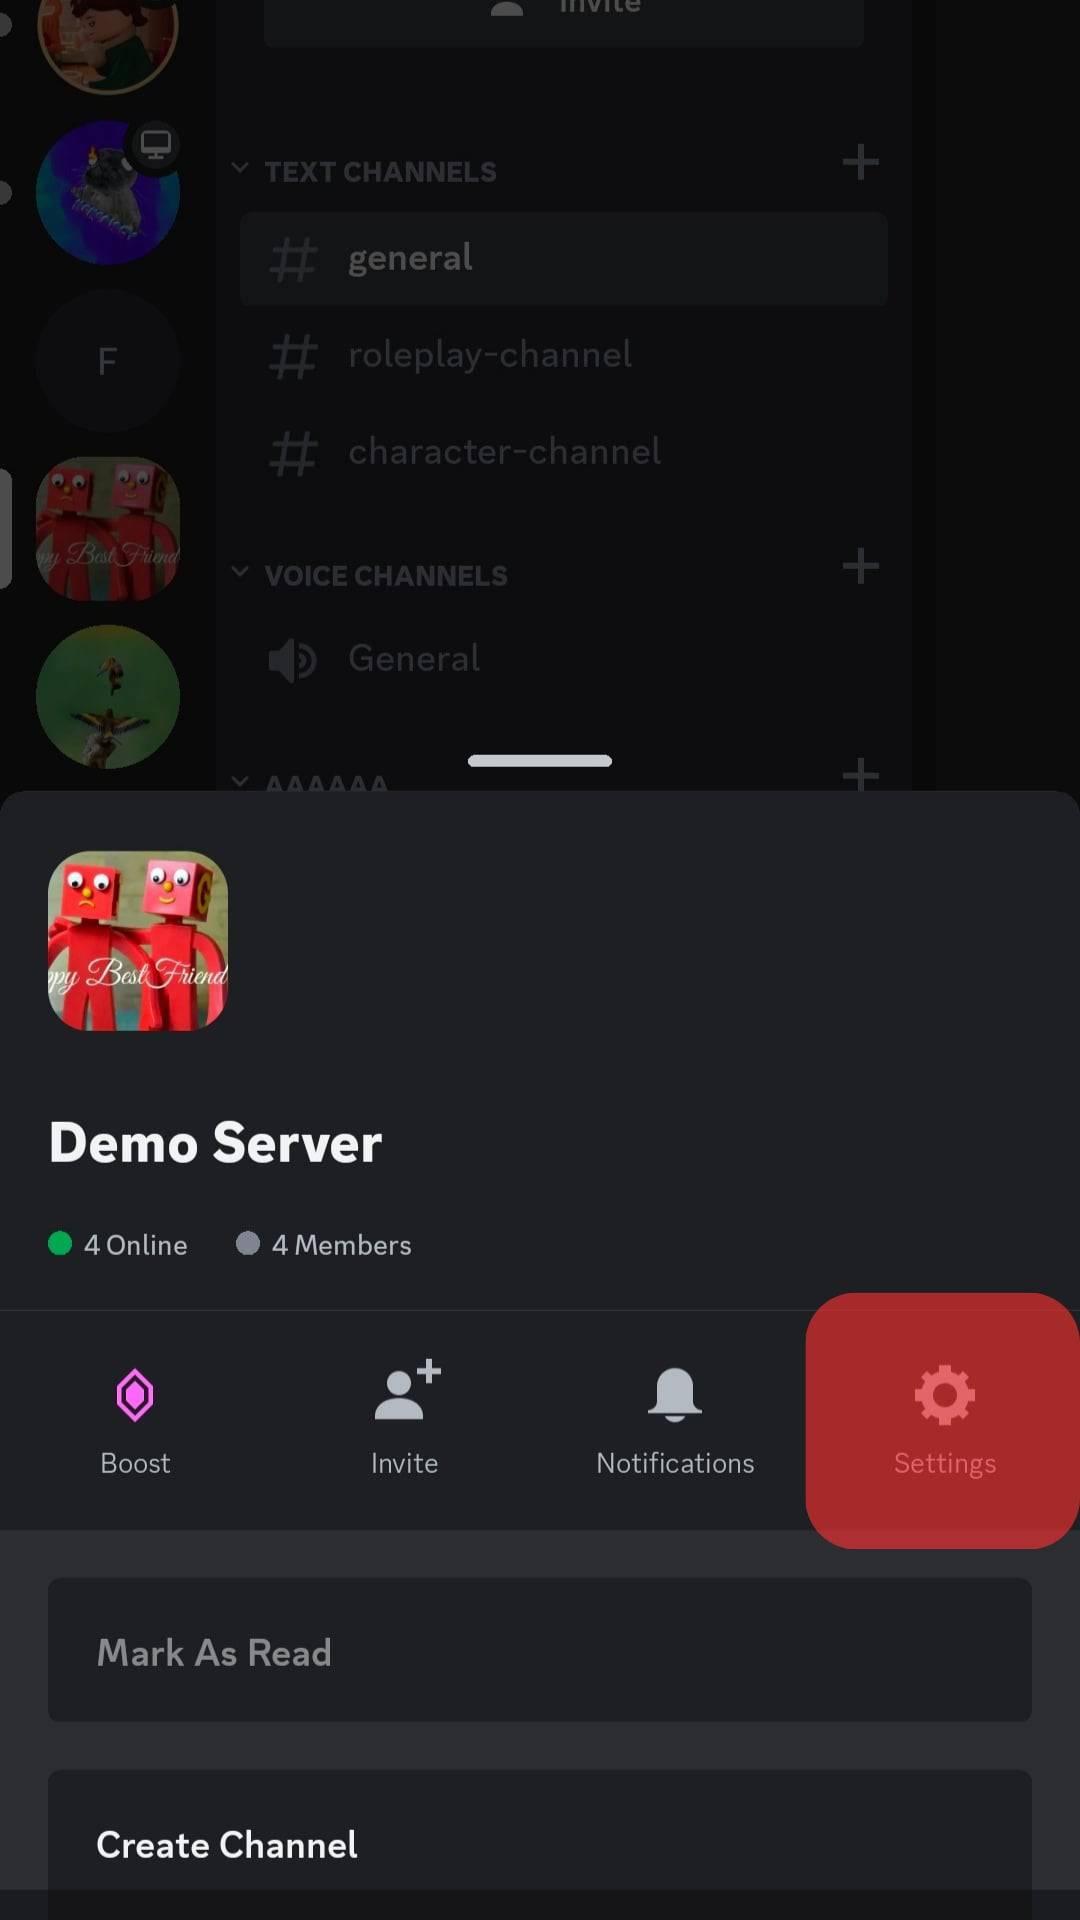
- Tap the three dots in the top right corner.

- Tap the “Settings” button.
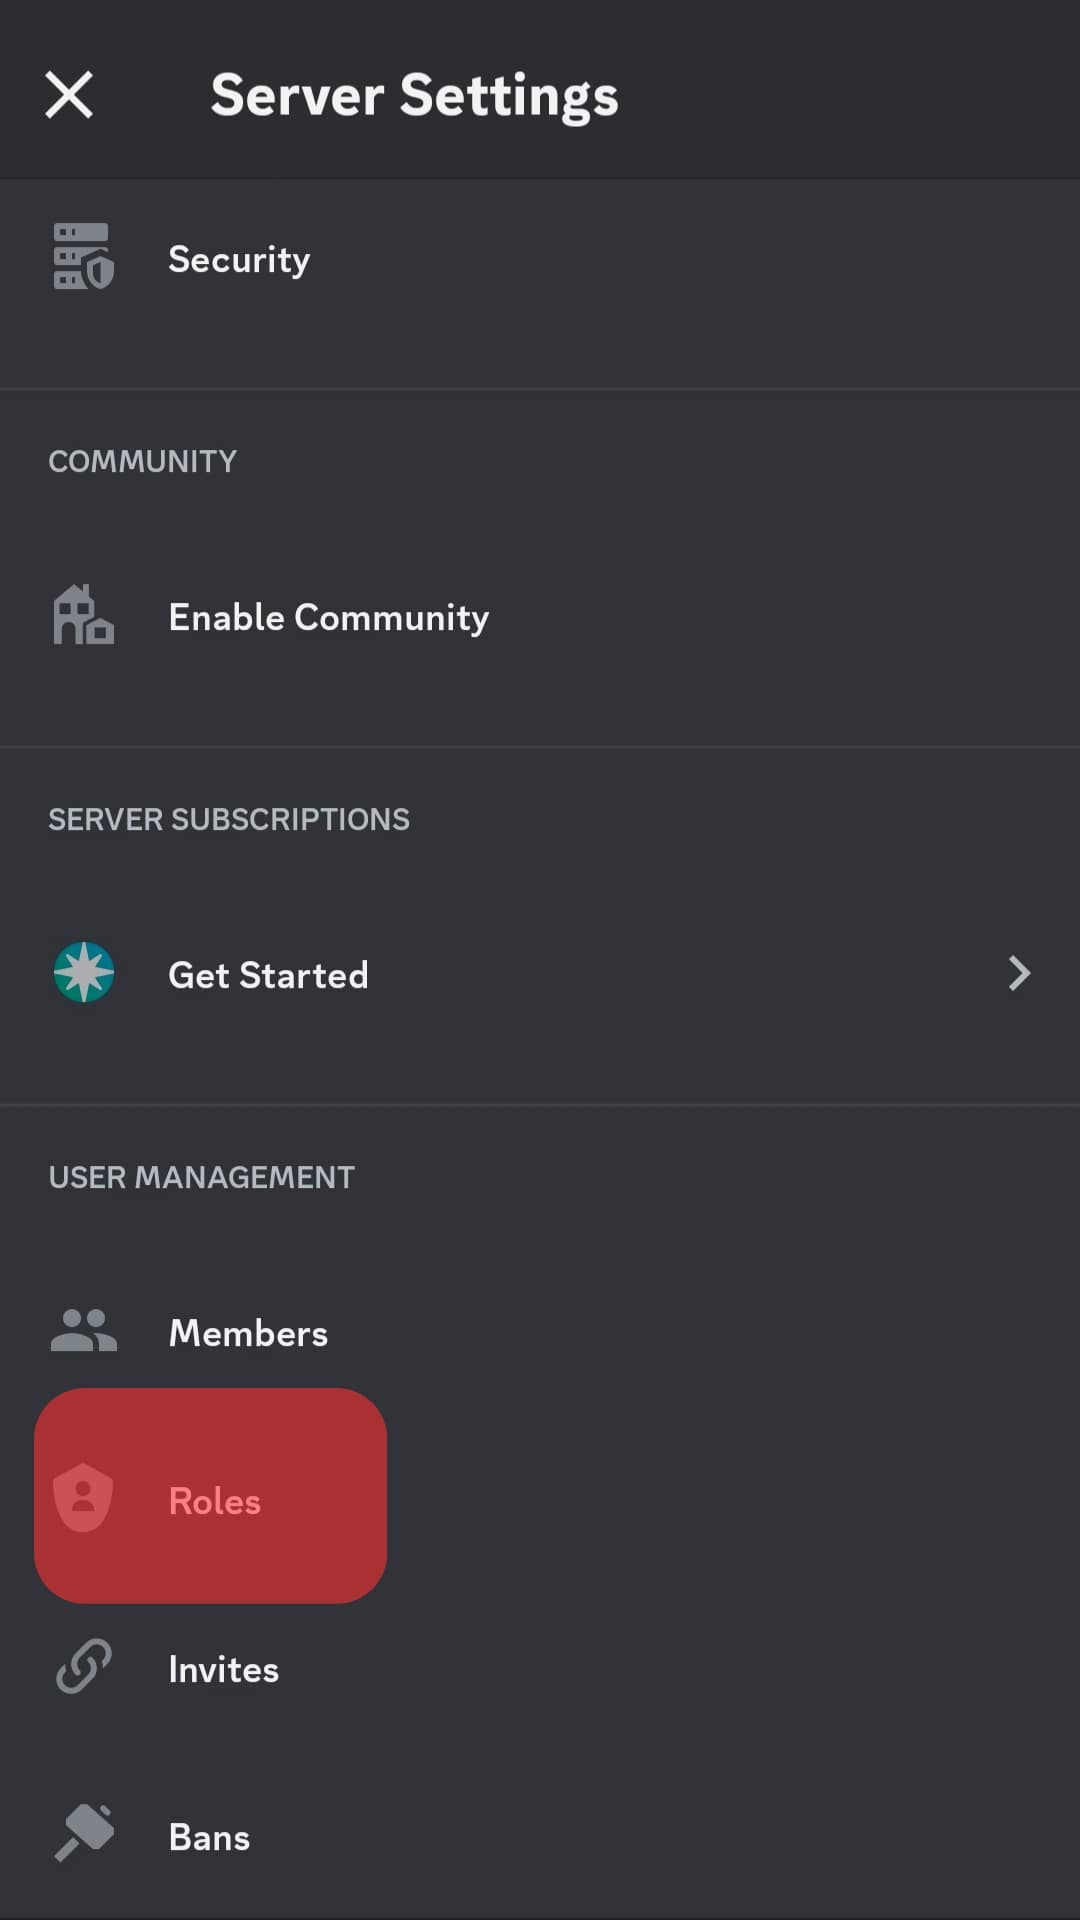
- Select “Roles.”
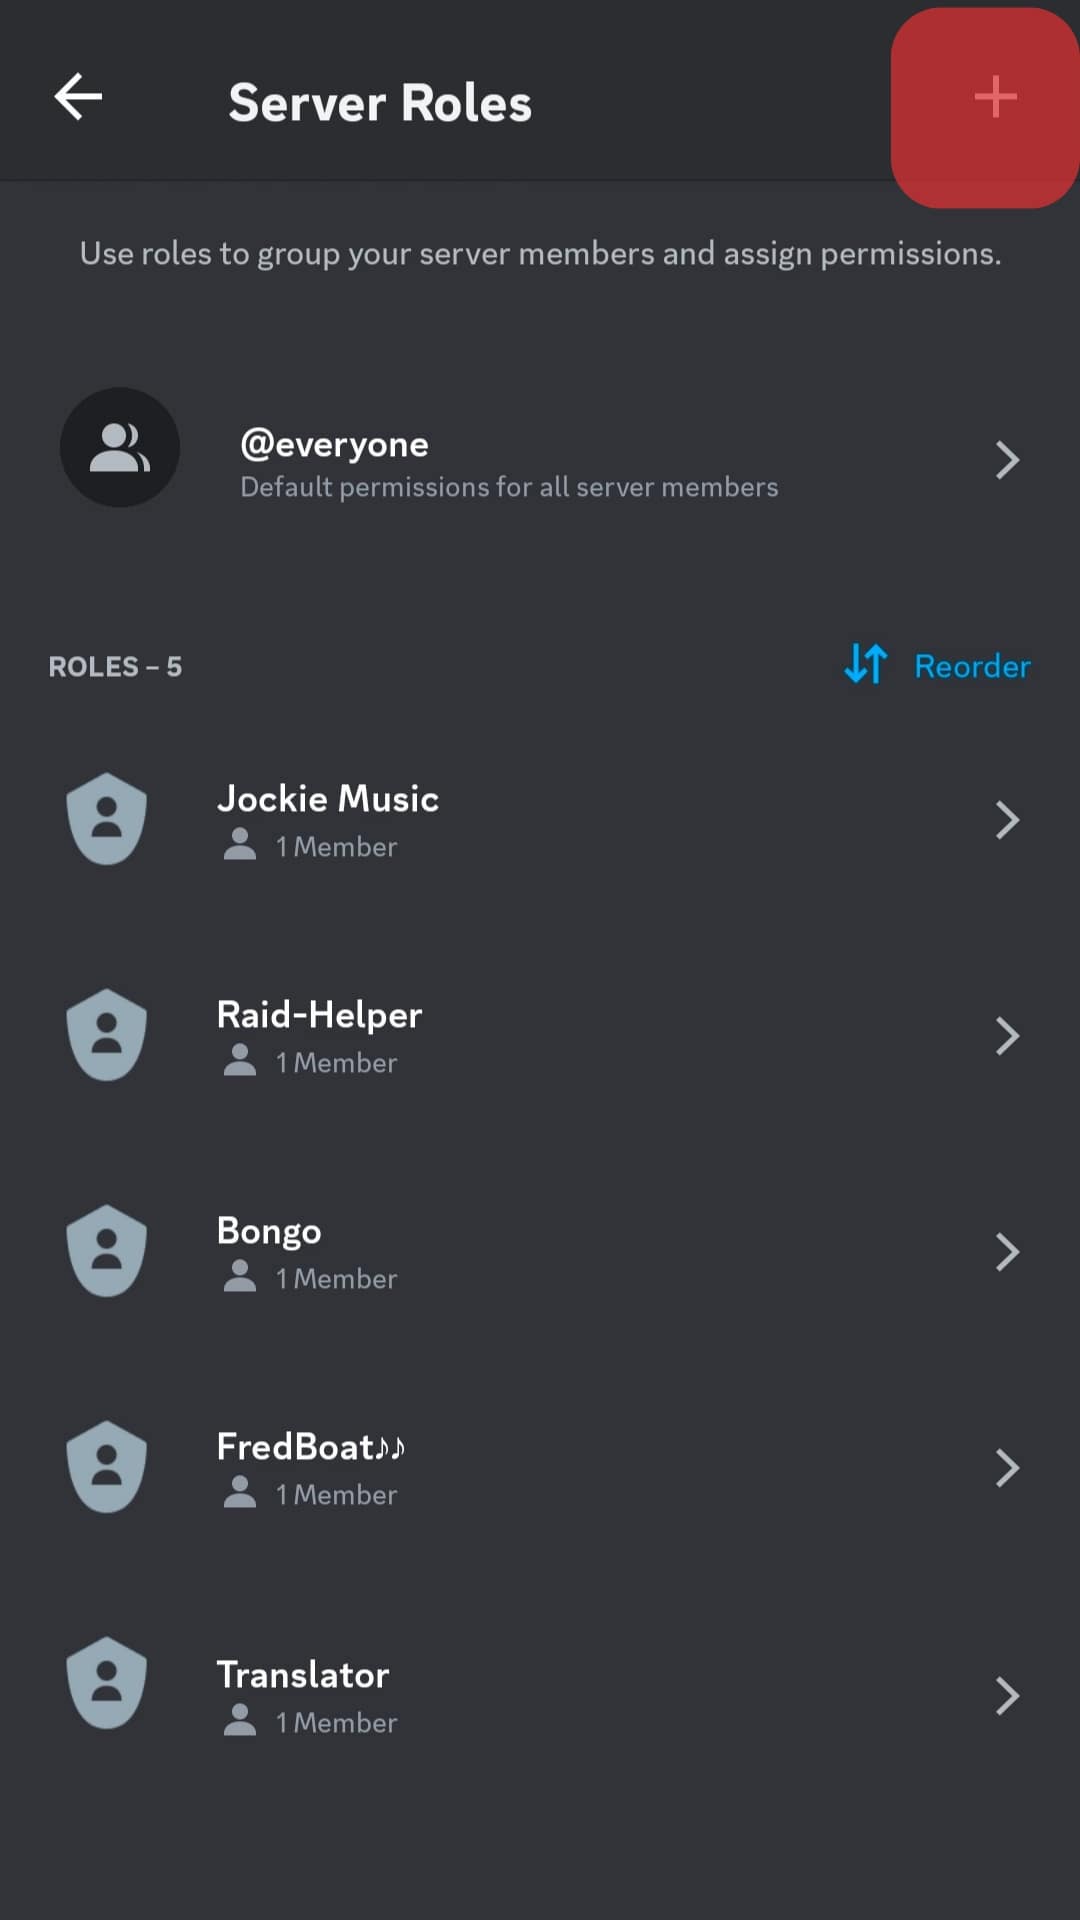
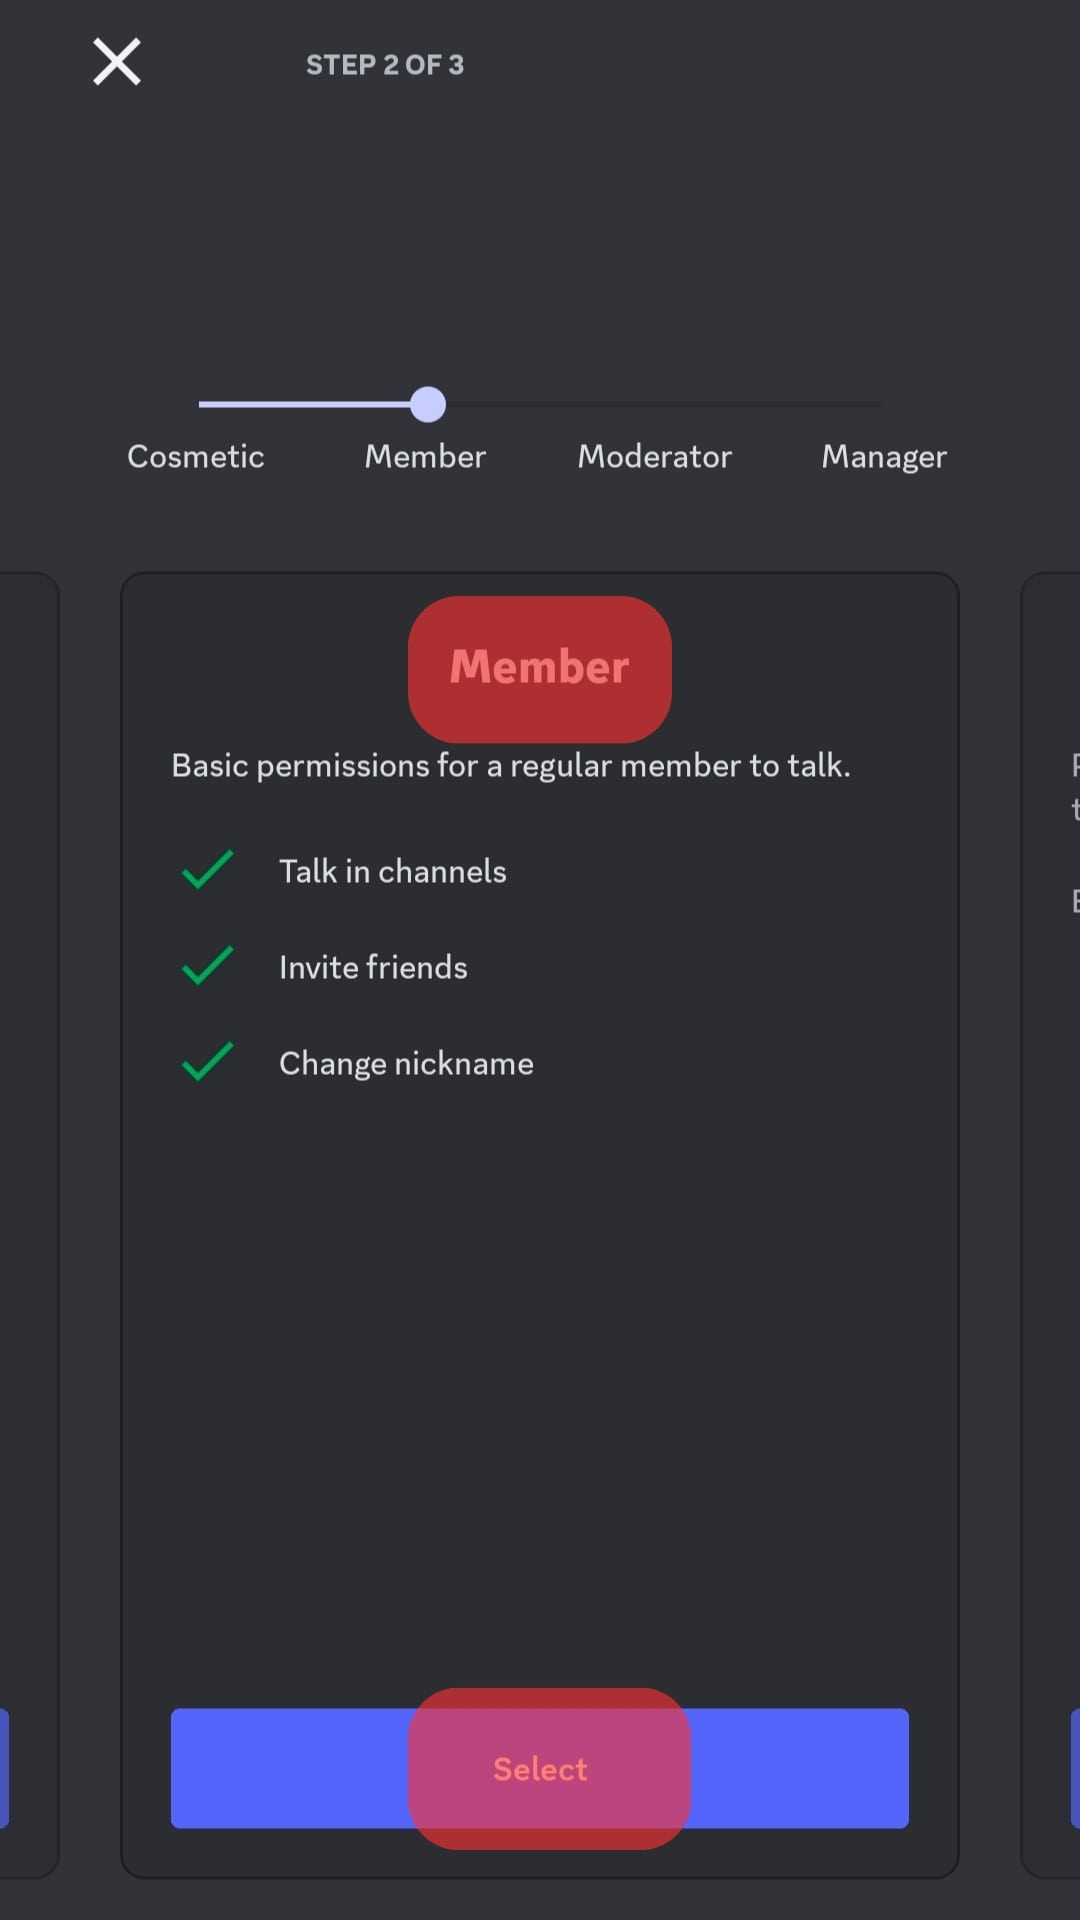
- Tap the “+” button to create a new role.
- Name it “verified” and tap “Create.”
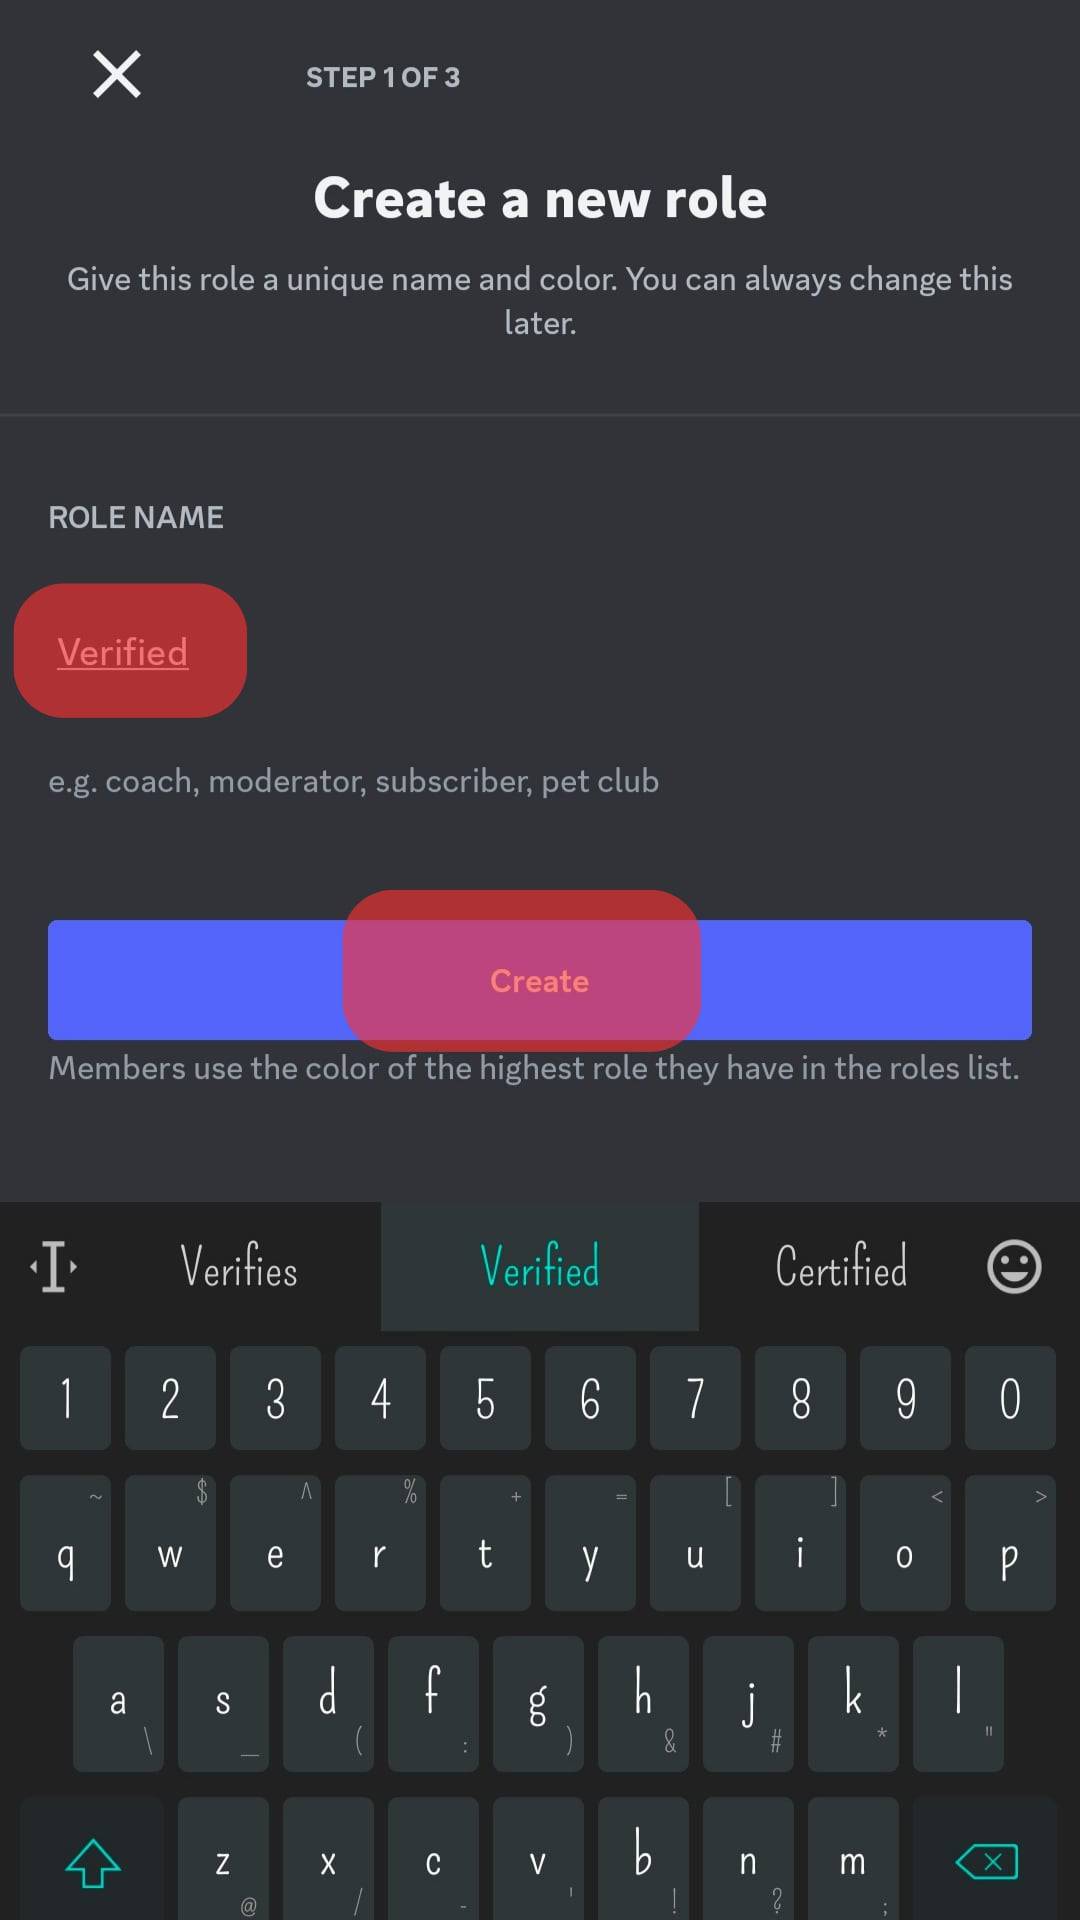
- Give it the member permissions.
 Repeat the same process to create the “unverified” role.
Discord on PC
Follow these steps:
- Open Discord on your PC.
- Select your server from the left navigation.
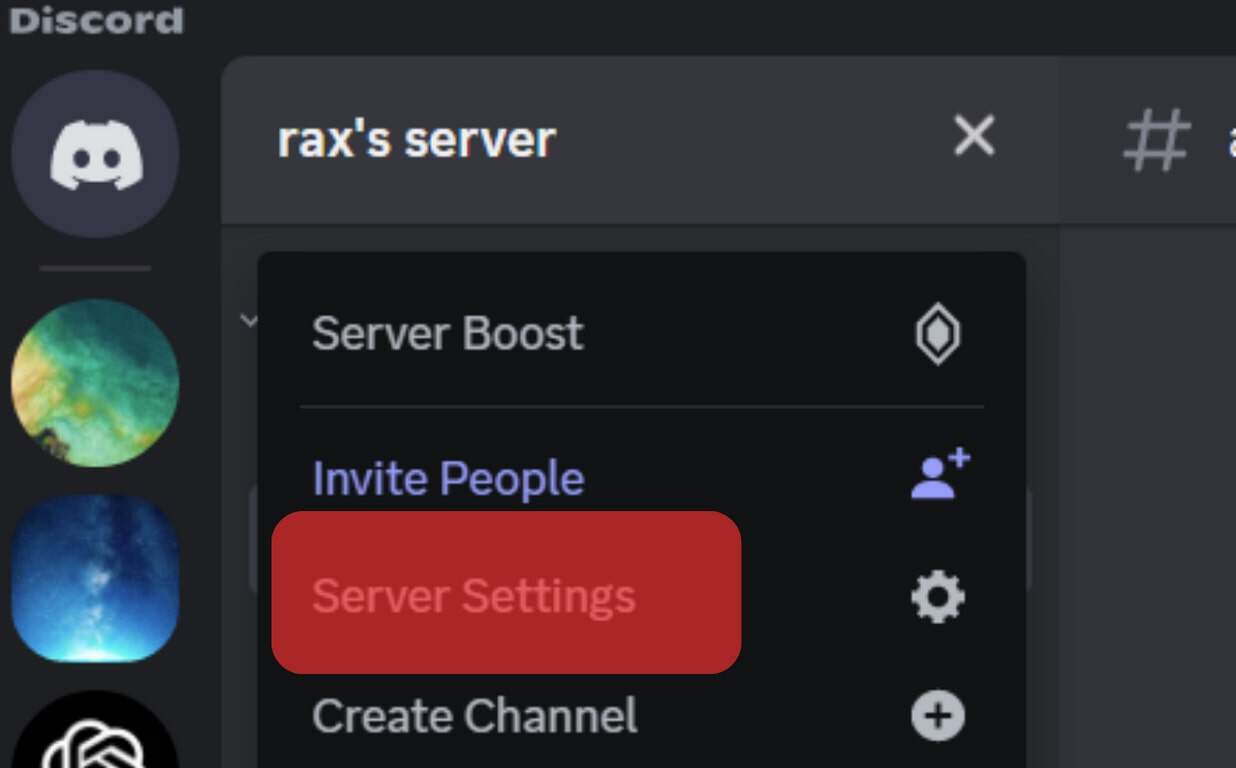
- Click the downward caret next to the server’s name at the top.
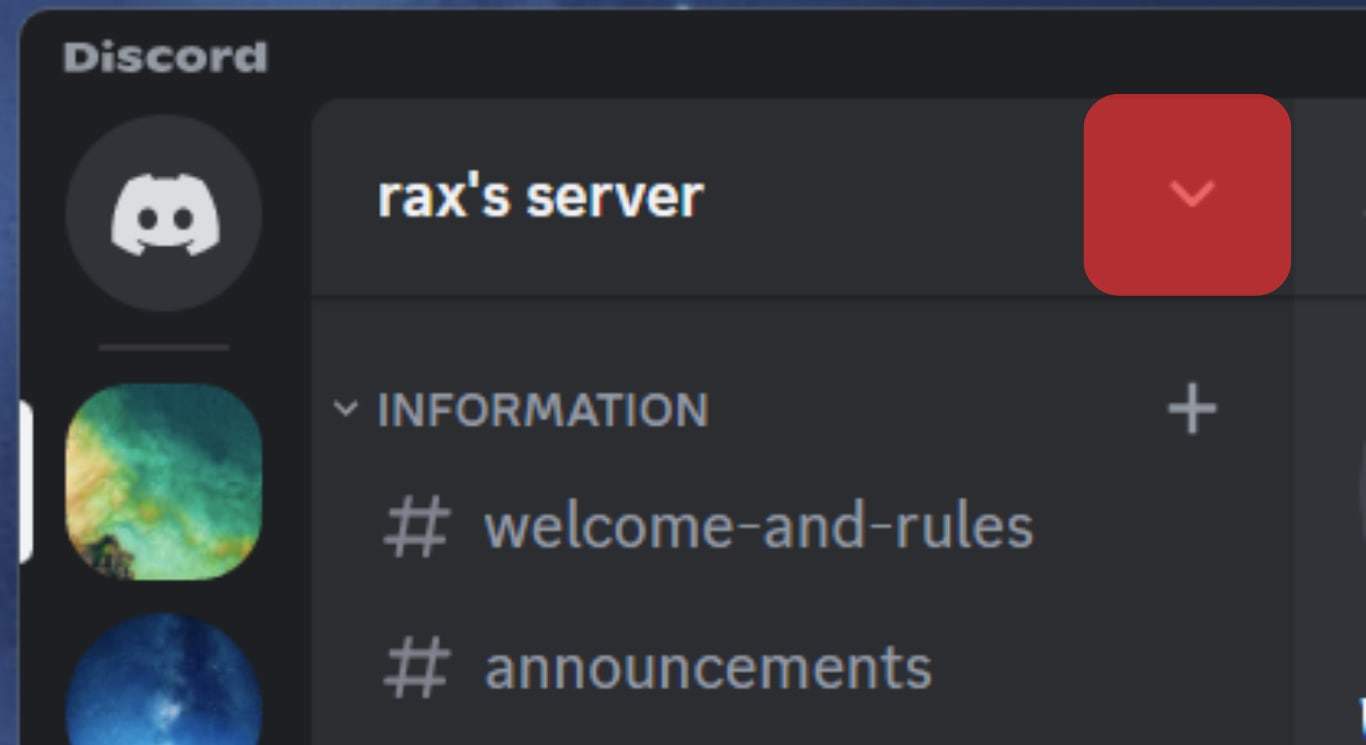
- Select “Server Settings” from the menu.
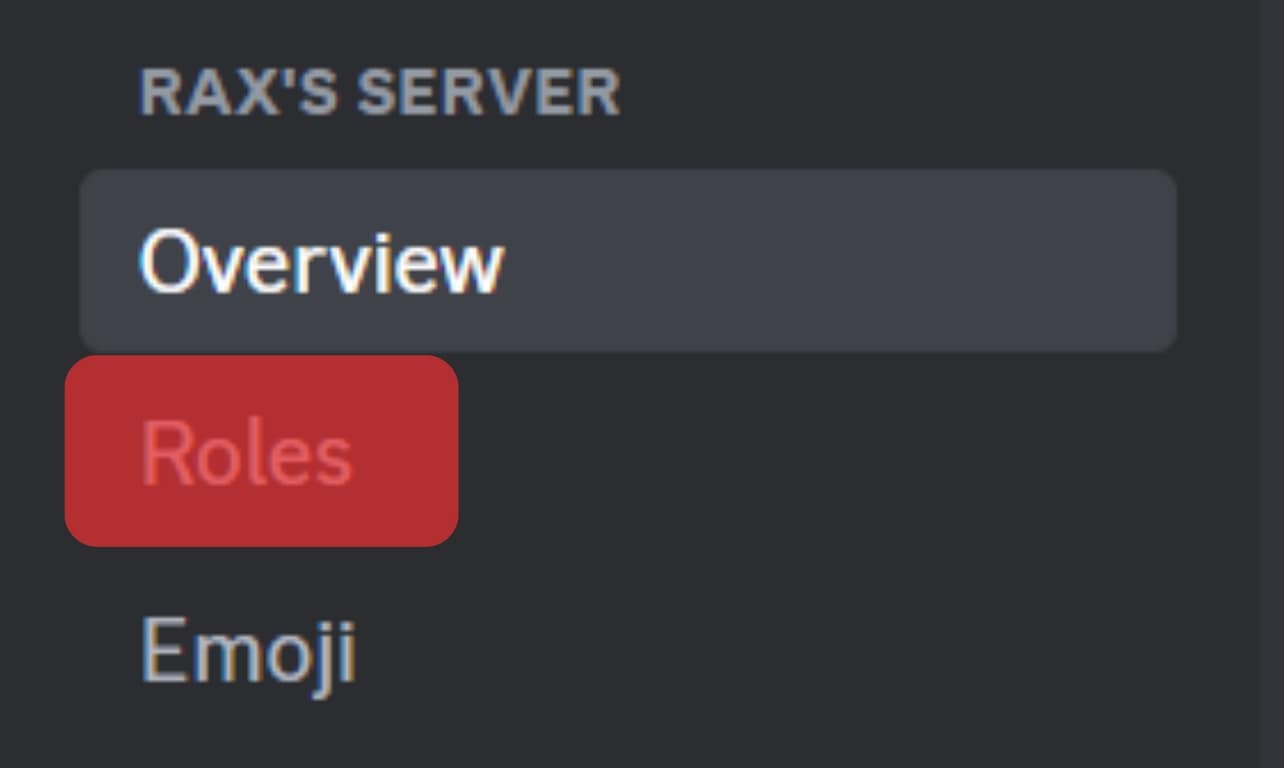
- Select “Roles” from the left navigation.
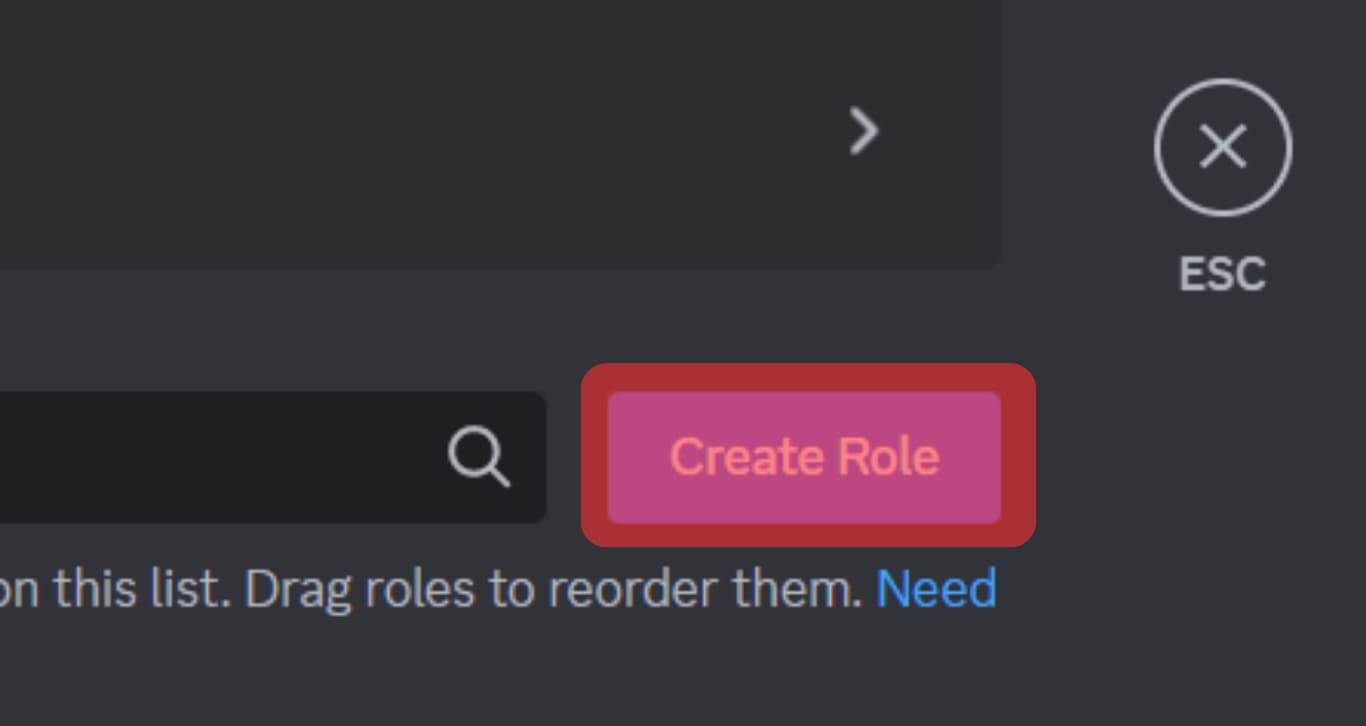
- Click the “Create Role” button.
- Name it “verified” and select a role color.
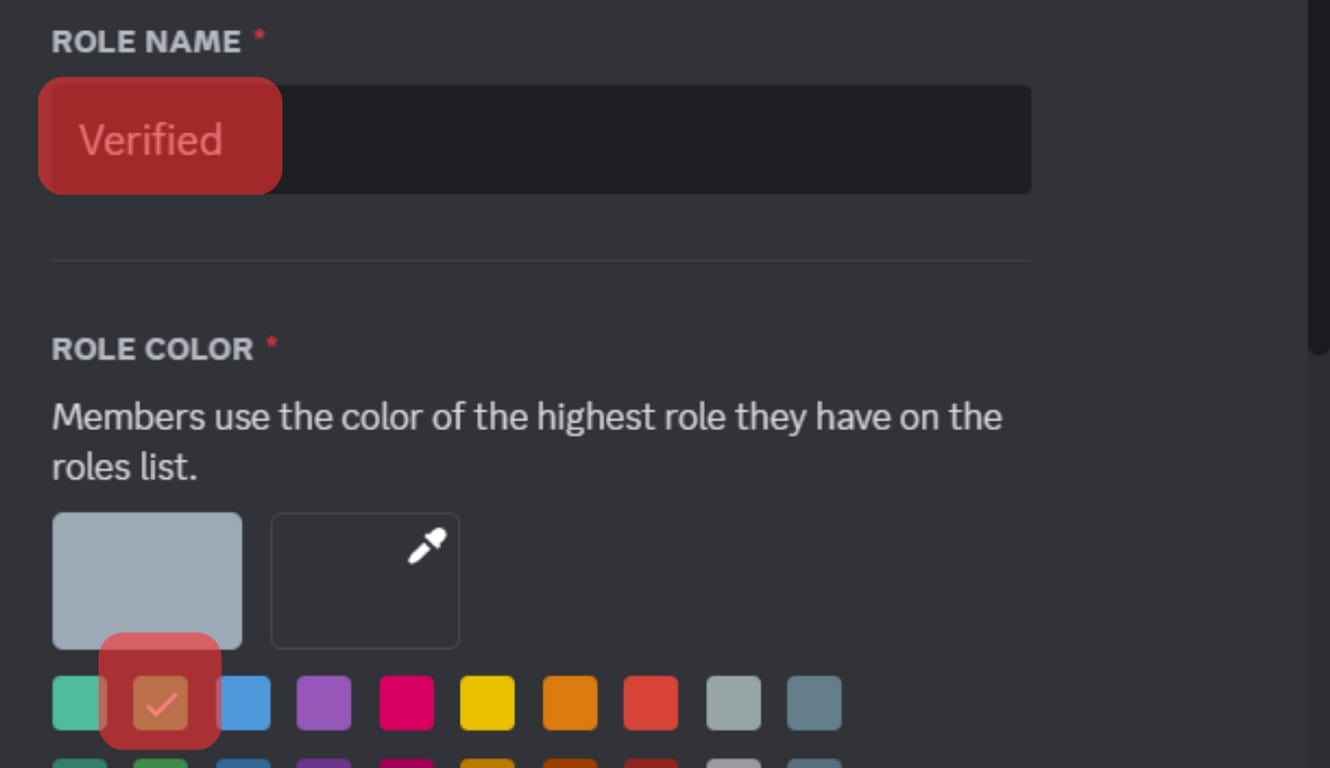
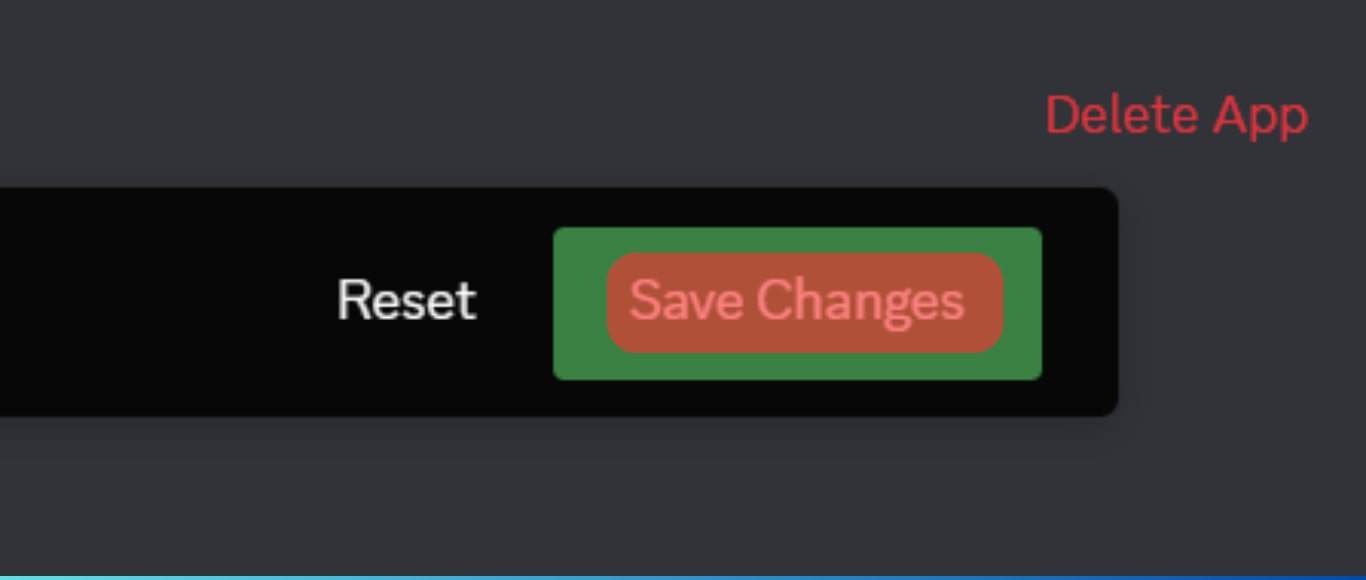
- Manage role permissions in the “Permissions” section.
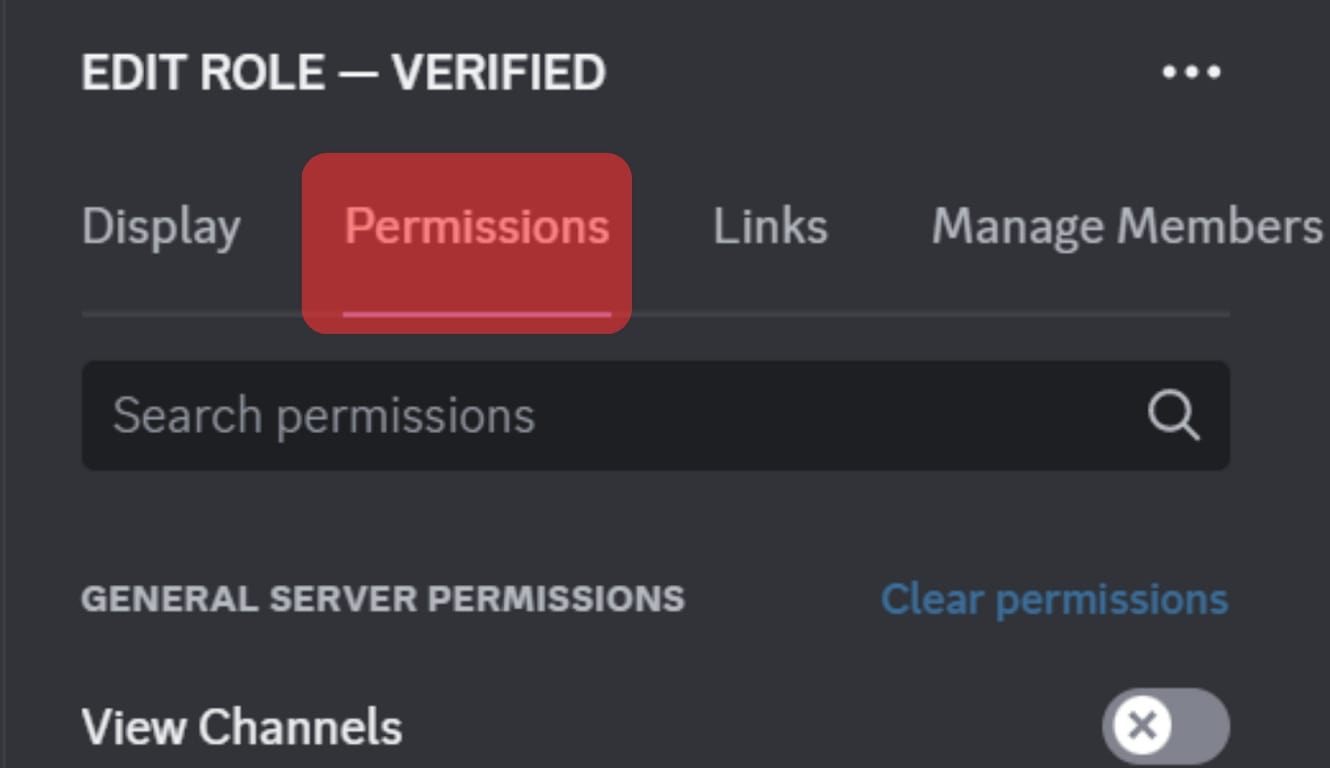
- Click “Save Changes.”
 Do the same for the “unverified” role.
Step #2: Invite the Rule Bot
After creating the roles, invite the Rule bot to your server. Do it like this:
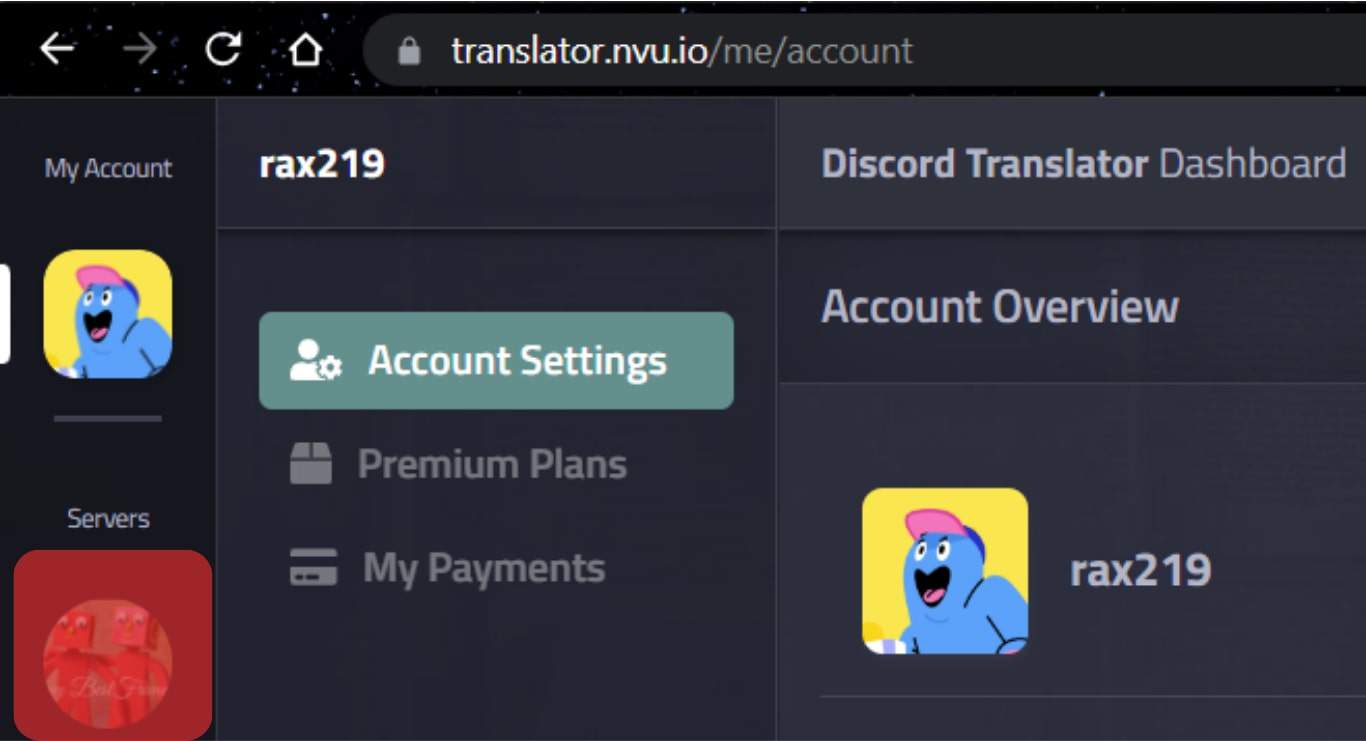
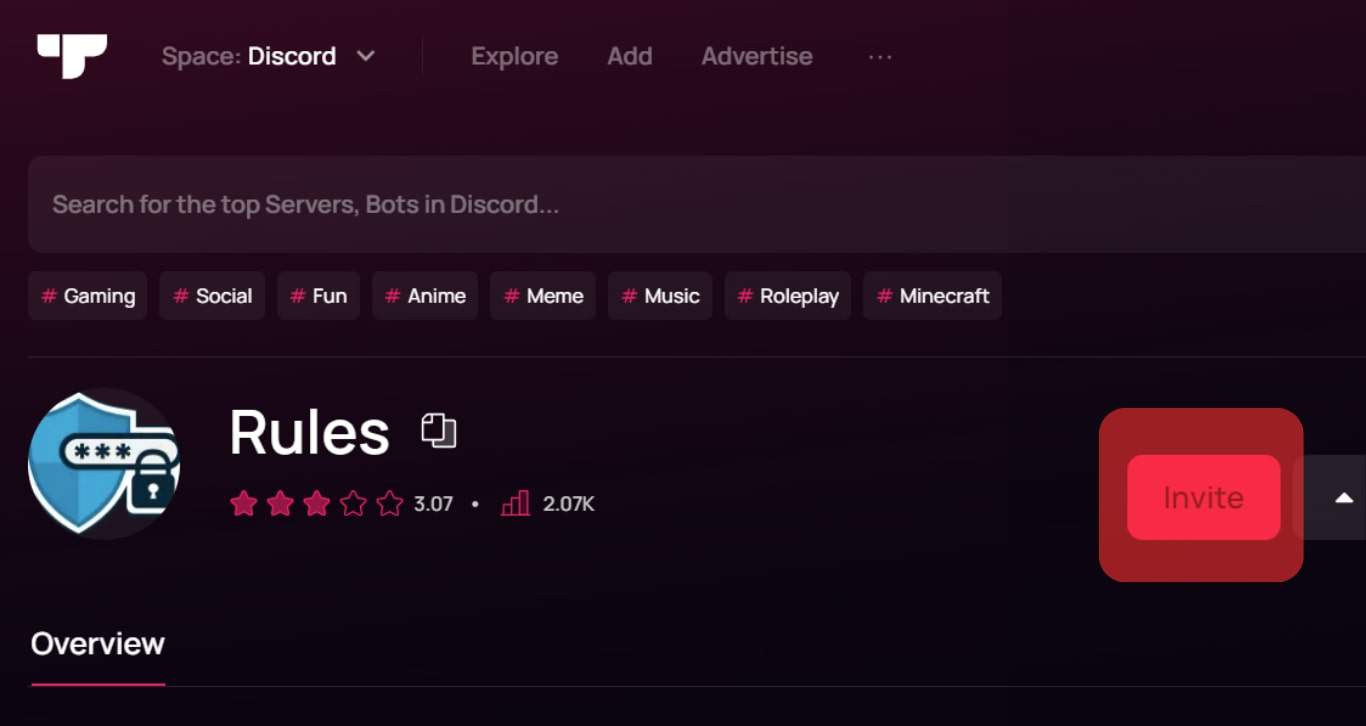
- Navigate to the Rule bot on top.gg.

- Click the “Invite” button.
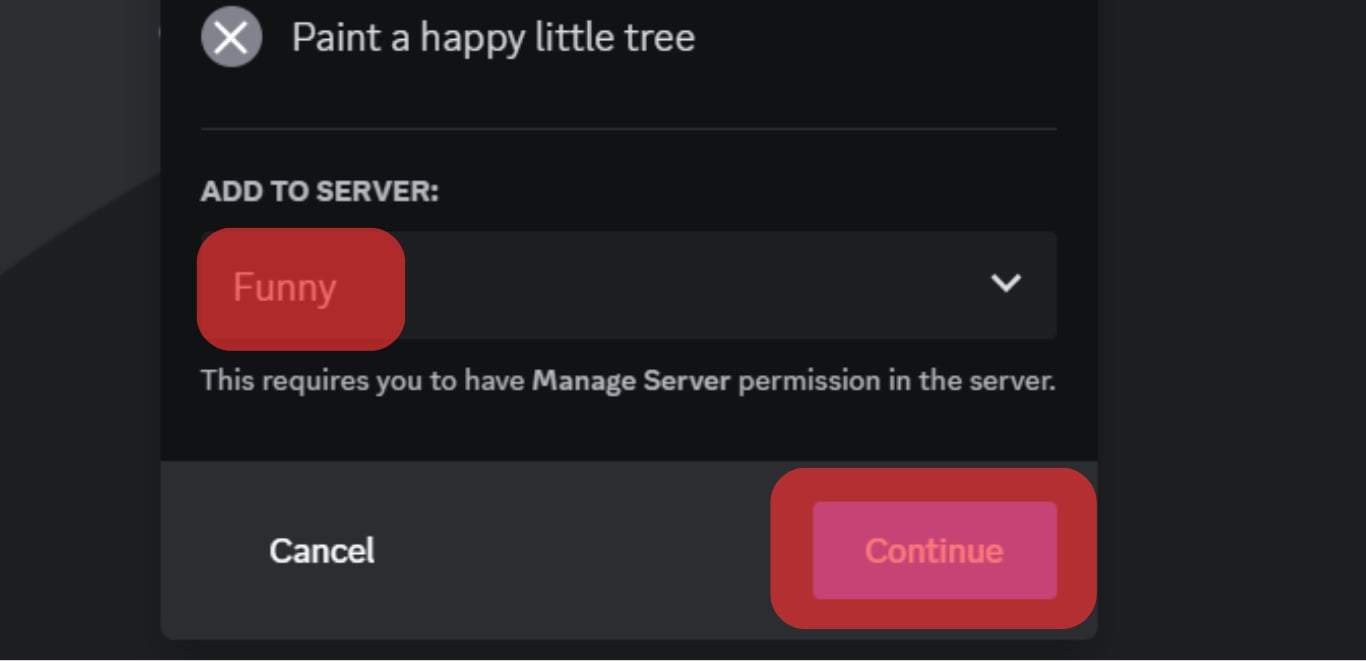
- Select your server on the next page and click “Continue.”
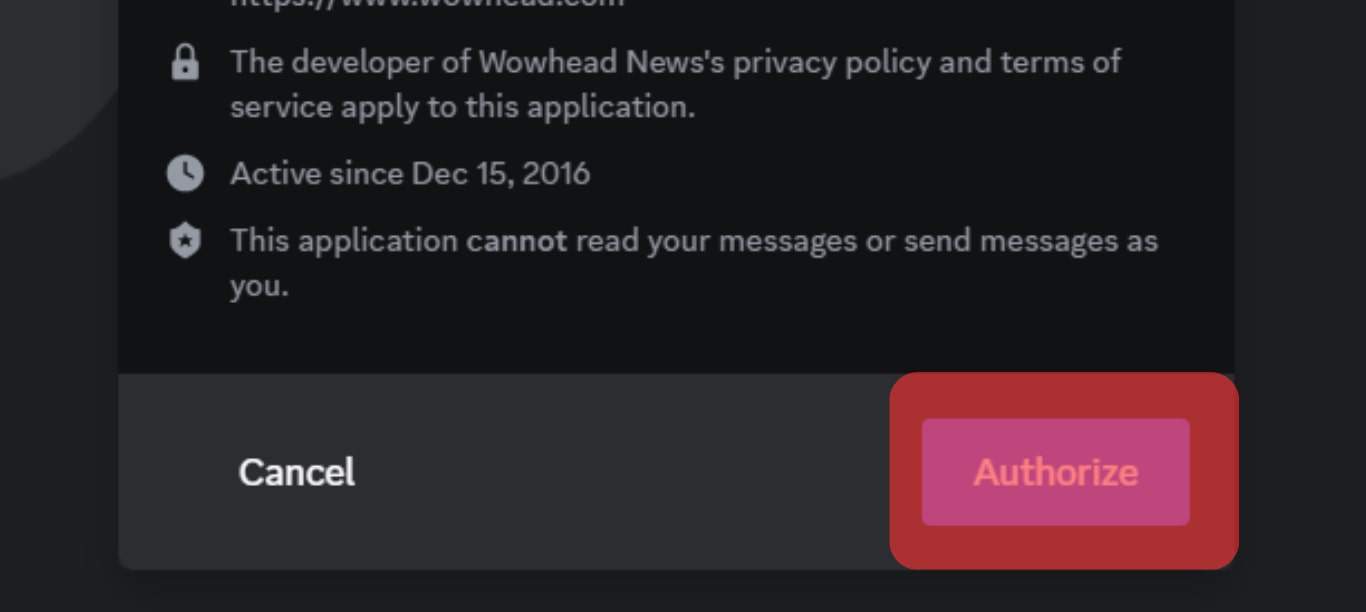
- Review the permissions and tap click “Authorize.”
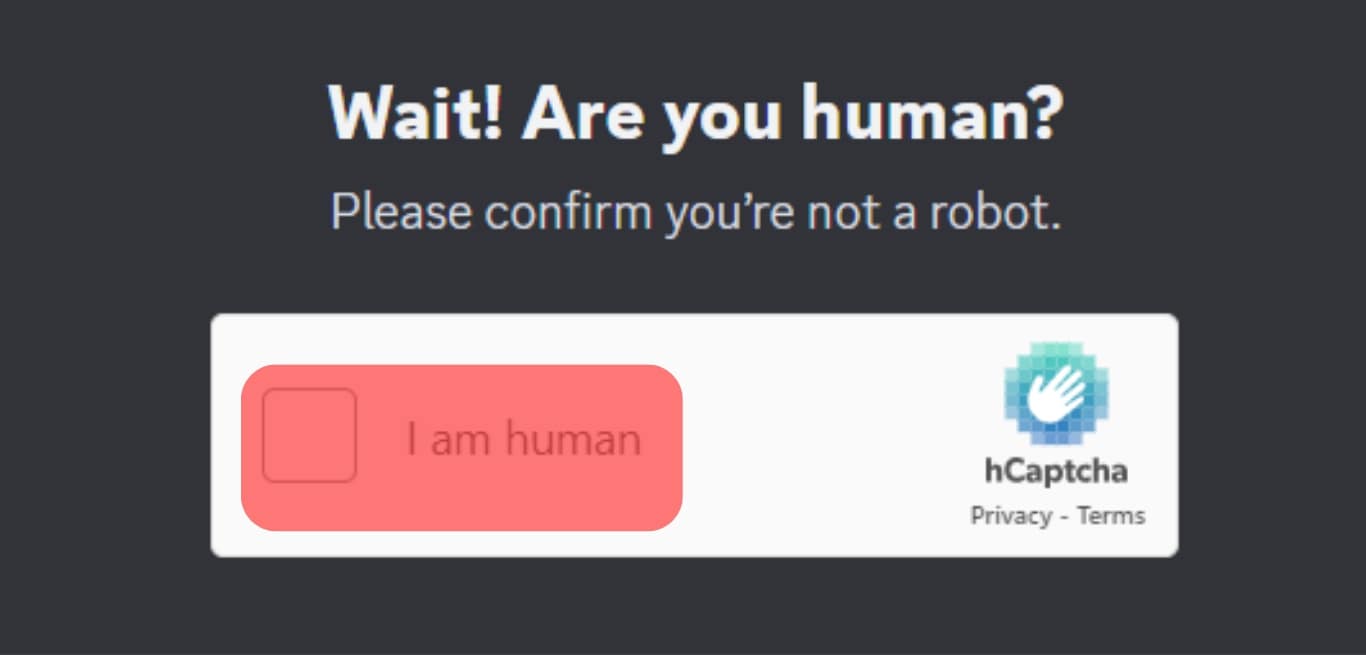
- Check the “I am human” Captcha box and close the window.
Step #3: Set Up the Rule Bot
Follow these steps to set up the Rule bot:
- Go back to your server.
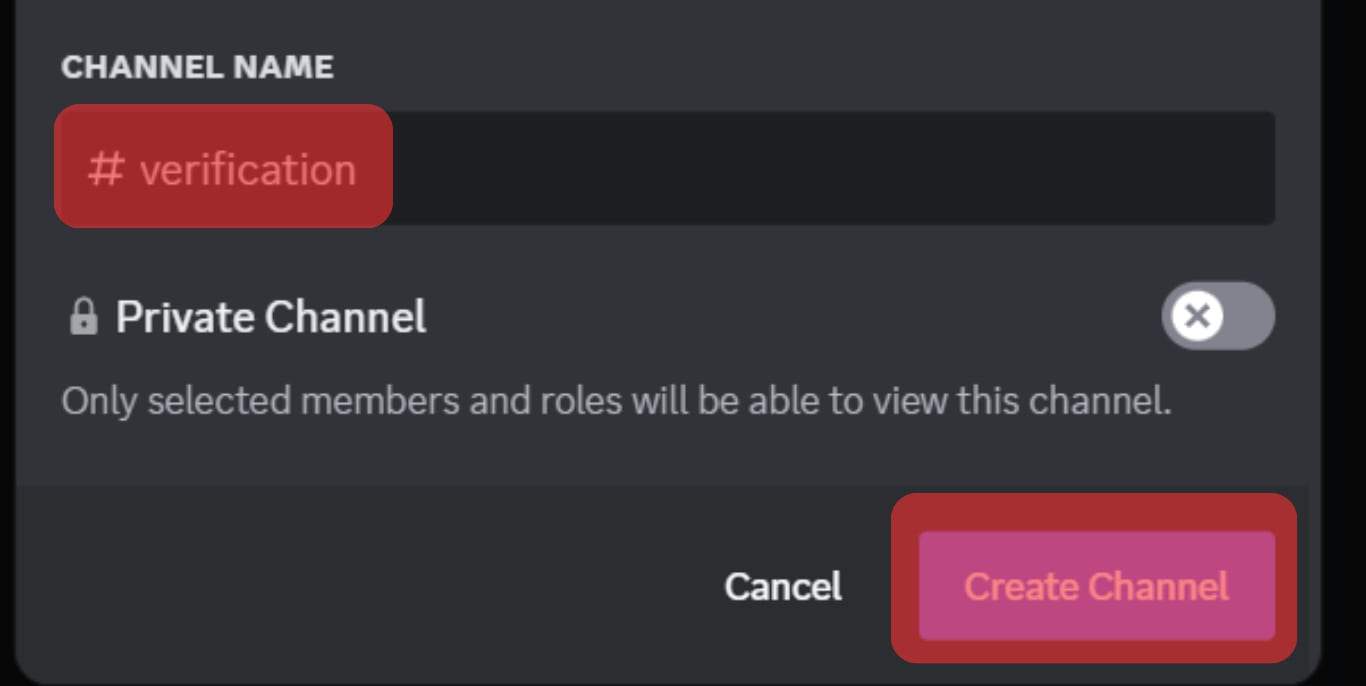
- Create a “Verification” channel on your server.
- Use the
v!setupcommand to set up the bot on your server. Thev!setupcommand lets you access the bot’s setup hub.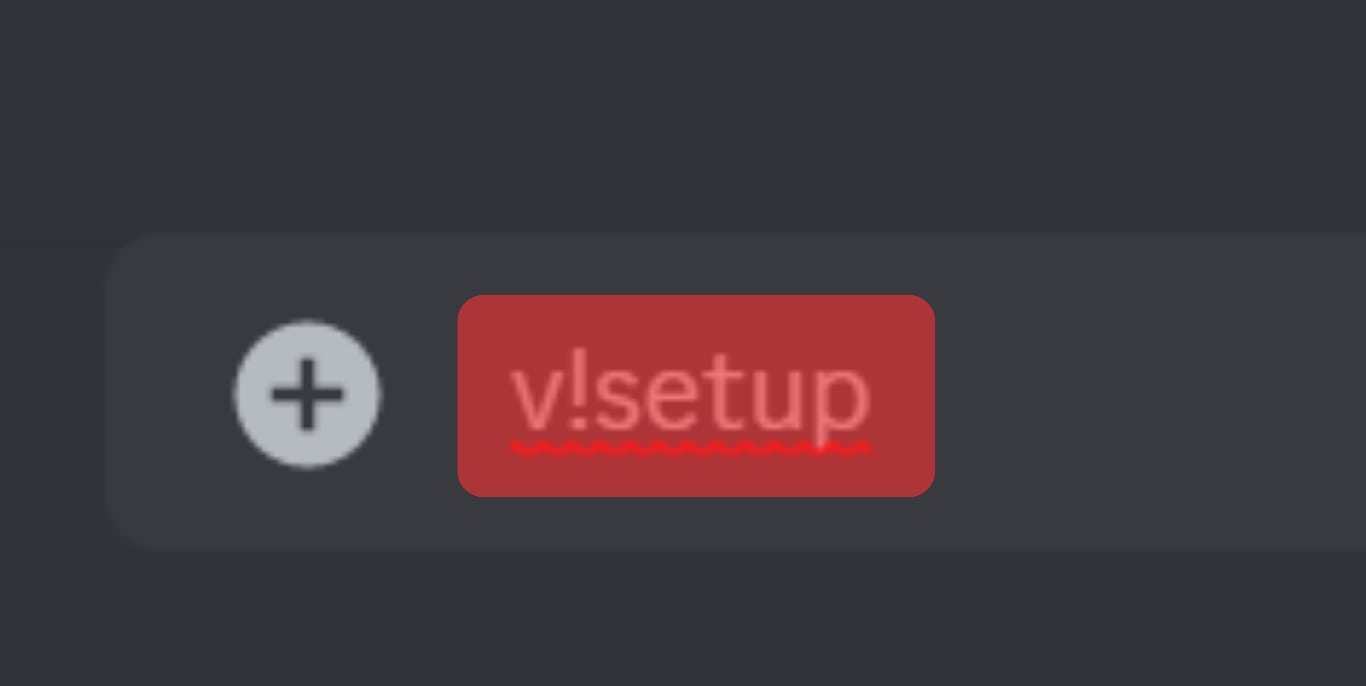
- Pick the “General setup” and confirm it by tapping the green check mark.
The bot will need to know which roles to assign new members after joining or accepting the server’s rules. You’ll have to use “@” before the role.
Pick “unverified” to assign an “unverified” role to new members. You’ll also have to mention the role the bot needs to give a member once they read and accept the server rules. Go to the message input box, type the “@” symbol and pick “verified.”
You’ll also need to create your welcome message. The bot will also request you to send a message and a reaction you’d want a member to view once they accept the server rules.
The bot will also ask you to create and send the rules you’d want new members to see. Send it as a single message. Lastly, tap “Finish” to complete the process.
Final Words
The bot makes it easy to set server rules. It also helps you monitor if all members accept and observe all the server rules.
You’ll need to set it up on your server before using it. We listed all the steps to fully set up and create rules for your server using the Rule bot. So, go ahead and add it to your server.
FAQs
If a new member clicks on the rules but doesn’t bother to accept them, the bot will kick them out of the channel. However, it doesn’t ban them. So, the member can rejoin the server and accept the server rules.