
The interests section of your LinkedIn profile displays the companies, influencers, schools, and LinkedIn groups you follow.
Interests on LinkedIn allow other users or recruiters who may want to connect with you to understand you better.
They can look at the interests section and judge whether your professional background and interests align with theirs.
As you grow professionally, you may redefine your interests and want to remove some of the companies or groups under your LinkedIn interests section.
But how do you remove interest on LinkedIn?
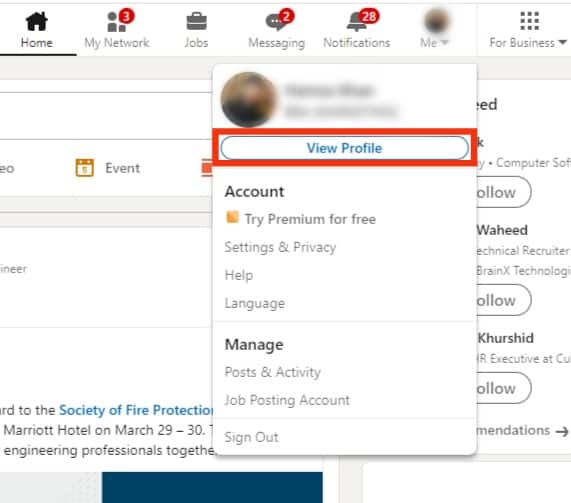
To remove interests on LinkedIn, launch the LinkedIn app, then tap on your profile picture at the top-left corner of the page. Tap “View profile,” then scroll down until you get to Interests. Find the interest you want to remove and tap the “Following” button to remove the interest.
To learn more about removing interests on LinkedIn, read this article to the end.
Overview of Removing Interests on LinkedIn
LinkedIn is an excellent platform for anyone looking to advance their career, network, and learn more about their and related industries.
One of the ways that LinkedIn helps other users learn more about you is through your interests. Your interests section on LinkedIn consists of companies, schools, influencers, and groups you follow.
Interests benefit recruiters as they can see the schools you attended and the companies you follow. This way, they can judge whether your goals and interests align with their requirements.
Another benefit of having an updated interest section is seeing posts from the groups or companies you follow without visiting their profile. For example, if a company you follow posts about a vacancy or an event, the post will appear on your feed.
While you’re not limited to a specific number of companies or groups when adding interests on LinkedIn, it’s essential to moderate your interests. Too many unrelated companies may confuse users who want to learn more about you.
The best way to moderate your interests is to update information regularly. Remove companies you are no longer interested in and add those you want to follow.
Next, we delve into how to remove interest on LinkedIn.
Step-by-Step Guide on Removing Interests on LinkedIn
Removing interests on LinkedIn only takes a few simple steps. Here’s how to do it on different devices.
Removing Interests in LinkedIn Mobile App
Follow the steps below:
- Launch the LinkedIn app on your mobile device.

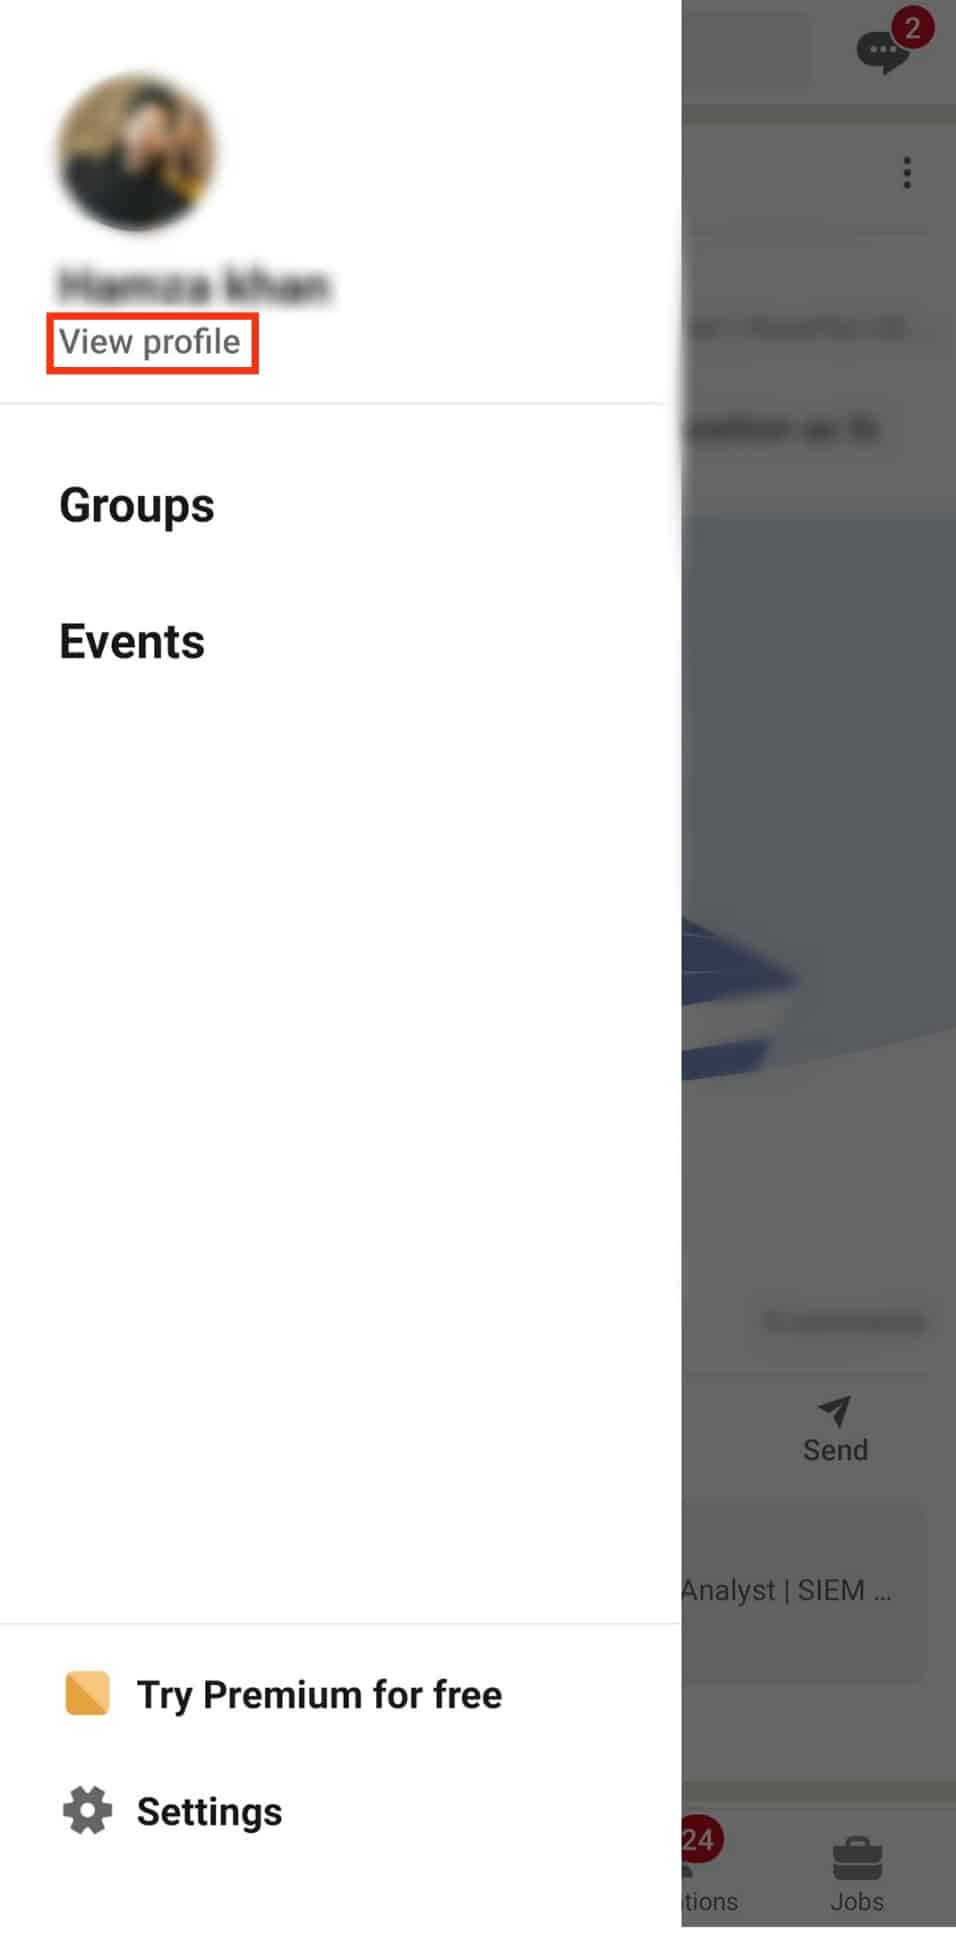
- Tap on the profile icon in the top left corner of the screen.

- Tap on “View profile.”
- Scroll down your profile until you get to “Interests.”
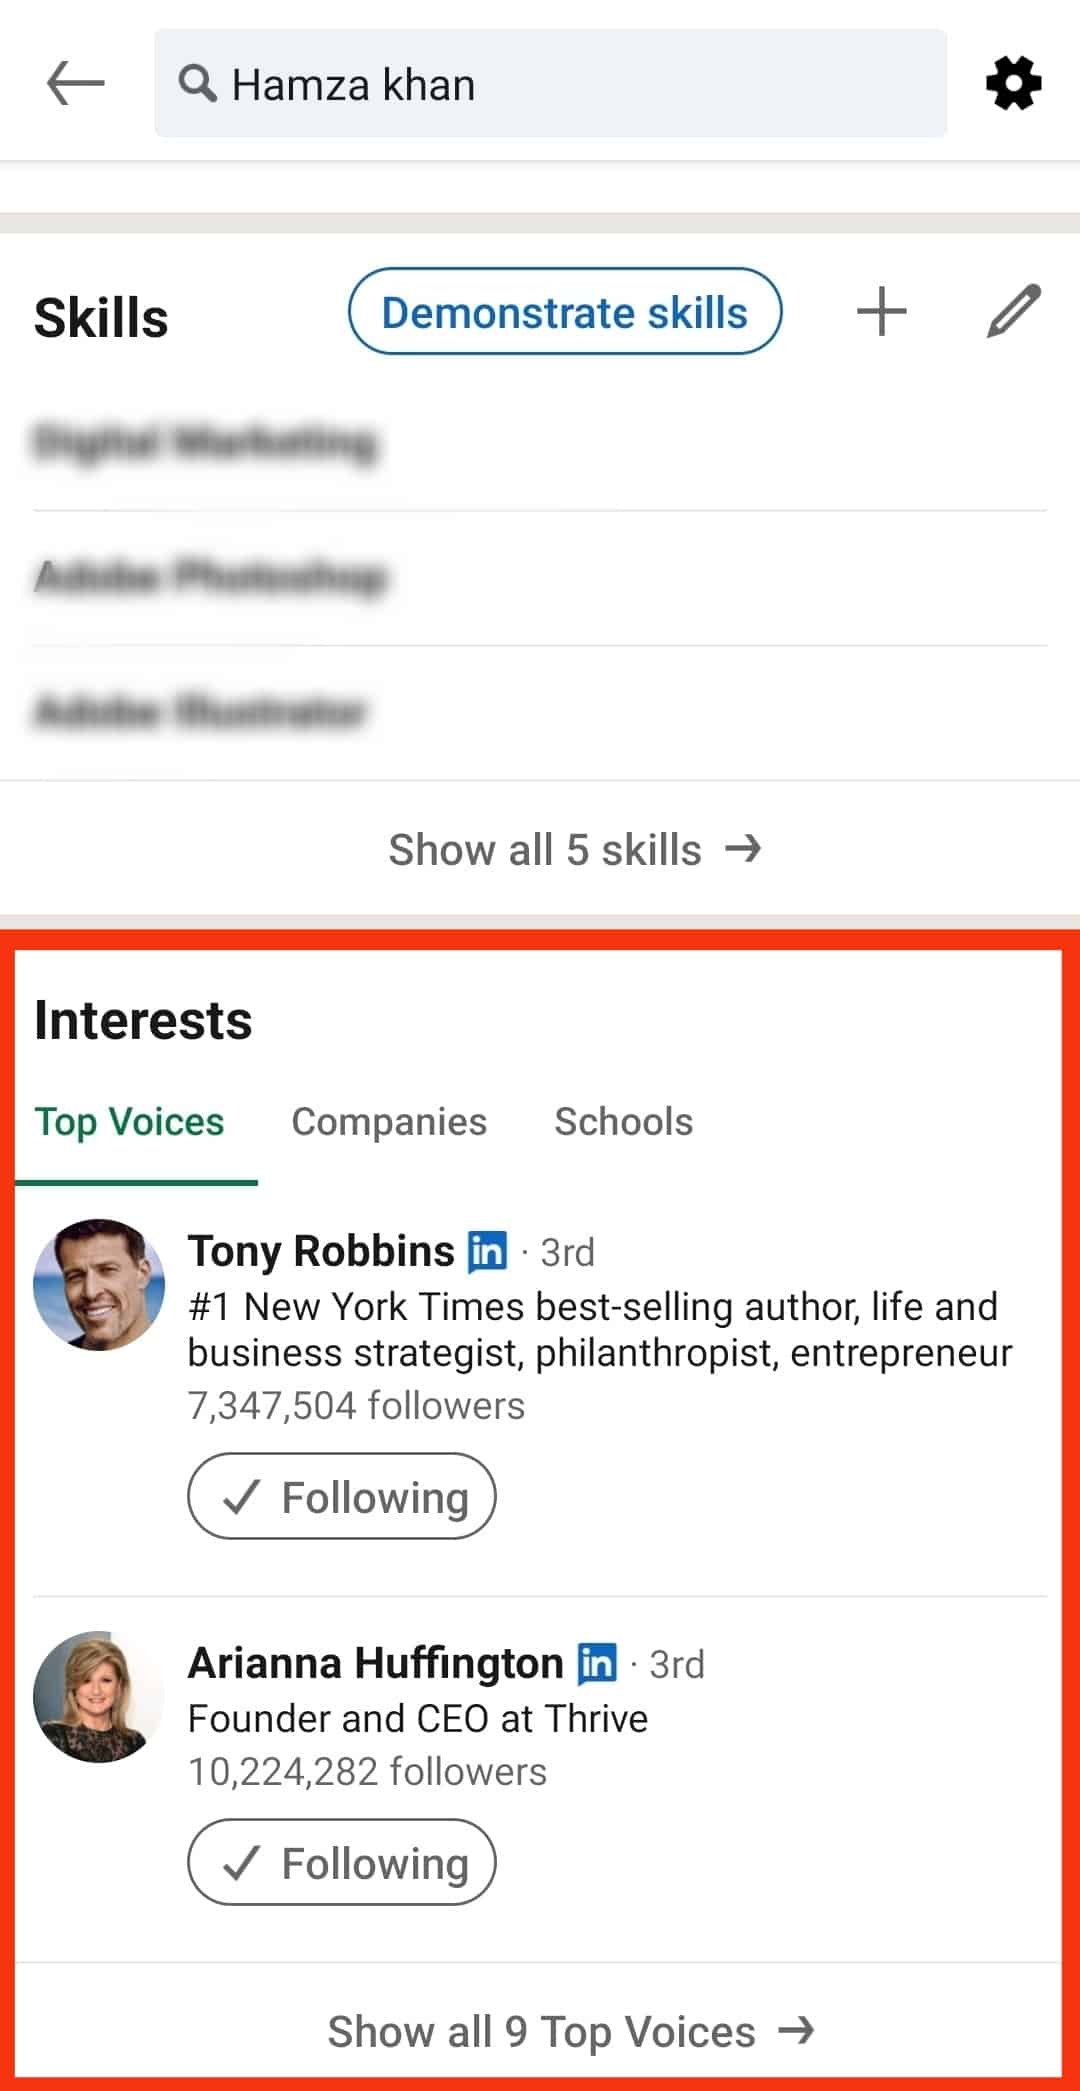
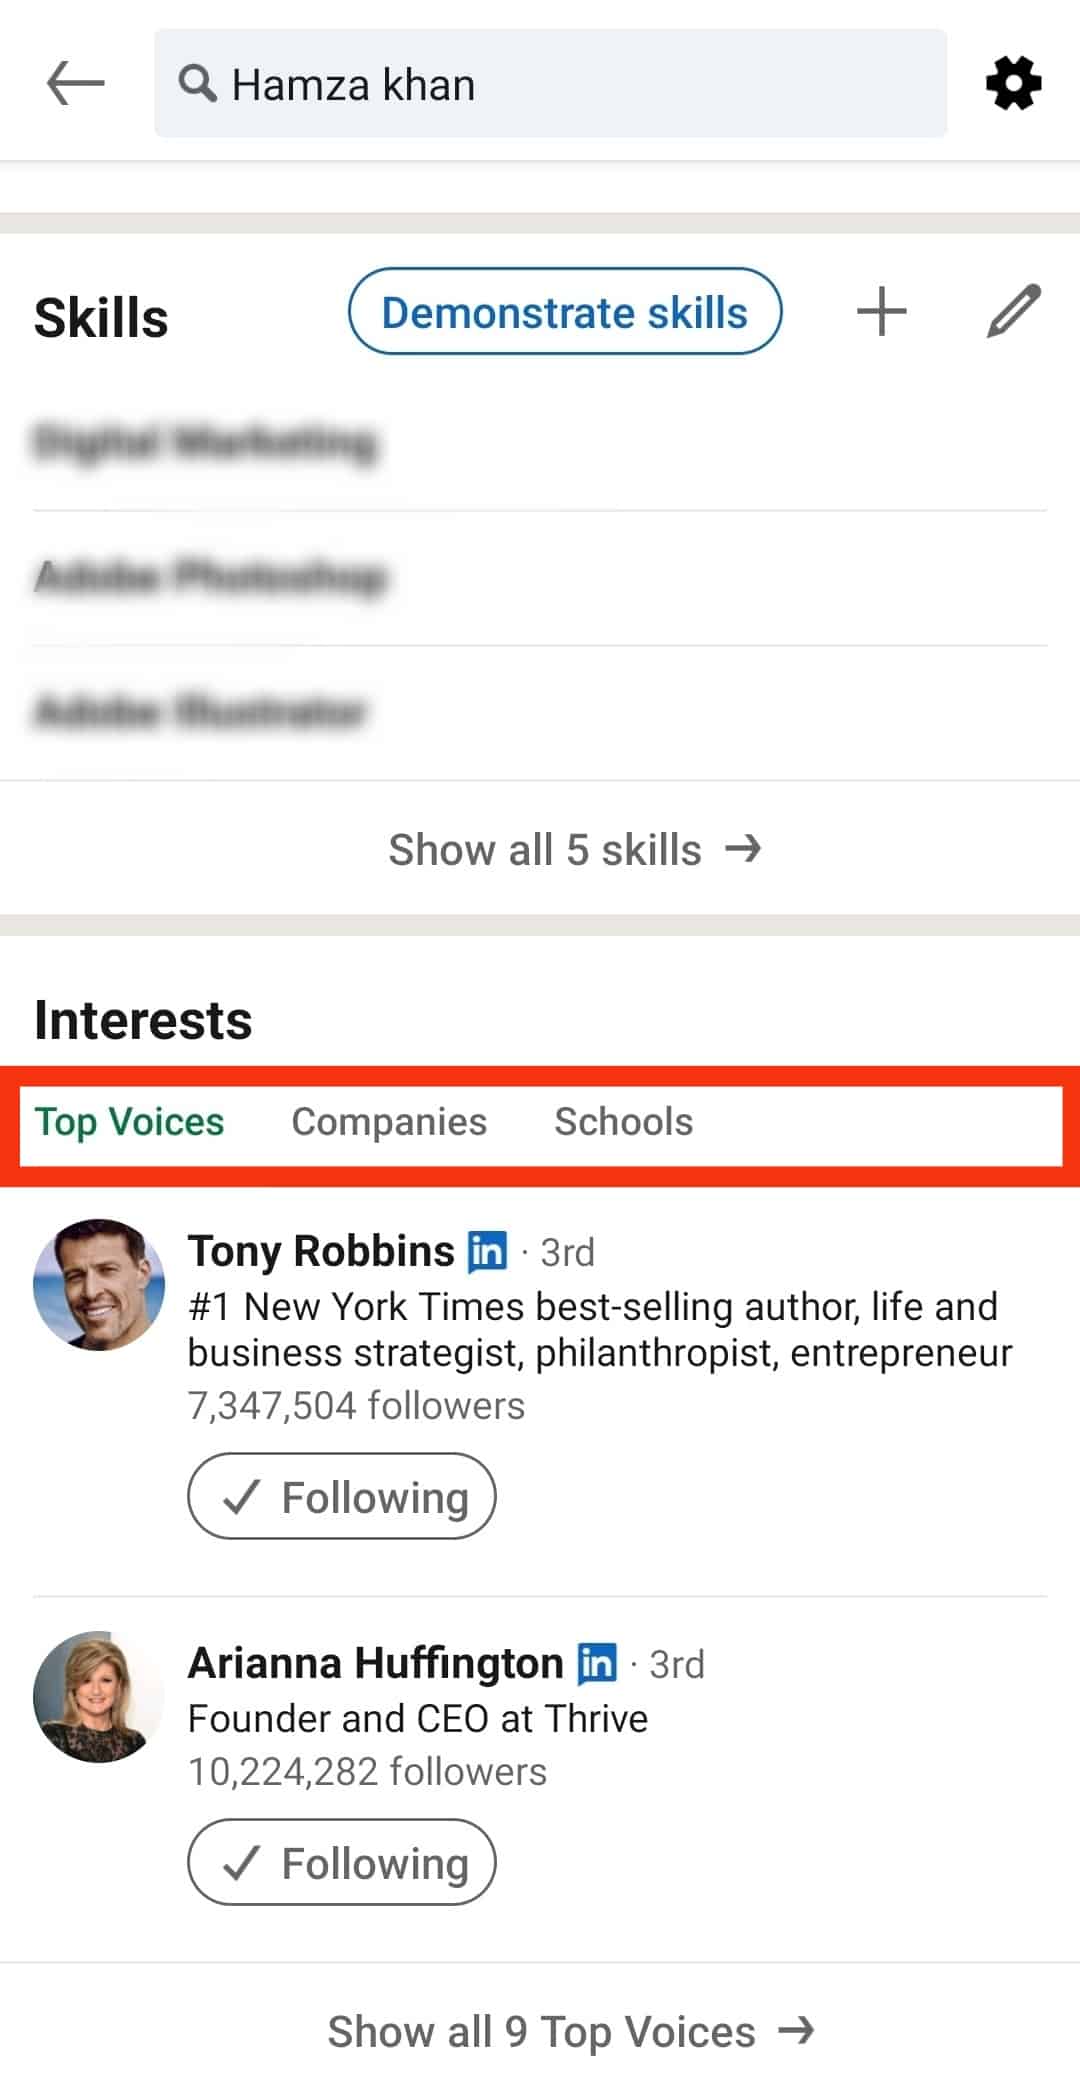
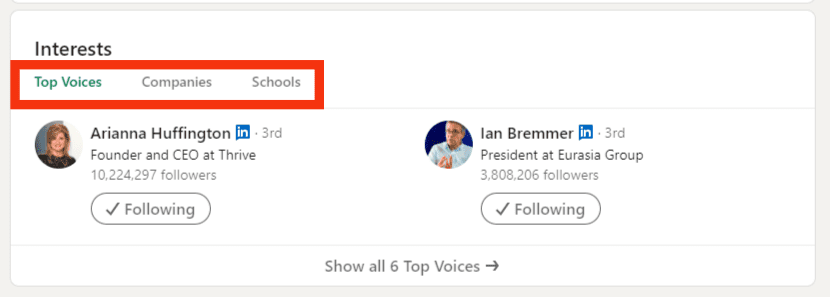
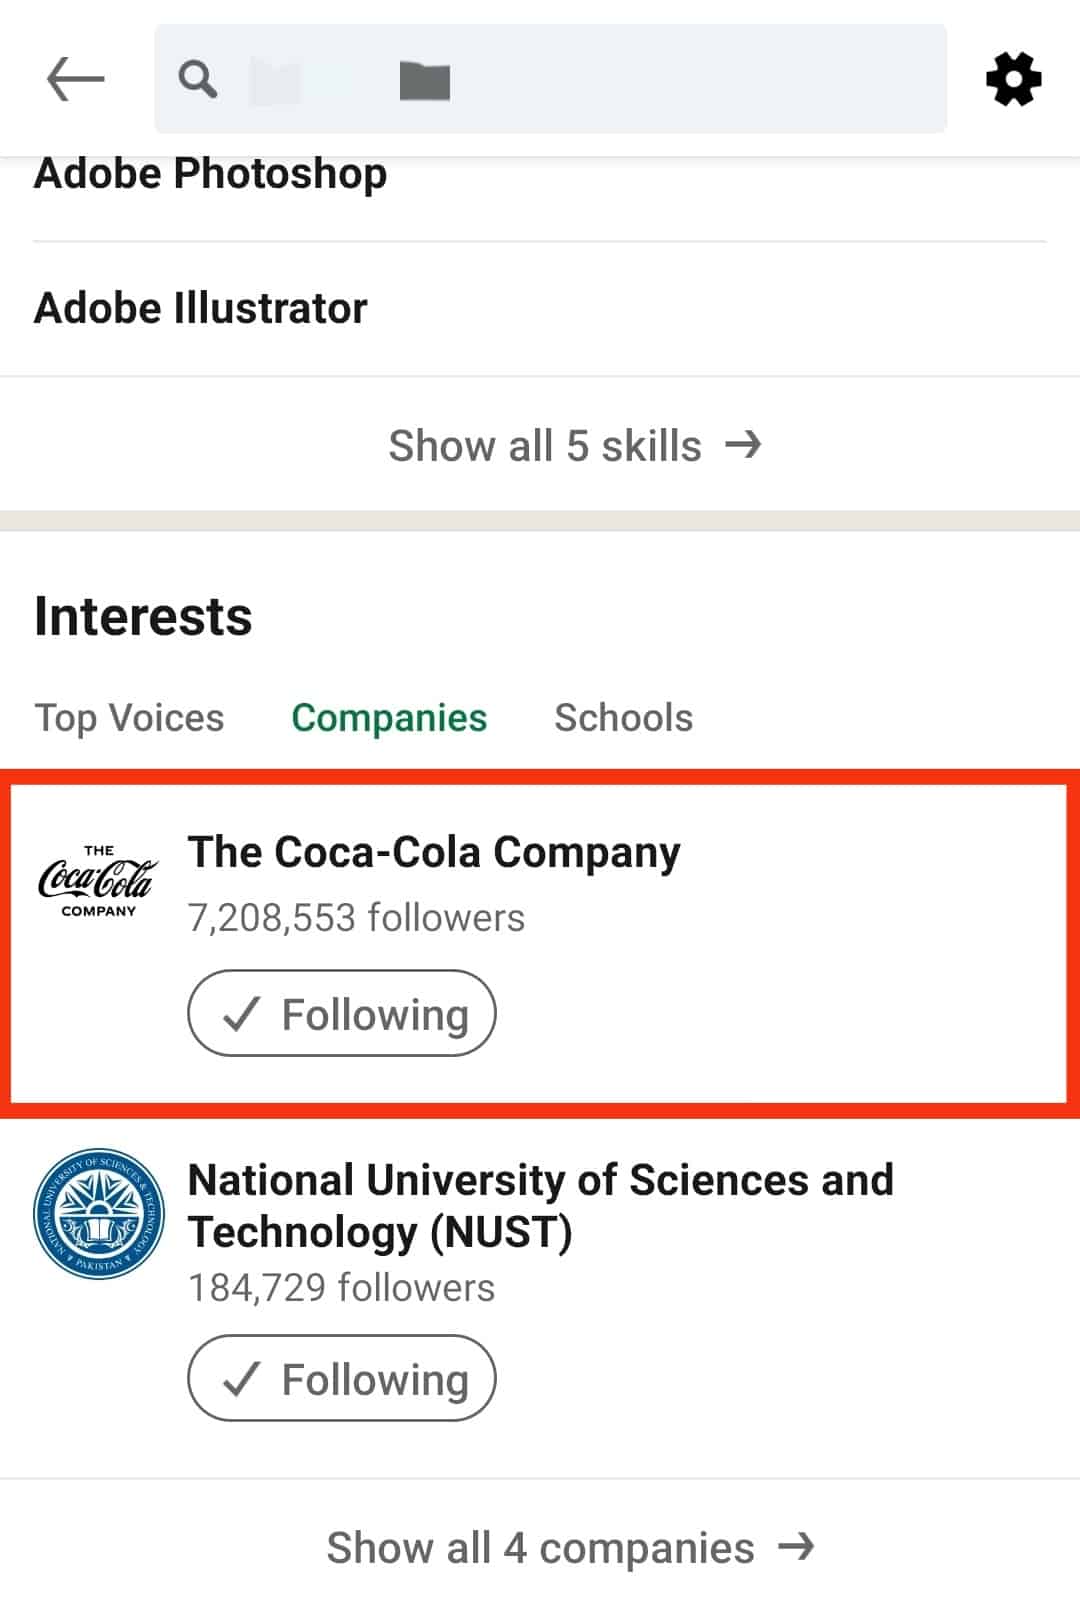
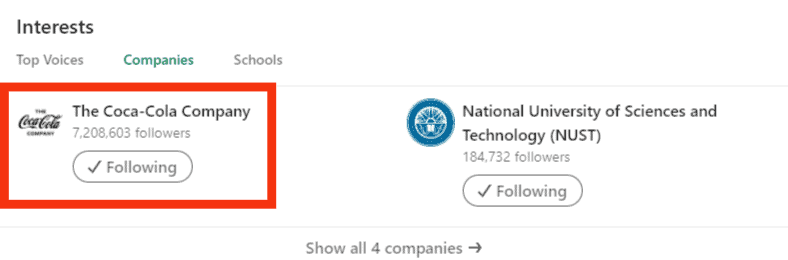
- Tap on either “Companies,” “Schools,” or “Top Voices.”
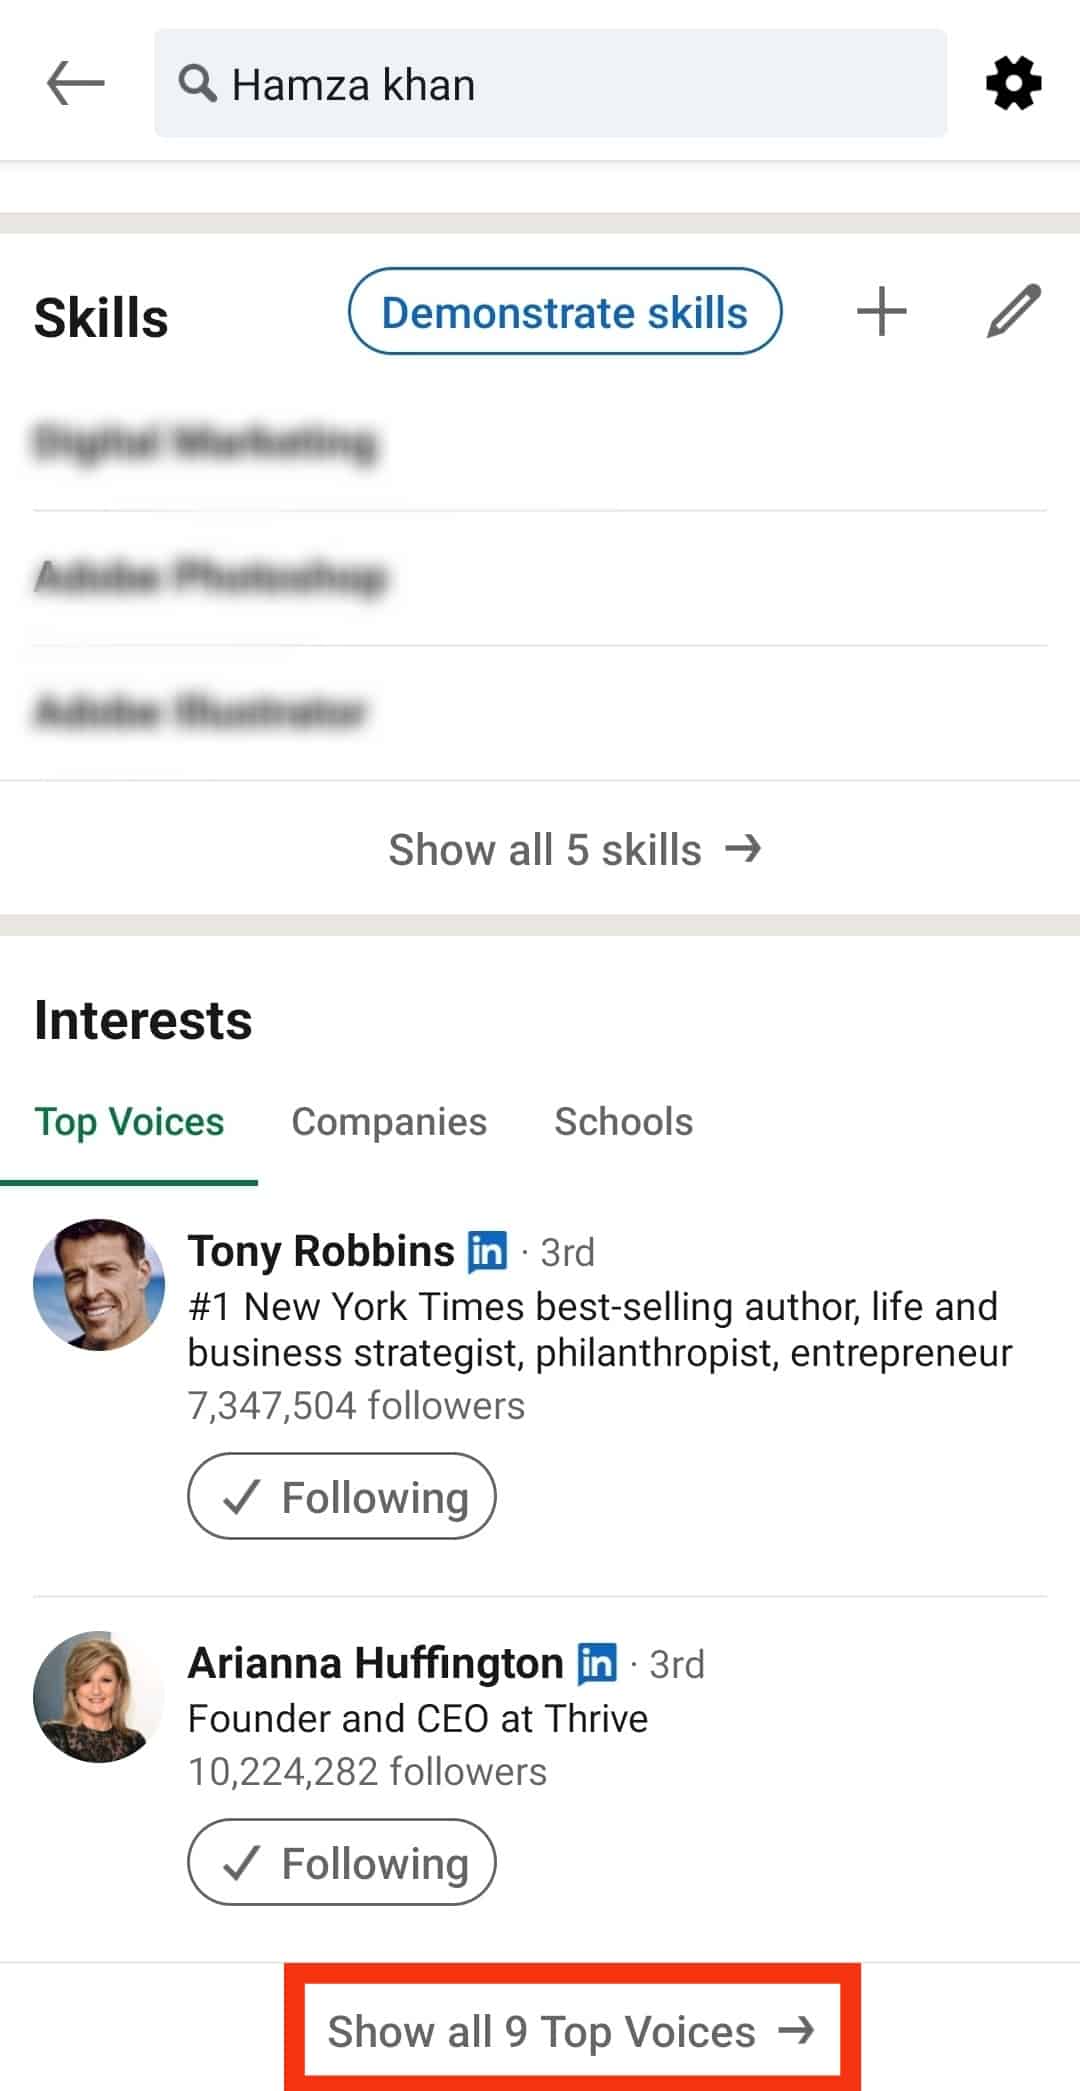
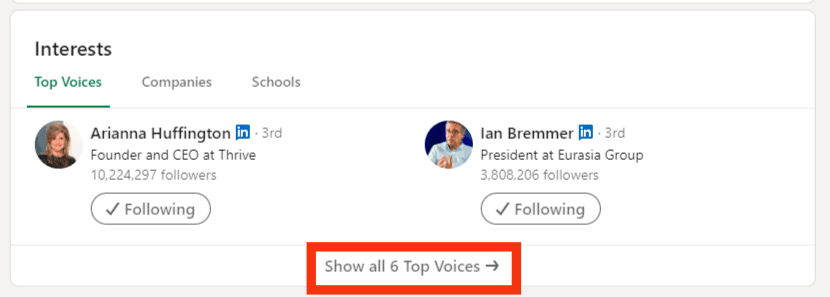
- Tap on “Show all.”
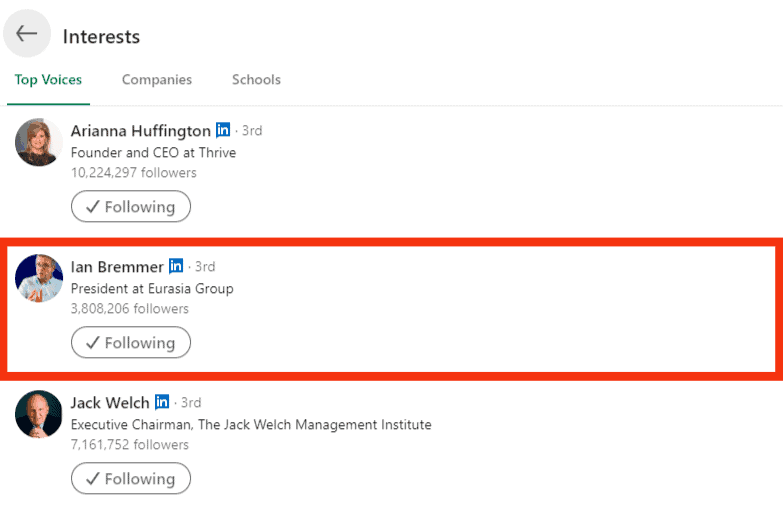
- Scroll down to the interest you want to remove.
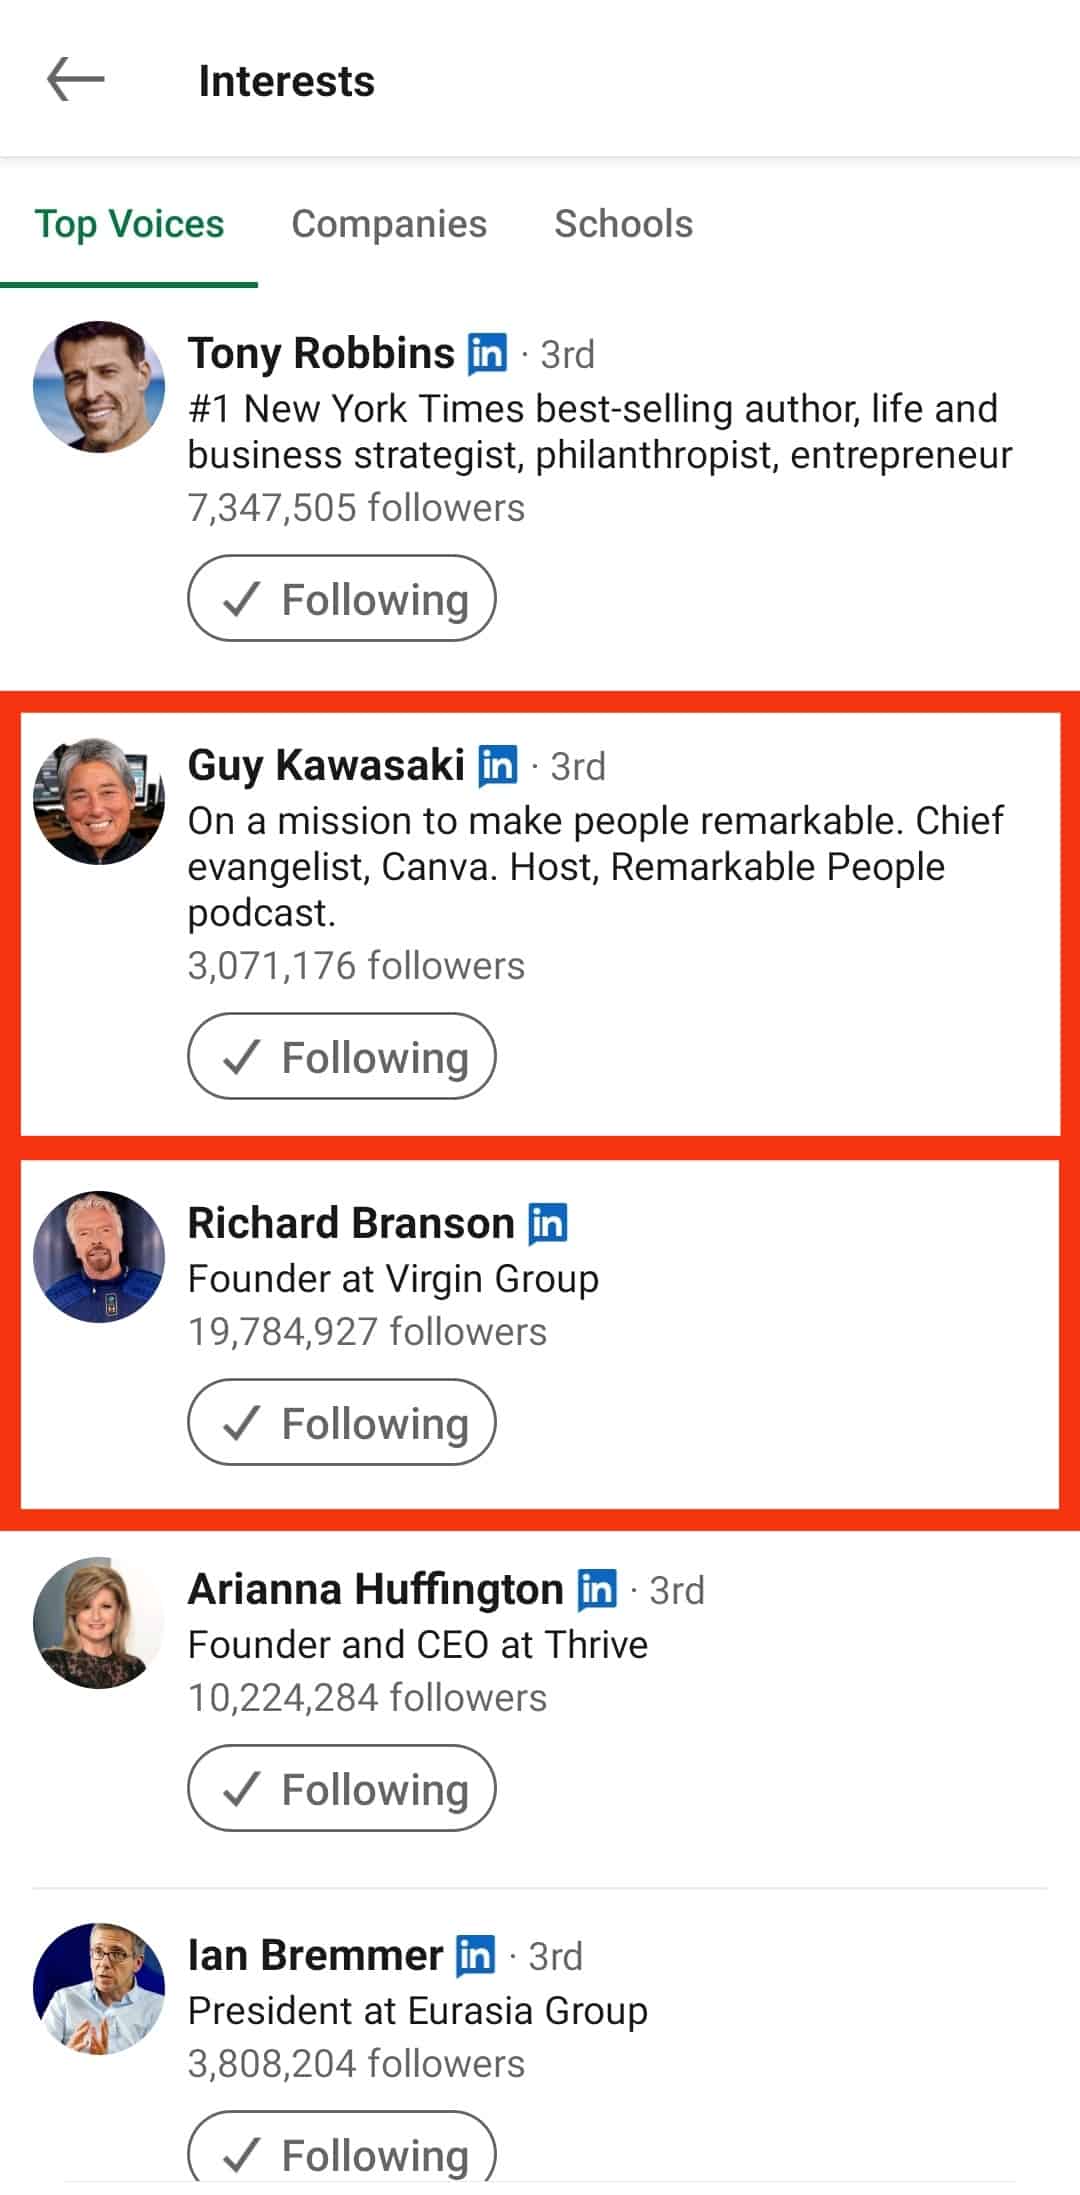
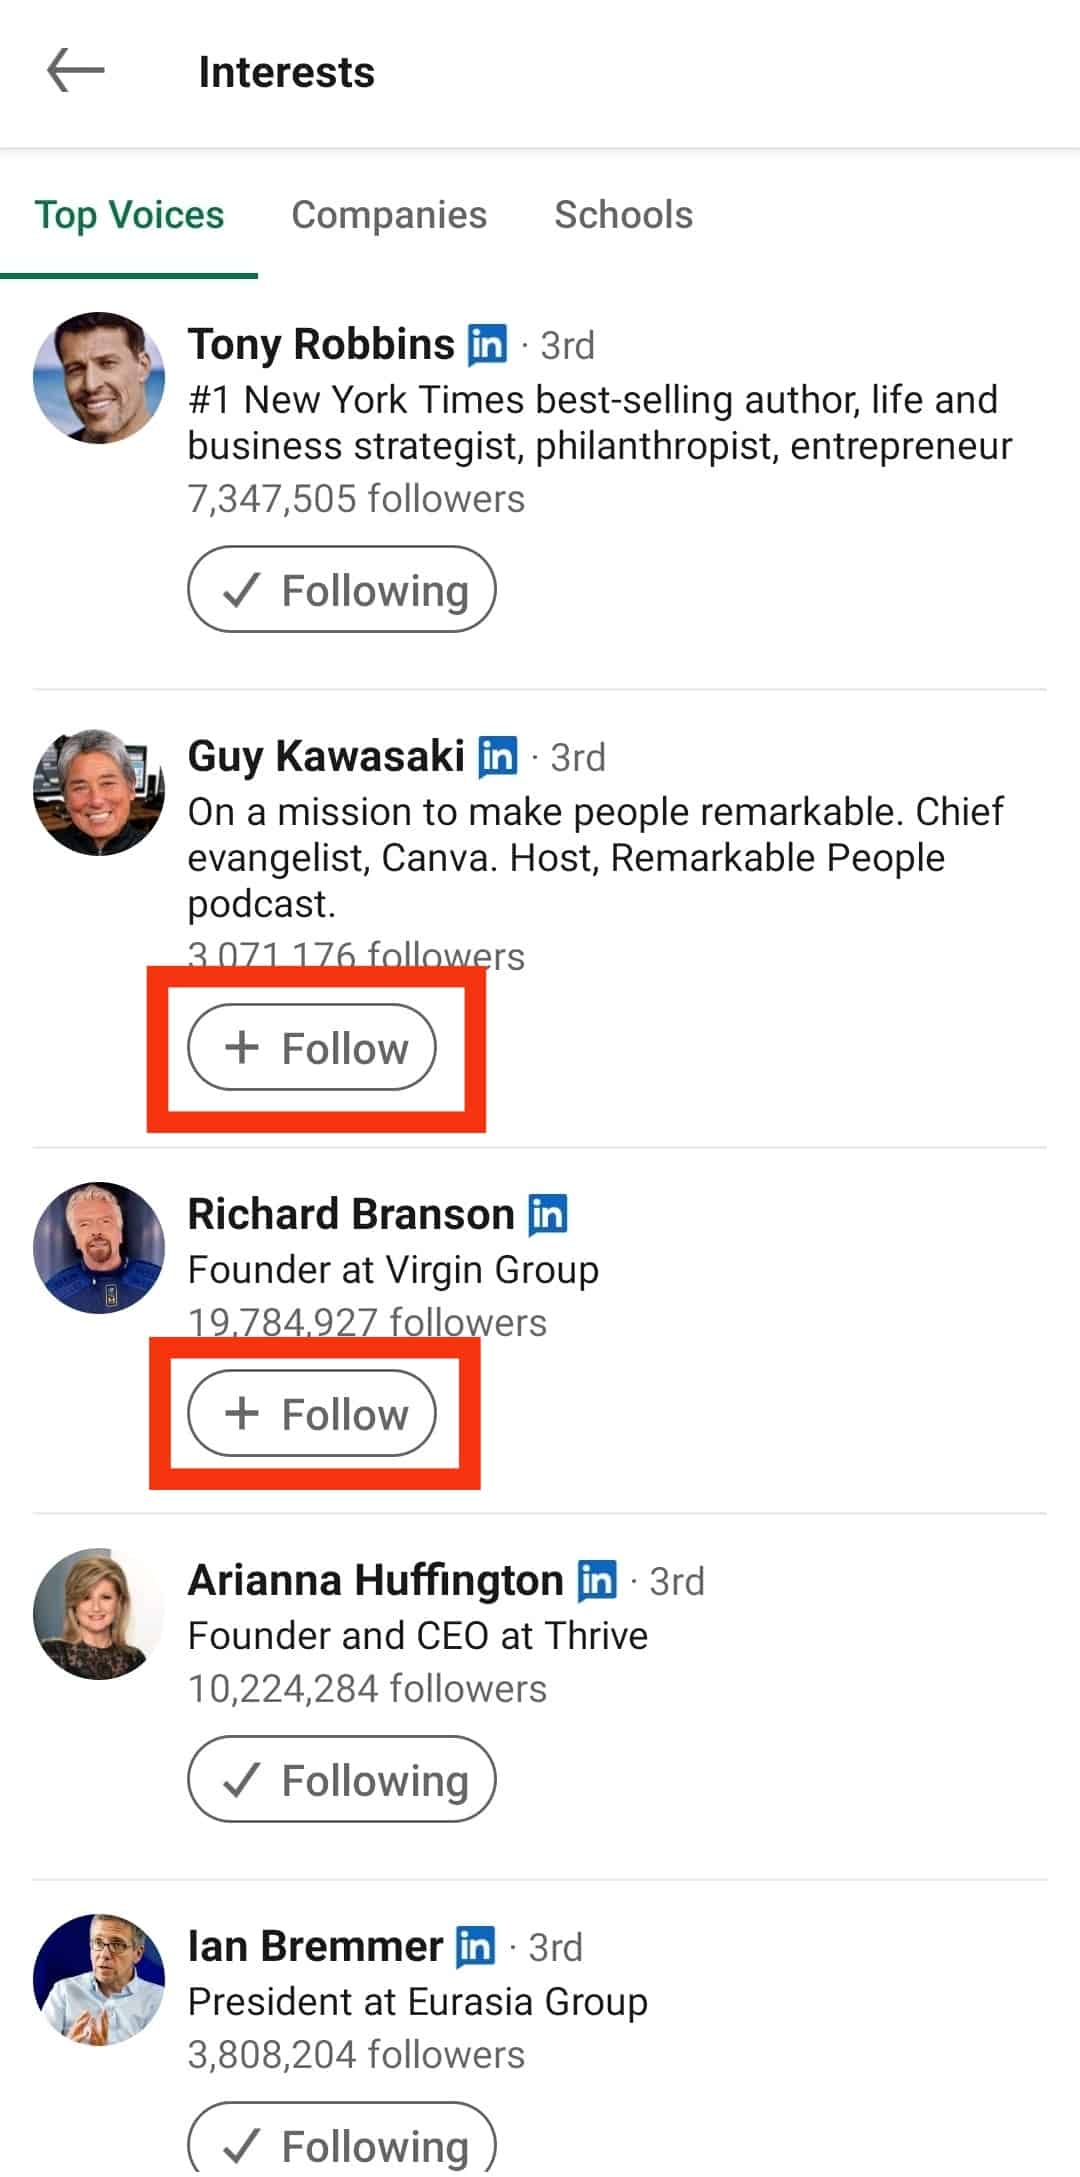
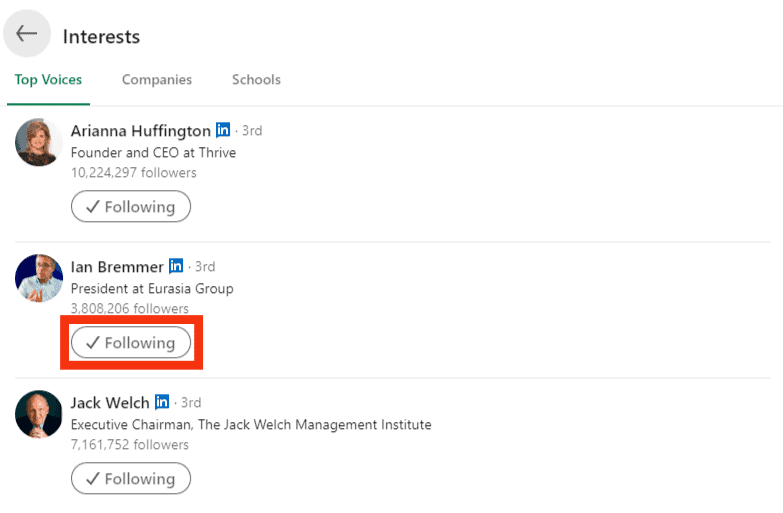
- Tap on the “Following” button with a check icon inside. The button will change to “Follow.”
Refresh your profile; the company, school, or influencer you removed won’t appear in your interests.
Removing Interests in LinkedIn Desktop Version
Follow the steps below:
- Navigate to LinkedIn on your favorite browser and log in.
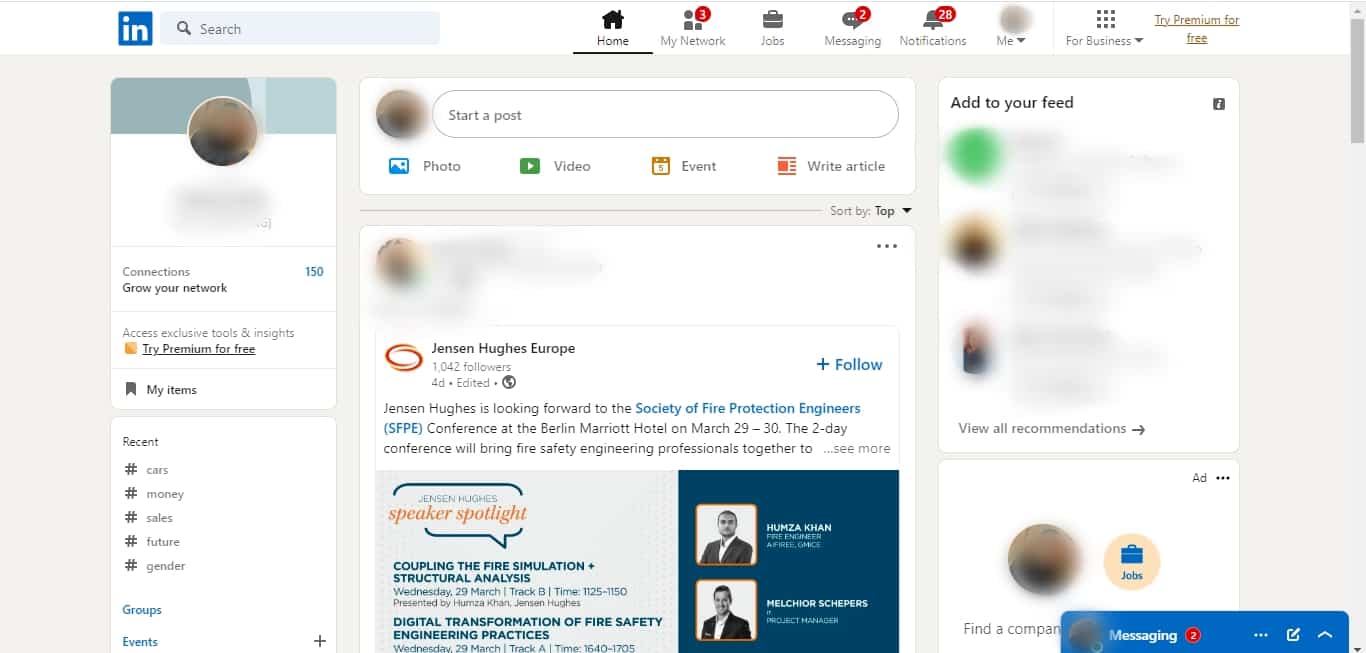
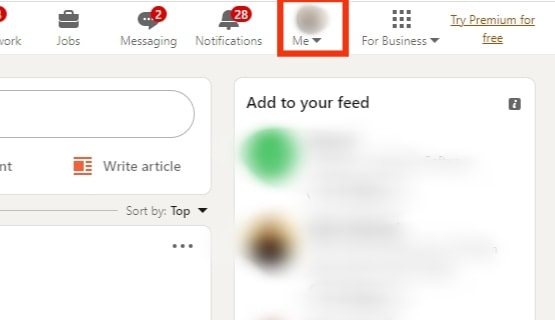
- Click on the “Me” button on the icon bar at the top of the screen.
- Click on “View Profile.”
- Scroll down the profile until you get to “Interests.”
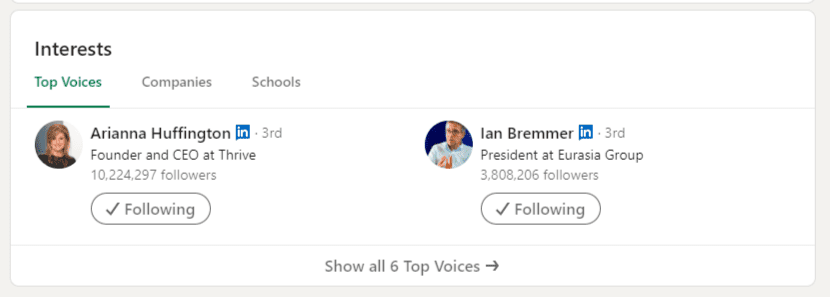
- Select the category with the interest you want to remove.
- Click on “Show all.”
- Scroll down to the specific interest you want to remove.
- Tap on the “Following” button with a check icon inside. The “Following” button will change to “Follow.”
- Refresh your page, then verify that the company or influencer you removed is no longer listed in your interests.

How To Add Interests on LinkedIn
Adding an interest on Linked is as straightforward as removing it. Here’s how to do it.
Adding Interests in LinkedIn Mobile App
Follow the steps below:
- Launch the LinkedIn app on your mobile device.
- Tap on the search bar at the top of the screen.
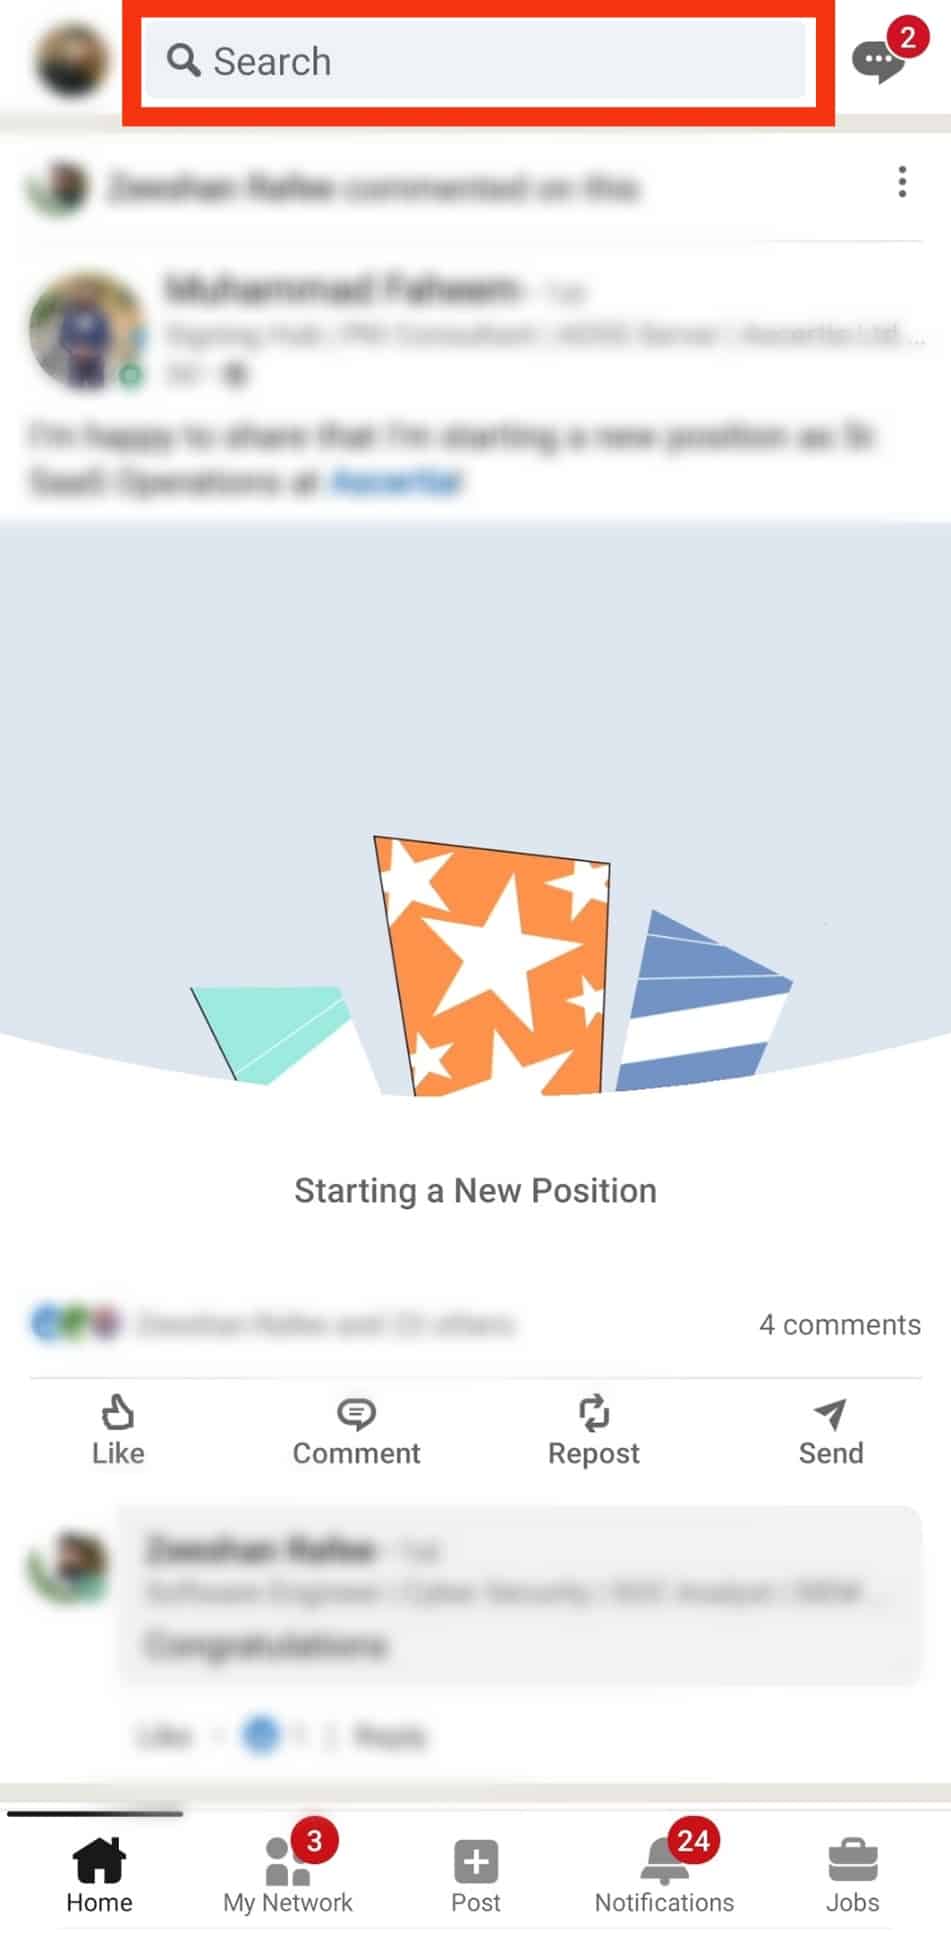
- Enter the name of the company, school, or influencer you want to add to your interests.

- Click on their name in the search results.

- Tap on the “Follow” button below their LinkedIn account information.

- Go back to your profile and scroll down to interests to verify that the company or school you follow is listed in your interests.
Adding Interests in LinkedIn Desktop Version
Follow the steps below:
- Navigate to LinkedIn in your favorite browser.
- Click on the search bar at the top-left corner of the screen.
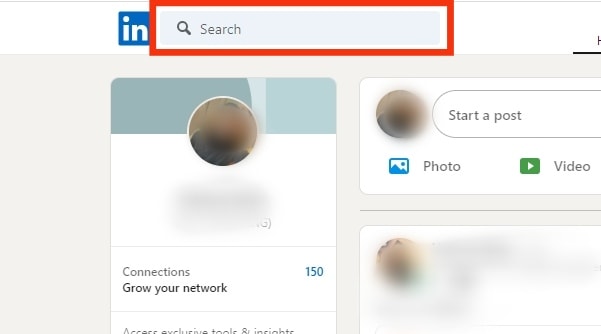
- Enter the name of the company, school, or influencer you want to add to your interests.
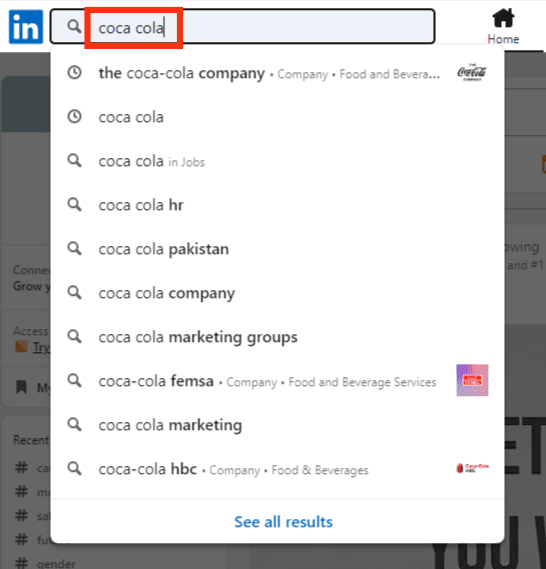
- Click on their name in the search results.

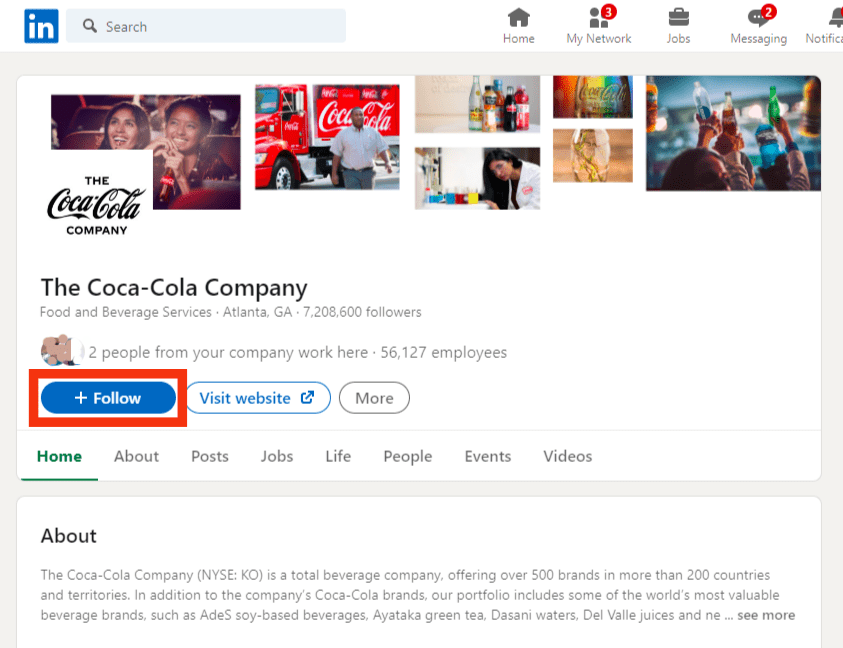
- Tap on the “Follow” button below their LinkedIn account information.
- Go back to your profile and scroll down to interests to verify that the company or school you follow is listed in your interests.
Summary
Removing and adding interests to your LinkedIn profile is essential to keep your profile information updated.
Other Linkedin users and recruiters look at your interests to learn more about you and to judge whether your professional interests and goals align with theirs.
Read this article to learn more about removing and adding interests on LinkedIn.