A YouTube thumbnail is the mirror of your video’s content. It is the one chance to impress a potential viewer looking for educational, informative, or entertaining content.
In this regard, you should create an irresistible thumbnail that convinces your audience to open your video. But how do you make a YouTube thumbnail in the first place?
1. Determine the kind of thumbnail you want to make.
2. Choose a thumbnail-making software.
3. Select the suitable thumbnail dimensions.
4. Add the background image to the provided or new template.
5. Add relevant text, emojis, and other graphics to the template.
6. Download the finished thumbnail and upload it to YouTube.
Learn how to make a YouTube thumbnail in this post.
Overview of Making a YouTube Thumbnail
Have you ever seen a good movie poster that you had to find the film and watch it? Humans are visual beings, and the right image can evoke curiosity. YouTube videos are no different from movies, only that instead of posters, you have thumbnails.
YouTube star Mr. Beast surprised the creator community by revealing that he spends $5,000 – $10,000 on a video thumbnail. Crazy amount for a single image, right?
Money aside, creating an eye-catching YouTube thumbnail is crucial. However, mastering the art of making video thumbnails can be challenging. Keep reading to learn the step-by-step process for making a great YouTube thumbnail.
How To Make a YouTube Thumbnail
Here are the steps to make a great YouTube thumbnail.
Step #1: Determine the Kind of Thumbnail You Want To Make
Before making a thumbnail, determine the kind that suits your niche and content. Researching your competitors is the best way to know what would work for you.
Are you a beauty and skincare vlogger? Check out what other creators in the niche are using as thumbnails.
Once you have researched, note the aspects you want to include in your thumbnail. These include:
- The background image
- Color combination
- Font
- Contrast
- Other graphics like expressions, emojis, and text.
Step #2: Choose a Thumbnail-Making Software
With a clear blueprint of what you want to make, the next step is creating the image.
There are several image-editing software that make great YouTube thumbnails. Some even have templates to make your work easier because you must add unique details.
Choosing the right editing software can be daunting, with so many in the market. Read reviews online to determine the one that suits your needs.
Moreover, consider cost, image quality, and watermark retention when picking a thumbnail maker. Popular options include Canva, Adobe Express, and Snappa.
Step #3: Select the Suitable Thumbnail Dimensions
Before you begin creating your thumbnail, note YouTube’s thumbnail dimension recommendations. Remember, viewers watch YouTube across multiple devices.
Your thumbnail may appear distorted on some screens if you don’t consider the recommended height, width, and aspect ratio.
The following are the best YouTube thumbnail dimensions:
- 1280 x 720 pixels.
- Minimum width of 640 pixels.
- Aspect ratio of 16:9.
With these dimensions, your thumbnail will look great on any device, whether on a TV, desktop, or mobile device.
Step #4: Add the Background Image
The foundation of your YouTube thumbnail is the background image. It is the visual representation of your video’s content that tells the audience what to expect. Normally, the background image is a still image from the most crucial moment of your video.
You can also use a stock image that represents your video’s message. This step demands a lot of creativity to capture the right emotion.
Some creators take still pictures after recording the video to serve as emotion-evoking thumbnails. Take time to select the best background image for your thumbnail.
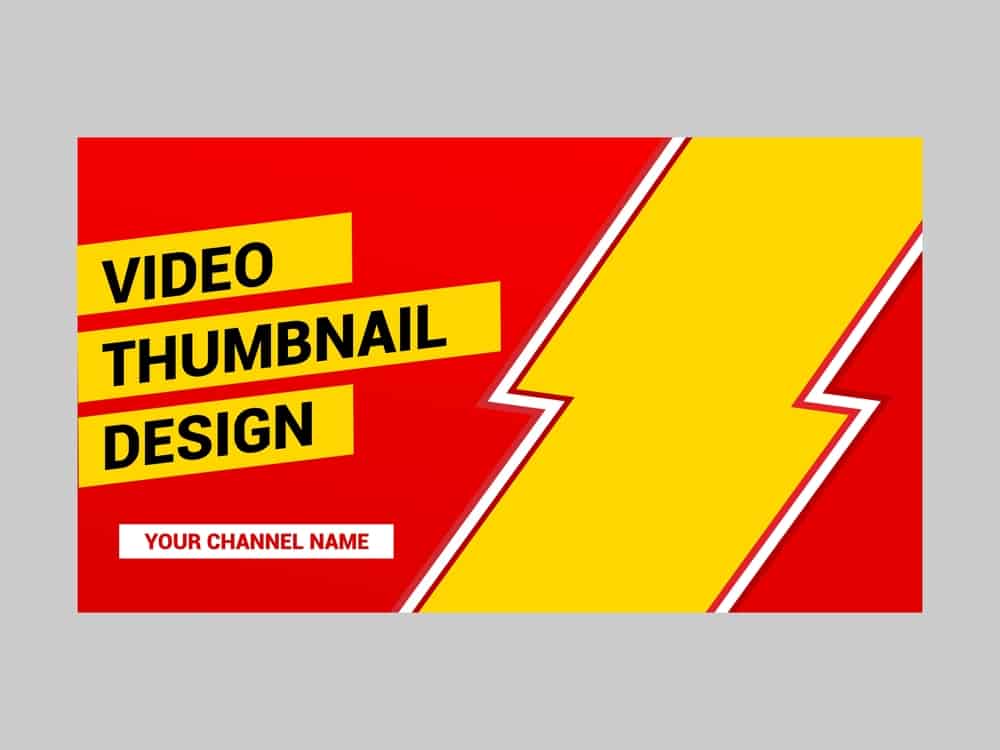
Step #5: Add Relevant Graphics
Besides the background image, the graphics are important in convincing a viewer to open the video.
These graphics include text, emojis, and punctuation marks. The text should provide a precise description of your video. E.g., Make Money Online in 2023.
Design the text appearance by choosing the appropriate font style and color. You can also add emojis, exclamation marks, and other graphics to make the image more enticing.
Pay attention to color combinations to give your text a striking look. Contrast is one of the crucial aspects of design because it draws attention and highlights essential information.
Step #6: Download the Finished Thumbnail
Once you are satisfied with the thumbnail you’ve created, download the image to your device. You should download your YouTube thumbnail in JPEG, PNG, or GIF format. Also, ensure the image is below 2MB.
You have successfully made a YouTube thumbnail and can upload it to YouTube.
Winding Up
A YouTube thumbnail is the first impression that tells a potential viewer whether to open or skip your video.
You can create an irresistible thumbnail with the right idea, editing software, and editing skills.
We hope this guide has taught you how to make a YouTube thumbnail like a pro.