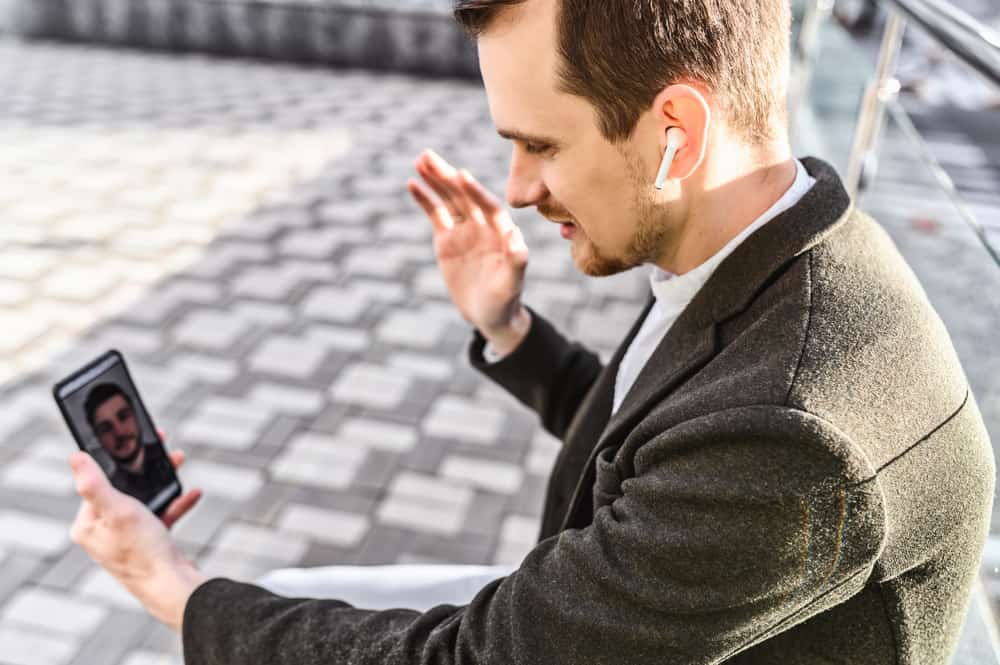
Vtubing is not a new phenomenon, but lately, it is getting even more popular thanks to gamers and streamers on Twitch, YouTube, Discord, Zoom, and other platforms. VTubers are online content creators who keep their identities private and use an AI avatar to disguise their appearances.
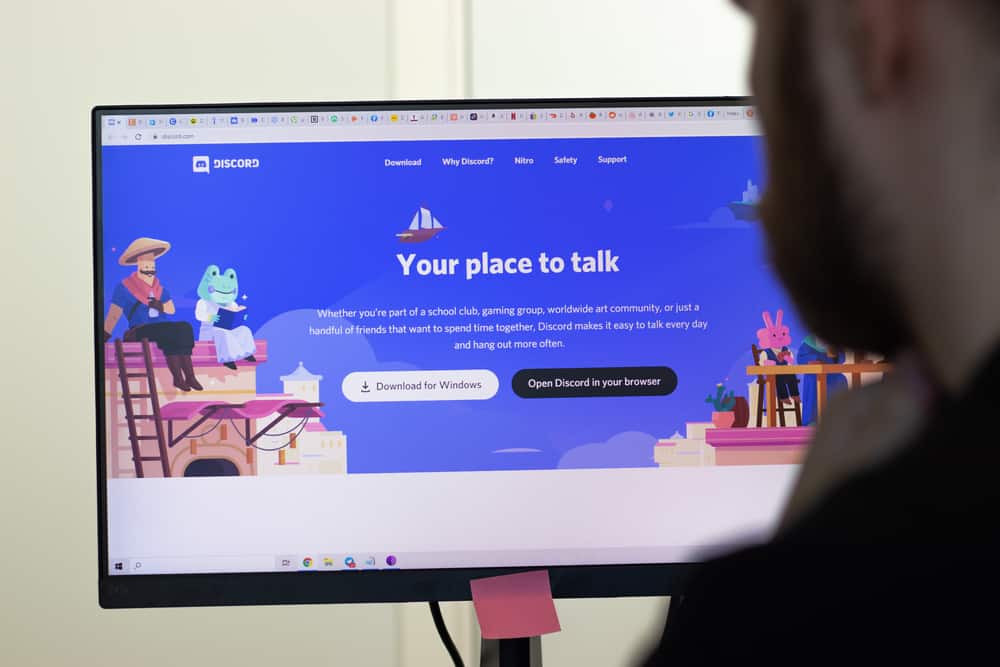
If you want to begin your VTubing journey or want to navigate it for fun, then you can try it on Discord. With Discord reactive images, you can use PNG images to communicate to your audience on live stream on the voice channel. So, how to use Discord reactive images?
These are the steps to use Discord reactive images for live streaming on Discord calls:
1. Go to Discord Reactive Images website, log in to Discord, and upload two PNG images.
2. Down Streamlabs desktop client and add the Discord Reactive Images link as the browser source.
3. Go to Discord and join any voice channel for streaming.
Instead of your face or body, the above-added image will display from the Streamlabs virtual webcam during the stream.
Let’s dive in and learn more about VTubing, PNGTubing, and how Discord Reactive Images can help you in your VTubing aspirations on Discord.
VTubing & PNGTubing – How Discord Reactive Images Fit In?
Have you ever heard of VTubing? Don’t worry if you have not, because we will give you an overview.
You know how scary the world of social media is. When you are on social media, you are essentially putting your whole life in front of others to judge, comment and even troll.
Normally, you would need to be hard skin to bear all the pricky comments and judgments of others. Some people are not stubborn, and even slight negativity can affect their mental health.
For such people, VTubing emerged as a breath of fresh air. Like all other quirky stuff, this one also emerged from Japan, and West picked it up from there when big YouTubers like Pewdiepie tried it.
Anyways, VTubing involves using motion capture to control a 2D, 3D, or PNG virtual avatar to disguise your appearance. So, these virtual avatars pick your voice and react based on your voice during your live streams.
So, you do not have to be in front of the camera: this virtual avatar will engage with your audience on your behalf during your live sessions.
The good news for newbies is that they can try VTubing on Discord with minimum effort. You can use Discord Reactive Images to use your PNG avatars to try it out until you become a pro and go for 3D avatars.
Though PNGTubing will not be as interactive due to the lack of face-tracking software, it is easiest to start. You need to upload two PNG images on Discord reactive images to use on live stream on Discord. Let’s learn how to use Discord reactive images.
Step-by-Step Guide to Using Discord Reactive Images for VTubing on Discord
These are the steps to follow if you want to use Discord reactive images.
Step #1: Navigate to Discord Reactive Images Website
First, you must log in to Discord through the Discord Reactive Images website. To do so, follow the steps below.
- Click the “Login” button.
- Insert your Discord credentials.
- Click the “Authorize” button to give reactive images access to your Discord account.
Step #2: Upload PNG Images
After logging in, you will see options to upload images on your screen.
- Tap on the “No file chosen” button under “Set Inactive Image” and “Set Speaking Image” to upload your two desired PNG images.
- The ‘Speaking’ one will appear while you speak, and the inactive image will appear when you are mute.
- After each image selection, click the “Save” button to save inactive and speaking images.
- You can also add effects on the images however you like and click the “Apply” button.
You can upload any image, photo, artwork, or avatar for Reactive images for Discord live stream.
Step #3: Copy the Link
After uploading the images, copy the link on your left under “Individual Browser Source.”
Step #4: Add Discord Reactive Image Browser as a Source
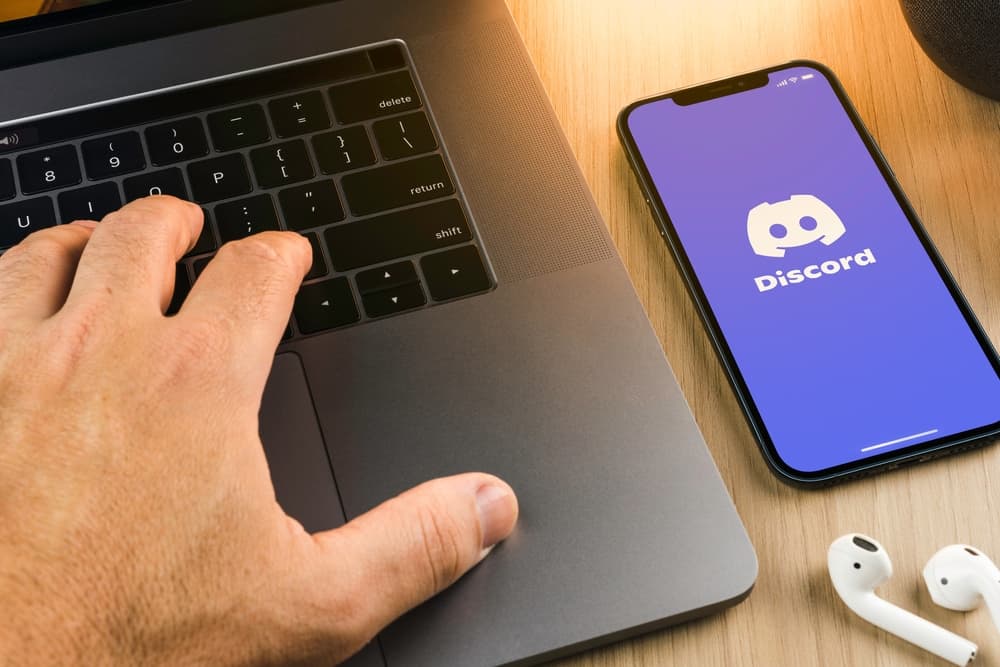
- First, download the Streamlabs desktop client on your computer.
- Click on the “plus” icon next to “Sources.”
- Click the “Browse Source” button.
- In the space provided, enter the title, “PNG Avatar,” “Reactive Image,” or anything else easier for you.
- Click on the “Add Source” button.
- Under the URL space, paste the previously copied link.
You can even use OBS or Xplits instead of Streamlabs.
Step #5: Start Streaming
Now, go to Discord and connect to any voice channel where you want to stream. Discord will start using Streamlabs virtual camera to display PNG avatar on your stream. In case it does not, then.
- Go to Discord “User Settings” and open the “Voice & Video” tab.
- Select “Streamlabs OBS Virtual Webcam” from the drop-down under “Camera.”
The PNG avatar will detect your voice from the microphone and toggle from speaking to non-speaking based on your detected voice. This way, you can have a live stream without showing your face using the PNG avatar.
You must keep Discord reactive image website open on your browser during the stream.
Wrap Up
For all those who fear for their privacy and find it uncomfortable to share their identities with others yet love to join or host live streams: virtual avatars will be your best friends. We introduced to you the notion of VTubing and how you can use Discord Reactive Images for the simplest form of VTubing, called “PNGTubing.”
The process is simple. You must upload two PNG images, configure a Discord account and some virtual camera app using the Discord Reactive Image URL as the source, and join any voice call for a livestream.
Try it out and have all the fun with your friends without any concerns or discomfort.