When working with a Facebook group, it is common to schedule the publishing of posts, and you can only do so if you are the admin or moderator of the particular group. Scheduling posts is an excellent strategy for helping you stay consistent in your posting, and Facebook group members can know when to expect a post from the admins and moderators. Do you know you can turn off scheduled posts?
You can manage your scheduled posts on a computer or Facebook mobile app. You must open the admin tools for a computer by clicking the scheduled posts in the group section. Next, click the more button and edit the schedule post to turn it off. For the mobile app, go to your group, click the start icon, and select scheduled posts. Locate your post and click the three dots next to edit, then edit it.
We will discuss the various ways of managing scheduled posts on Facebook. We will see the steps for creating a scheduled post and how to turn it off on the desktop and the Facebook mobile app. Take a look!
How To Turn Off Scheduled Posts on Facebook Group
There are various reasons for scheduling posts in a Facebook group, and it’s mainly done when you want to stay on brand and promote it. Also, it is a good way of regularly posting while saving time creating individual posts. Scheduled posts create more engagement and are an excellent way of connecting with your audience.
Let’s see how to schedule posts and turn off the scheduled posts.
Using Computer
If you are the moderator or the admin of the given Facebook page, schedule your posts using the steps below.
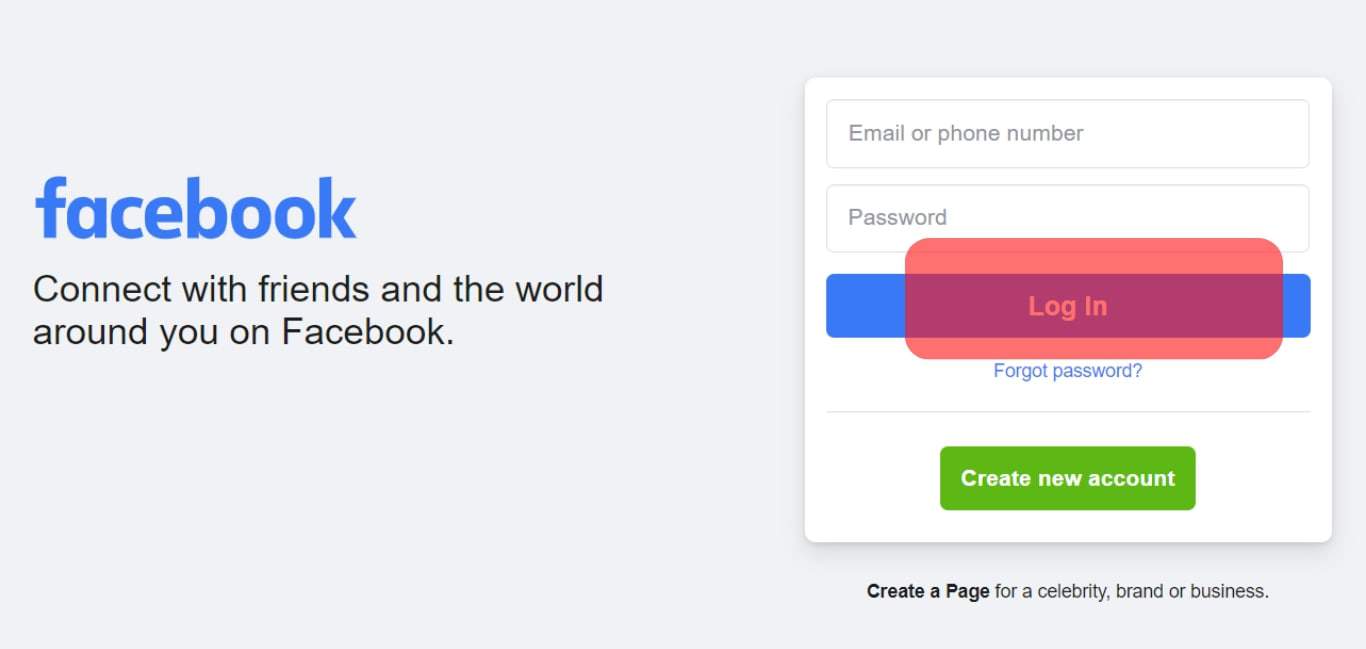
- Open Facebook on your computer.
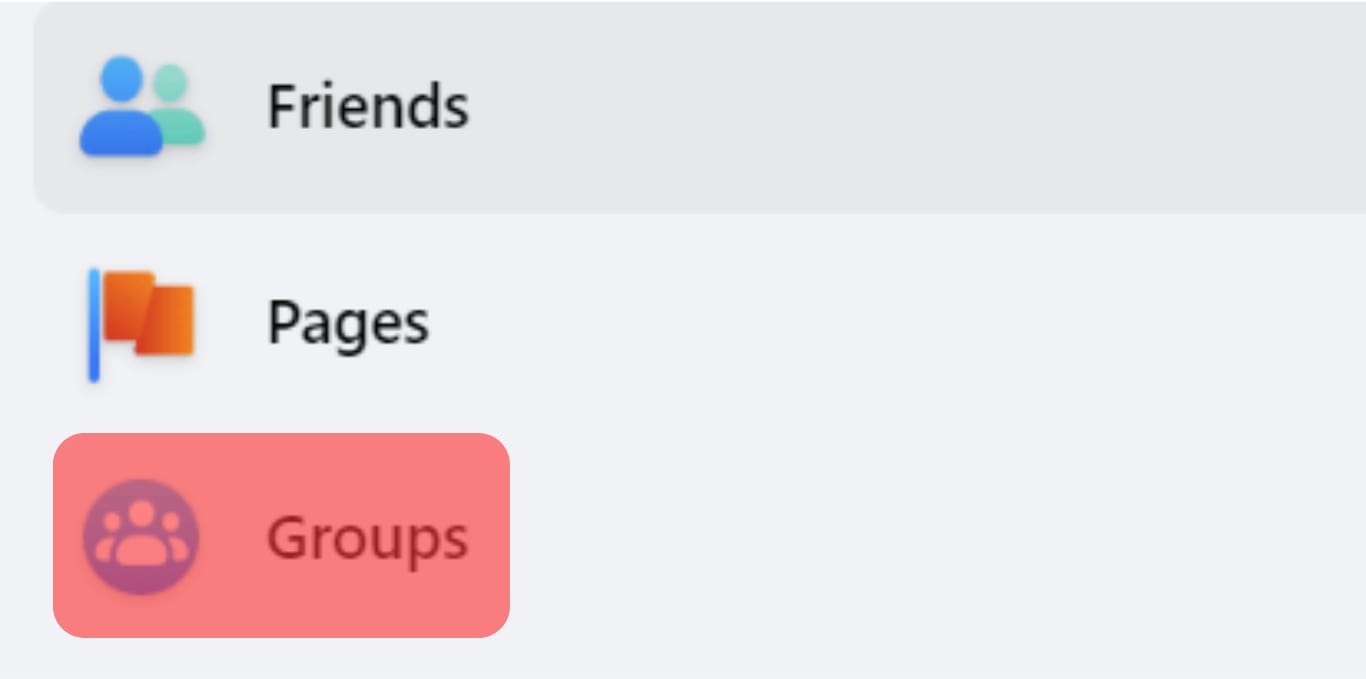
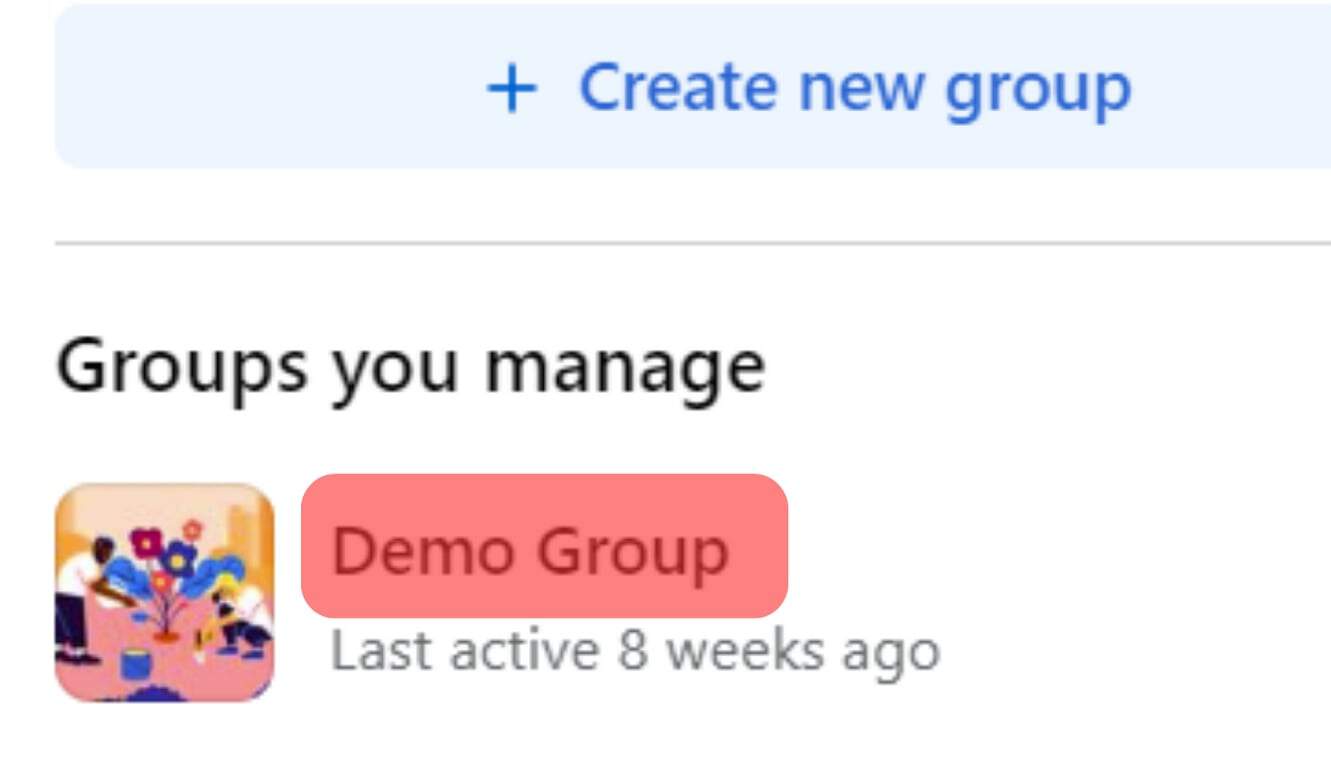
- Once signed in, click on Groups on your left.
- Locate and click on your target group.
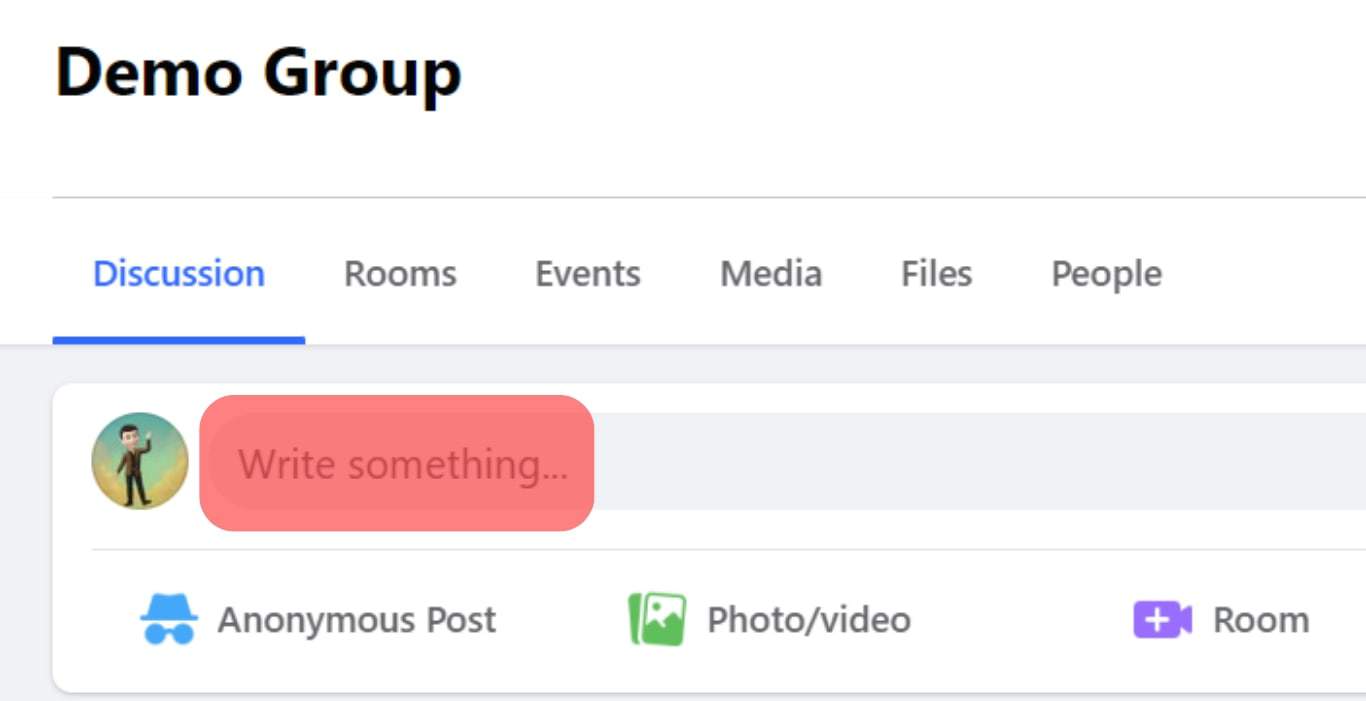
- Once the group page opens, click the “Write Something” option.
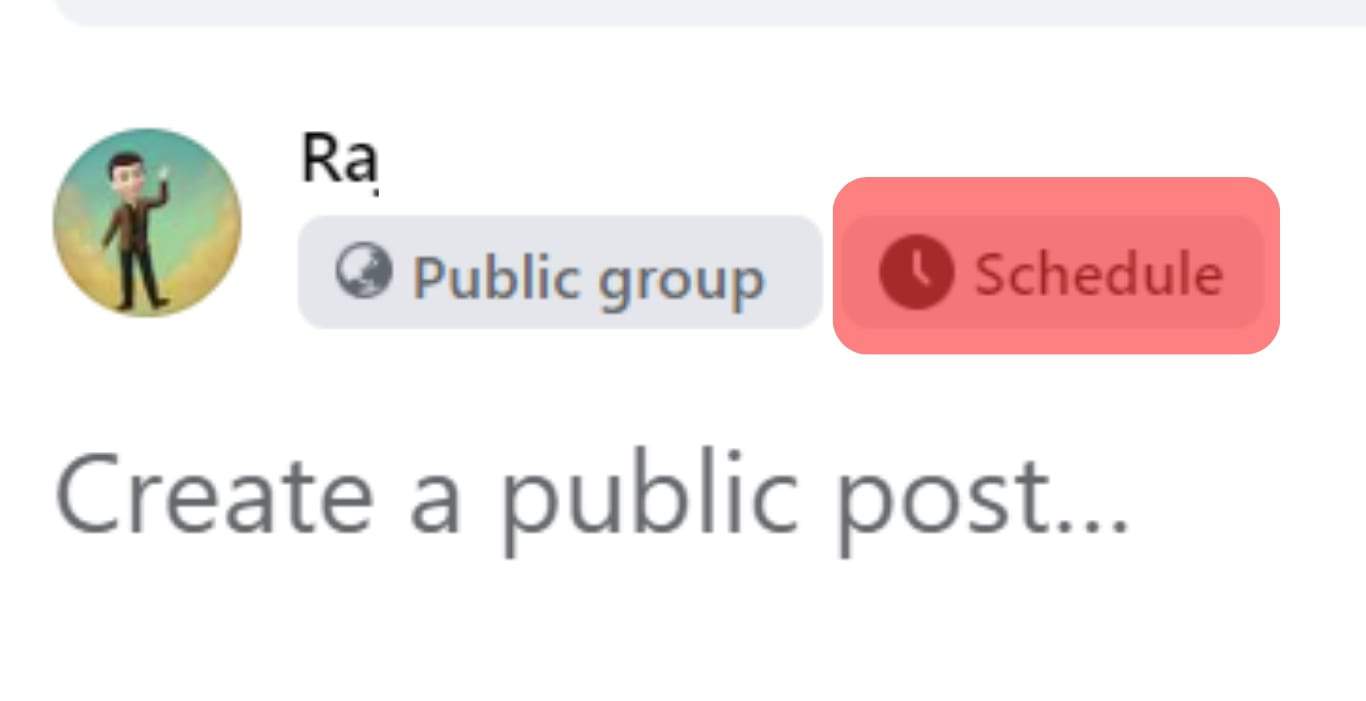
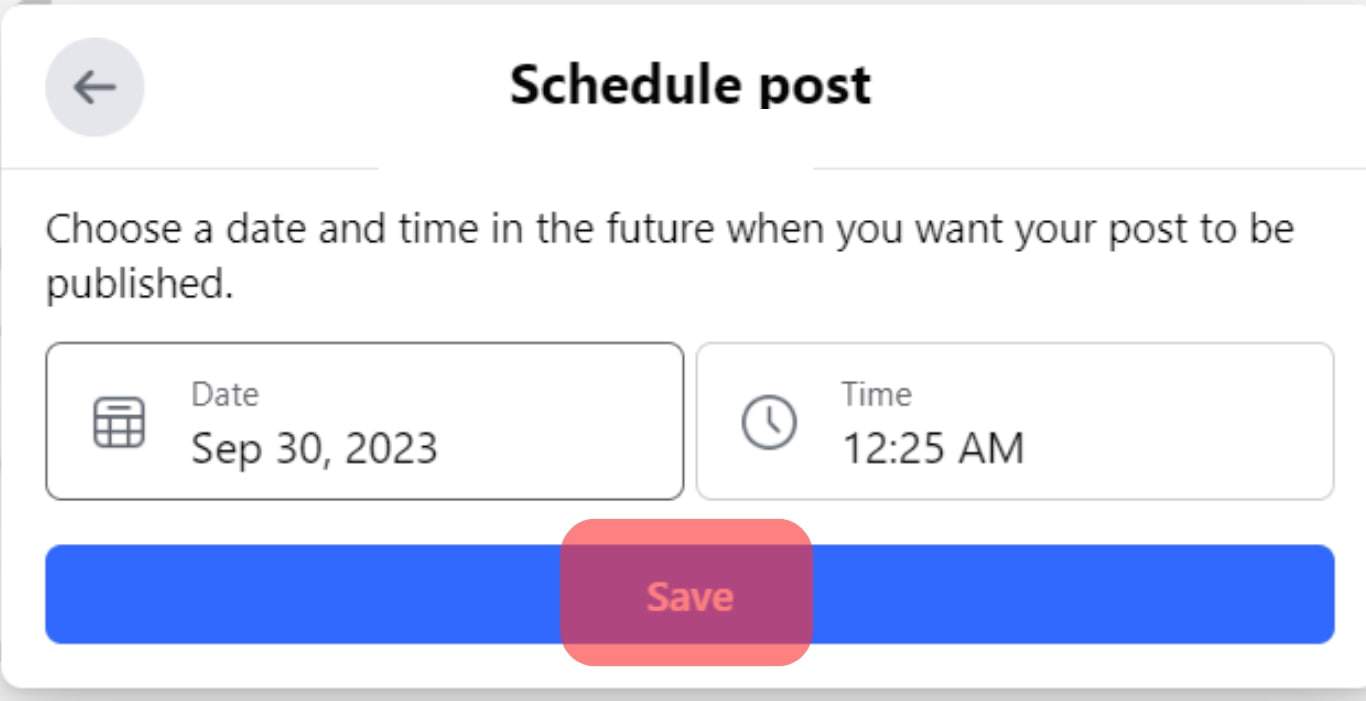
- Tap the Schedule option and select the date and time for your post.
- Lastly, click the Save button. Your post is now scheduled.
Now that we have our post scheduled, we can follow the below steps to turn off scheduled posts on the Facebook group via desktop.
- On your Facebook News Feed, click on Groups.
- Click on your group.
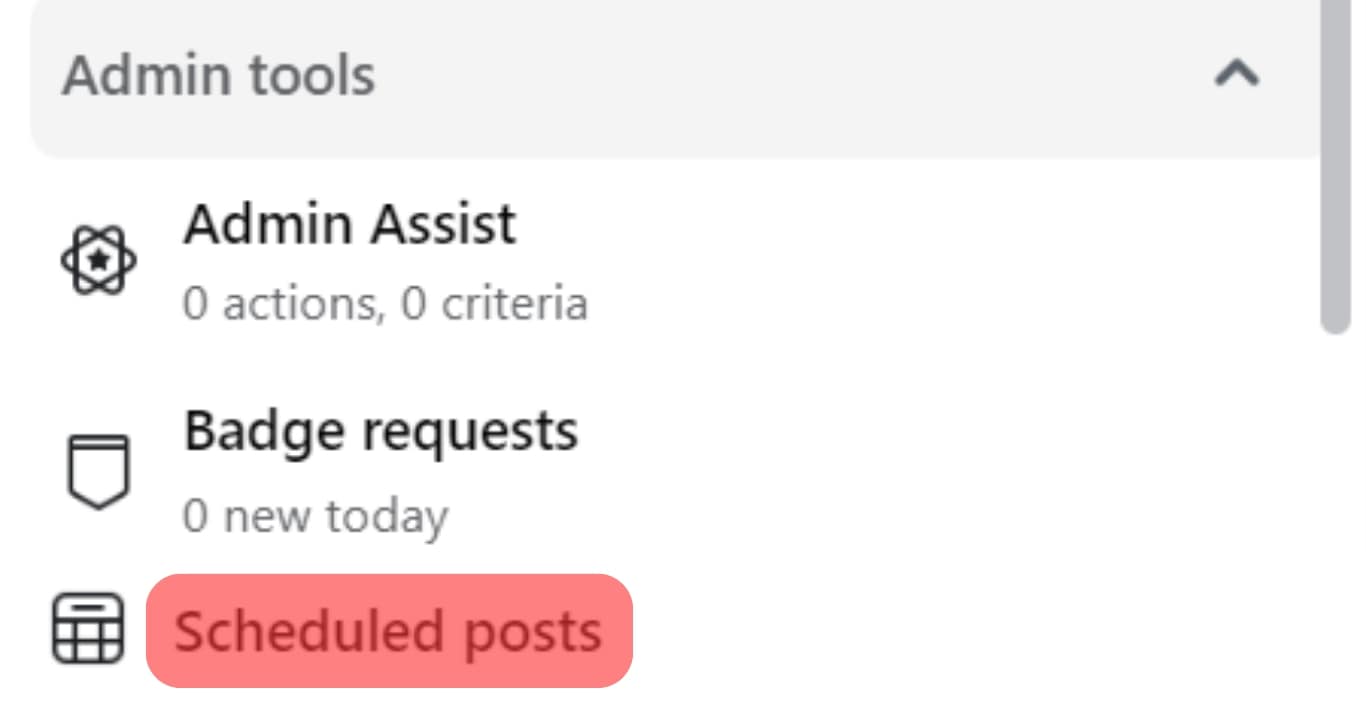
- Tap the option for scheduled posts under the Admin tools.
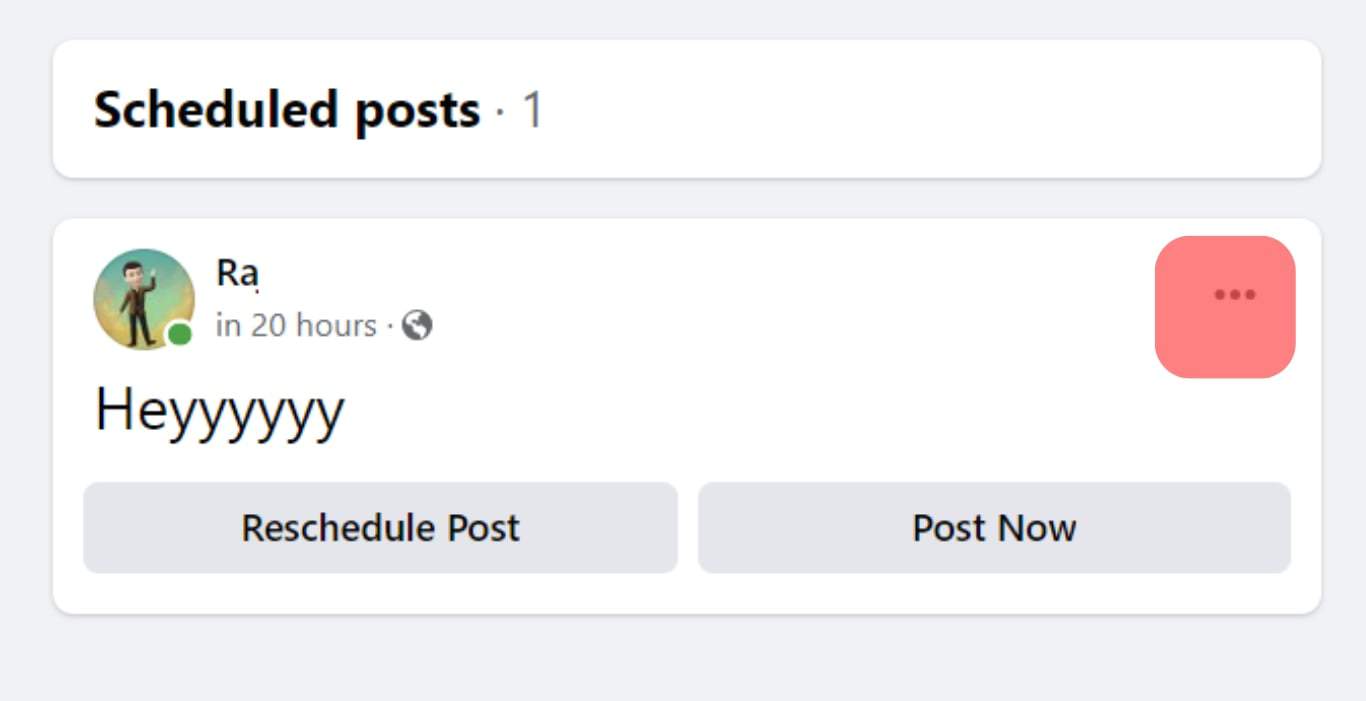
- Click the three dots next to your scheduled post.
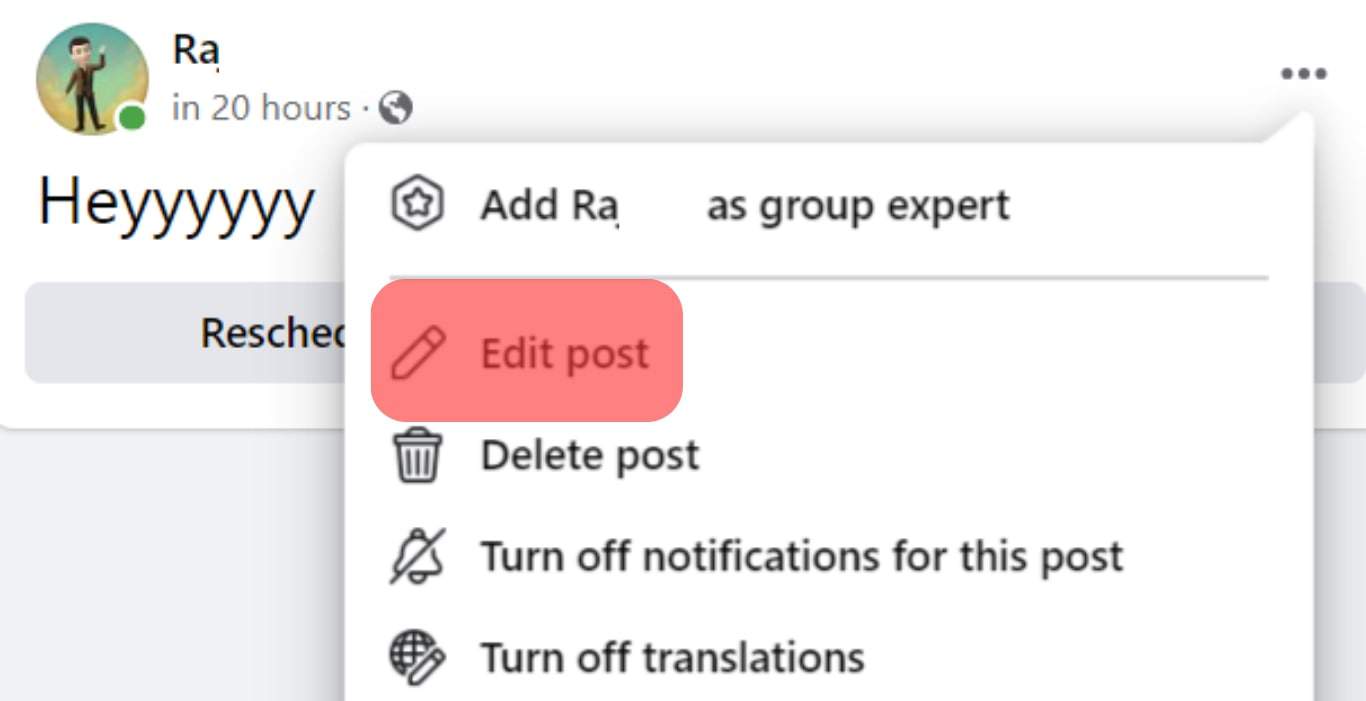
- Select the Edit post, then turn off the scheduled post.
You can also use the other options listed, including deleting the post, rescheduling it, or posting now to achieve other purposes.
Using Facebook Mobile App
- Open the Facebook app and sign into your account.
- Click the menu icon and select Groups.
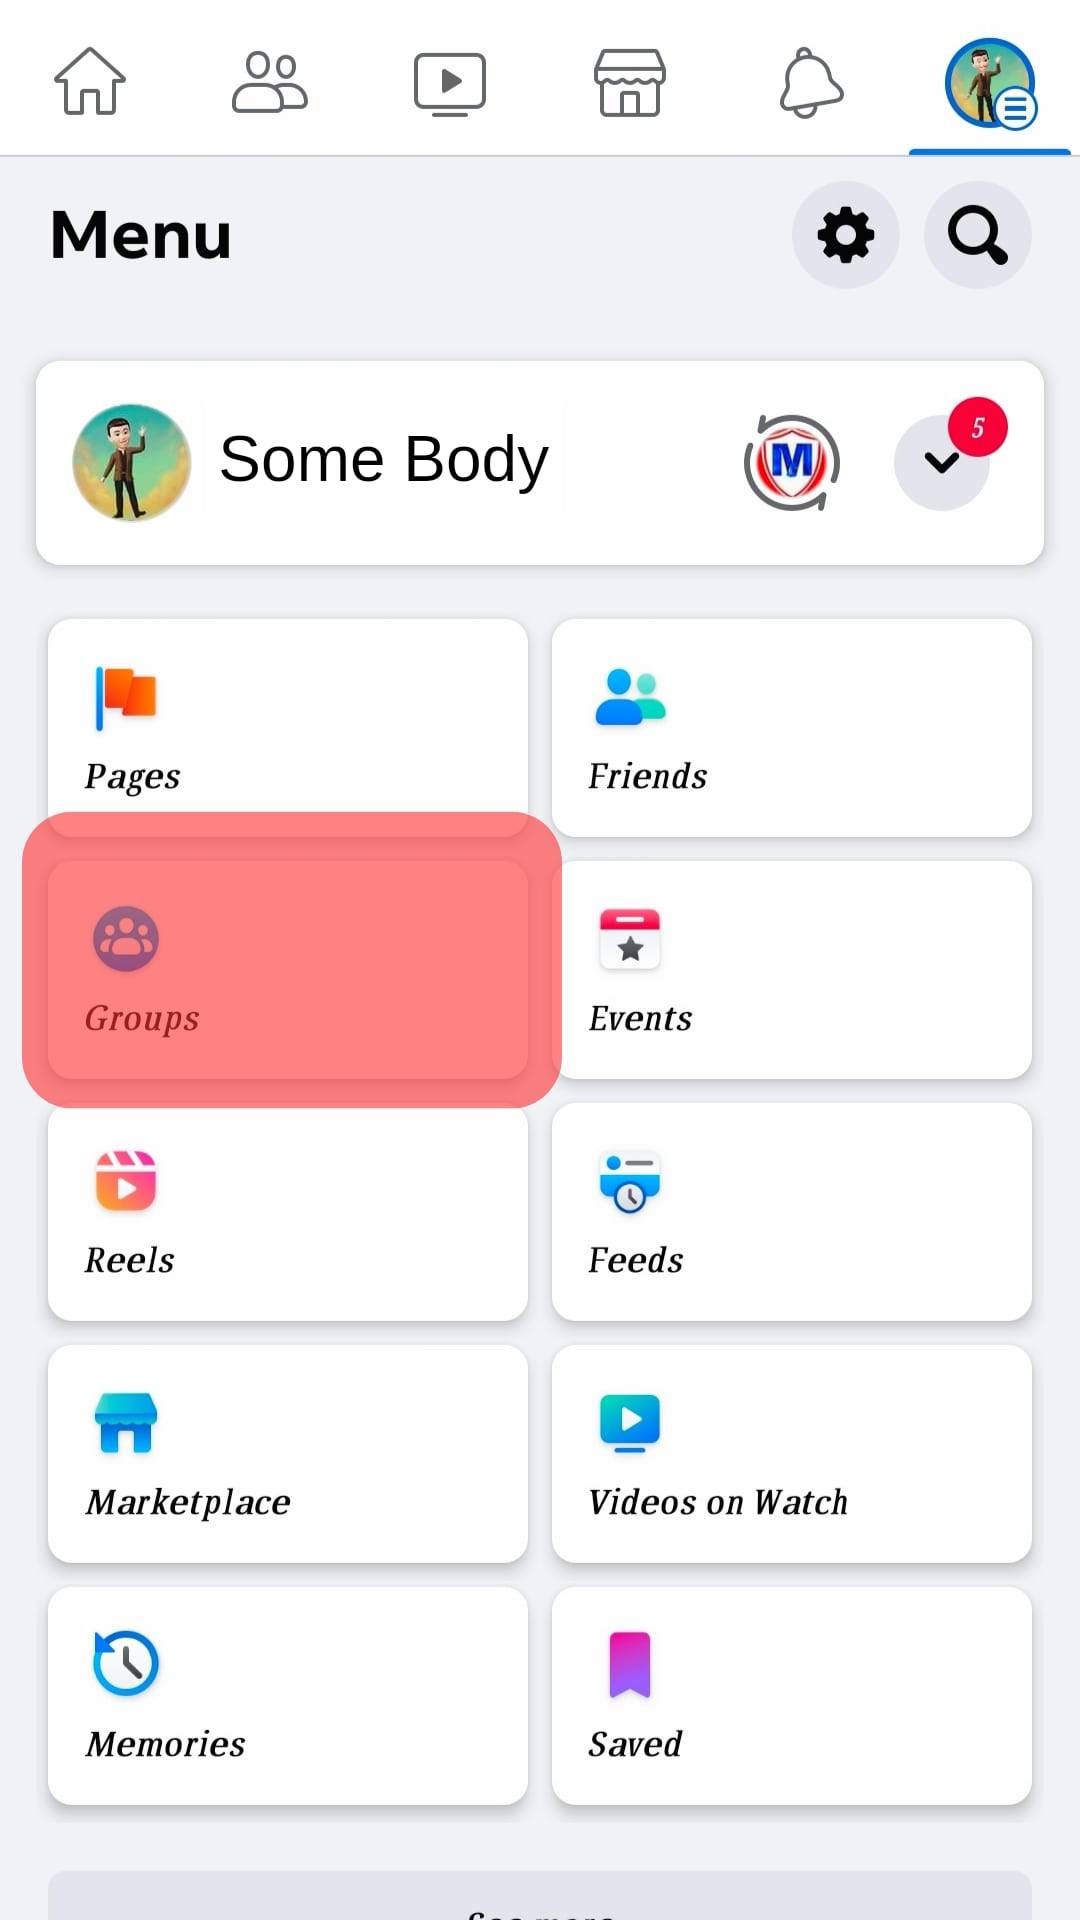
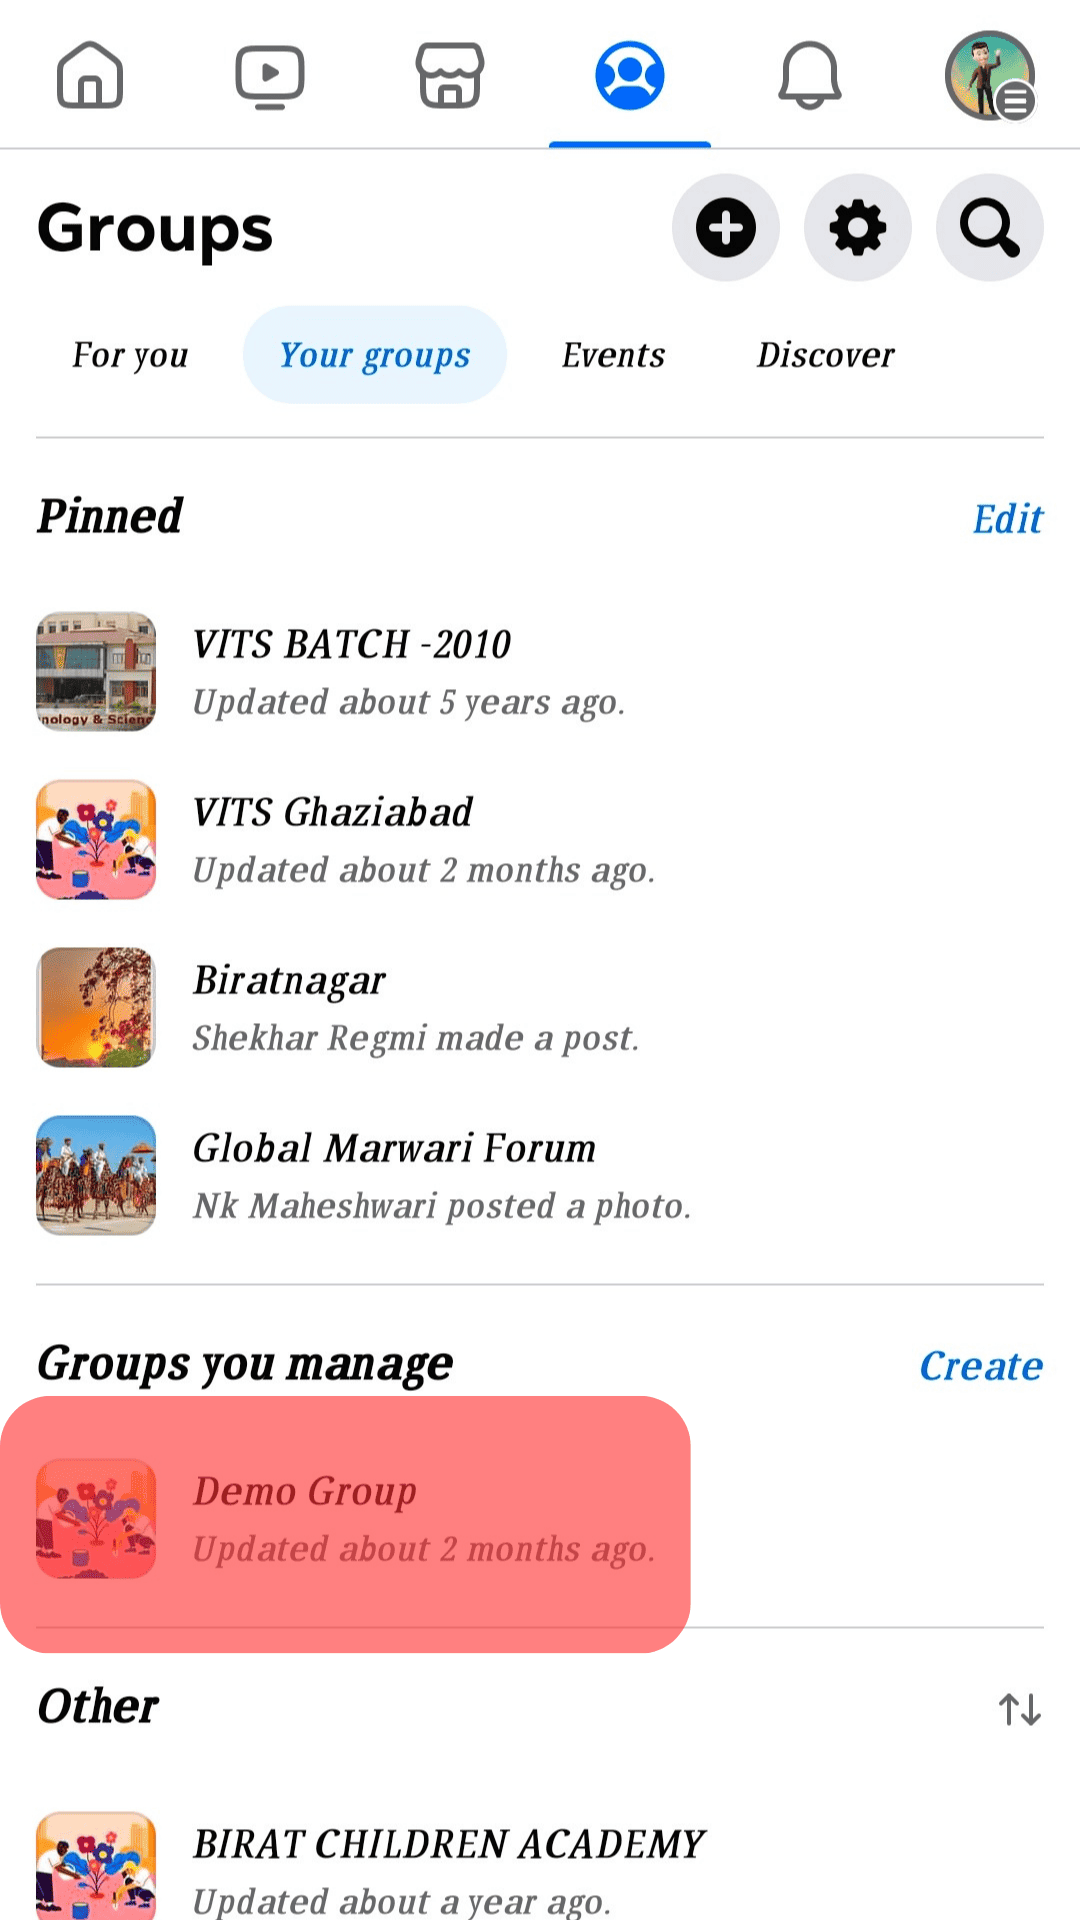
- Under your groups, click on the one you manage.
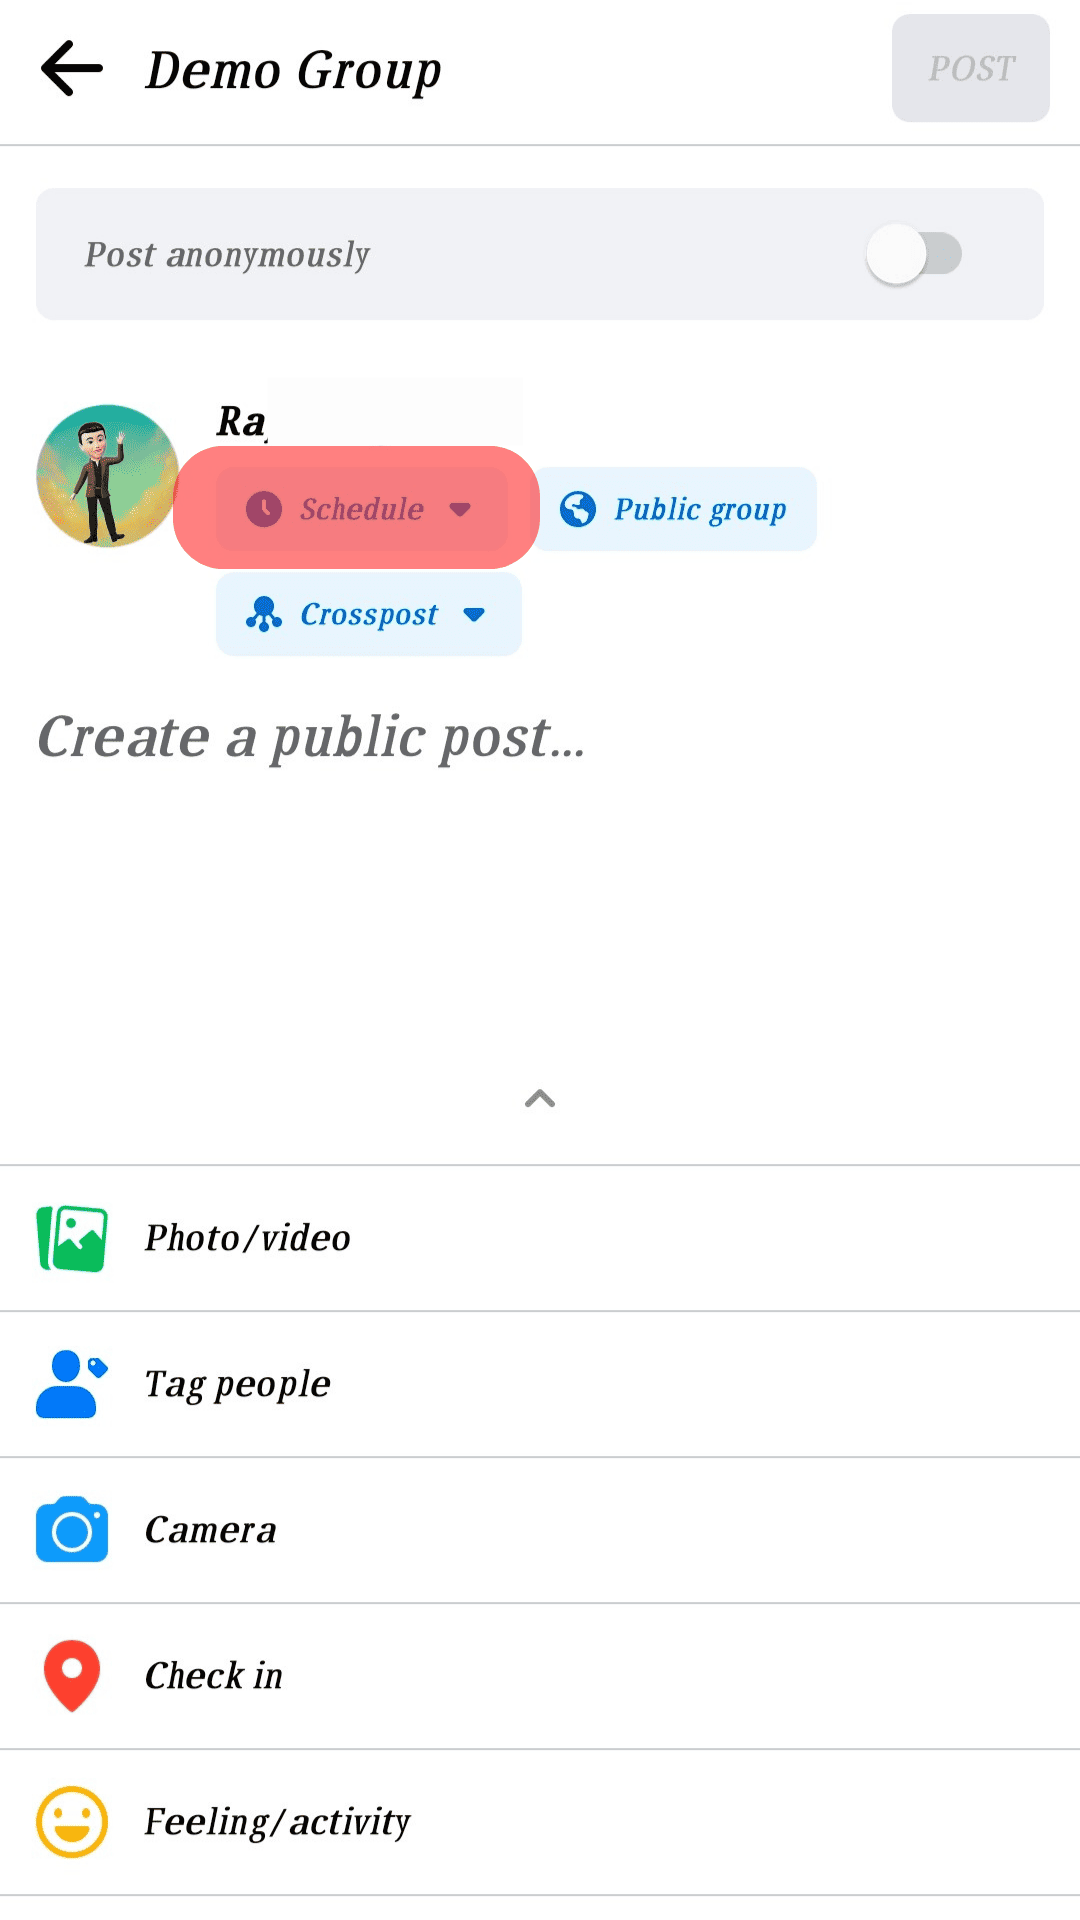
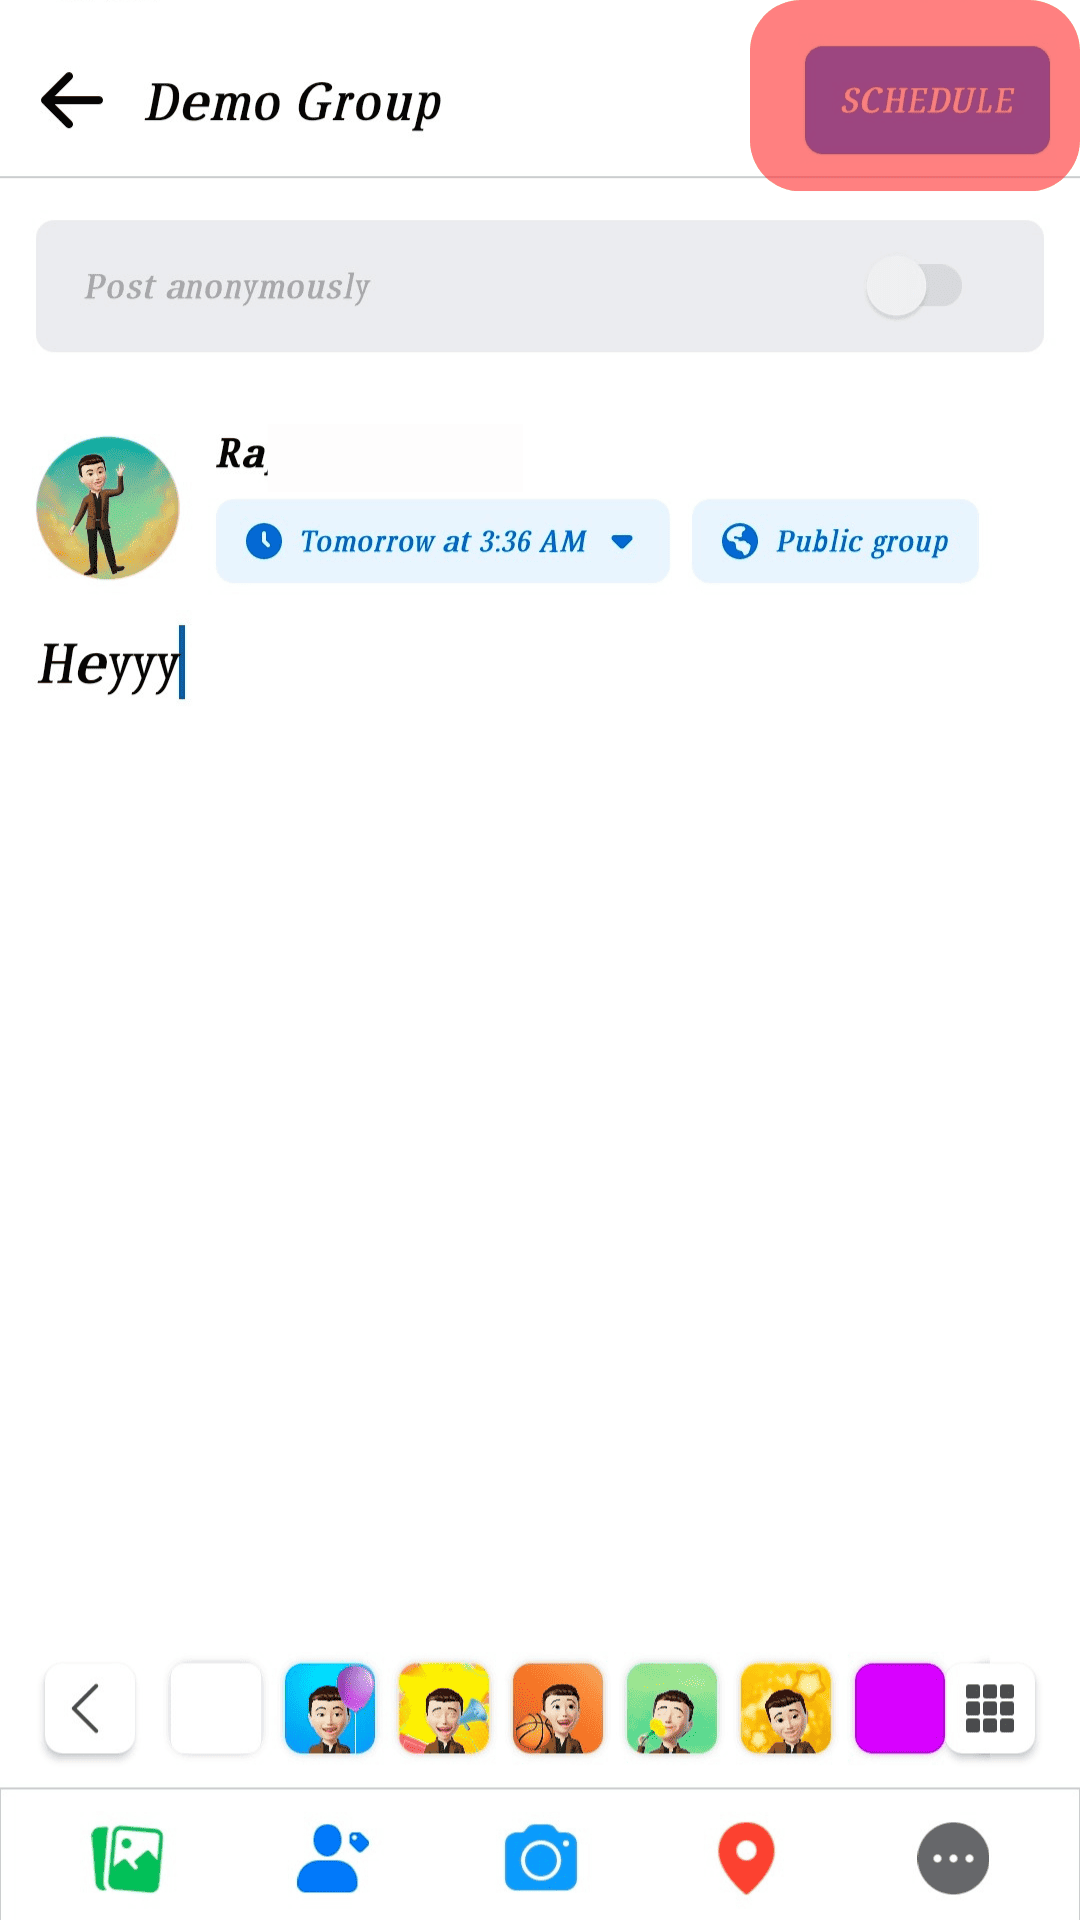
- Start creating your post, then click the Schedule option.
- Select the date and time when you want to publish your post.
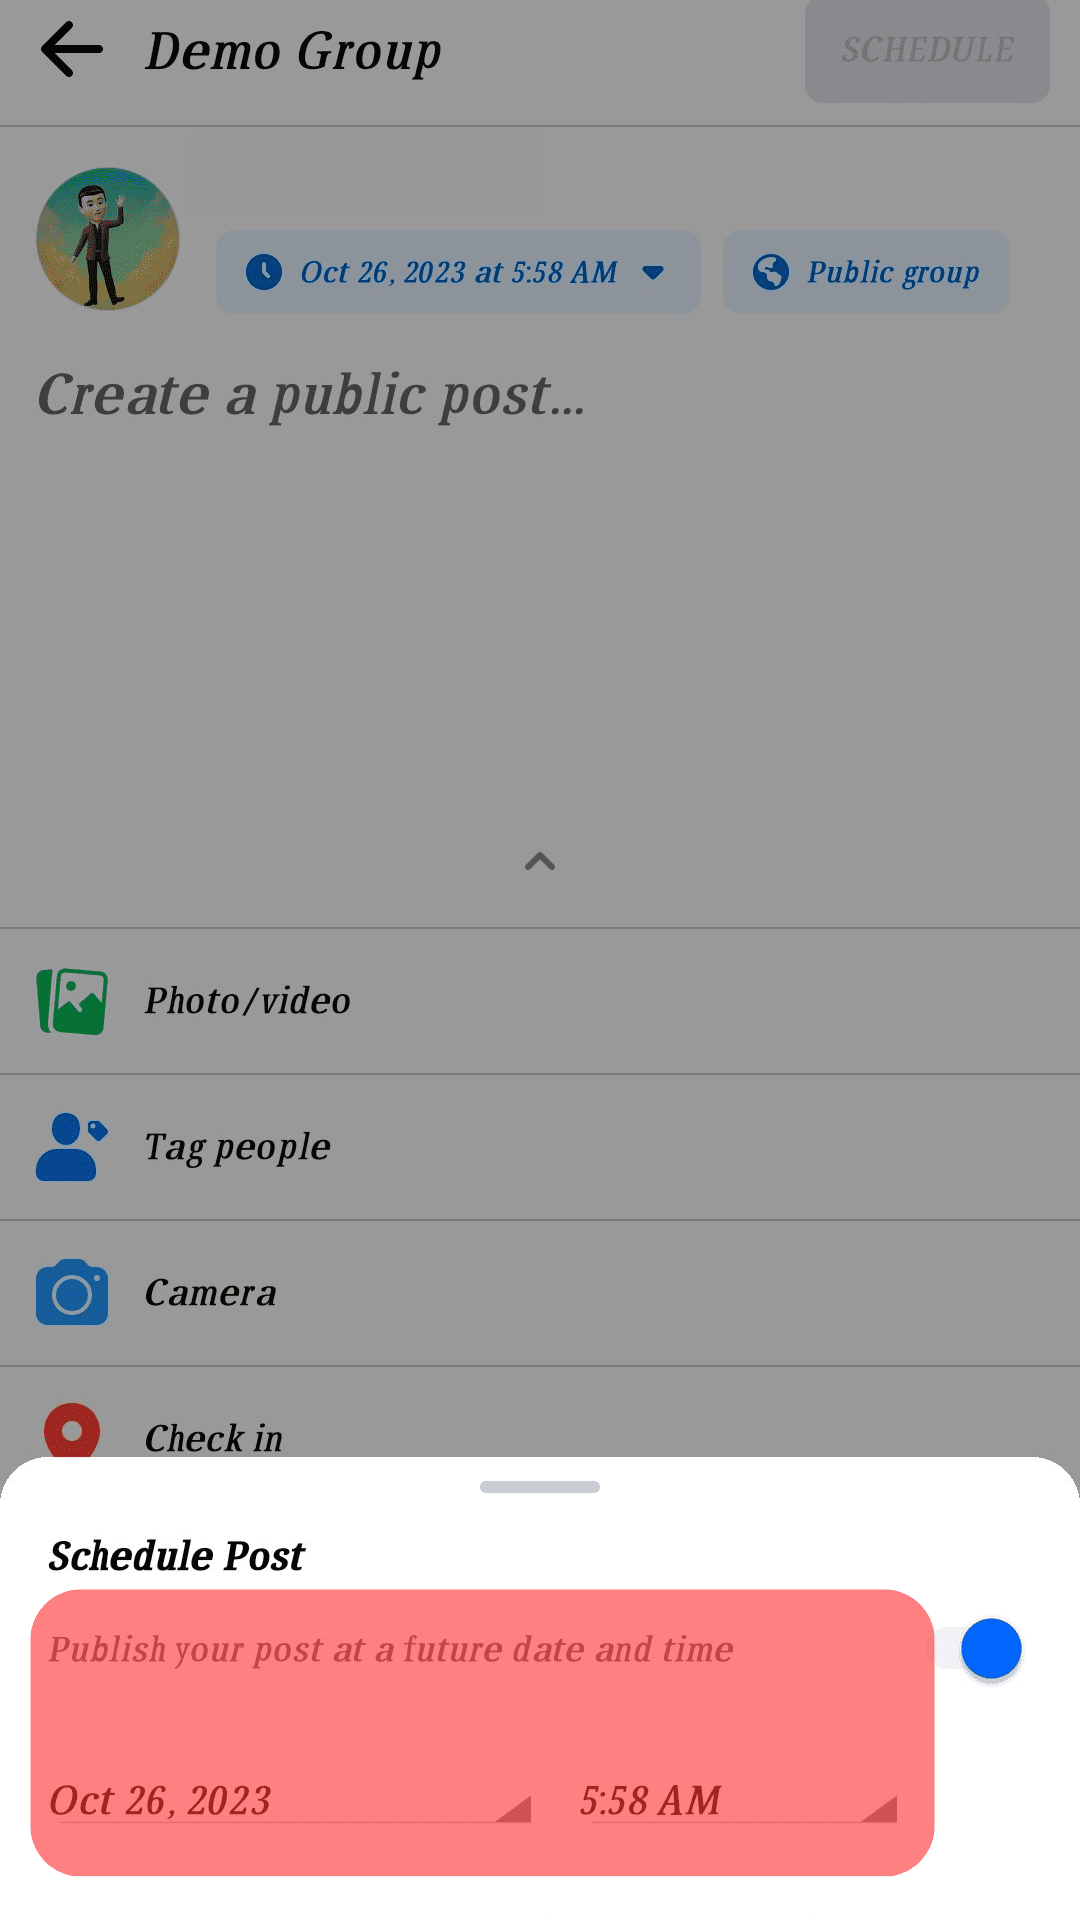
- Click Schedule on Android and Save on iPhone.
Your post is now scheduled for publishing. Follow the steps below to turn off scheduled posts on Facebook groups via the mobile app.
- Open your Facebook account.
- Click on the menu icon.
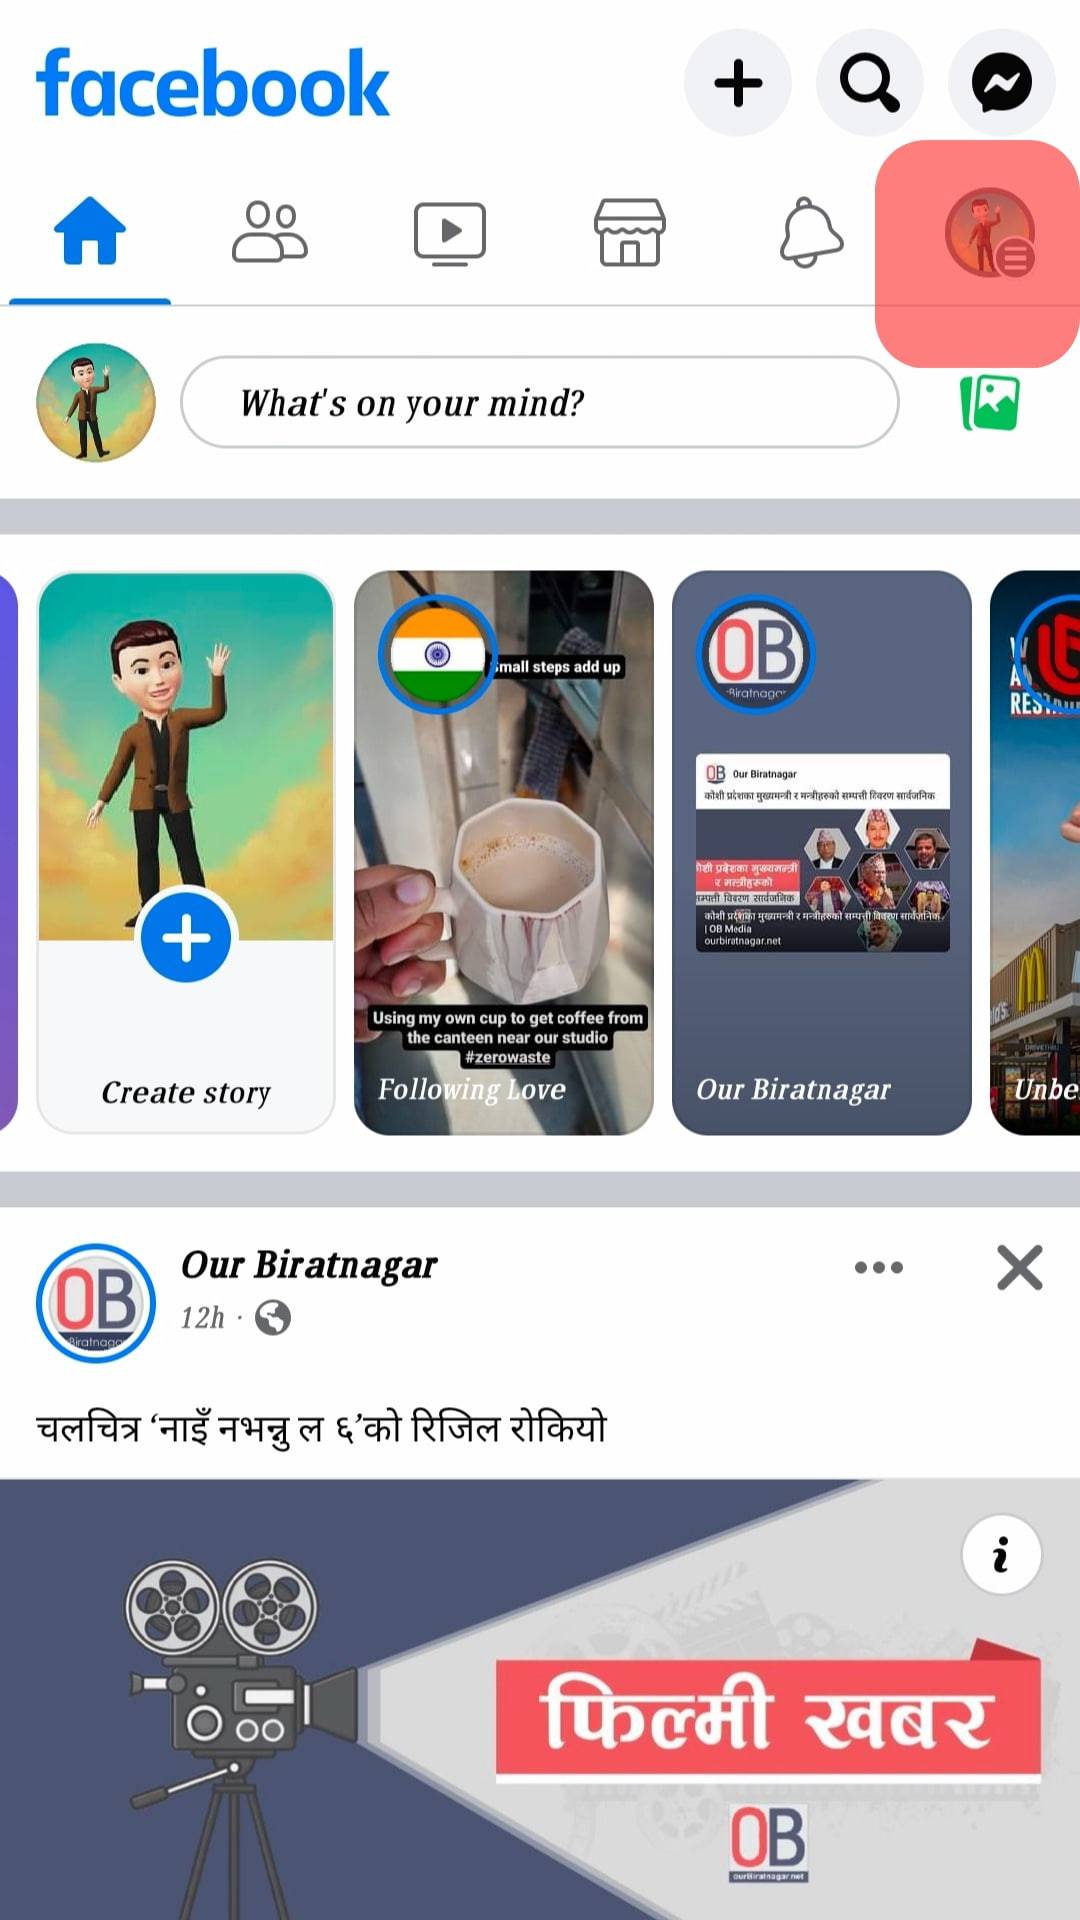
- Tap on Groups.
- Select the group you manage under your groups.
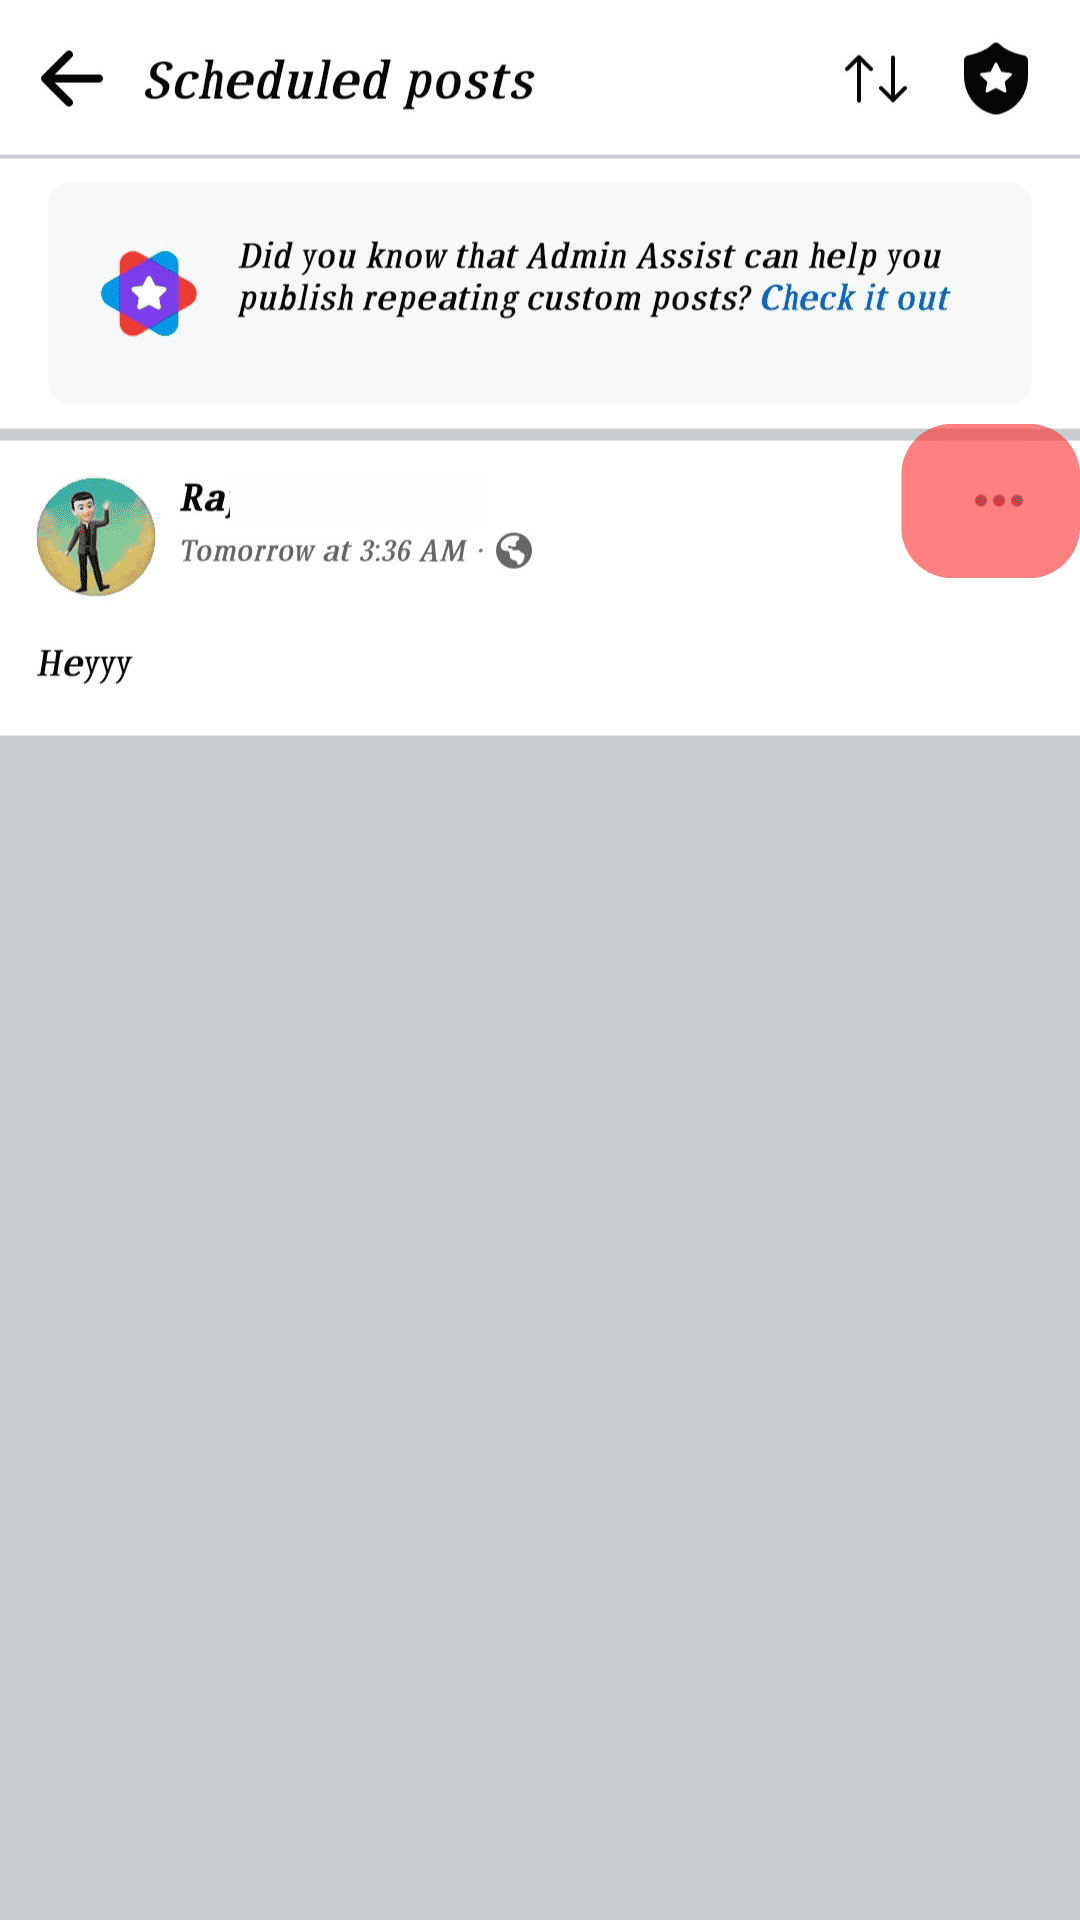
- Click the star-like icon at the top.
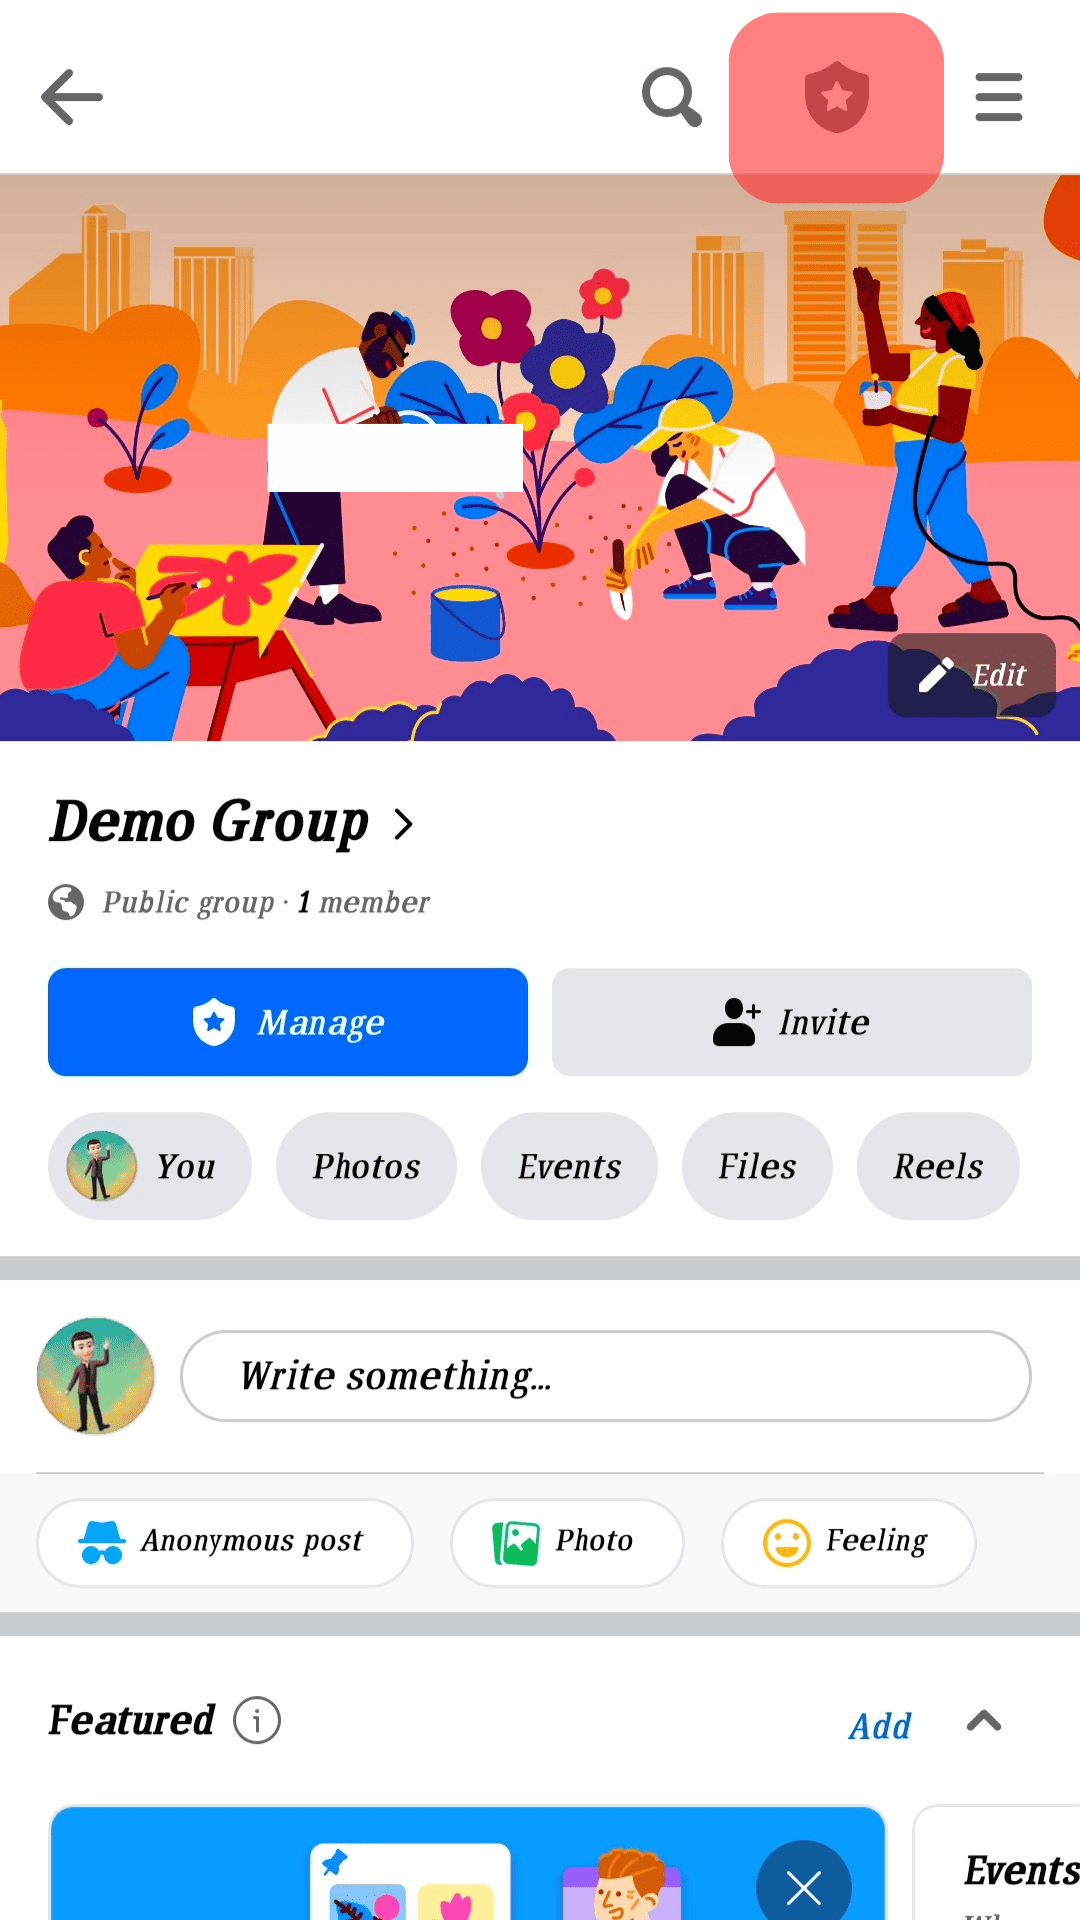
- Select the option for Scheduled posts.
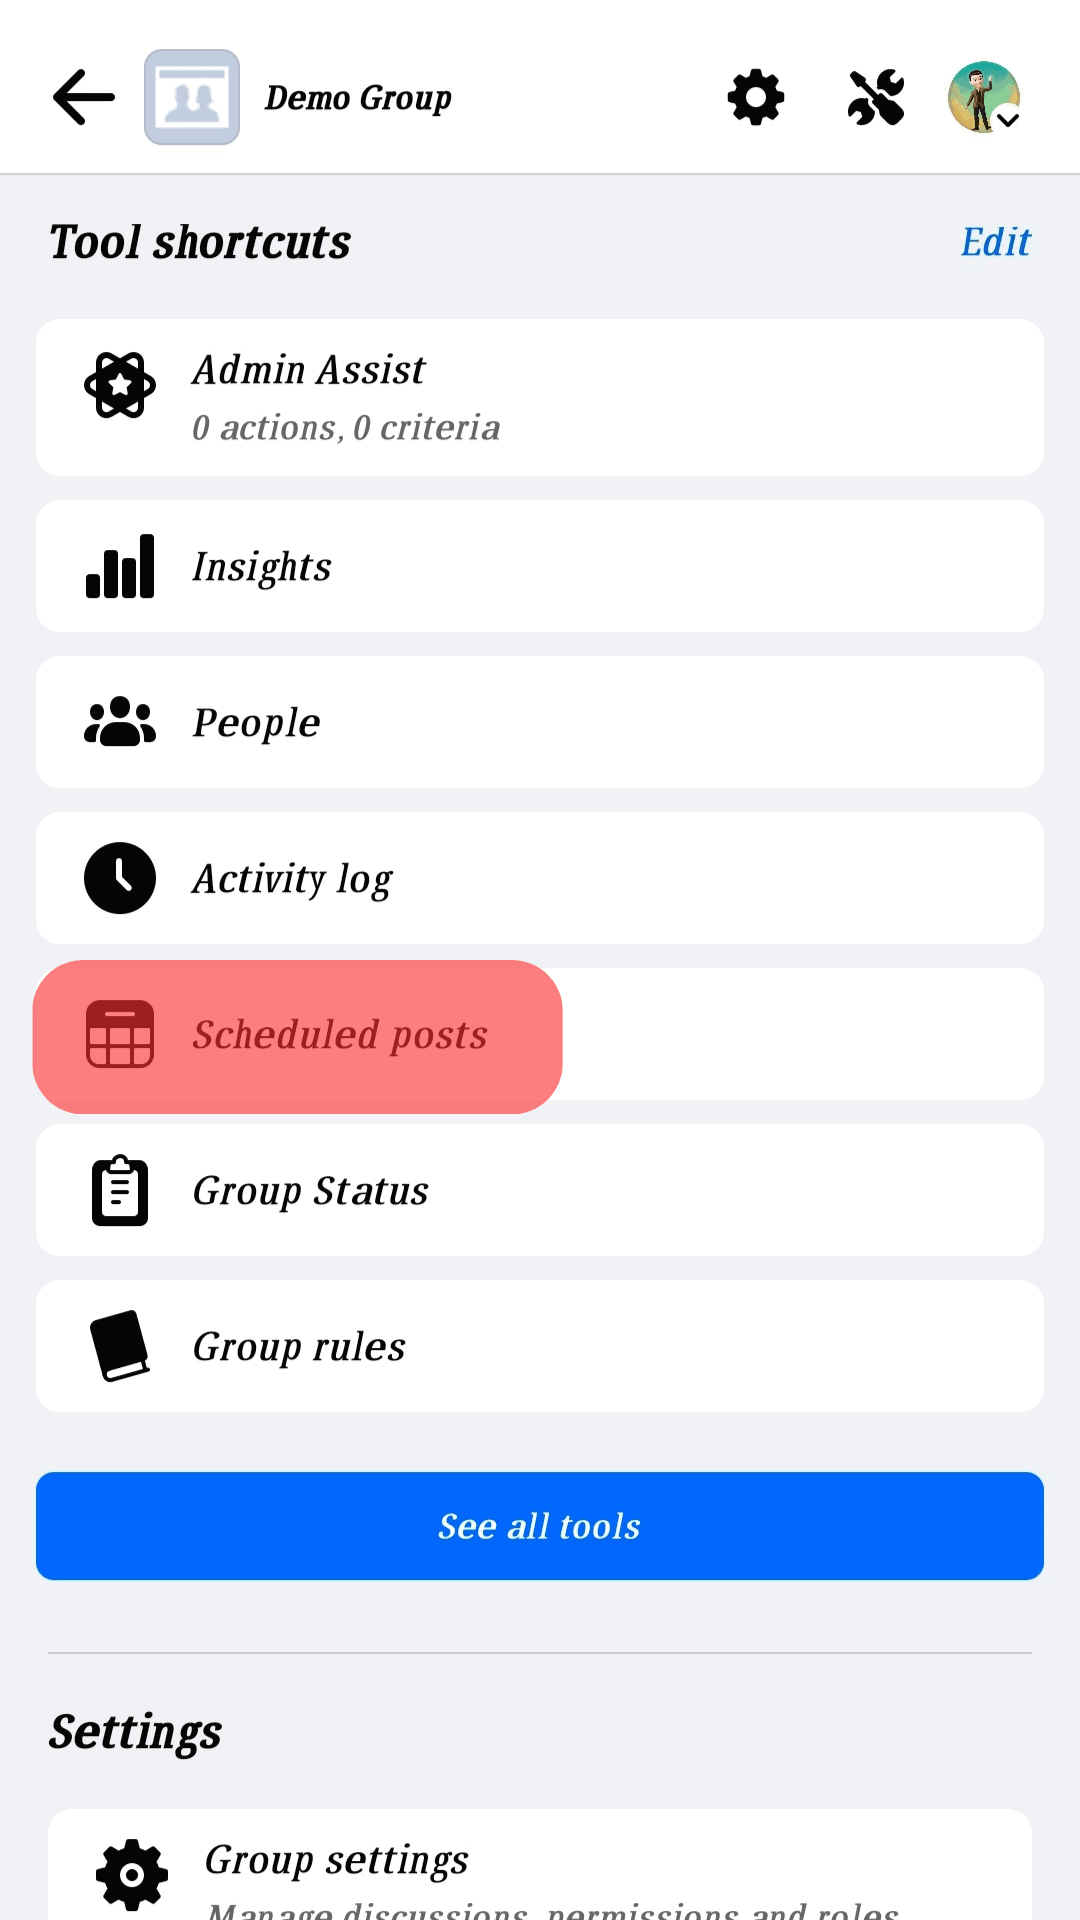
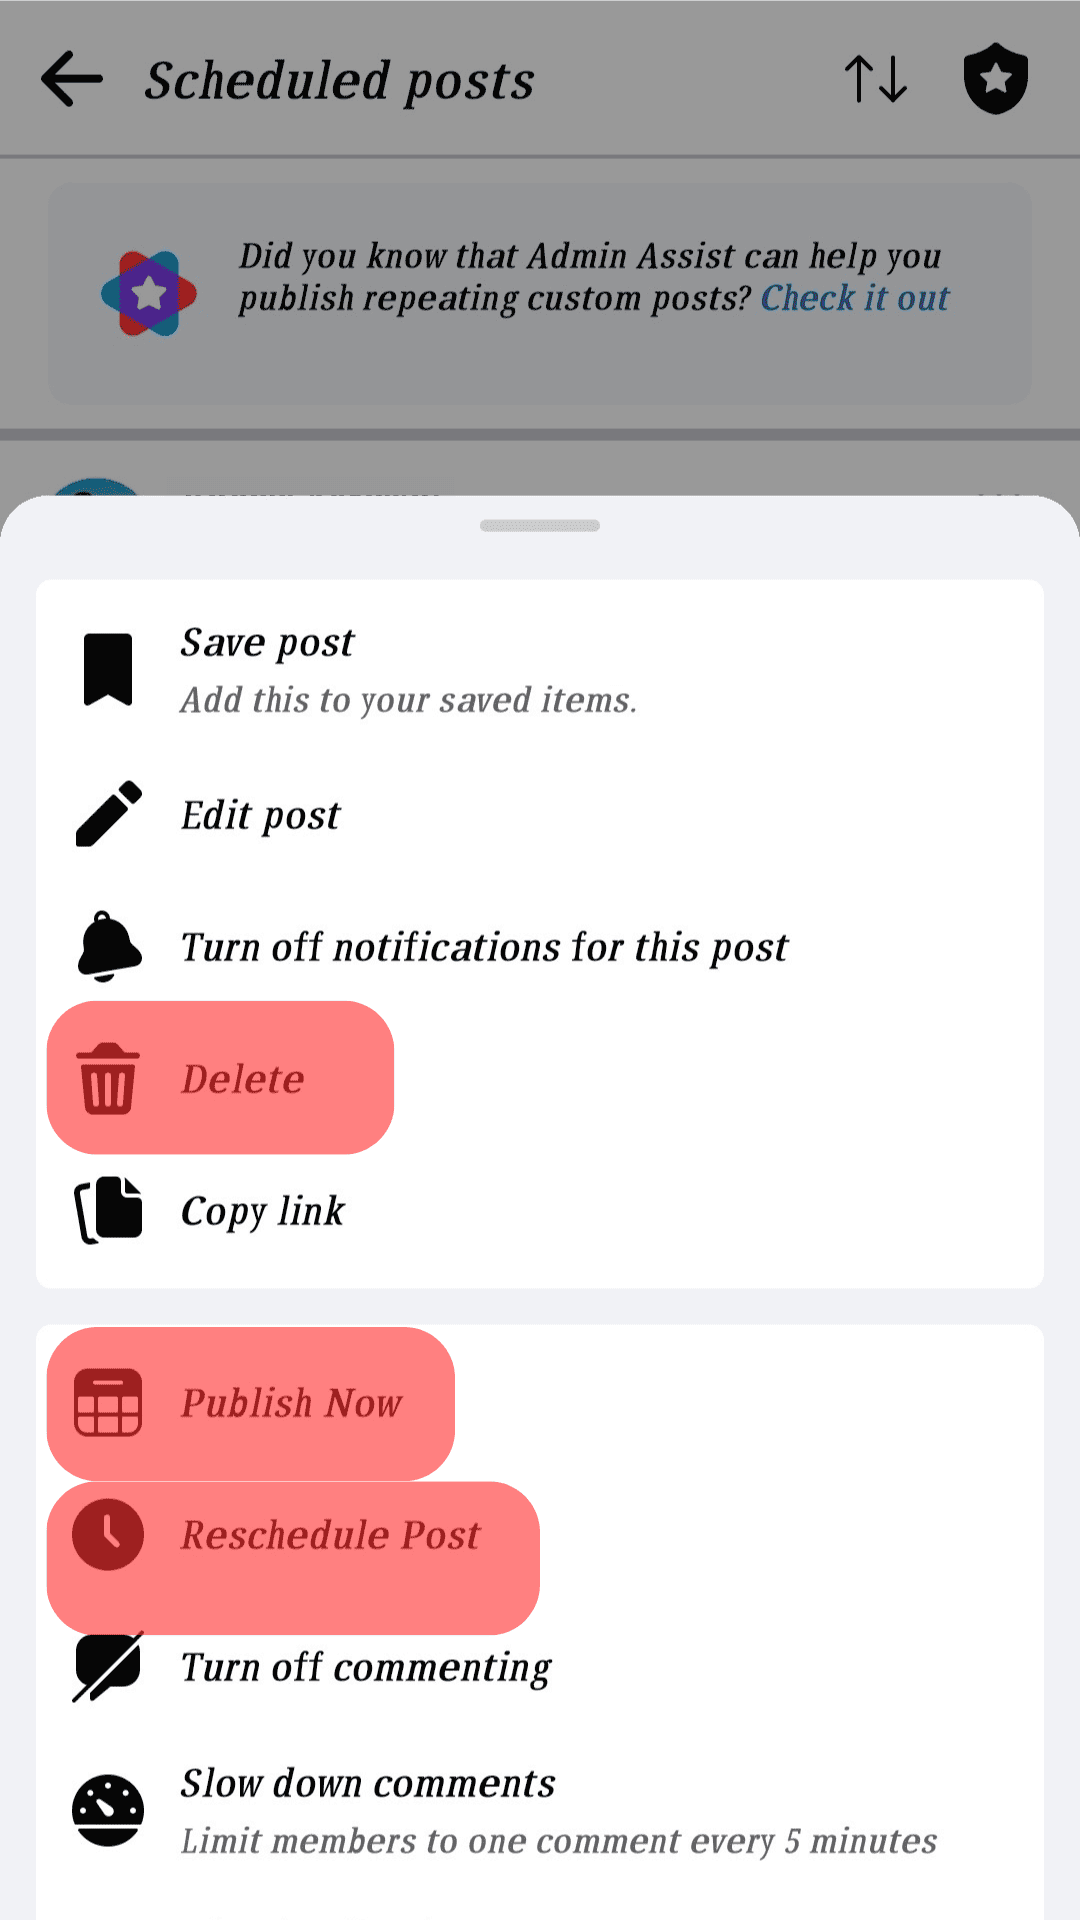
- Click the ellipsis (…) next to the post you want to edit.
- Select Delete if you want to delete it, select Publish Now to publish it instantly, or select Reschedule Post to reschedule your post.
That’s how you turn off scheduled posts on a Facebook group. A recommendation for the future, don’t select (or turn on) the Schedule option while making a post. This way, you don’t have trouble again.
Tips for Scheduling Facebook Posts
Scheduling Facebook posts is one thing, but how best to schedule the posts is another. Below are a few tips to guide you when scheduling Facebook posts.
Focus on the Brand
Please don’t rush to maintain consistent posting, as it may not align with your brand’s interest. Instead, take time to schedule the posts that will give you an audience and engage with them. The focus is ensuring your craft posts work in your brand’s best interest.
Be Keen on The Schedule Date and Time
Knowing your audience well comes in handy in determining when you should schedule your posts. Schedule posts to align with the time your audience is free. That way, your posts will get more engagement.
Don’t Schedule Everything
Don’t always schedule everything. Let some things, such as photos, be random posts, and only schedule that which you want people to engage more with. In that way, your audience won’t tire of waiting for your scheduled posts.
Conclusion
Scheduling posts is great for growing your brand using a Facebook page. We’ve seen the steps for scheduling posts on Facebook and offered ways of managing the scheduled posts on your computer and the Facebook mobile app.