
On your Instagram feed, you’ll see a post with an estimated time on when it was posted, e.g., 2 hours ago, three days ago, seven days ago, etc. This happens across most platforms, and we don’t know precisely why it was programmed that way. However, an insight into what time a thriving post was made could help you understand your audience better, what they like, and when.
There is no direct way of checking the exact time a post was made on Instagram without using a third-party website as a personal or business account. However, if you’re using a professional account, you can check the exact time you made a post from the insights. Also, checking an exact time using a third-party website requires you to have a PC.
In this article, we’ll go through the process of using your desktop to check a time stamp and how you can do so with a professional account.
How To Check the Exact Time on Your Instagram Post Using a Desktop
As established earlier, this method involves a third-party website and will only work using your computer. If you’re using a professional account, you can skip this method. Follow this process when you have your laptop and have logged in to your Instagram account.
Step #1: Check the Instagram Post
Using your computer’s browser, navigate to the post whose time you want to check. Beneath the post with the estimated time, i.e., 1 hour ago, 3 days ago, March 25, etc., highlight that estimated time, and right-click.

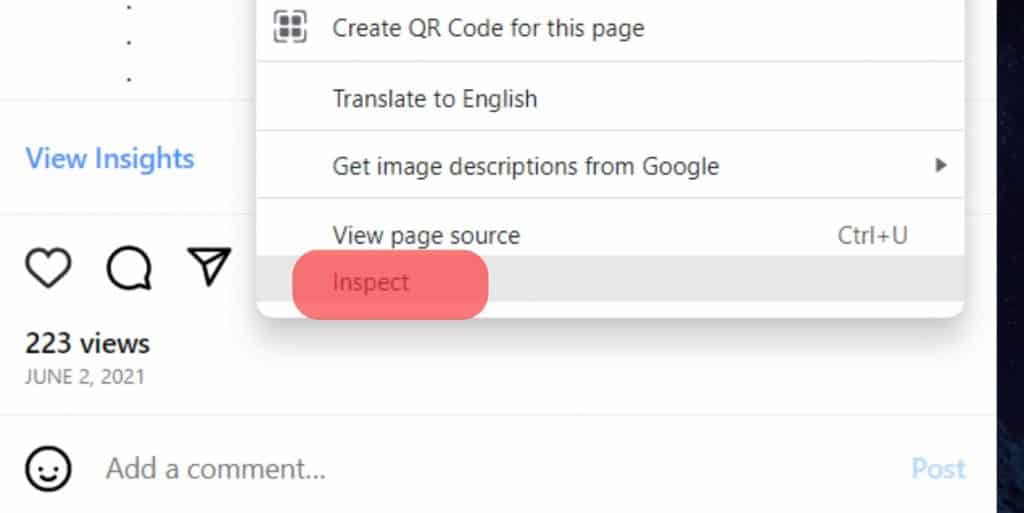
Step #2: Click on “Inspect”
In the list that pops up when you right-click from the above step, click on “Inspect.” This will open a developer tools page.
Step #3: Copy the “Date-Time” Element
On the developer tools page, you’ll be taken to the “Elements” tab with various codes. However, you’re only looking for one line of code. If you highlighted the date/estimated time from step one, you’d see this line of code already highlighted for you in the tab.

For example, It’ll appear in the format: datetime=”2022-07-19T13:00:15.000Z.” Copy the line numbers and letters appearing in the quotation mark by double-clicking on it and pressing Ctrl + C.
Step #4: Convert the Time Stamp
To make the time stamp more readable, you need to convert it with an online converter such as the Coder’s Toolbox UNIX timestamp. When you open this online converter, you’ll see boxes where you can input data, including your copied timestamp.

Ensure you’re displaying the time in “Local timezone,” and paste your copied timestamp in the ISO 8601 time. The result will be displayed in the box labeled RFC 2822 time. For instance, you’ll get a result in the format Tue, 19 Jul 2022, 14:34:03 + 01:00. This is the exact time and date at which the Instagram post was made.
The result is pretty easy to read, but if you’re still confused by the 14:34:03 + 01:00, it’s telling you the post was made at 02:34 p.m. in the third second leading to the 35th minute. The +01:00 behind shows your local timezone.
How To Check the Exact Time Using a Professional Account
In the settings, Instagram lets you switch from your personal account to a creator’s account. With the creator’s account, you get better insights into your posts with metrics showing how many accounts you reached, how many engaged, and how many visited your profile. Another piece of data this provides is the time and date you made the post.
To check the time and date you posted, you first need to switch to the professional account and view insights. Follow these steps to do so.
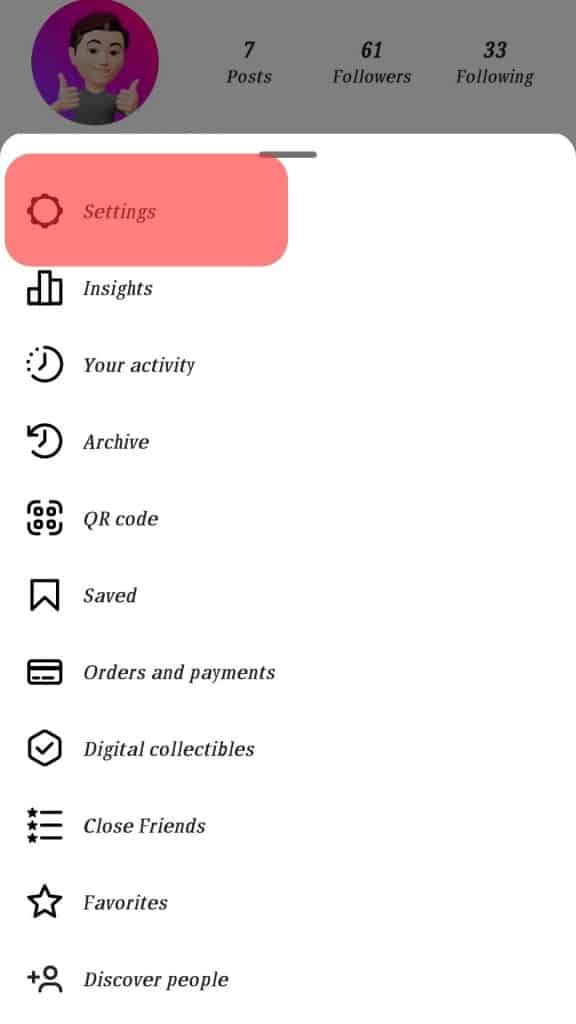
Step #1: Go to Your Account Settings
When logged in on the mobile app, click on your profile icon, then click on the menu icon at the top right of the screen. Tap on “Settings.”
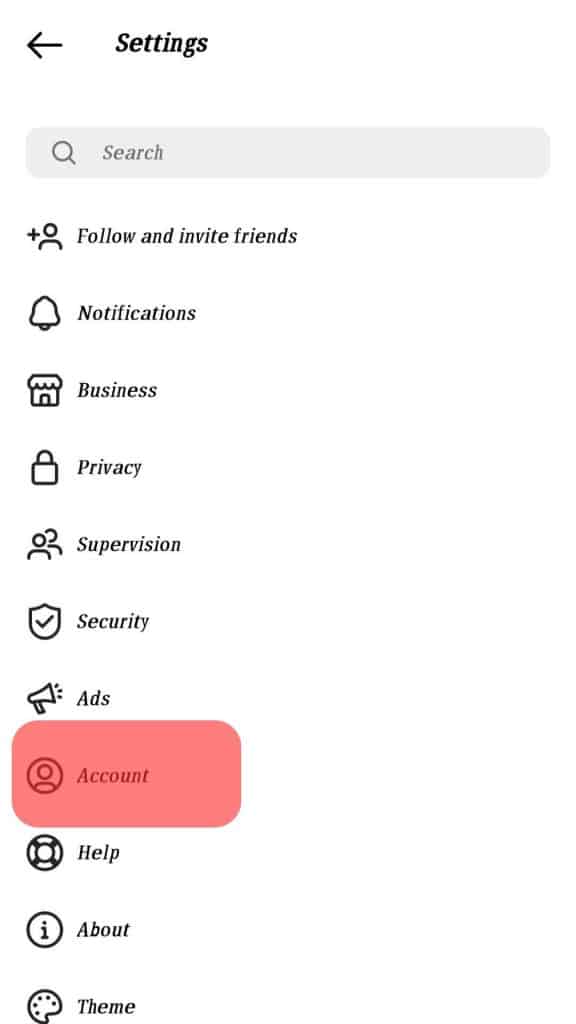
Step #2: Click on Account
In the settings, click “Account” and scroll to the bottom, where you’ll see “Switch to Professional account.”
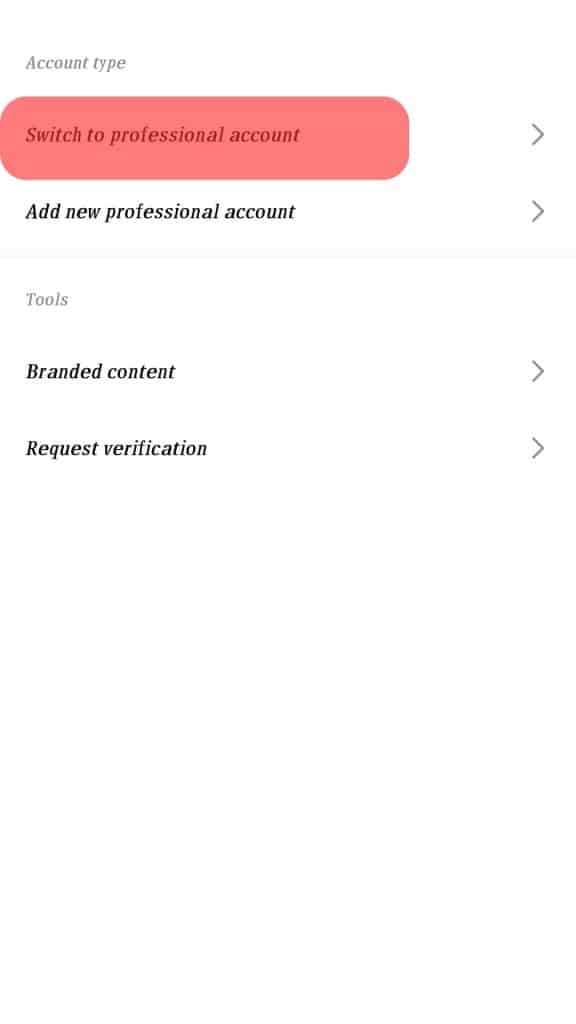
Step #3: Tap on “Switch to Professional Account”
Click on the option and continue to describe what your professional account is about. Once you’re done, navigate back to your profile page.
Step #4: Check the Post
Go to the post you want to check its date and time. Now that you’re using a professional account, you’ll see “View insights” at the bottom left of the post.

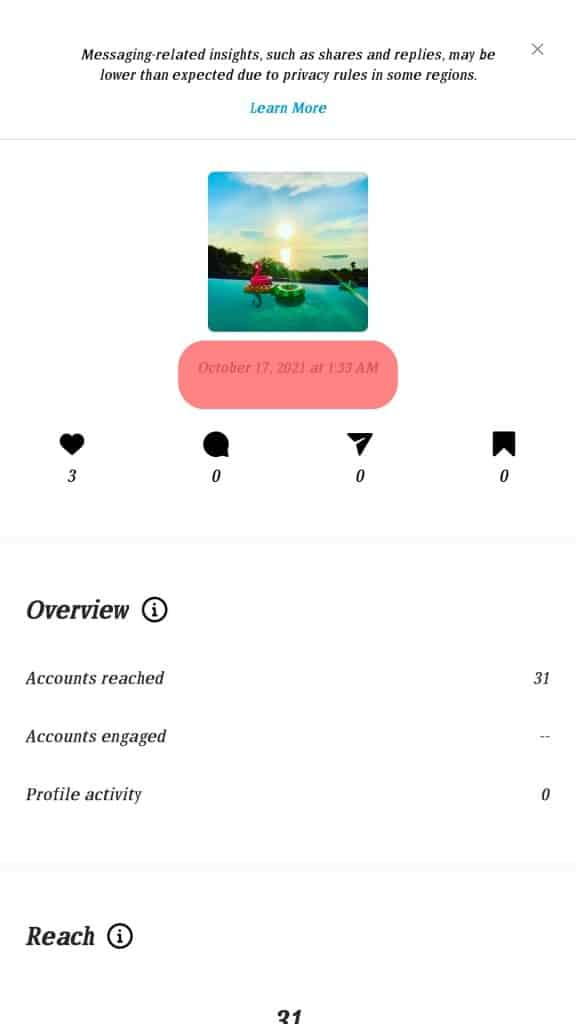
Step #5: Click on “View Insights”
Tap on “View insights,” and you’ll be able to see the date and time the post was made. You’ll also get data on how people interacted with the post.
Conclusion
These are the steps in checking your posts’ exact date and time. We reckon the professional account method is more straightforward as you can easily access it from your phone without a third-party website.