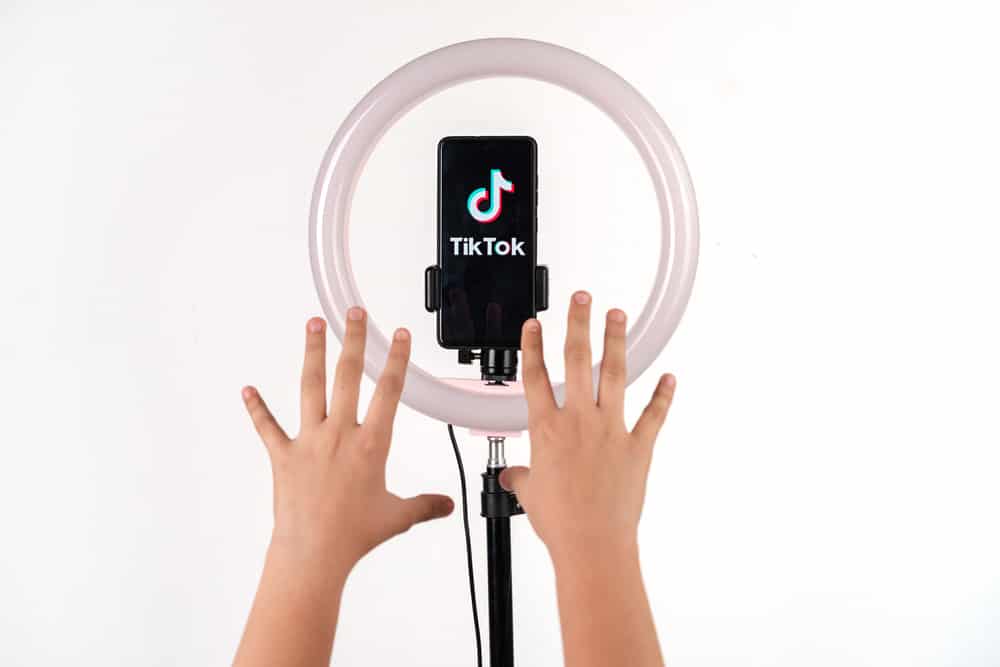
TikTokers are taking over the world, one video at a time. The platform helps users showcase their talents, facilitate collaborations, or present comical videos. Thanks to its algorithm and over 1 billion active users, finding a niche to participate in TikTok is not difficult.
However, to keep your audience interested and engaged in your videos, it’s recommended to show them the process behind your work or activity. And time-lapses are a great tool to do so.
Making time-lapses is easy and can be done using the primary camera function on most smartphones or through TikTok. However, you can choose if you want to use pre-captured media or capture new still media for a video. Just do the necessary editing and it is done.
TikTok has several built-in features that facilitate most video editing needs. Creating a time-lapse video requires the photos or videos you wish to include in the final TikTok and patience.
This article provides a guide to making time-lapses on TikTok using existing media or directly making a time-lapse on your phone.
How To Convert Existing Photos and Videos Into a Time-Lapse?
This process is used to film the behind-the-scenes of a project that takes a long period to finish. Through this video, your followers can see the entire process it takes to produce the final content. This way, viewers feel more connected with your content and can be retained.
Step #1: Collect the Related Media
To make the video, you must start by collecting relevant media files like photos and videos from your gallery of stored media.
You can also go through other storage devices to find the required material that fits into the theme of the time-lapse. Then, selecting and placing them in one location on your phone makes further tasks easier.
Step #2: Upload the Selected Files
Upload the selected photos and videos to the in-app editing tools on TikTok. Tap on the plus sign at the center of the ribbon at the bottom of your screen and select Upload.
To upload multiple media files, tap on the “Select multiple” and start choosing your photos and/or videos.
Step #3: Do the Editing
This task takes the longest and can make or break your video. A poorly edited TikTok is better off in the drafts, or even better, deleted.
Users can choose the duration of each clip or image, making time-lapse editing uncomplicated. Pay keen attention to details during editing. Try to keep transitions seamless between different media files. This way, the concept seems to flow, and viewers continue to watch the entire video.
The final product may only be 30 seconds to 1 minute, but making your point and engaging your audience mostly depends on the flow of your video.
Step #4: Add Sound Track and Preview
Before uploading, check your final version by previewing it. Check for any alignment issues, improper cropping, delays, etc. Time-lapses allow creators to choose the duration of each clip. Use this to your advantage to minimize the scope of viewers to detect any unresolved editing issues.
Add music to enhance the viewer experience. The app allows users to add any sound from its library or their phones. In addition, the Sound Sync tool helps align the video per the beats of the soundtrack.
Making an Instant Time-Lapse on TikTok
You may choose to make a spontaneous time lapse. This process is relatively more uncomplicated.
Capturing changes in nature over a while or making an organizing video are the typical uses of this time-lapse. It can also be filmed using the camera function available on most smartphones.
Step #1: Set Up Your Camera
Find the perfect background for your TikTok. There are no restrictions; it could be anything from a green screen to an outdoor setup.
Usually, there are two ways to proceed ahead, as stated in the next step.
Step #2: Capture Images or Videos
You can shoot individual photos or videos. Or, if you don’t like putting in the effort to edit multiple media files together, here’s a hack.
- Open your camera on your phone.
- Change the mode from photo to video.
- Slide the toolbar around to find the time-lapse mode.
- Record your video.
To do so, here is a guide to making a video that looks like a time-lapse.
All you need to do is break down the movement. Time-lapses are speed-up content, and nobody is interested in seeing half movements.
To film a perfect time-lapse using video, here are the steps:
- First, press the record button on your phone.
- Then, move back and slow down your movements. For example, if you want to walk toward the camera, make tiny steps forward to film the whole action properly.
- If you feel dissatisfied later, you can redo the video without pressing the record button again. Recording continues until stopped manually.
Step #3: Upload and Edit
Depending on your filming process, editing becomes simpler. Upload your files using the plus sign on the TikTok app. Select “Upload” and select your media.
The editing process remains the same even when you have captured individual photos and videos. However, if you filmed a time-lapse on your phone, you will need less time to finish editing.
After uploading the time-lapse, all you need to check for is any unnecessary parts that can be edited out.
Step #4: Select the Sound and Preview
Lastly, choose a sound to play in the background of your time-lapse. Unfortunately, you cannot use the Sound Sync tool for a time-lapse video filmed on your phone and edited on TikTok.
Preview and upload the video on TikTok. And you’re done!
Conclusion
Making TikToks is a fun experience. There is no limit on the content uploaded on the platform, and users are guaranteed complete creative freedom. While transitions and editing can get complicated, time-lapses are an uncomplicated format of TikTok videos.
Beginners can also master this process with some practice. The built-in editing tools are easy to use and give excellent results.
FAQs
TikTok is a platform for expression. While some content is more likely to go viral than others, there is no need to confine yourself to the traditional approach. Usually, time-lapses help in shortening lengthy processes that can lose viewers’ attention if played at full length. Typical uses of time-lapses are to show beauty and skincare routines, cooking videos, art and craft tutorials, etc.
Yes! Regular videos can be converted to time-lapses using video editing apps or platforms like TikTok.