Undoubtedly, public figures have better reach online, and Facebook is one of the platforms that help amplify their outreach.
But in contrast to having an individual account on Facebook, creating a page gives them more features and space to interact with their fans.
In addition, with a public figure page, you’ll get to establish yourself as an authority, get better insights, and run ads.
So, how can you make a public figure page on Facebook?
Creating a public figure page on Facebook enlists several steps, from selecting your page’s username to amplifying your presence through paid ads. These steps include setting up a Facebook Business Manager if you don’t have one and creating content to help build your presence.
This article will comprehensively detail the steps in creating a public figure page on Facebook.
Why Should You Create a Facebook Page as a Public Figure?
With the pace at which the world evolves, your online presence is as valuable as your person in real-life.
And if you’re a public figure, your online brand matters more than most things with the number of people you can reach from a single post.
When people go through your page as a public figure, it should tell them you’re an established authority in your field and someone to reckon with.
With the rightly curated public figure page, you’ll get more fans and reach a wider audience without much work.
Facebook lets you create primarily two types of pages, including brands & businesses or community & public figures.
The difference between these pages is that public figures have the option not to add their address, map, and check-ins.
With a Facebook public figure page, you can grow your audience by getting engagements that help portray you as an authority, get better insights into your page’s performances, and run ads to amplify the reach of your content better.
How Do You Create a Public Figure Page on Facebook?
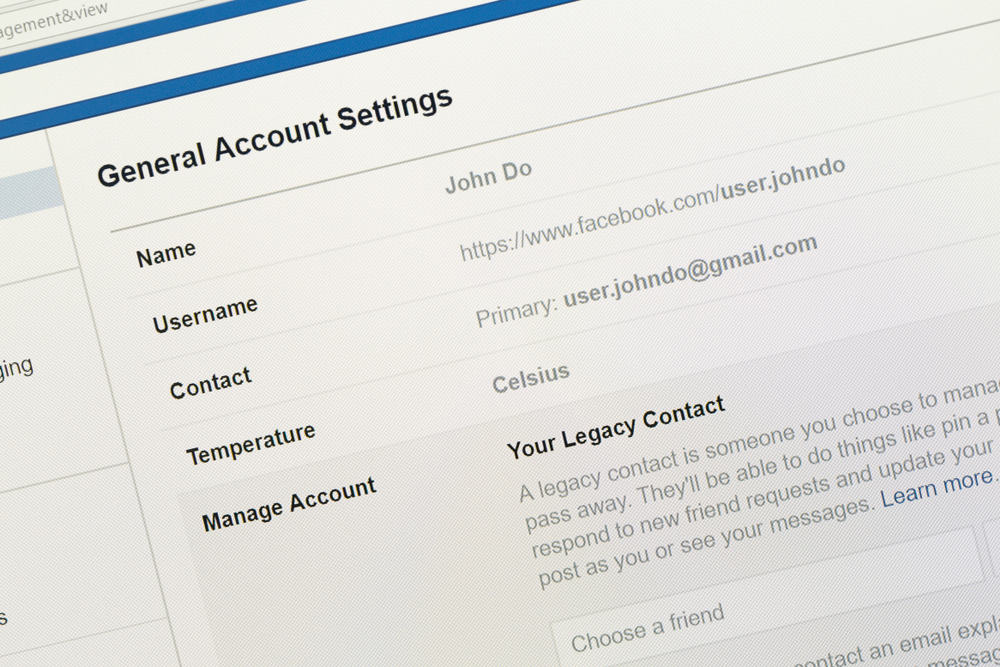
If you have a Facebook account created, log into your account and navigate to the “create page” option in Facebook’s menu.
After selecting that option, follow these steps:
- Enter your page’s name.

- Select a public category that matches your need, like Musician, News Personality, etc.
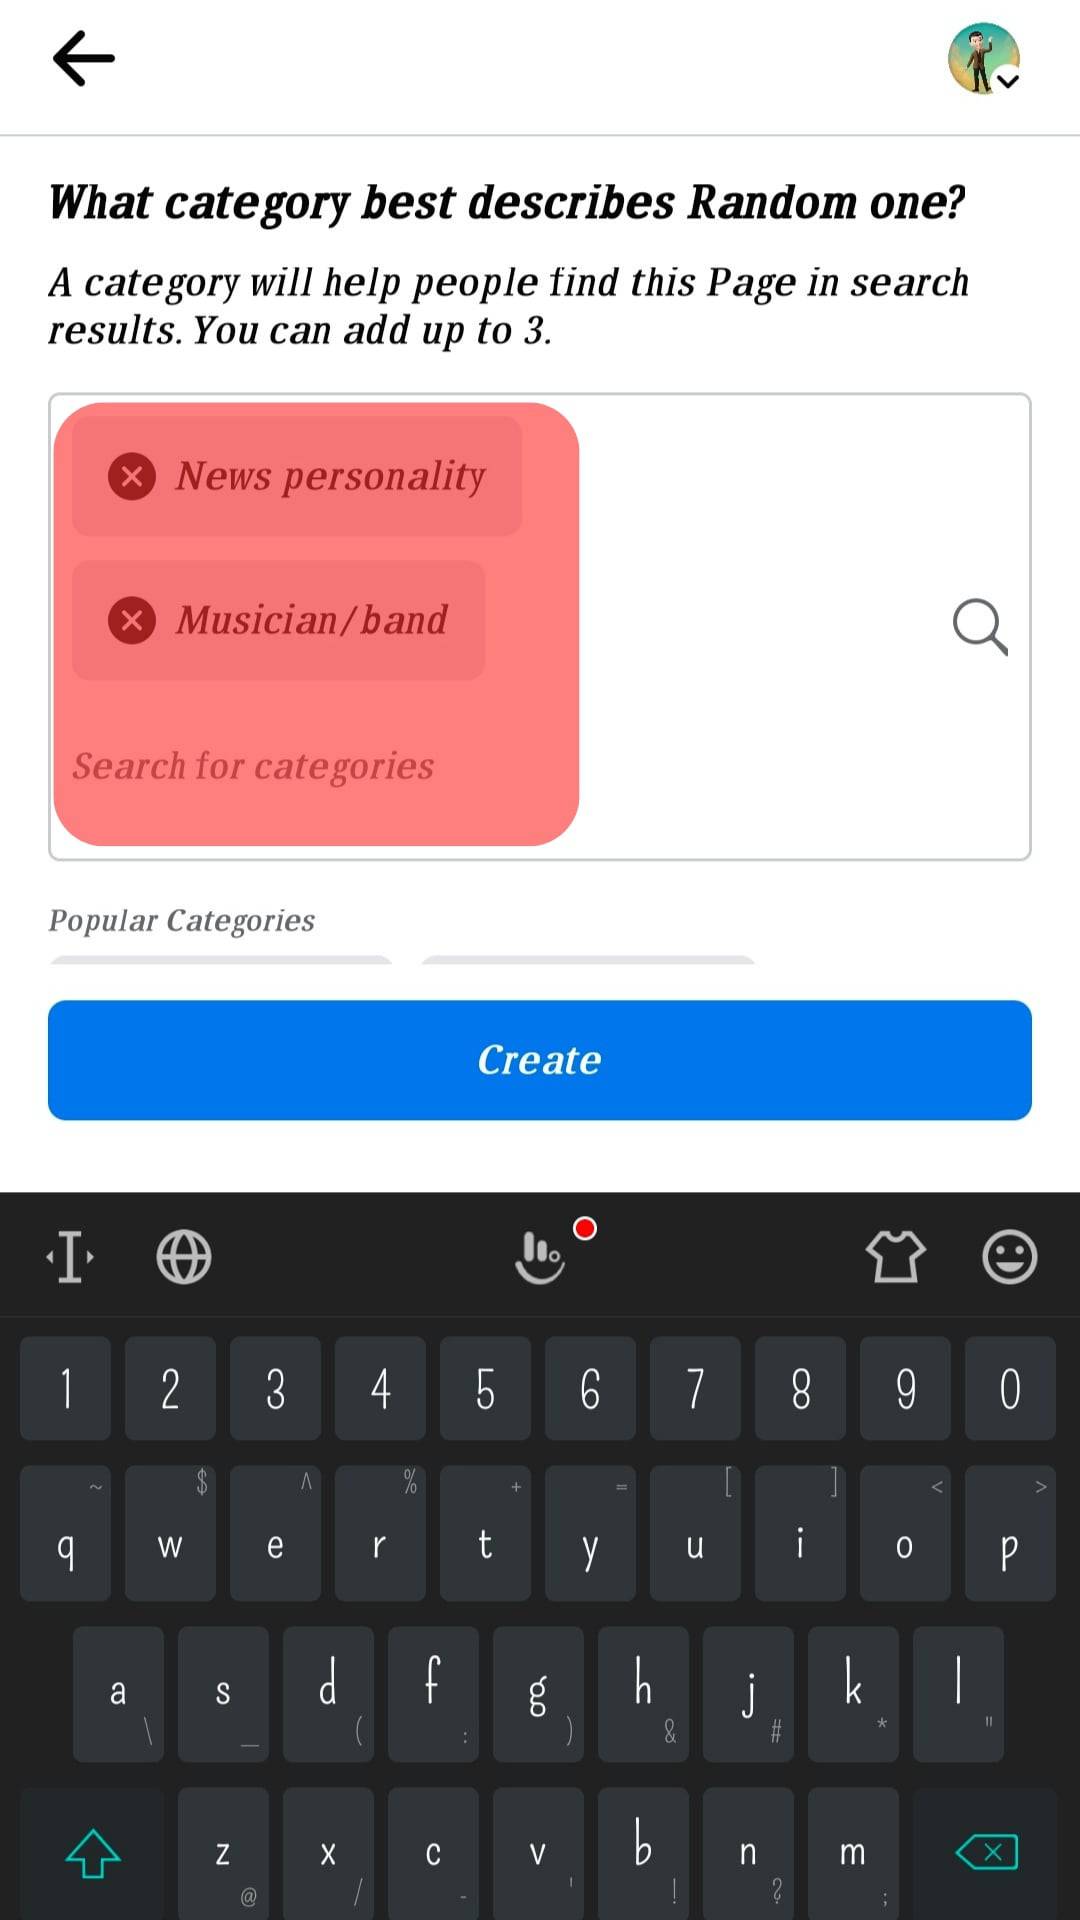
- Tap on “Create.”

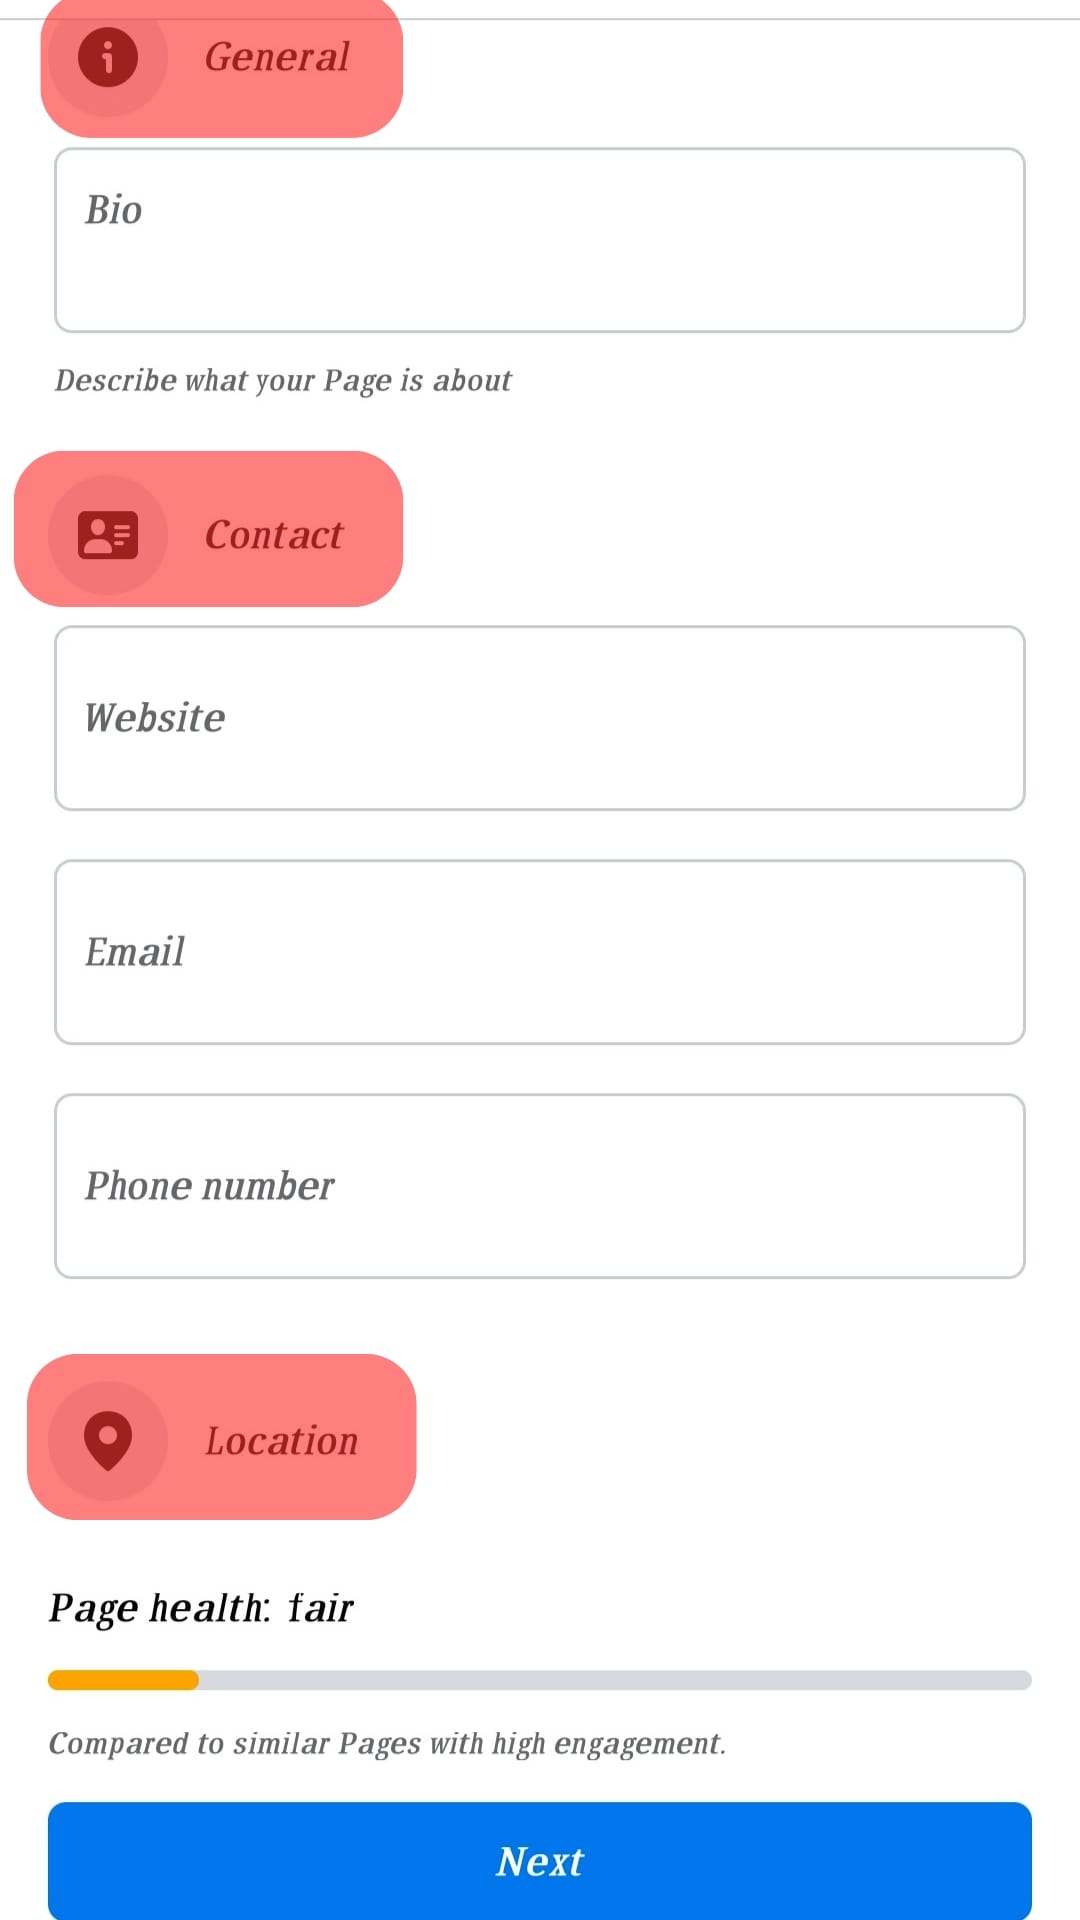
- Fill in the “General,” “Contact,” and “Location“ fields.
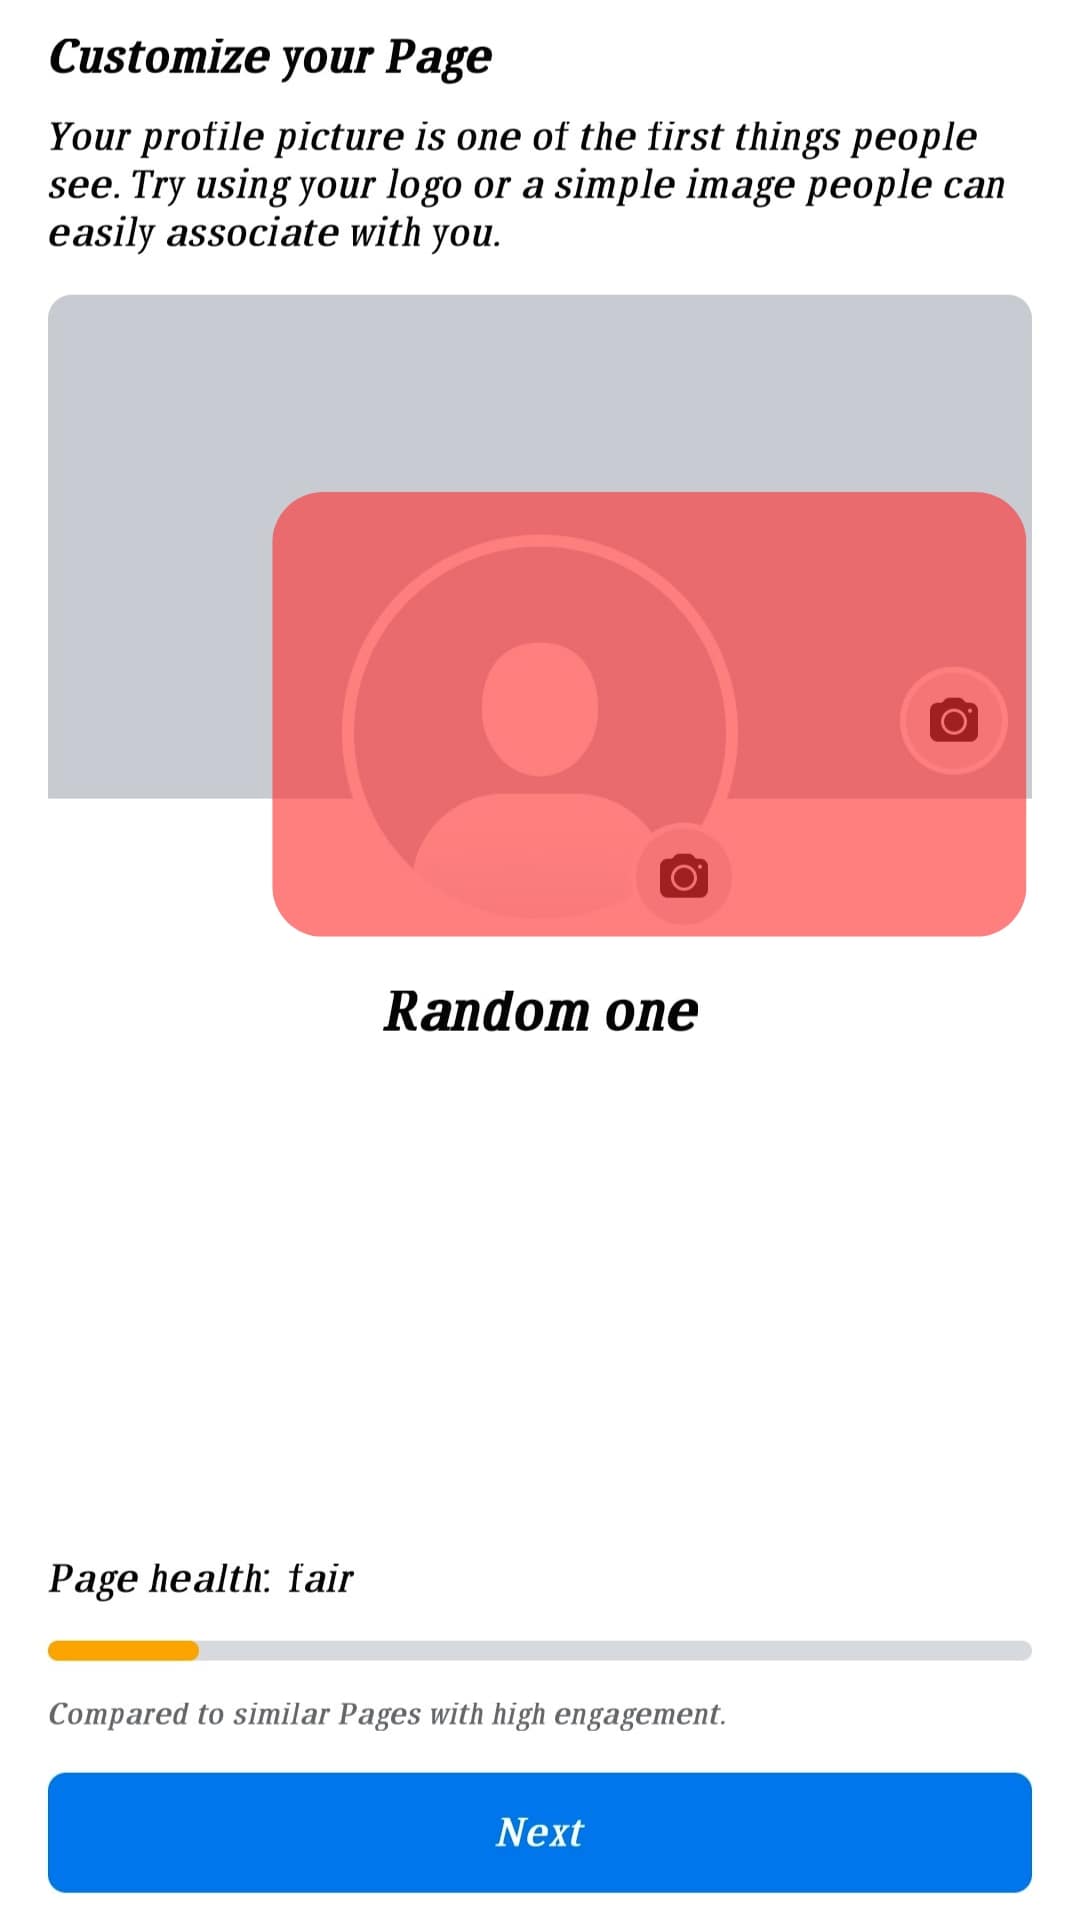
- Select your cover photo and profile photo.
- Invite friends to like the page.

- Tap on “Done.”

Describe yourself in the About section to share more details about yourself, your cause, your achievements, and what your fans should expect from the page.
All these are optional, but it’ll help significantly if you add a description in the About section.
It’s essential that your photos, either profile or cover photo, officially represent your brand as a person. Keep it simple, minimalistic, and in high resolution.
If you’re adding texts to your cover photo, ensure they align with the mission, vision, or brand of you as a public figure.
Once you’ve set this page up, proceed to connect your page and ad account to Facebook Business Manager or Meta Business Suit.
Connect Your Page to a Facebook Business Manager Account
Earlier, you’d be required to connect your public figure page to a Facebook Manager Account, where you can effectively run ads to promote your content and amplify your reach.
However, the newly created pages are now automatically added to the Business account.
If you haven’t created a Business Manager Account, log into the account you used to create the page and log onto business.facebook.com. Next, click the option to create an account and follow the instructions.
Enter your name and business email for notifications, and click “Finish” to create the account. Once the manager account is created, you can add the public figure page you created in these steps:
- Log into your Manager account.

- You can witness the newly created page added to your Business Account.
Once done, you can create an ad account in the Facebook Business Manager. You’ll find the feature beneath the page options in the “people and assets” tab.
Follow the instructions to set up an ad account successfully. When done, you’ll be able to access your Business Manager’s ad account and claimed page.
Create Content That Resonates With Your Brand
After setting up your Facebook Manager Account or the Meta Business Suite as it’s known now, you should start curating content that represents your brand.
The form of content can be text, videos, images, infographics, and polls.
For example, as a new page, you probably should create a “why” video explaining what you hope to achieve as a public figure on Facebook.
It’ll help build credibility for your page and attract people who resonate with your ideology or belief.
As soon as you post that first video, it would be best to remain consistent with posting content representing your brand. This will help you garner great reviews and endorsements from followers of your page.
Use Ads To Amplify Your Reach
If you hope to create a public figure page that remains relevant for a long while, then you want to explore the power of paid ads.
These paid ads help promote your content to reach a broader audience and attract more people to your page. You can create ads from your Facebook Manager account and get detailed insights on who your content attracts the most.
With this, you can retarget your ads to this demographic, which will greatly boost the progress and popularity of your page.
Conclusion
In these steps, you’d have successfully created a public figure page that thrives in the online community.
There’s no limit to what you can do as the page grows and attracts millions of followers.
However, remember to stay consistent and keep progressing!