iMessage is the proprietary instant messaging app that comes with Apple devices.
The platform allows people to send images, text, and videos from one Apple device to another over a WIFI connection or cellular data network.
The ‘kept’ sign is rare and occasionally comes up while chatting on iMessage.
What is this sign, and what does it mean on iMessage?
The ‘Kept’ indicator signifies that the person you are chatting with decided to save your audio message. To keep a voice note on iMessage, tap the ‘Keep’ button.
This article breaks down the meaning of ‘Kept’ on iMessage. It further explains the ways to keep audio messages on iMessage. It also describes how to save audio messages on your MacBook.
How Does iMessage Work?
iMessage is more than a simple, instant messaging app. There is a lot more built into the platform than many people know. You can send audio, Memojis and play multiplayer games with your contacts in real-time.
With this type of complexity, there are some indicators that you need to pay attention to, such as the ‘kept’ sign. It hardly ever appears, but if you use your Apple device often, you may have seen it once or twice.
What Does ‘Kept’ Mean on iMessage?
Apple has designed the iMessage app to treat voice notes differently from texts. This is why voice notes auto-destruct when you listen to them. The only way to stop them from auto-destructing is to take action that ensures they remain.
The ‘Kept’ indicator shows up underneath when a contact chooses to keep a voice note in iMessage. Keeping a voice note stops it from disappearing after two minutes.
Keeping a voice note on iMessage has both benefits and demerits. If you keep your audio message, you can always return to essential conversations and listen to them as often as possible.
However, voice notes are heavier than text and take up more space. If you keep all audio clips in no time, you may run out of storage. This may be inconvenient and cost you money to buy cloud storage.
How To Manually Keep a Voice Note on iMessage?
There are two main ways to keep a voice note in iMessage. You can either keep a voice note manually or set up your phone to automatically save voice notes.
Here is how to manually keep a voice note on iMessage:
- Open the chat with the voice note.

- Play the voice note.
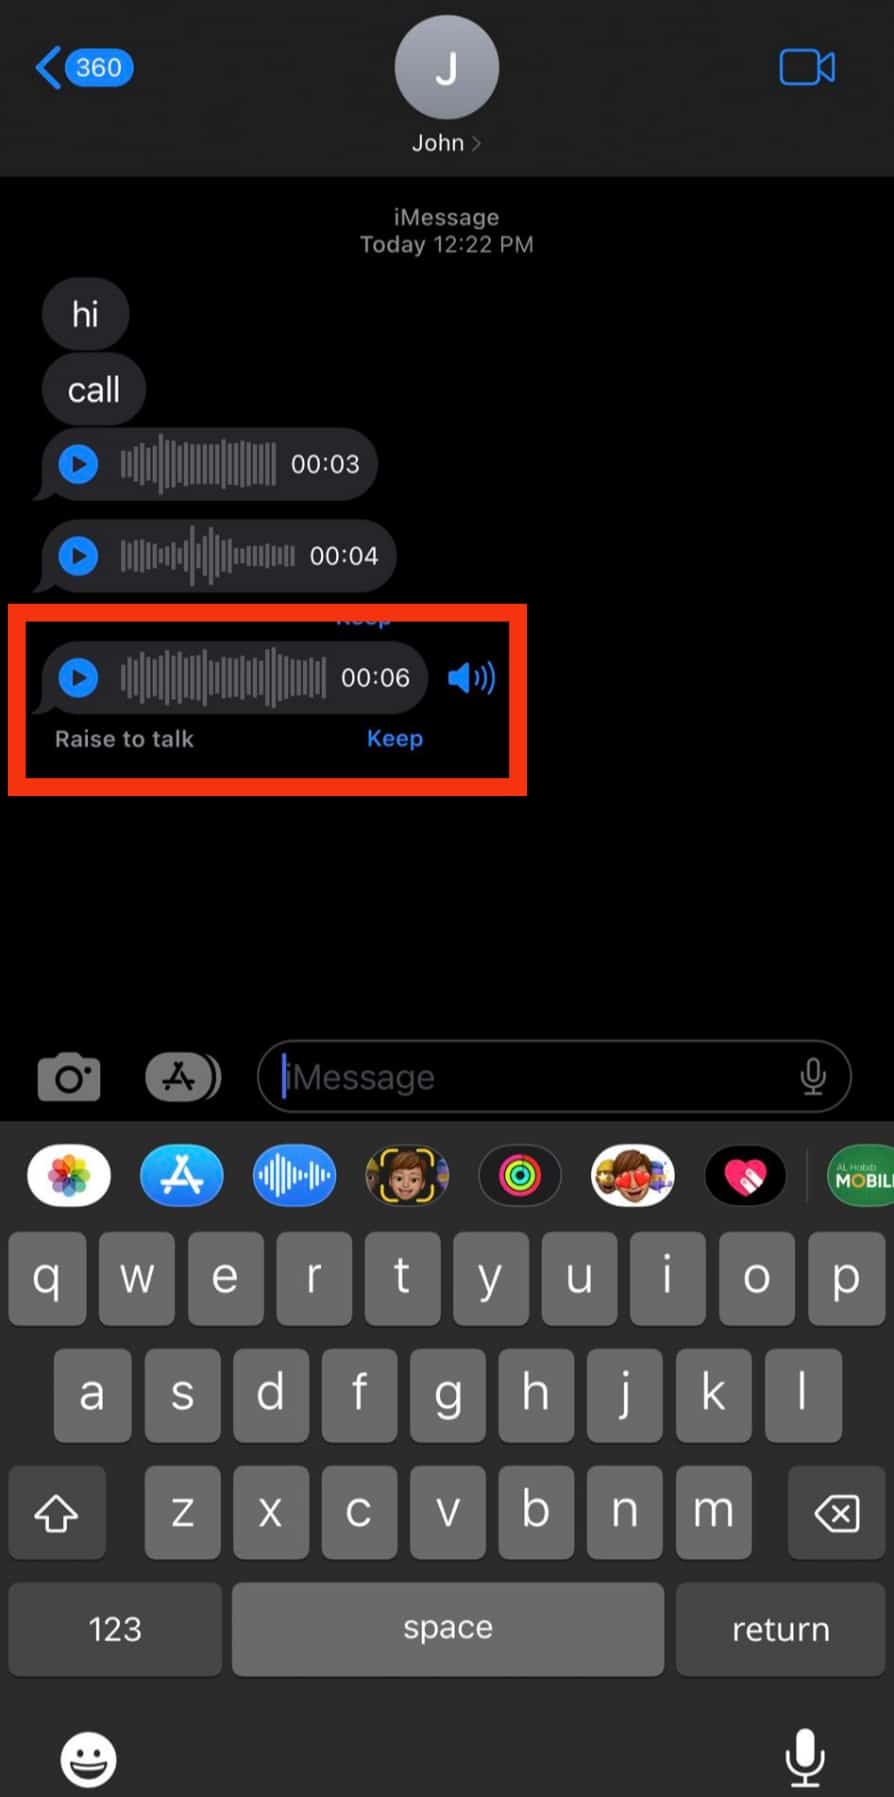
- Tap on ‘Keep.’

Once you keep the voice note, it remains in your iMessage history until you delete it. With this method, you can pick and choose which iMessage voice notes you choose to save.
How To Automatically Keep a Voice Note on iMessage?
To automatically keep voice notes on iMessage, you must configure your phone to keep all messages. This ensures that voice notes are saved.
Here is how to automatically keep voice notes on iMessage:
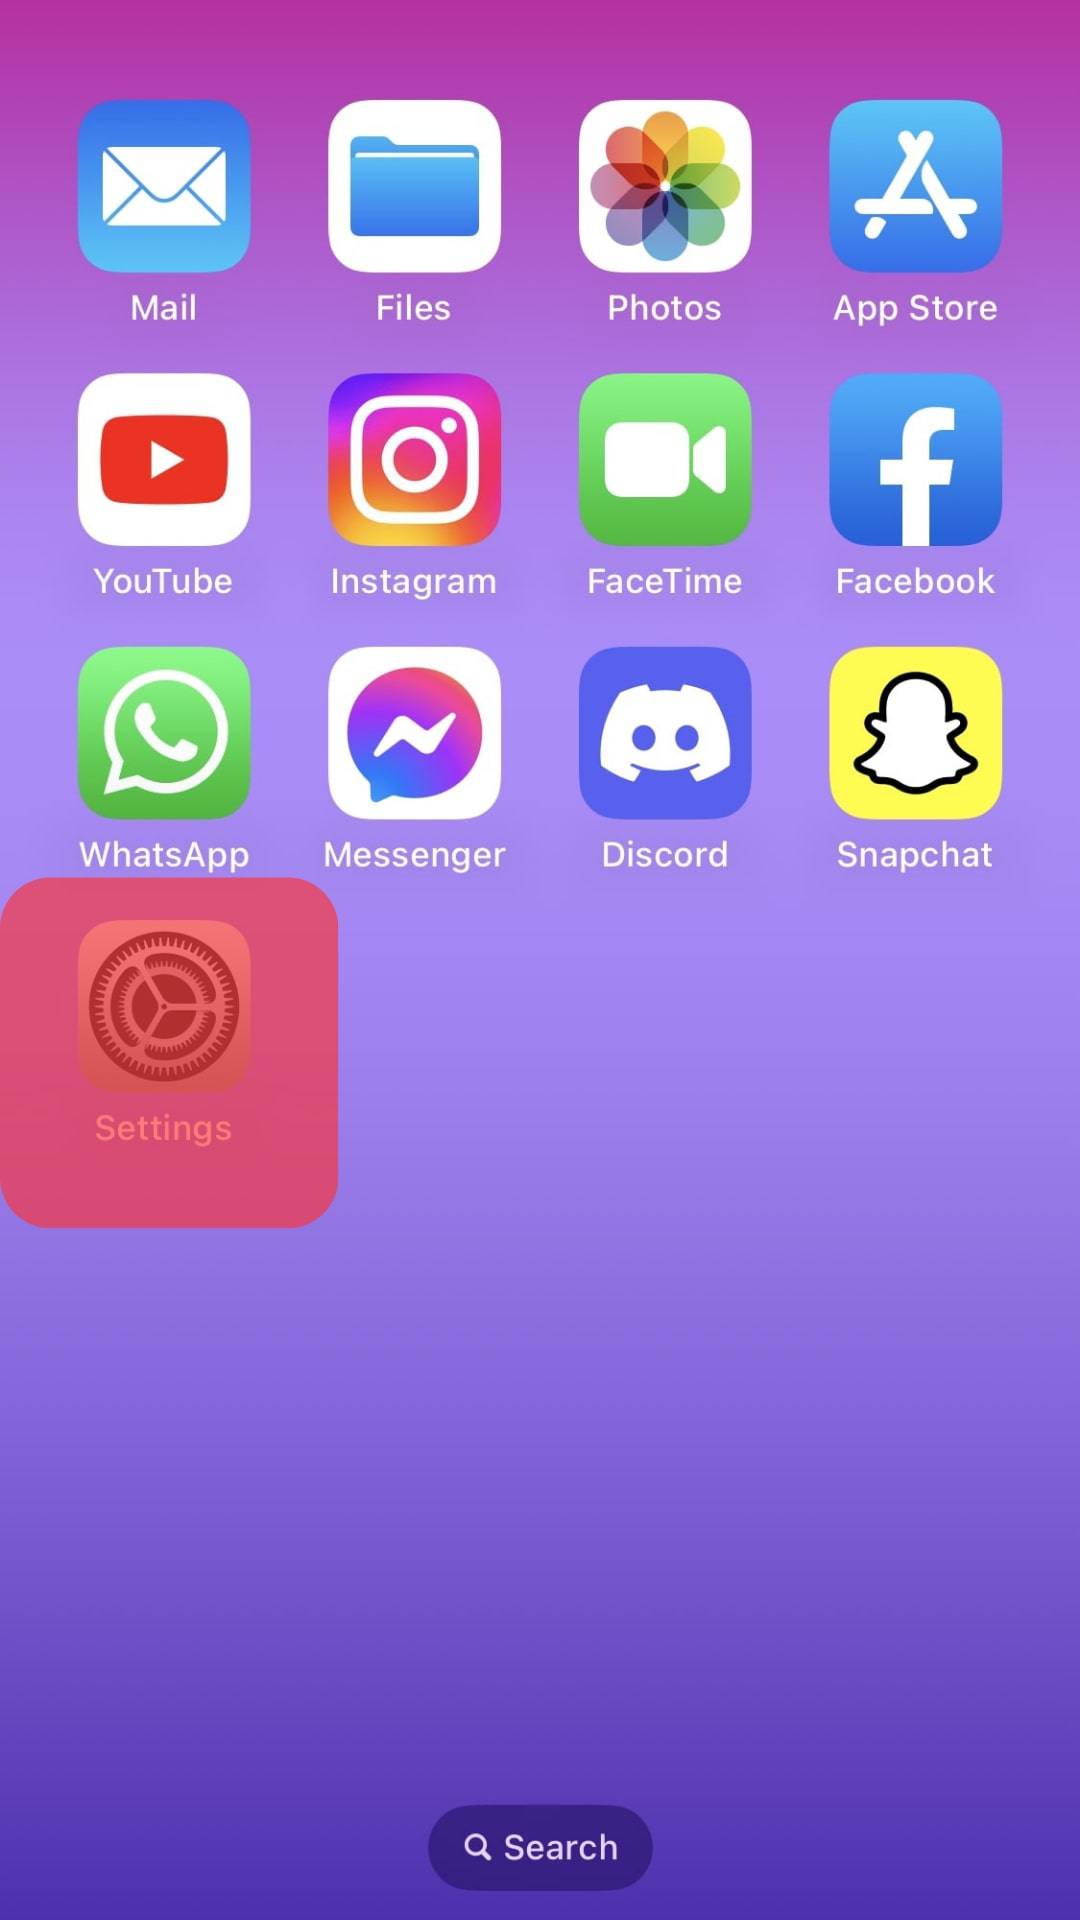
- Open the Settings app on your iOS device.
- Scroll down and select ‘Messages.’
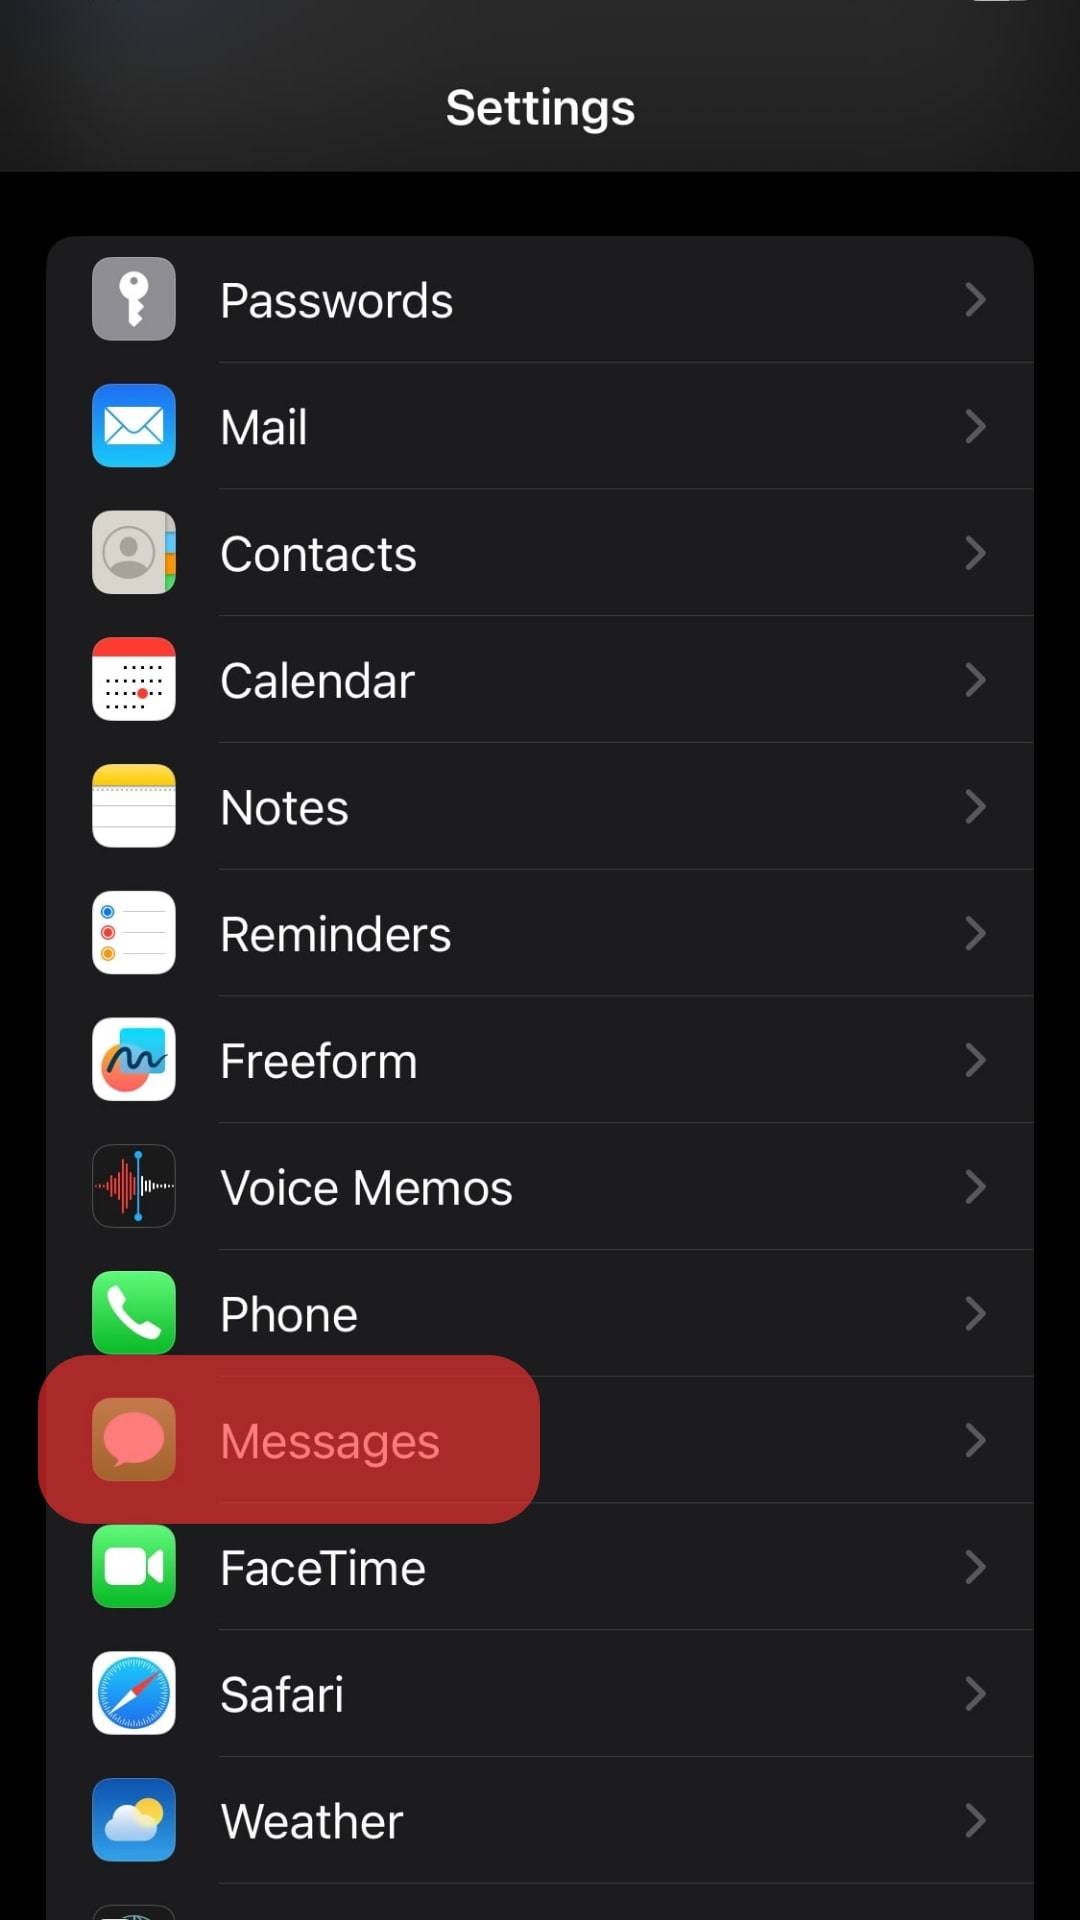
- Navigate to ‘Expire’ under ‘Audio Messages.’
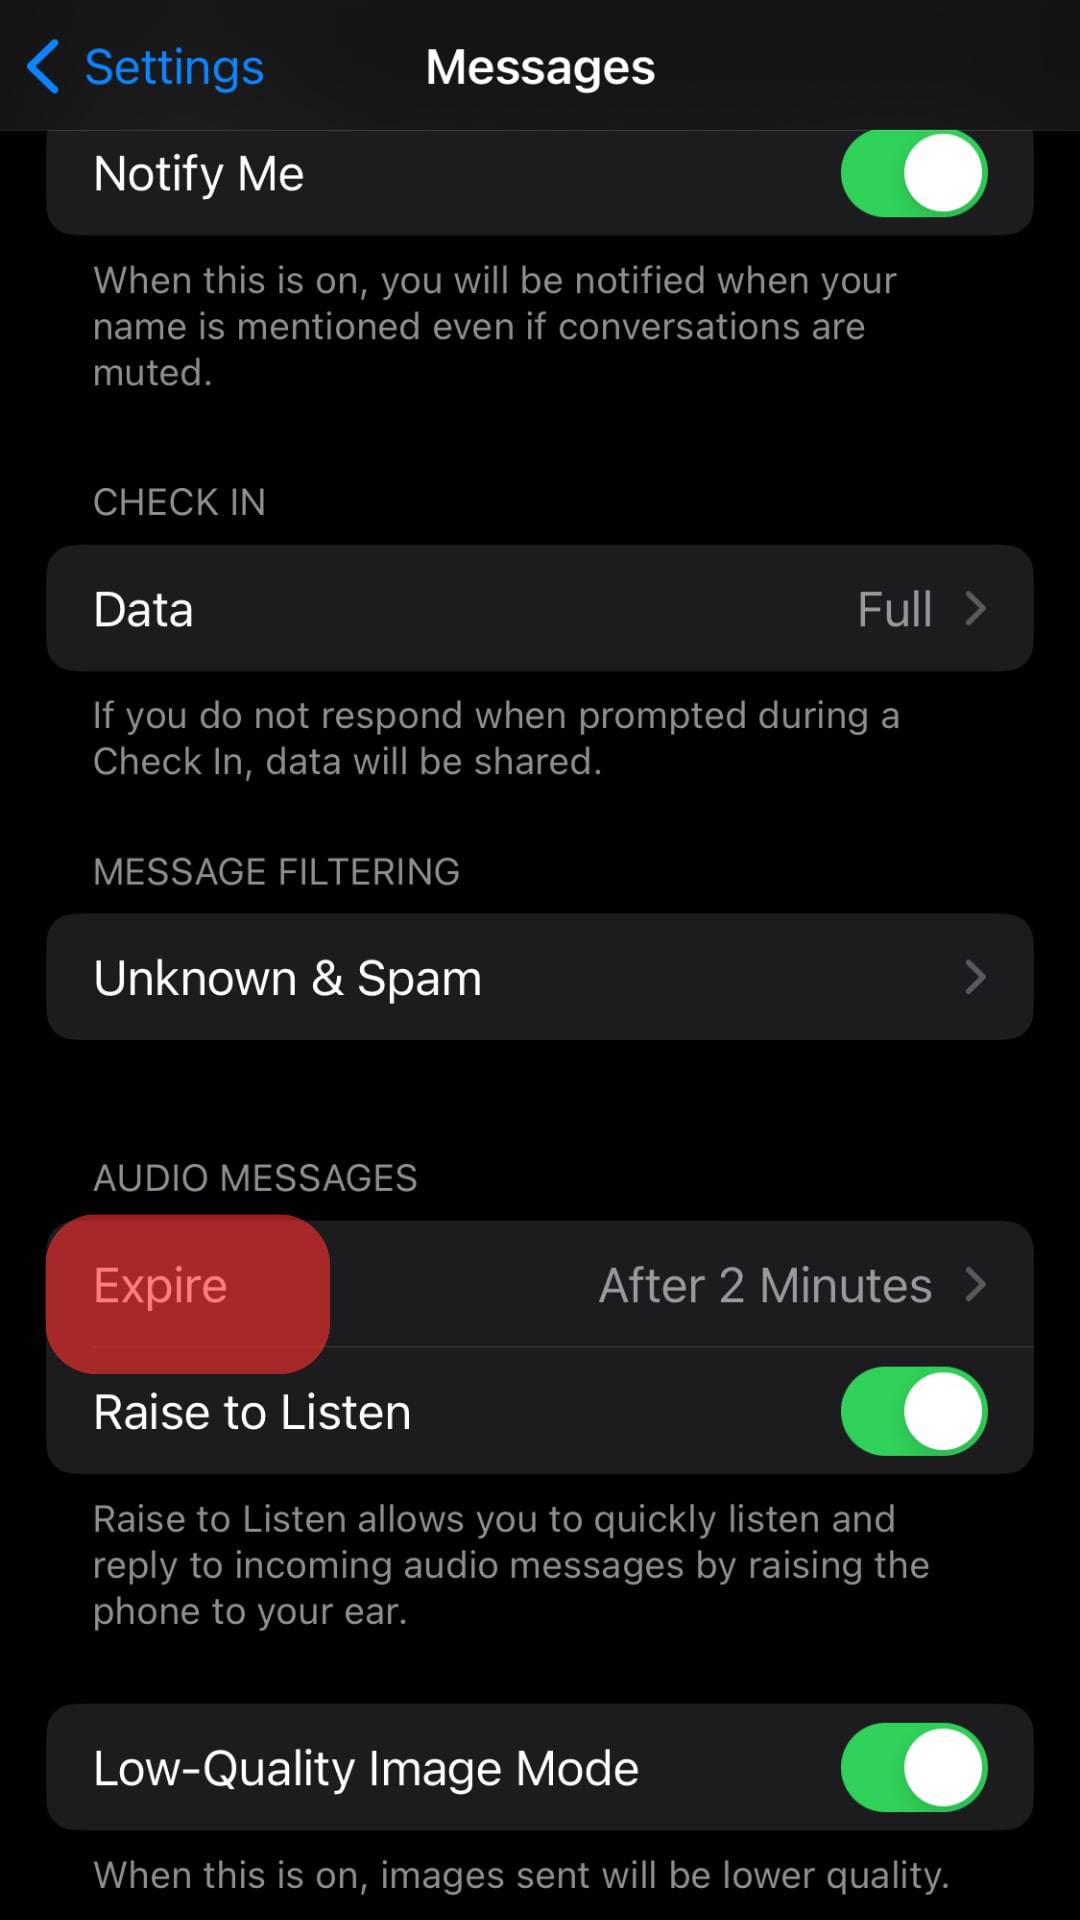
- Select ‘Never.’

Once you tick on ‘Never’ under this setting, your message will automatically stay in your iMessage history until you delete it from the conversation. This setting applies to all audio messages regardless of who sent them.
How To Save Audio Messages From Your iPhone to Your Mac?
If you own a MacBook, you can chat directly on iMessage in real-time on your computer. This synchronization feature makes accessing and maintaining conversations across different devices relatively easy.
This feature lets you listen to and save audio messages on your Mac’s hard drive. Before commencing this process, set up your iMessage on both devices with the same Apple ID.
Here is how to save audio messages on your MacBook:
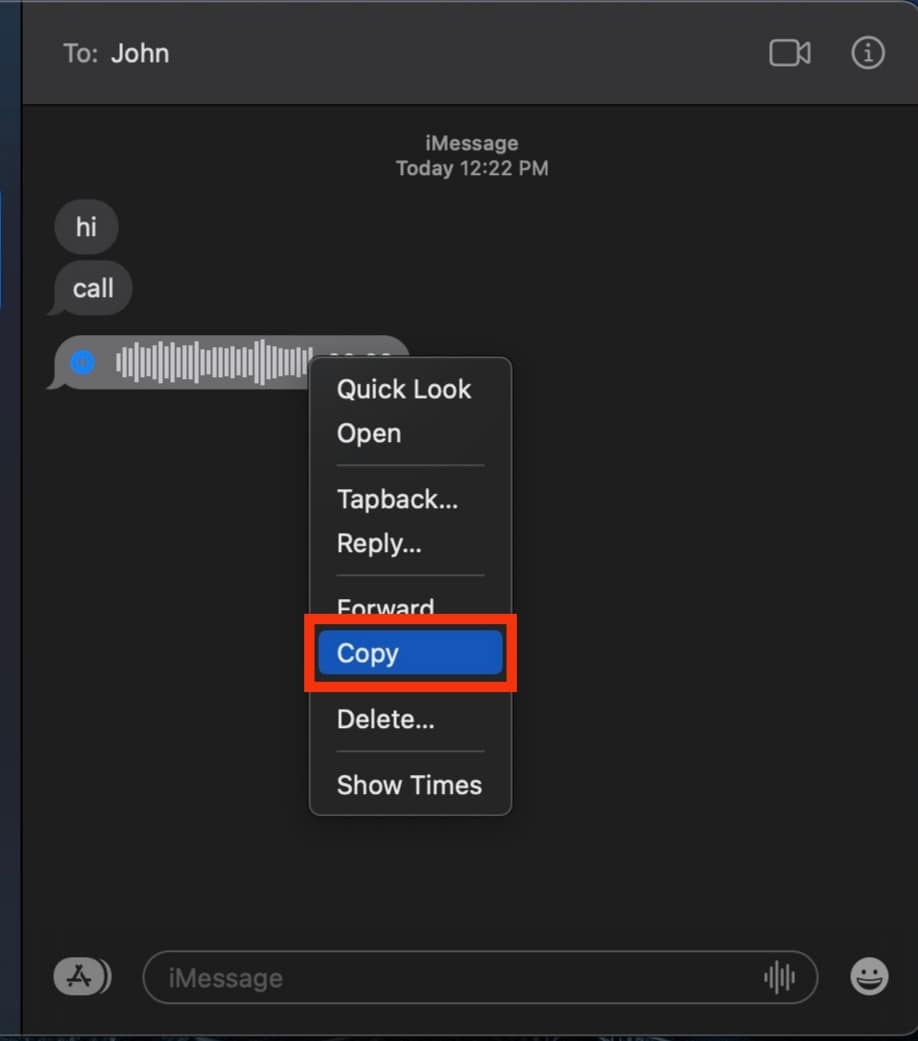
- Open the Messages app on your MacBook.

- Select the conversation with the audio clip.
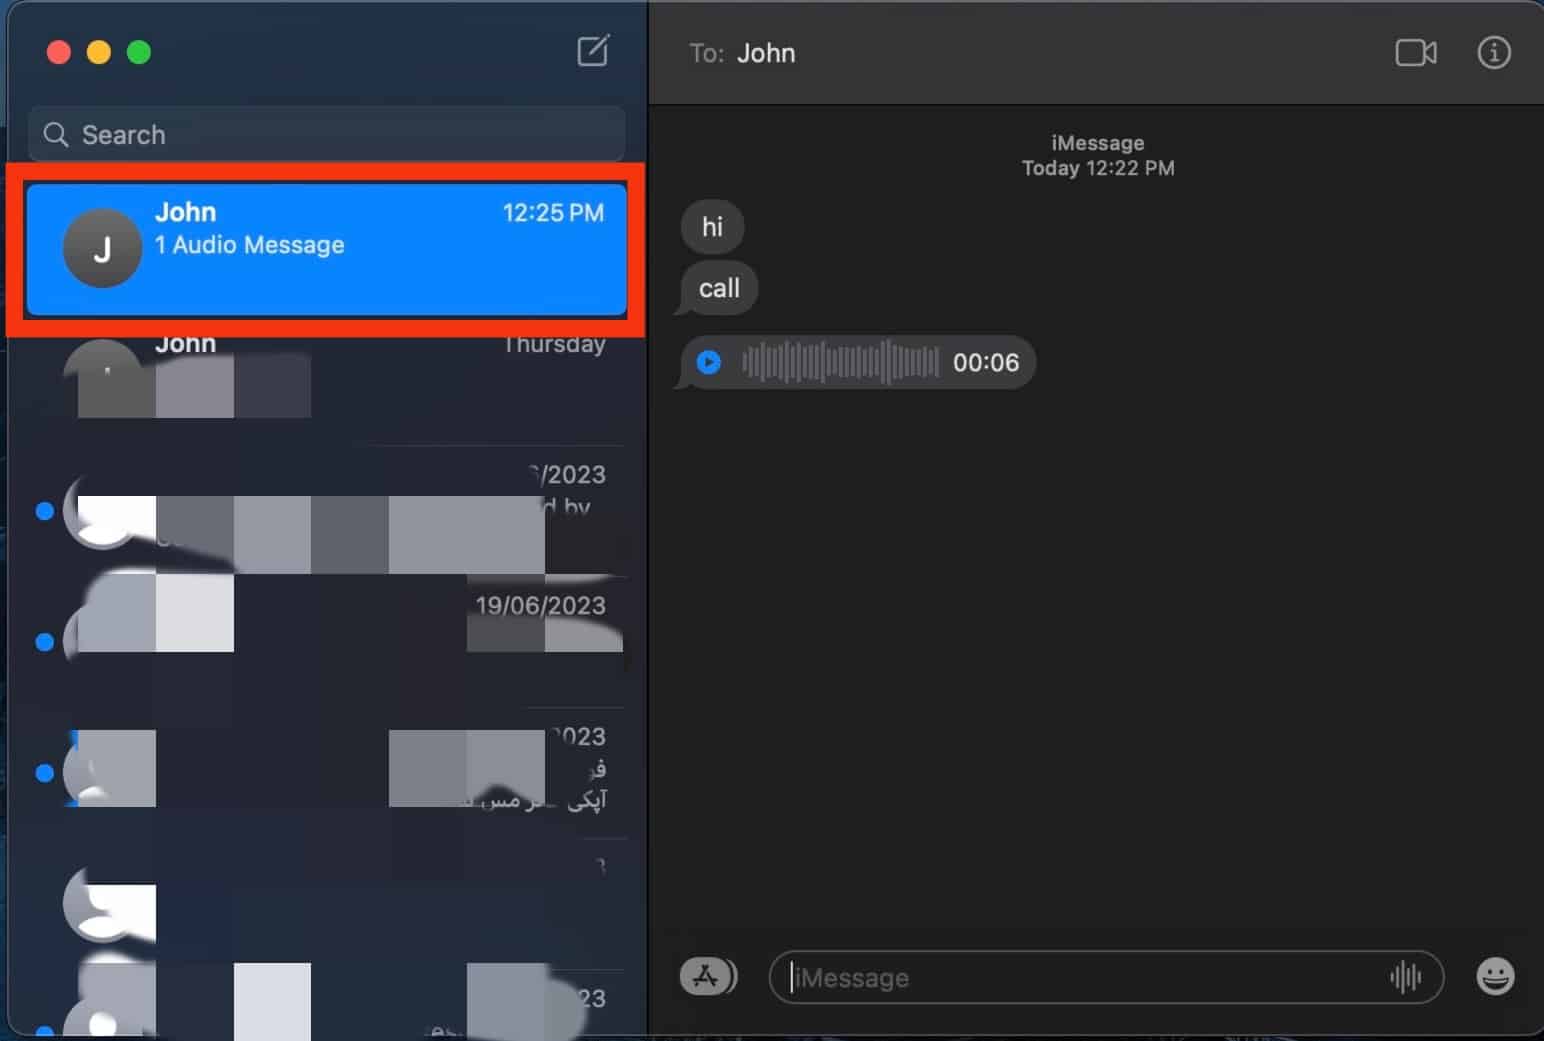
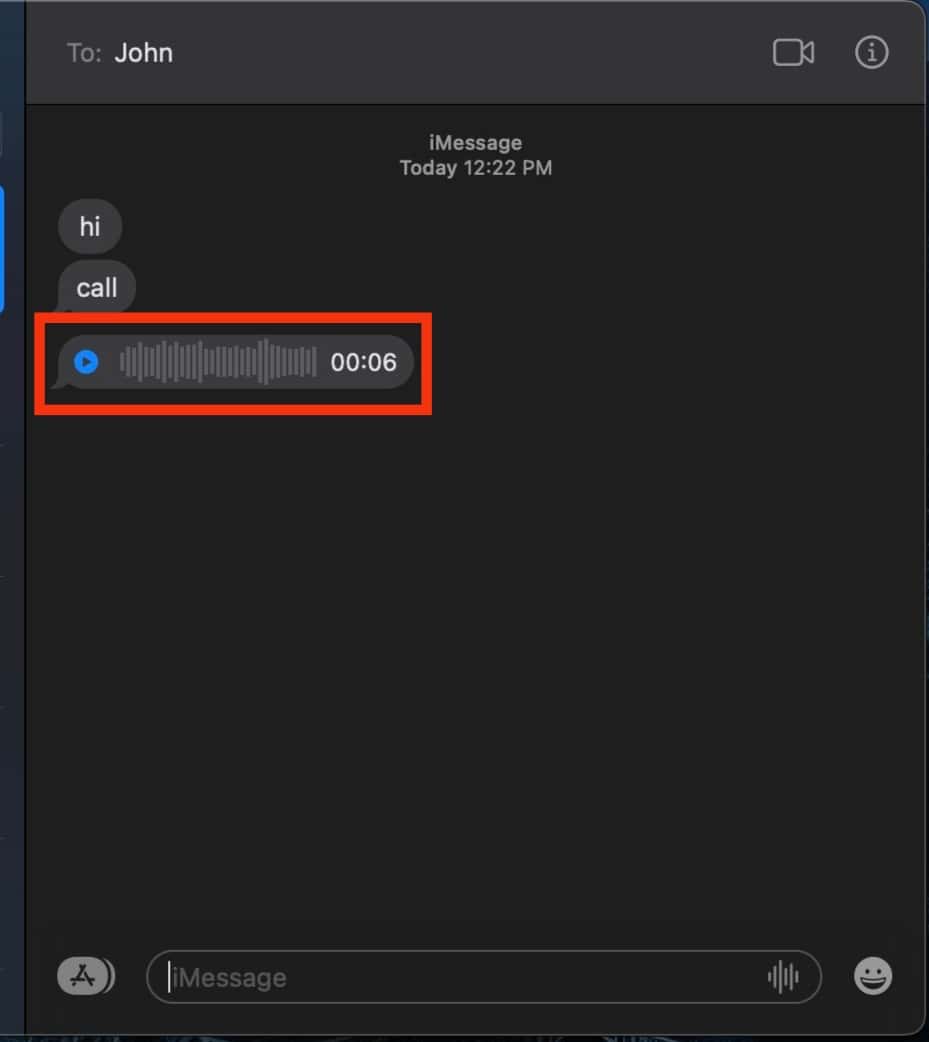
- Locate the audio message you want to save.
- Right-click the audio message.
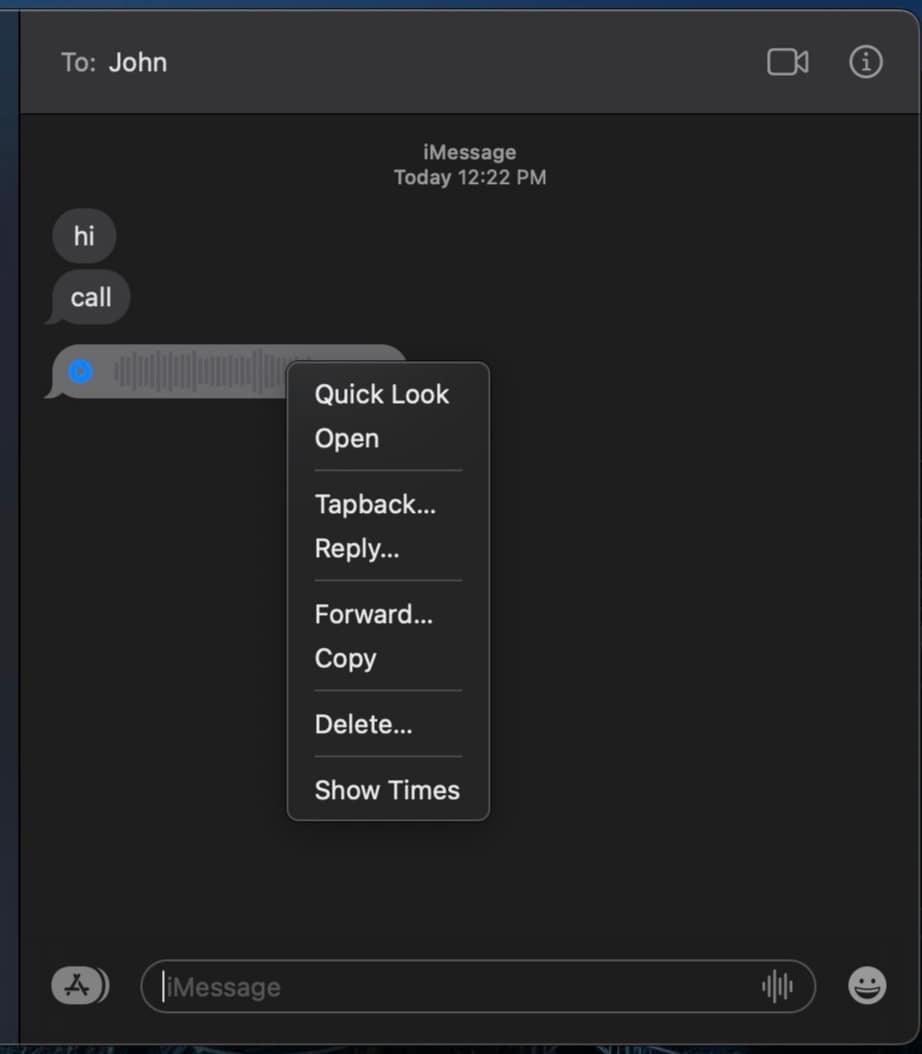
- Click on ‘Copy.’
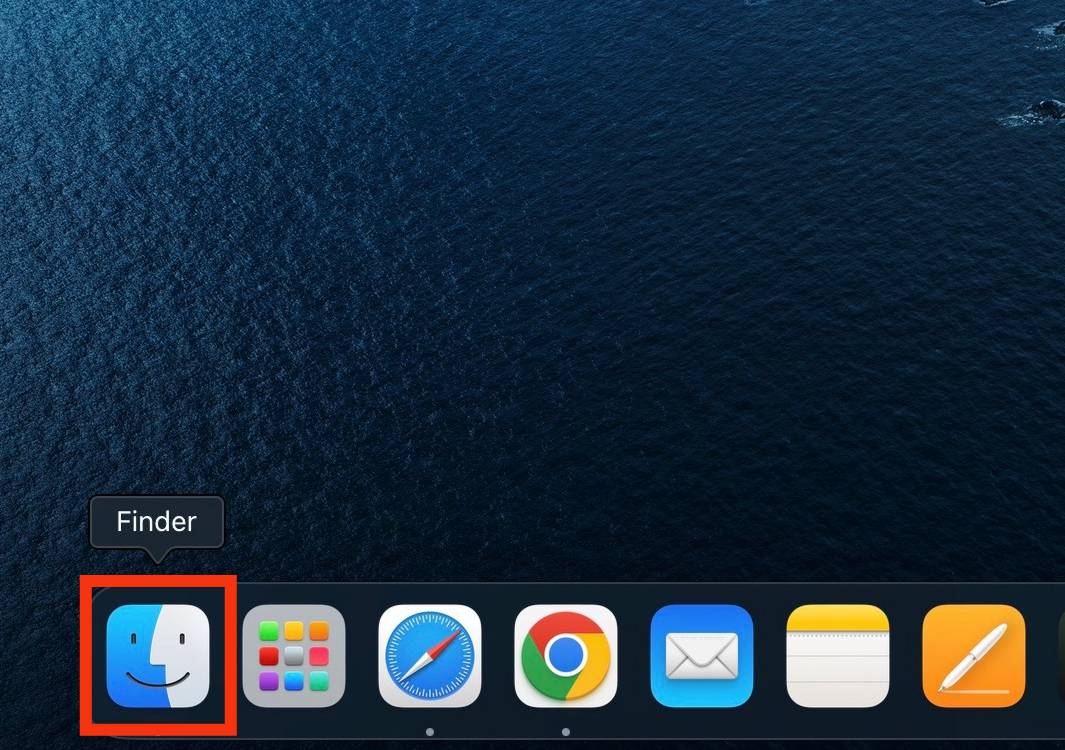
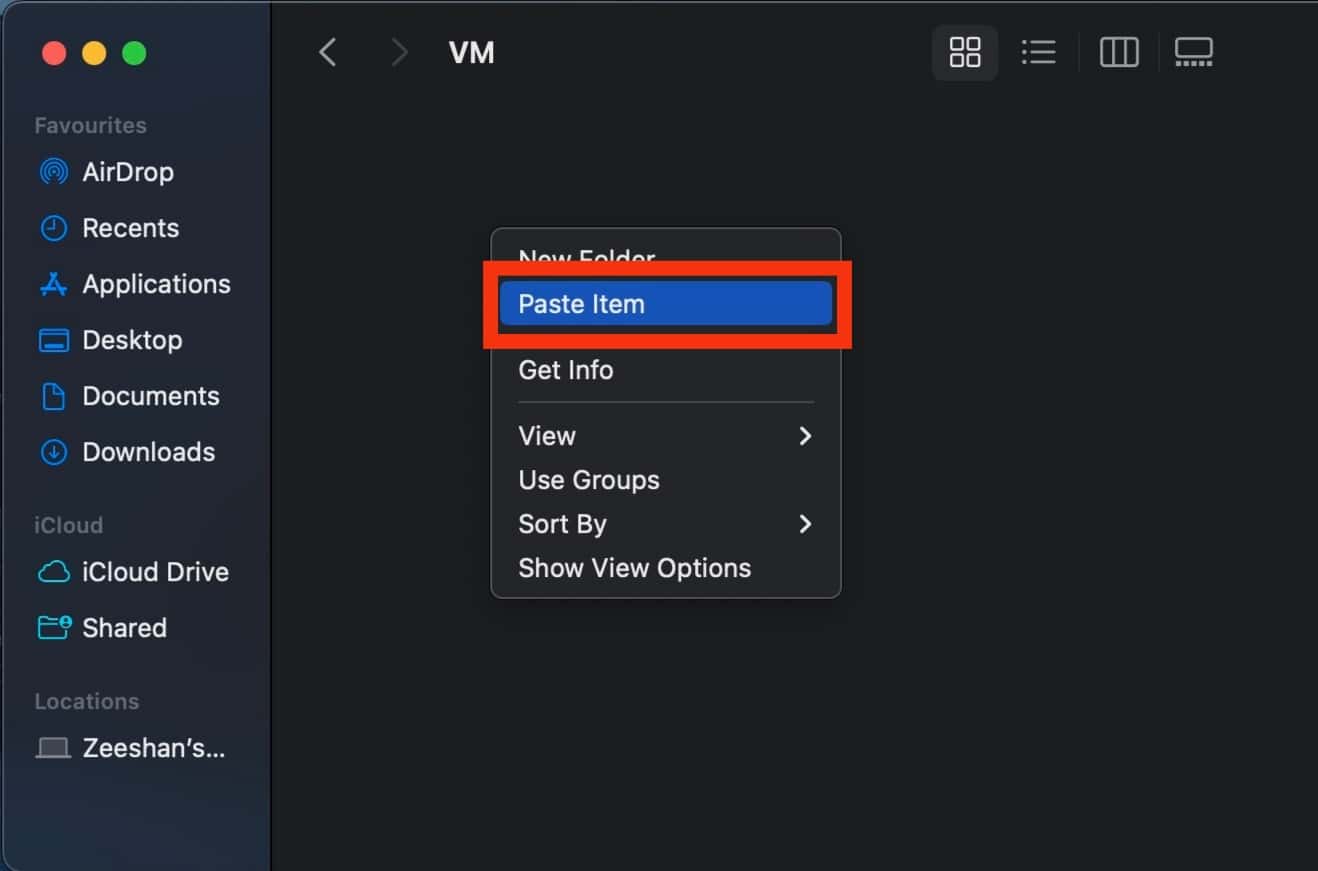
- Launch the Finder app.
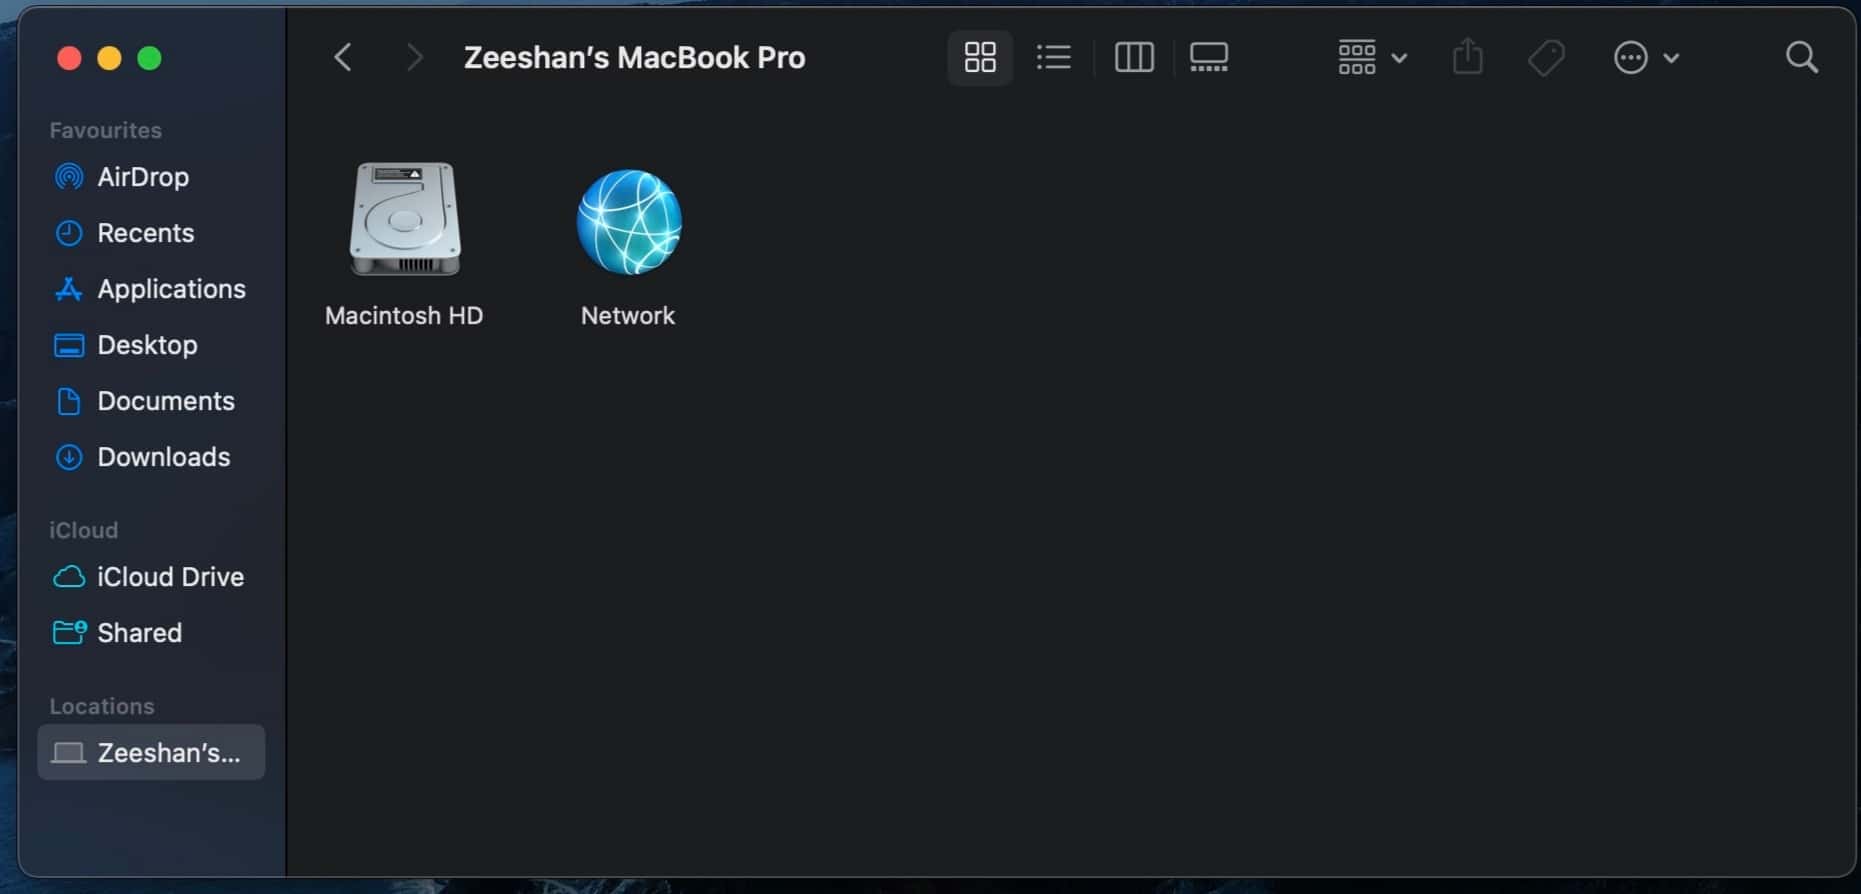
- Locate where you want to save the file.
- Right-click inside the folder.
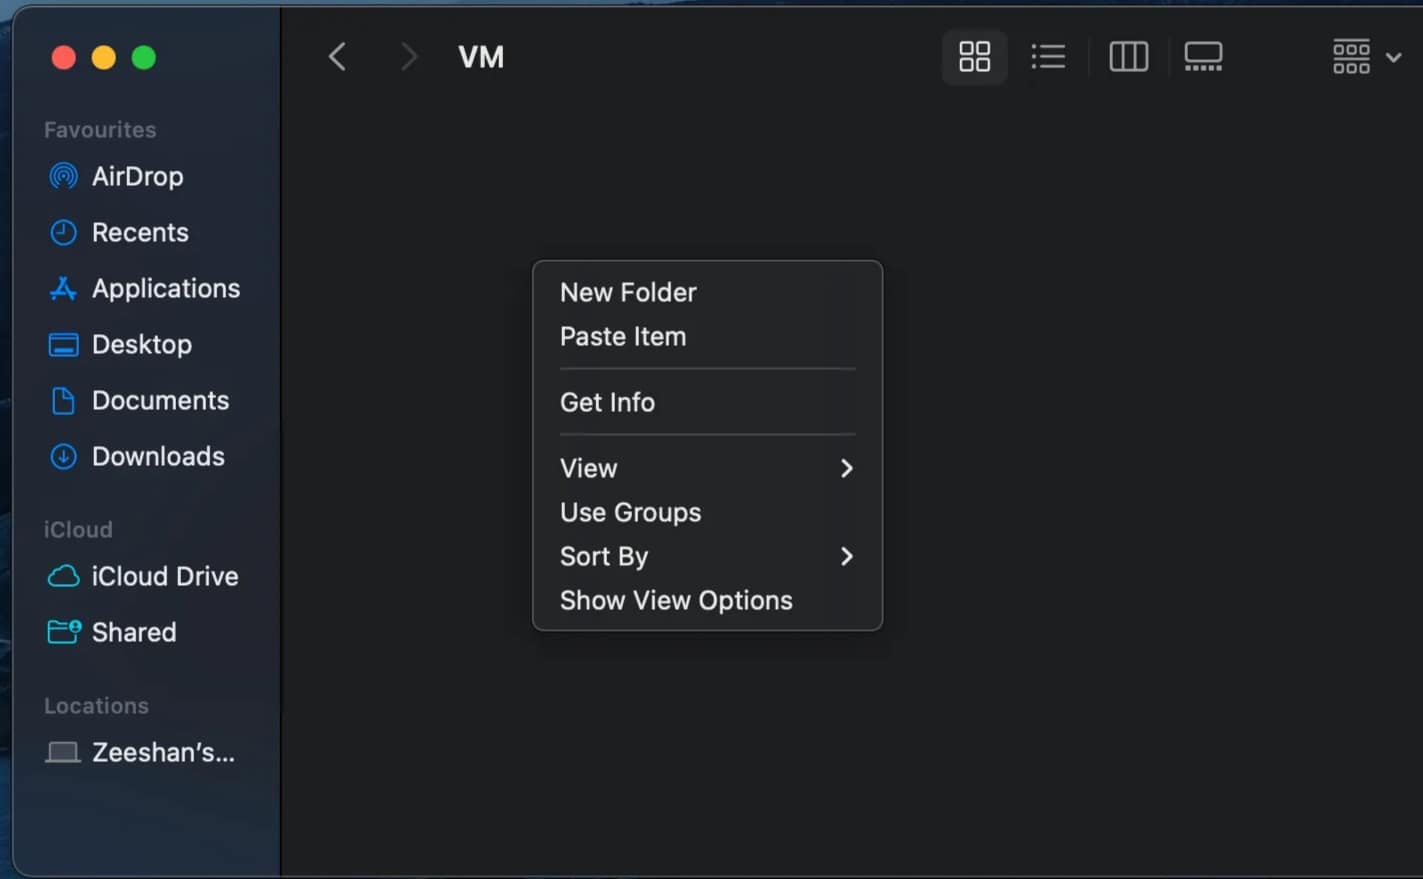
- Click on ‘Paste Item.’
Once you have done this, your audio message will remain saved on your MacBook storage, and it won’t matter if it disappears.
In Conclusion
iMessage is a great way to keep up with friends and family, especially those who own an iPhone.
It keeps your conversations flowing smoothly and ensures constant communication even when other messaging apps may be down.
This makes it a great place to send voice notes.
Voice notes in iMessage tend to disappear after two minutes.
Not to worry, to stop this, you can choose to keep an audio clip.
This article explained the process above.
FAQs
No. Any setting you make on your device will only suffice for you. This means that although your voice message can disappear from your device after 2 minutes, it can remain on the receiver’s phone indefinitely.