Live streaming is an excellent way of engaging with people. With Twitch, live streaming is easily enhanced, and you can utilize your Twitch channel to start your live streaming and gain followers along the way.
When you want to live stream with Twitch, you must know how to use Twitch Studio to create the stream and add scenes or layouts. This post will elaborate on it all.
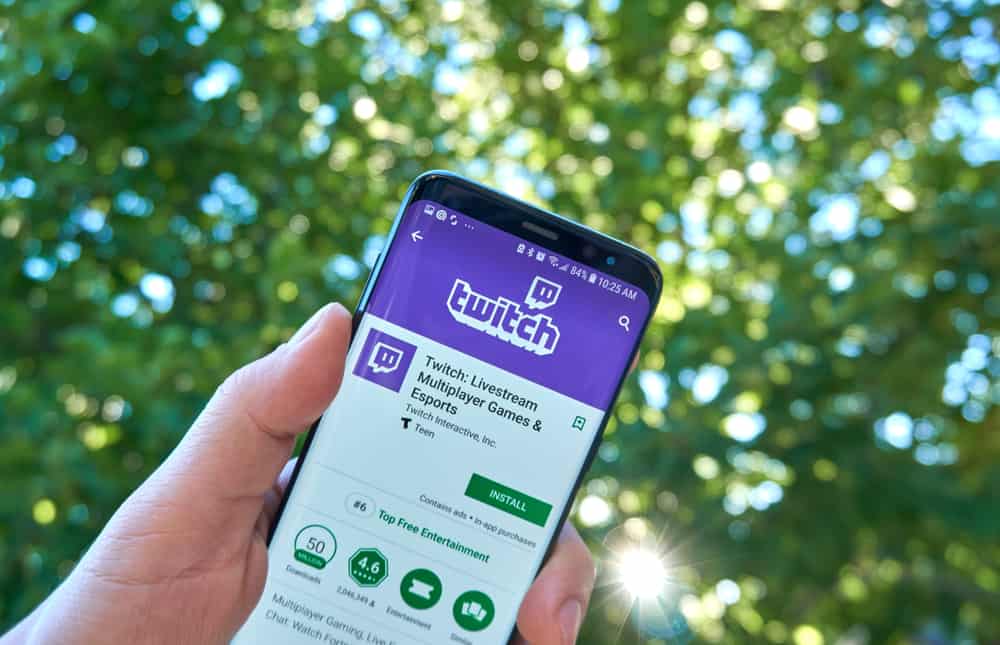
Twitch Studio is available for download for PC. There is a beta version for Mac. Access the Twitch homepage and download and run the Twitch Studio installer. Open the Twitch app and log in using your credentials. Set up the basics using the setup guide when you open the Twitch Studio. Once all is set as required, you must add the layouts and scenes you wish to share and then go live.
This post will guide you on how to use Twitch Studio for your live streaming sessions. You will understand Twitch Studio while presenting the steps to start a live stream.
What Is Twitch Studio?
Twitch is a live-streaming platform. As a creator, you can create a Twitch channel and use it for live streaming sessions. Other Twitch users can join your live streams by following or subscribing to your channel.
When you want to start live streaming, you need software for that. While it is possible to use third-party software like OBS, Twitch provides its streaming software. Twitch Studio is Twitch’s free streaming and recording software designed to help Twitch creators live stream.
You only need your Twitch logins to start using Twitch Studio. The software is available for PC and Mac. However, only the beta version is currently available for Mac.
Twitch Studio is advantageous in different ways. First, since it is an integration for Twitch, you will get all your Twitch chats, activity feeds, alerts, etc., on the platform. Still, it has an easy interface and will guide you in the setup process to ensure everything goes well. You will enjoy its easy-to-use interface.
How To Use Twitch Studio
A few things are worth considering before you start live streaming on Twitch. You must have a Twitch account which you will use to sign in to your Twitch Studio. It would help to have a powerful PC with good RAM size and processing speed to ensure a smooth streaming experience.
Let’s now see the steps for using Twitch Studio from your PC.
- Open your browser and access the Twitch homepage.
- Tap the “Download Twitch Studio” button.
- Locate the downloaded installer and double-click on it to run it.
- Click the “Install” button to start the installation.
- Once the installation completes, Twitch Studio will launch.
- On the sign-in screen, use your Twitch credentials to sign in.
- If you’ve signed in to Twitch on your browser, your account will get detected. Click the “Continue” button to proceed.
- When your account is linked, the setup window opens, click “Get Started.”
- You will be prompted to select the microphone for the live stream. After selecting it, click the “Continue to Scenes” button.
- See the default scenes and click “Continue to Settings.”
- Twitch Studio will run a speed test to determine your case’s most appropriate stream quality. Once the quality is selected, click the “Continue to App” button.
- After the setup completes, your Twitch Studio interface will appear.
- On your left, you will find three scenes that you can choose. On the main window, you will see the first scene containing your webcam with a background. That’s the gameplay scene.
- If you have a game running, the gameplay scene will display the game.
- If no game is running, click the “Edit Scene” button at the bottom.
- Click the “Add Layer” button.
- Click “Screen Share” to select a game or app on your PC and click “Add.”
- Under the “Screen Share Source,” click the “Change” button.
- Choose what window or app to share, and on the Stream Preview page, click “Save.”
- Once the source is ready, click the “Start Stream” button to start live streaming.
- Add the stream details, such as name and category, and click the “Go Live” button to start your stream.
Conclusion
We’ve detailed the steps for using Twitch Studio. If you are new to Twitch, this post guides you on how to start your first live stream. All the best!