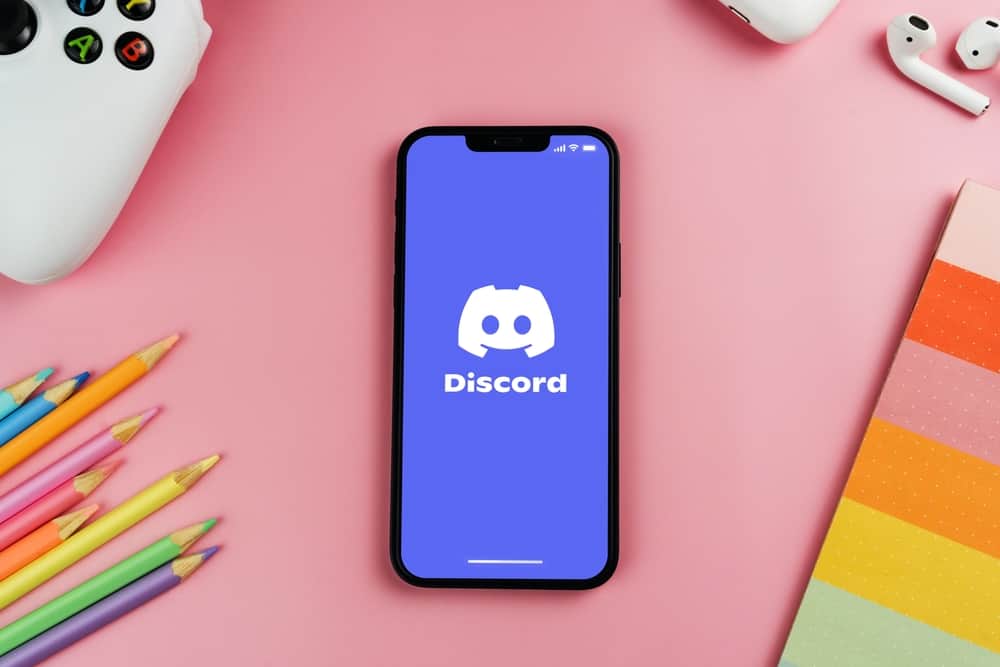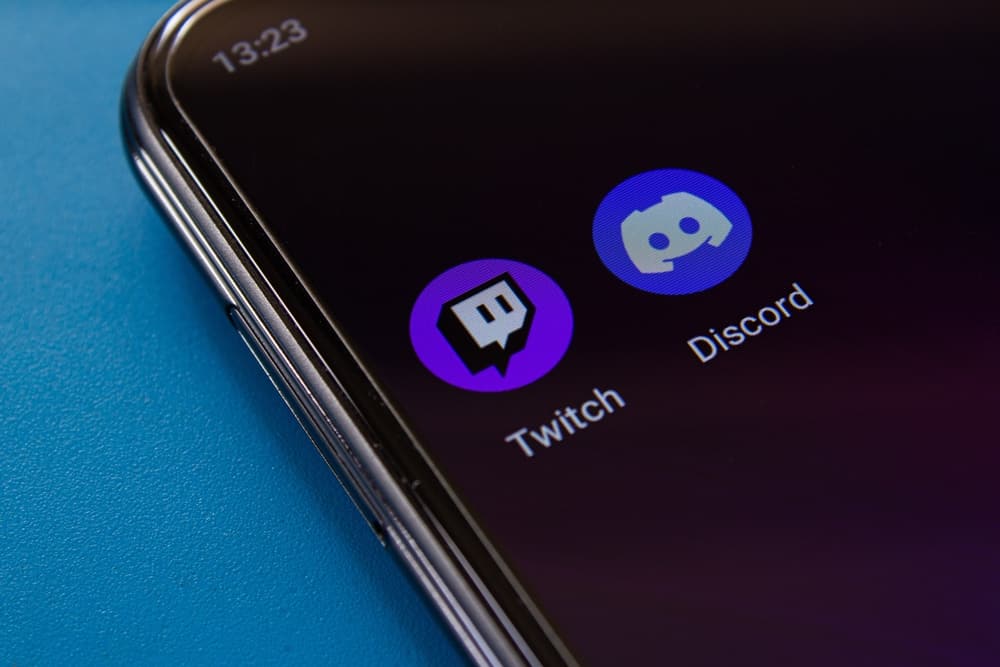
Discord supports audio files, including videos, voice calls, music, and screen shares. If you use both Twitch and Discord, you know that connecting your Discord to Twitch gives a better streaming experience for your Discord audio files.
Additionally, you can link these two platforms if you have a significant following on both but want to share something with both audiences. Because Discord doesn’t have an audio recording feature, you’ll need to set up an audio output. In this case, we use Discord Streamkit Overlay for OBS.
Streaming Discord audio on Twitch is relatively easy. The first step is to connect your Discord and your Twitch accounts. To do so, launch your Discord desktop app and open “User Settings.” Under “Connections” tab, connect your Twitch account. Next, Download Discord Streamkit Overlay for OBS. Modify the “Voice Widget” settings and copy the widget’s URL. Launch OBS, create a new soruce and paste the voice widget URL into the text field.
This article covers instructions for linking your Twitch and Discord accounts on mobile and PC and steps to stream Discord audio on Twitch.
Overview of Streaming Discord Audio on Twitch
Even though Discord initially targeted gaming and developer communities, it has quickly gained popularity to become one of the most used social media apps today. In addition to serving specific communities, users like social media influencers and creators also use Discord to record videos and audio to share with other platforms.
Recording audio on Discord isn’t limited to sharing with secondary apps. You can record for future reference or fun. Learning to record audio will also be handy if you want to build a brand by growing your social media audience.
For users with Twitch and Discord, streaming your Discord audio on Twitch is an excellent way to increase engagement with your content and target new followers. Various apps help with the chat and audio function when streaming Twitch audio, but the best is Discord Streamkit Overlay. It has customizable features let you use voice and chat while streaming on Twitch.
Before streaming Discord audio on Twitch, install the OBS app using the steps below:
- Launch the web browser on your computer.
- Navigate to the OBS download page.
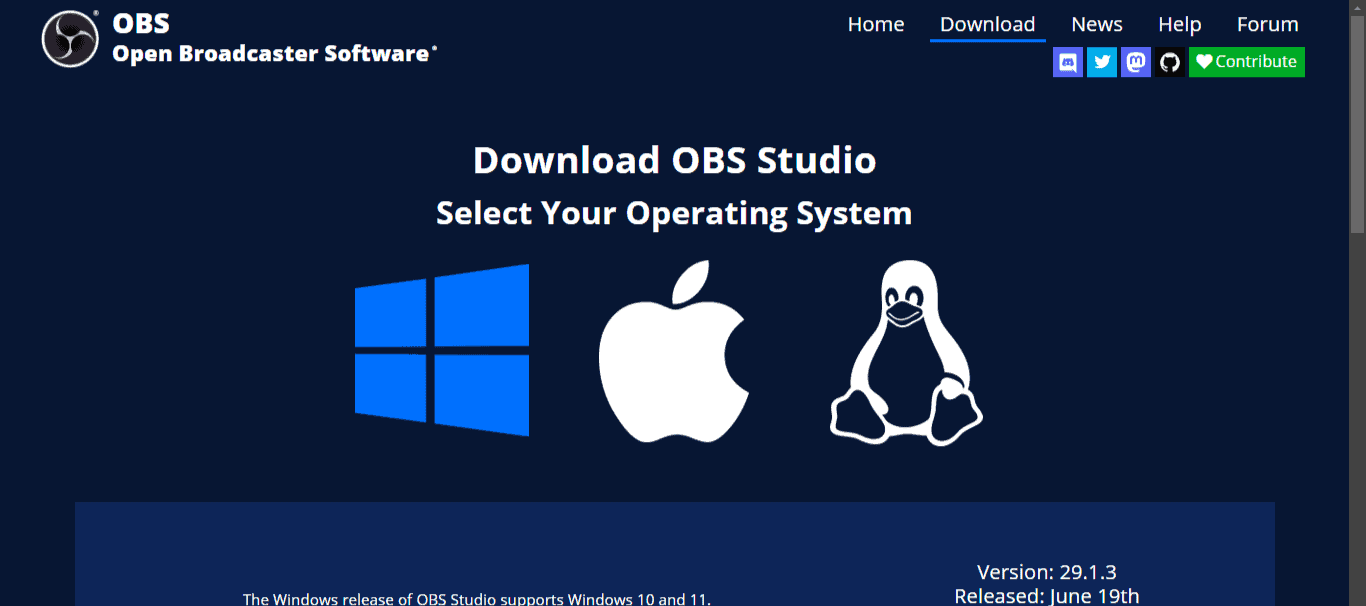
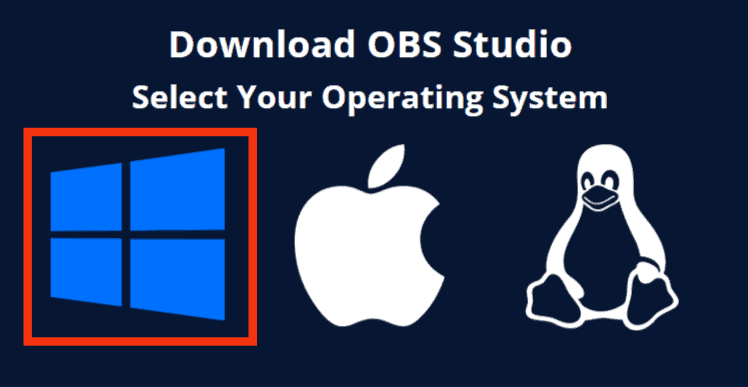
- Select your OS – Windows, Mac, or Linux.
- Click “Download Installer.”
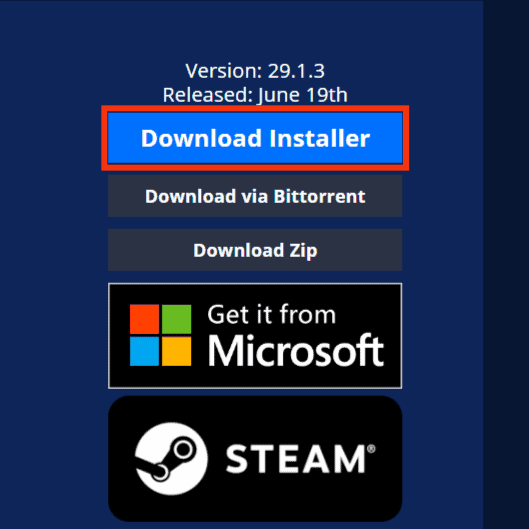
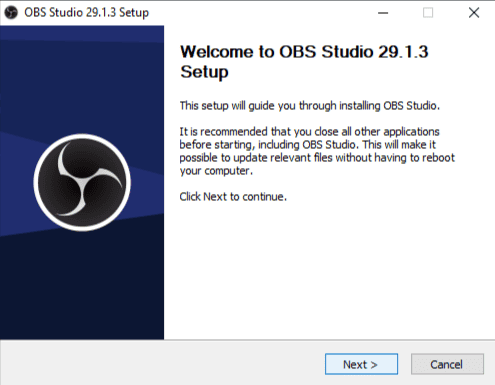
- When downloading is finished, install it by following the instructions given.
Next, we discuss the exact steps to streaming Discord audio on Twitch.
Step-by-Step Guide on Streaming Discord Audio on Twitch
Step #1: Connect Discord and Twitch Account
The first step to streaming Discord audio on Twitch is to link your Discord and Twitch accounts. There are two ways to do this, depending on the platform.
Method #1: Discord Mobile App
Follow the steps below:
- Launch the Discord app.
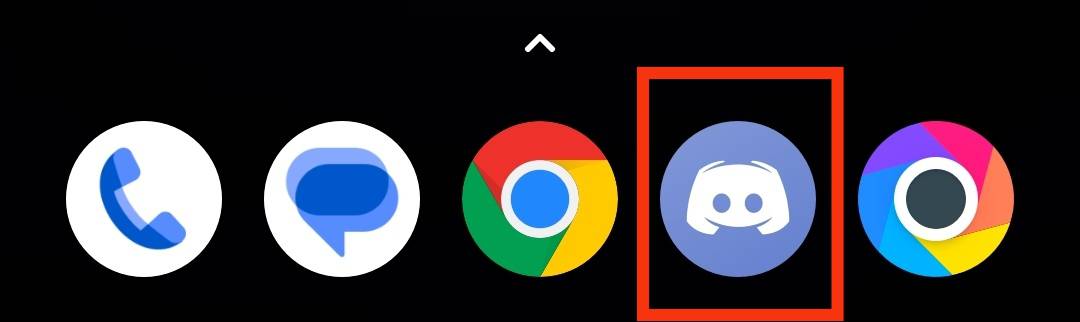
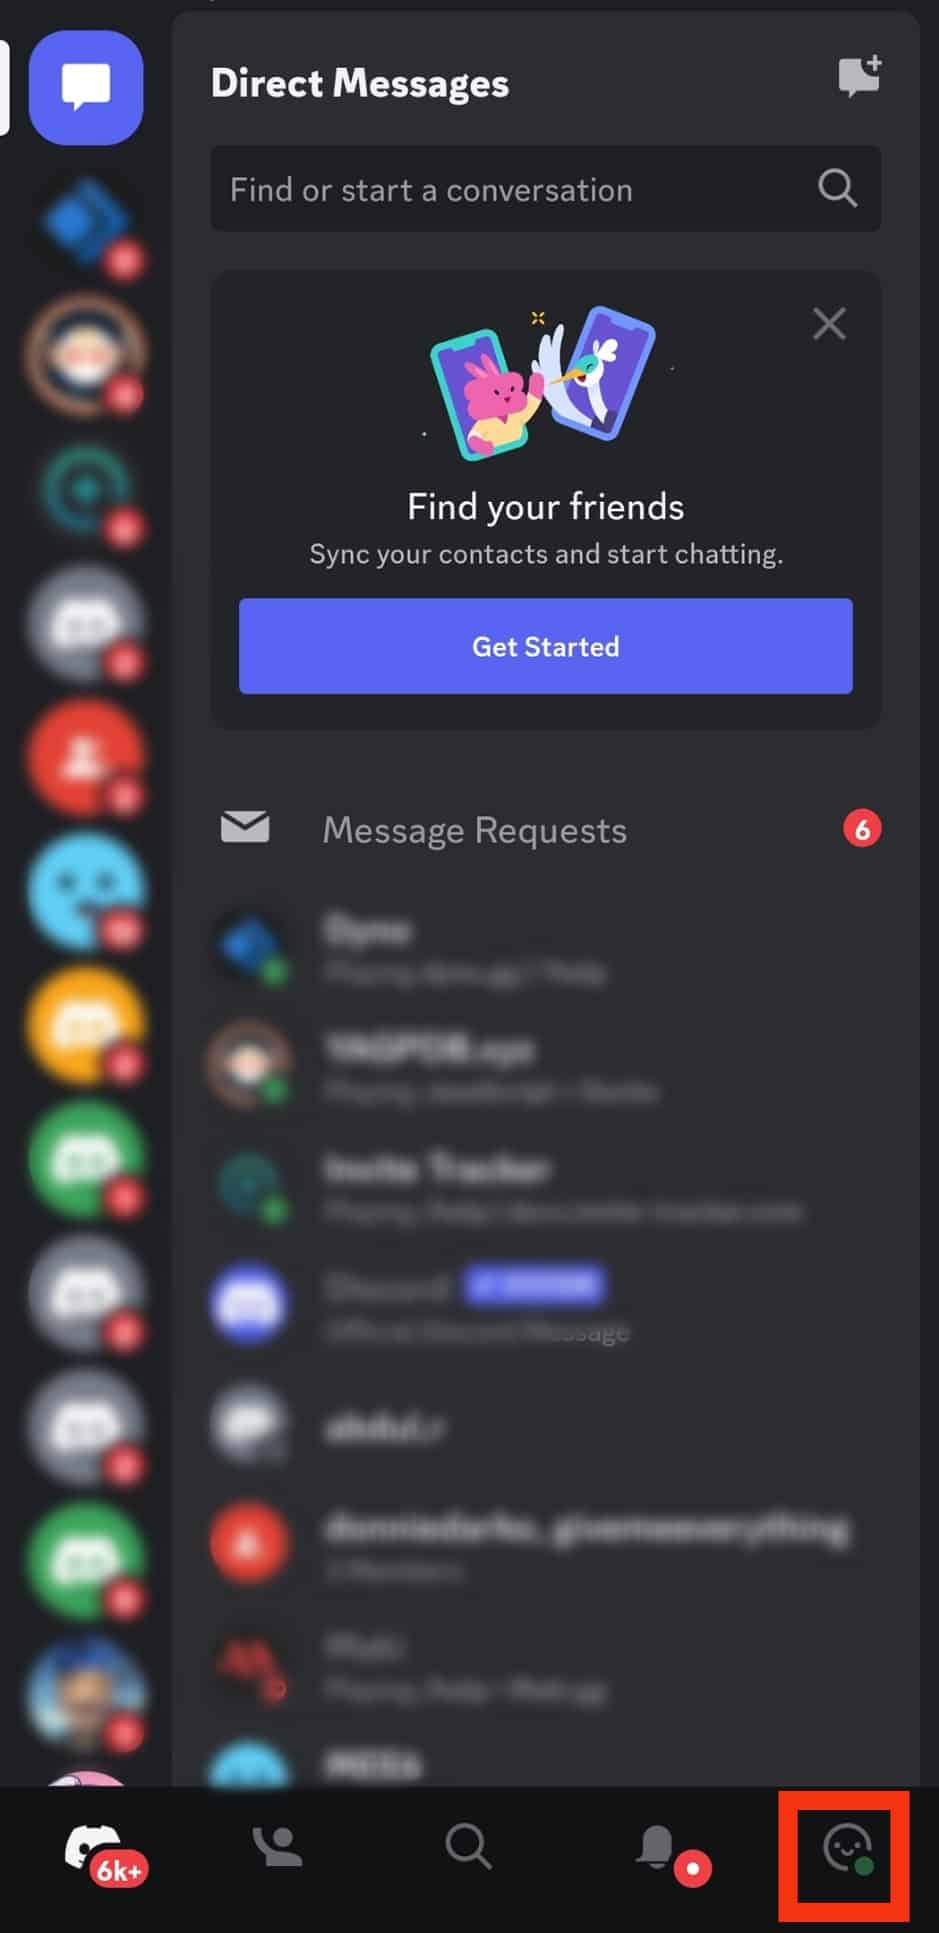
- Tap on the three-line menu icon.

- Tap on your Avatar at the lower-right corner.
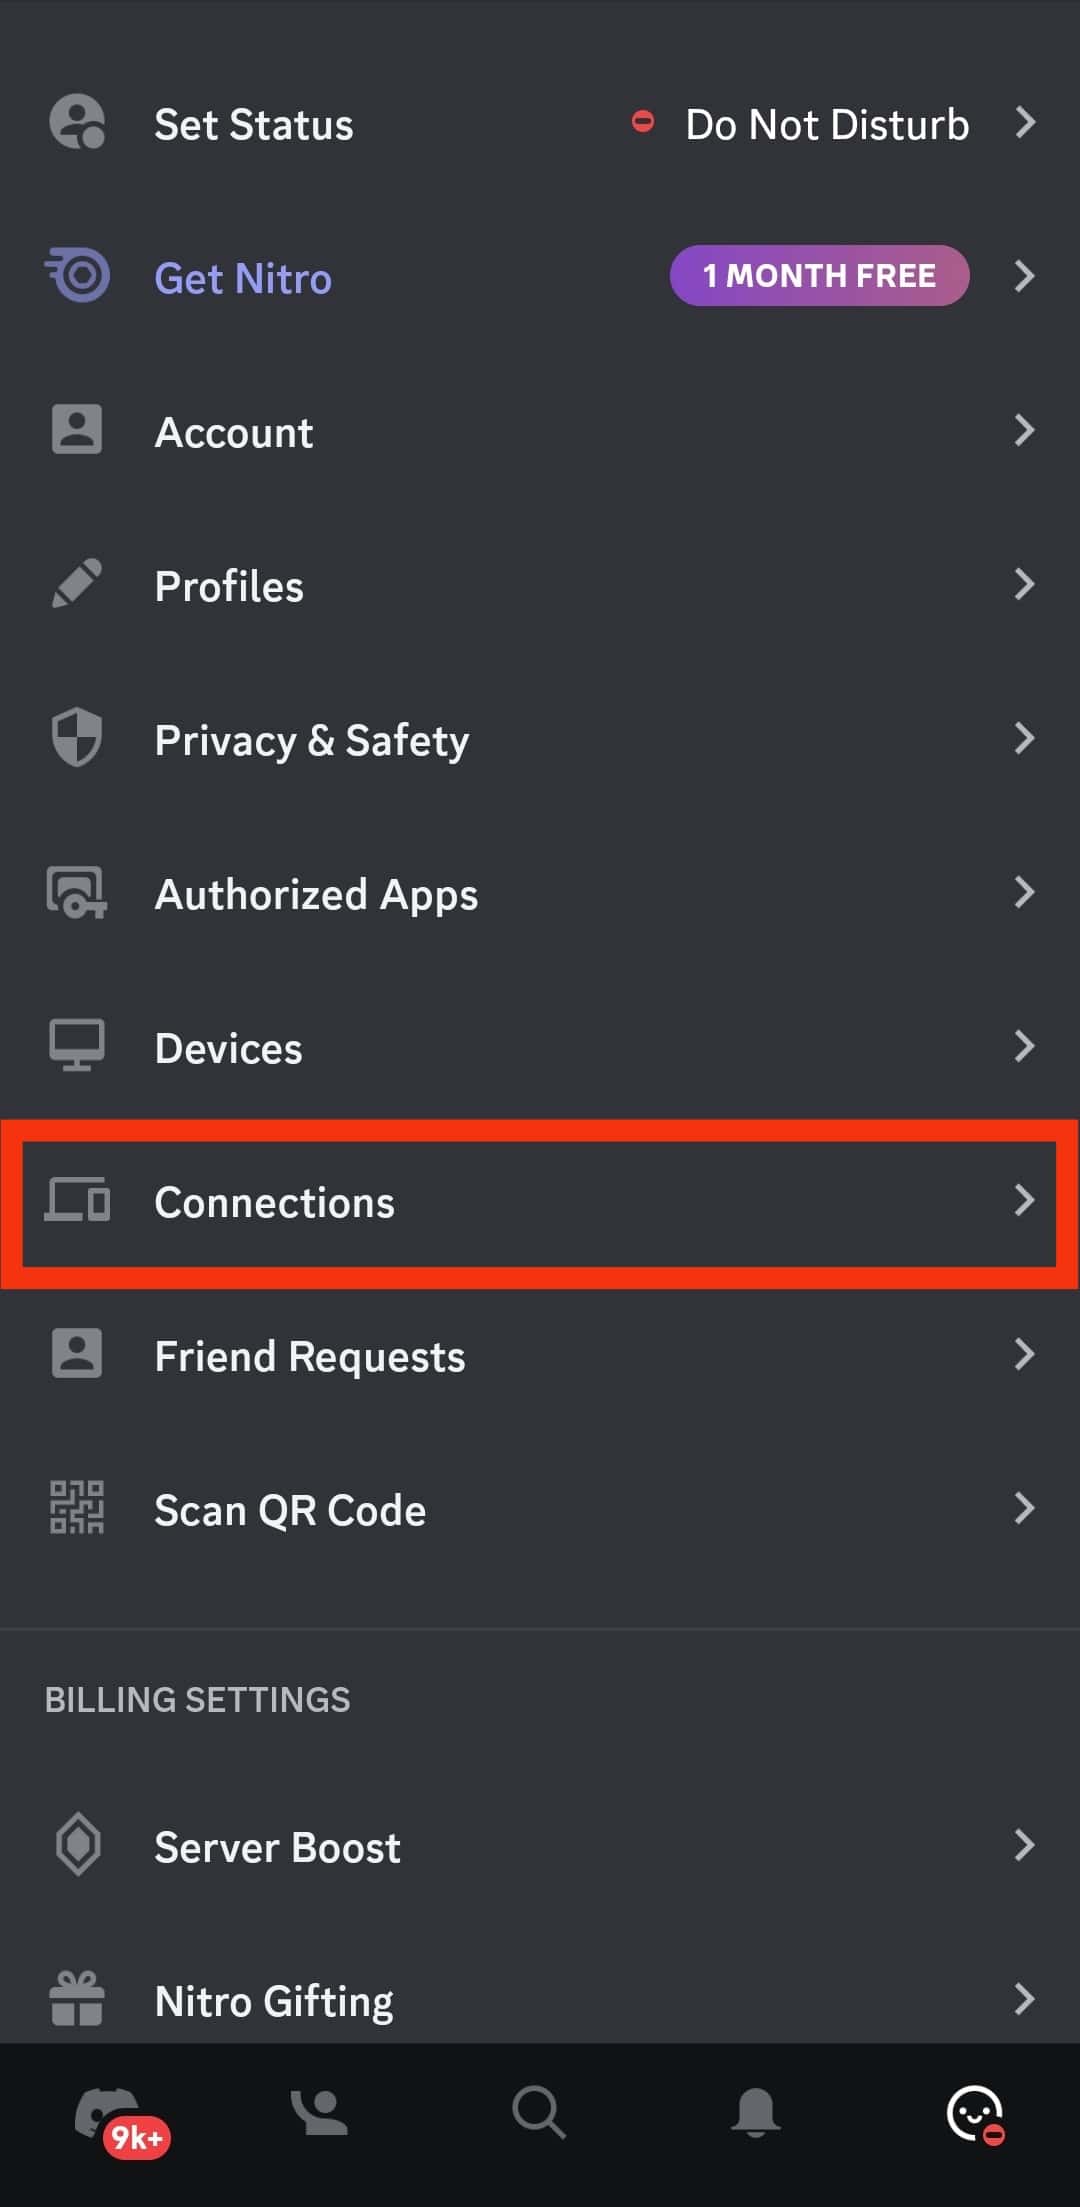
- Select “Connections.”
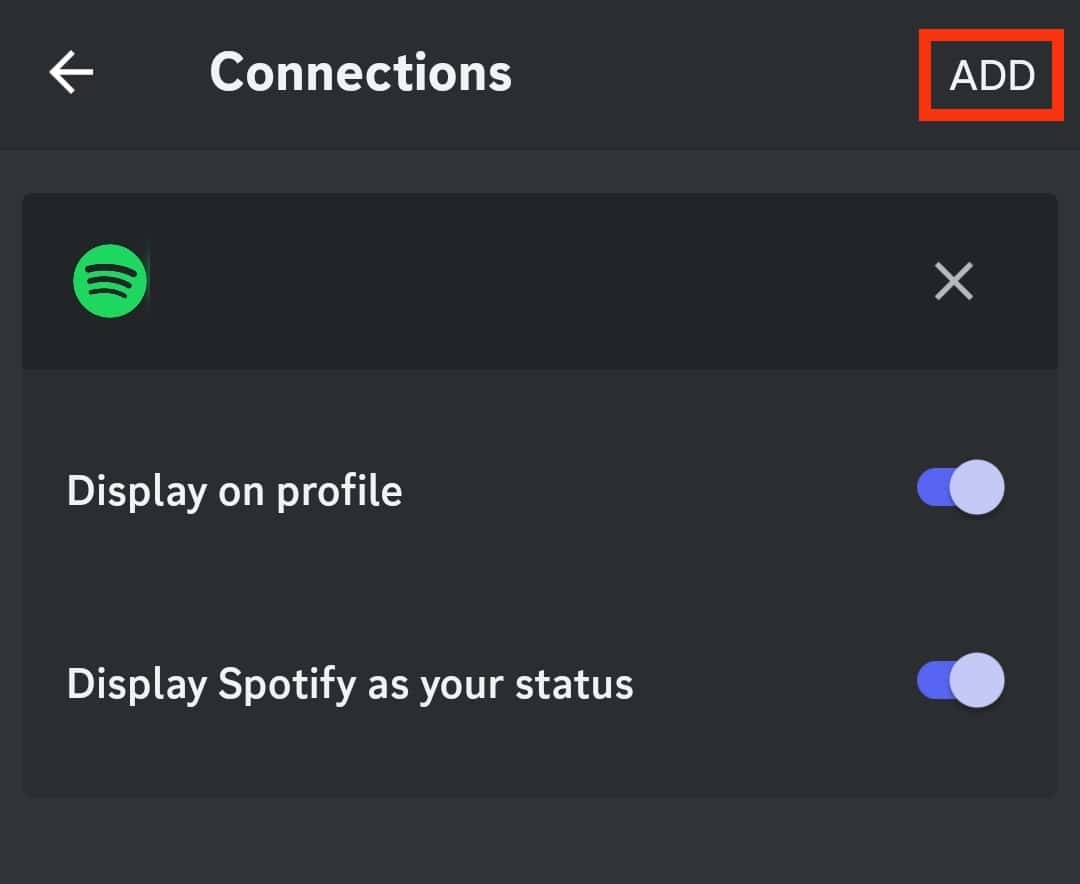
- Tap “ADD” on top right corner.
- Locate and tap on Twitch.

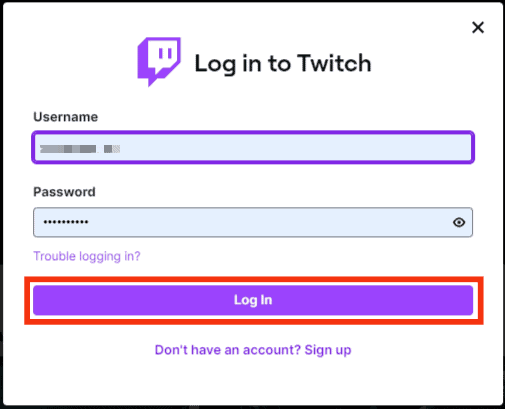
- Enter your username and password.
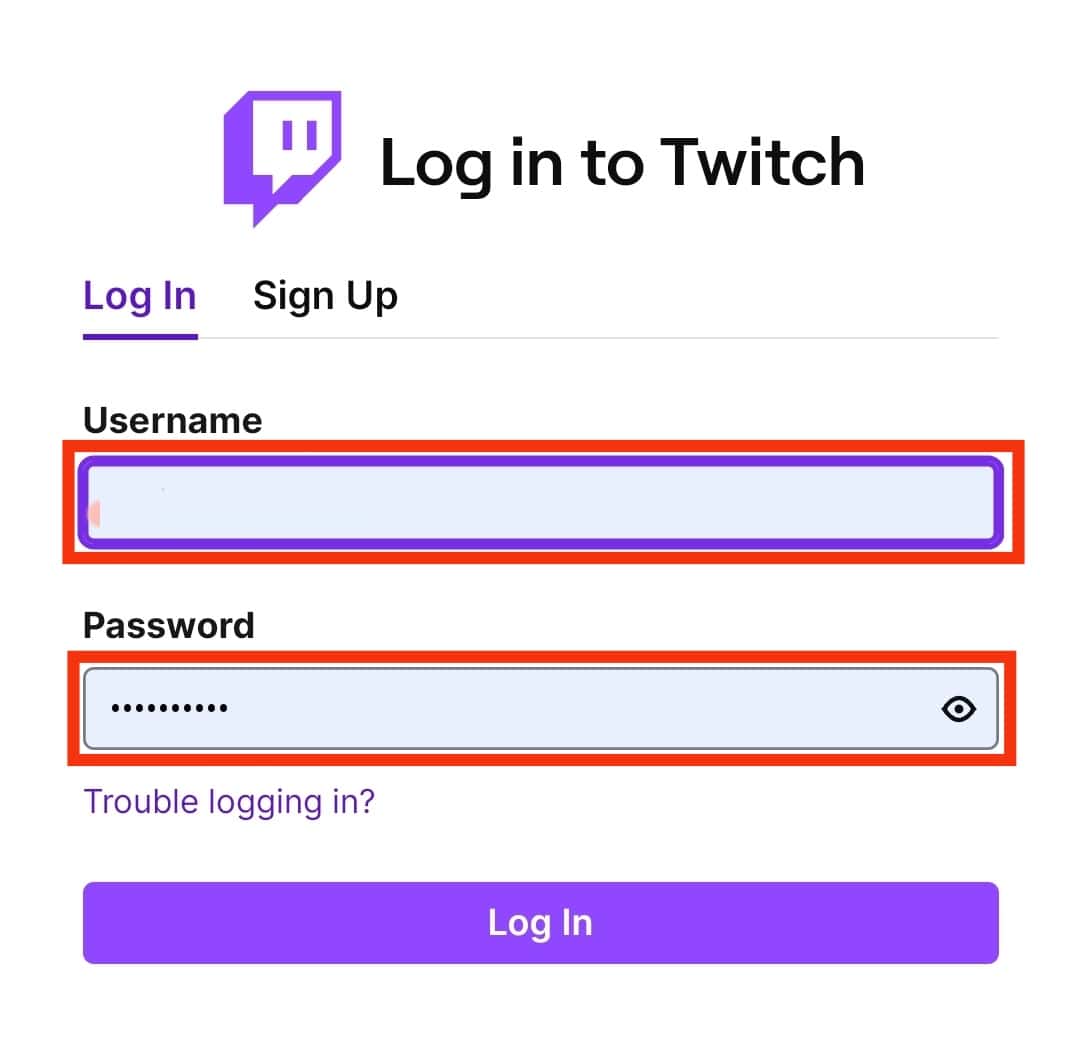
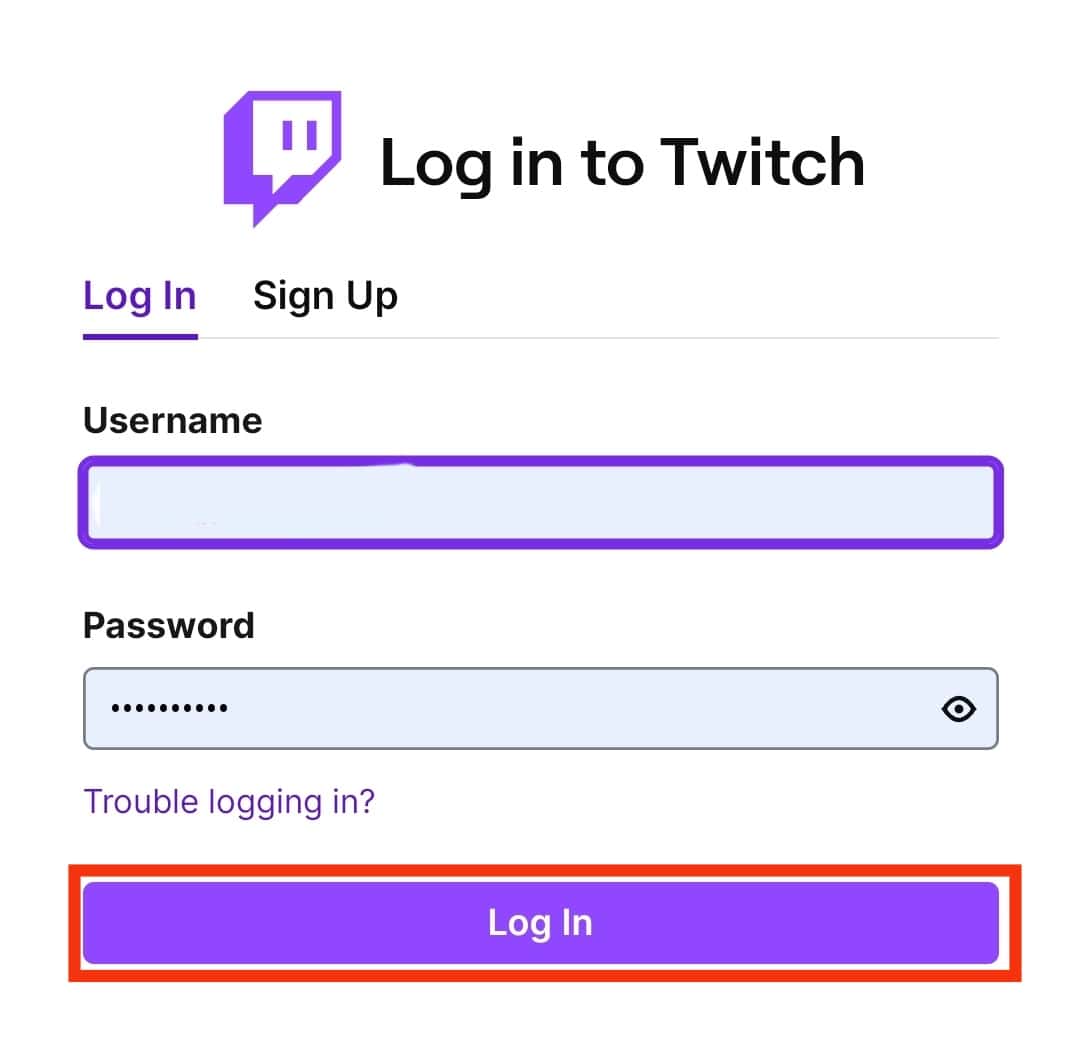
- Tap the “Log in” button.
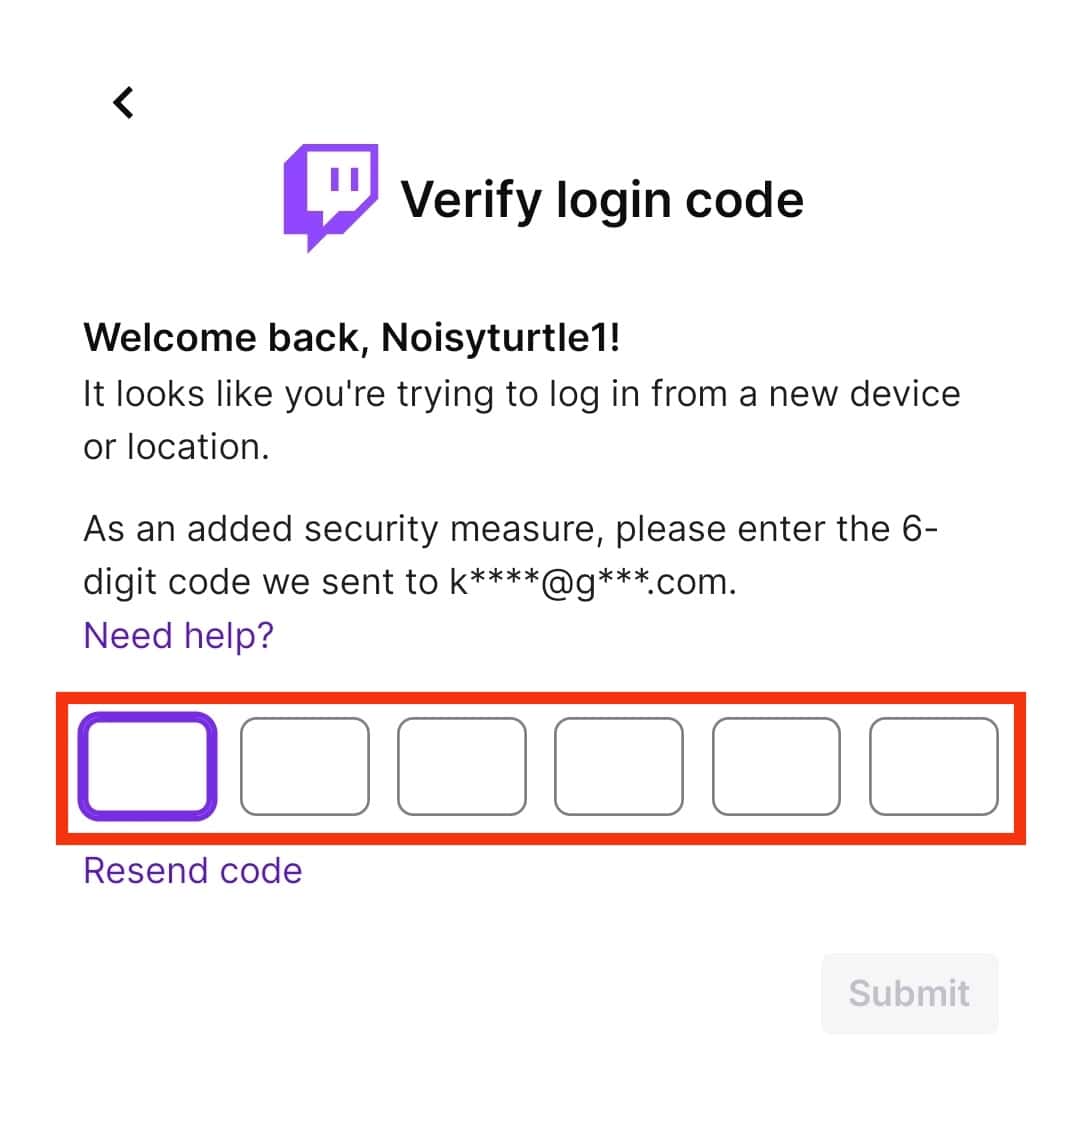
- Enter the verification code sent to your email.
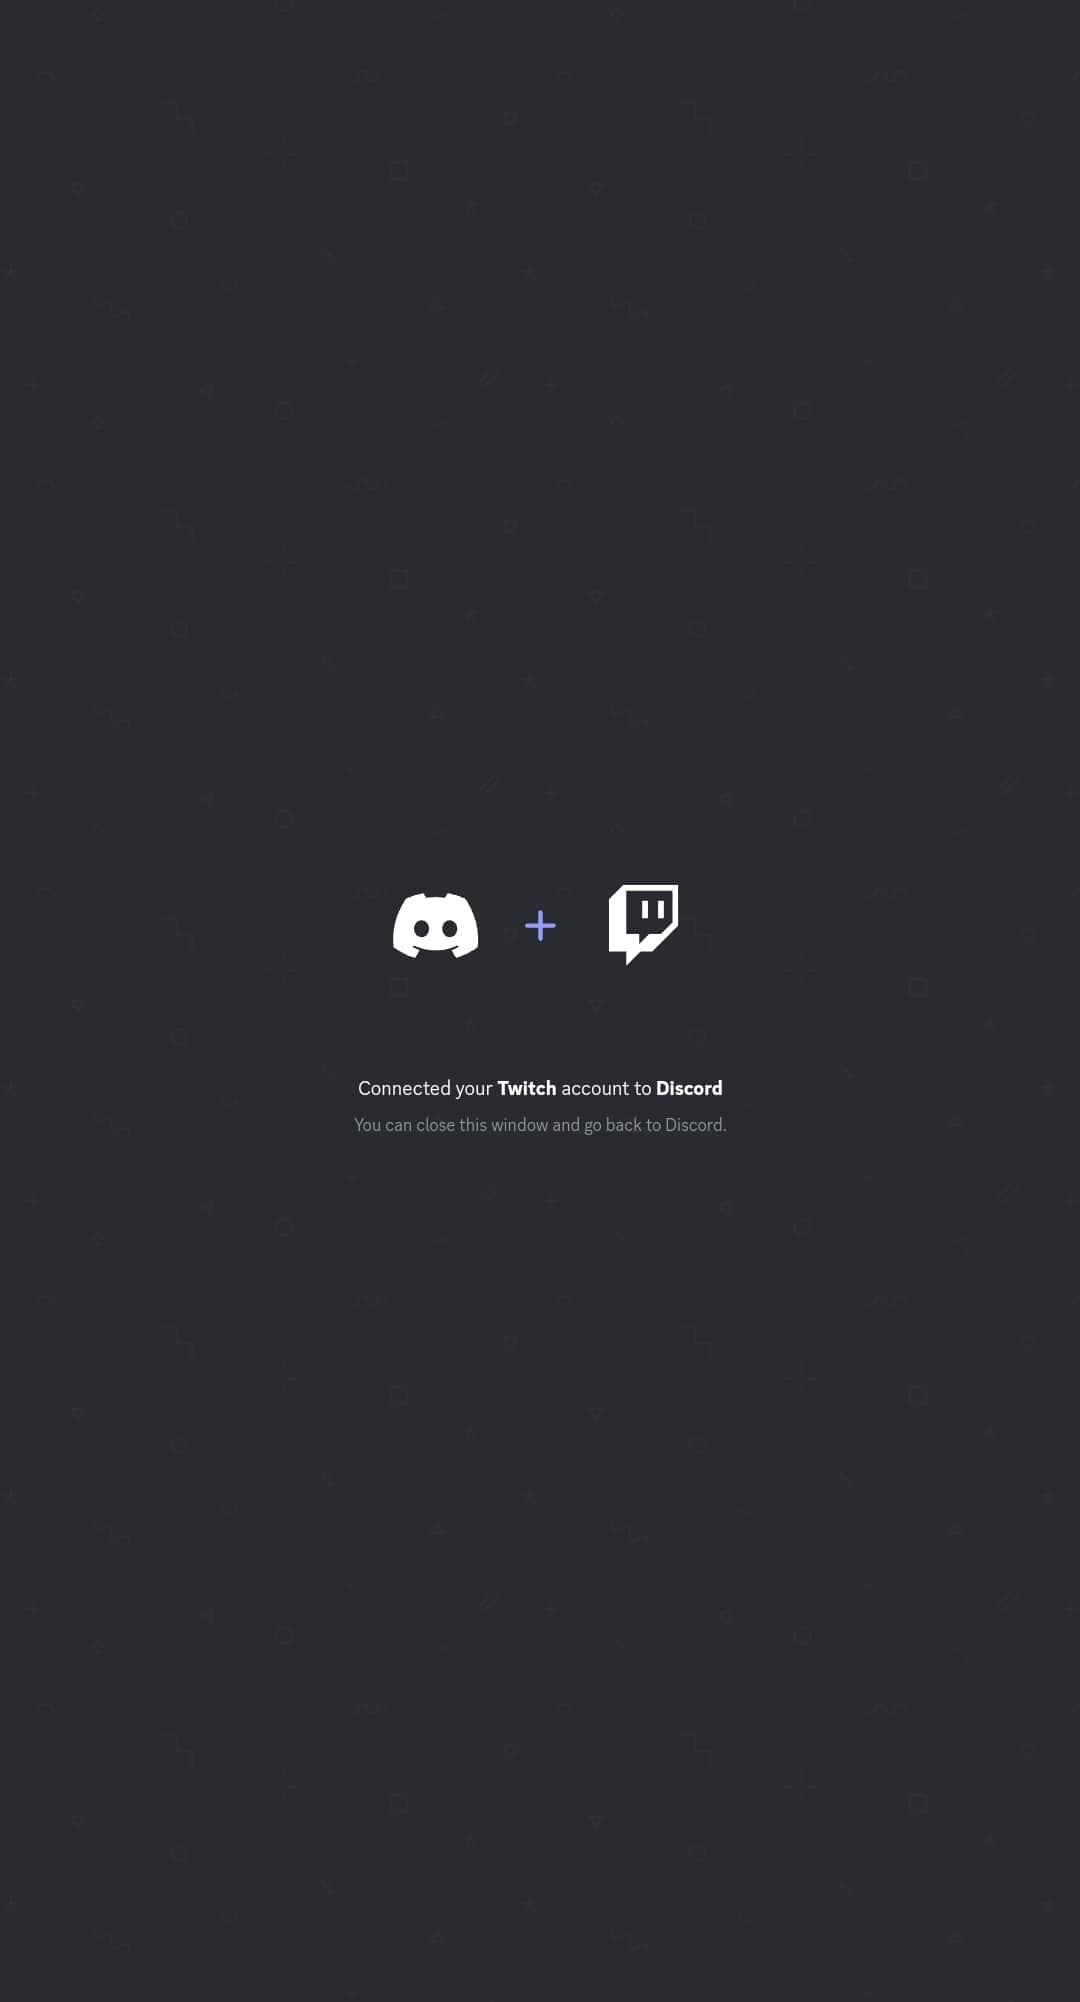
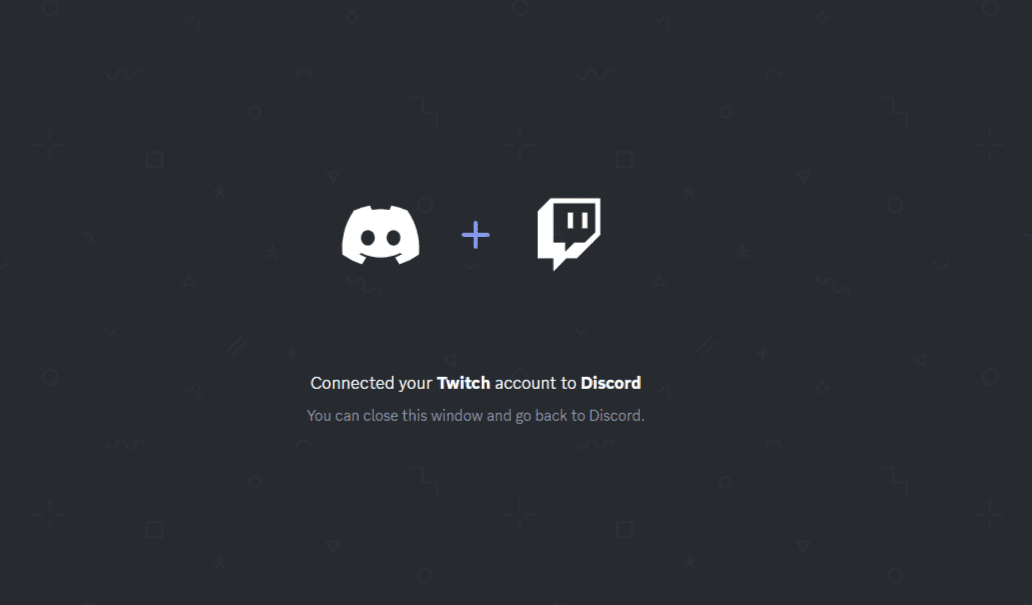
- You’ll see a confirmation message on the next window.
Method #2: Discord Desktop App
Follow the steps below:
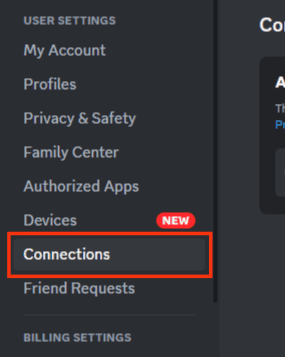
- Open your Discord desktop app.

- Click the gear icon at the lower right corner.
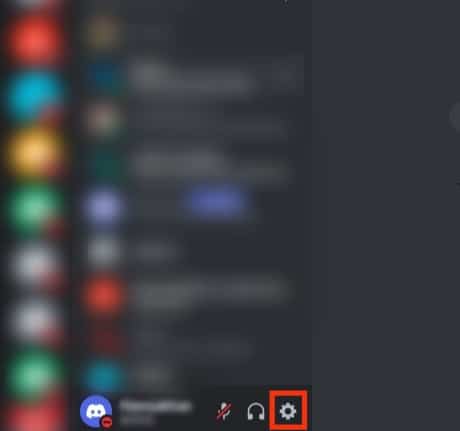
- Click “Connections.”
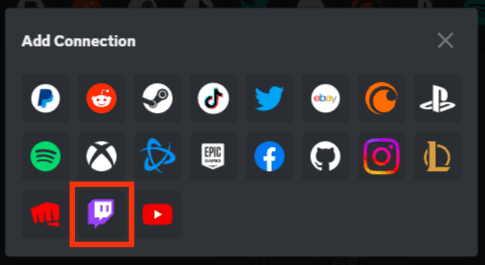
- Click on the “Arrow” icon.
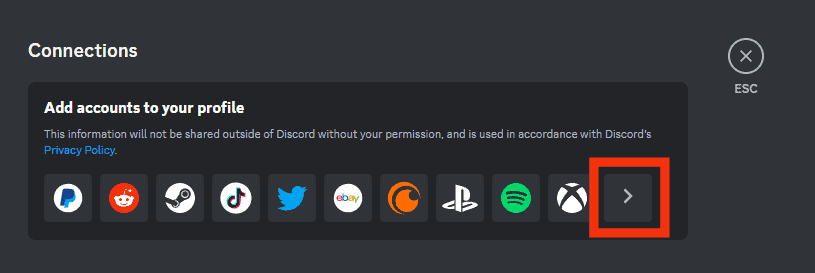
- Locate and tap on the Twitch icon.
- In the browser tab, enter your Twitch account details.

- Tap on the “Log in” button.
- Enter the confirmation code sent to your email.

- You’ll see a confirmation message on the next window.
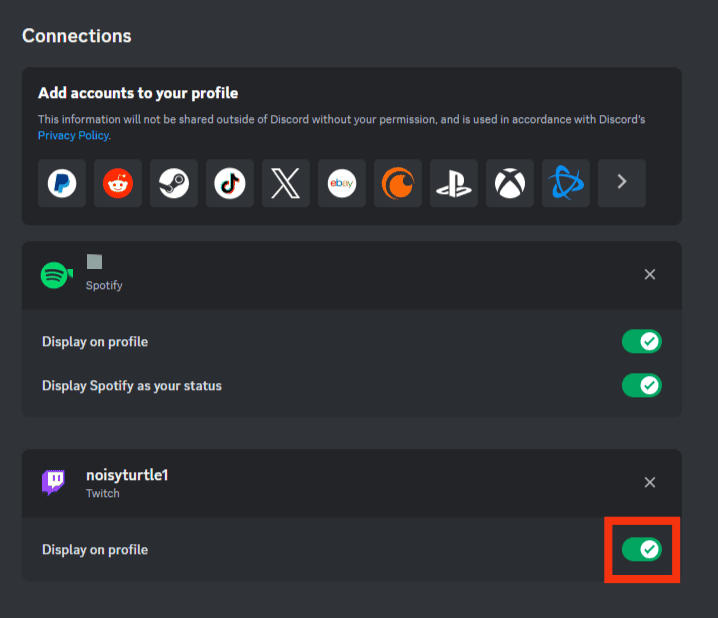
- On the connections page, slide the toggle next to “Display on Profile.”
Step #2: Stream Discord Audio on Twitch
Now that your Discord and Twitch accounts are linked, the next step is to stream Discord audio on Twitch. Just follow the instructions below:
- Launch the Discord app on your computer.
- Open your web browser and go to the Streamkit download page.
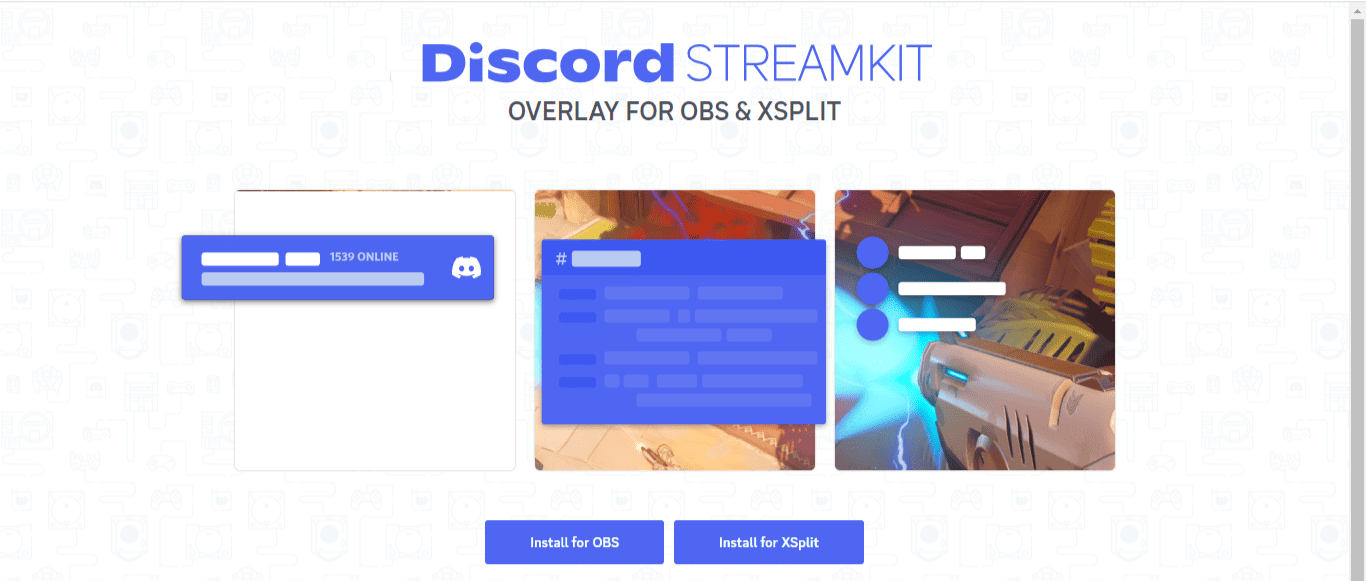
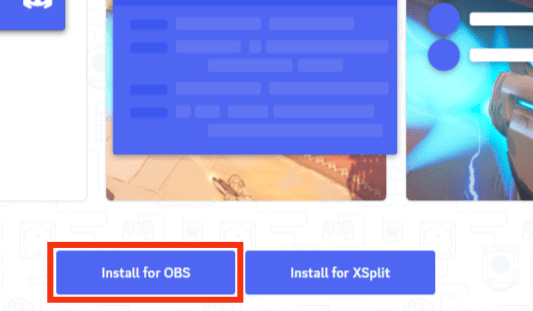
- Click “Install for OBS.”
- Click “Authorize” to allow the Streamkit to view your messages.

- After authorizing, go back to the Streamkit page.
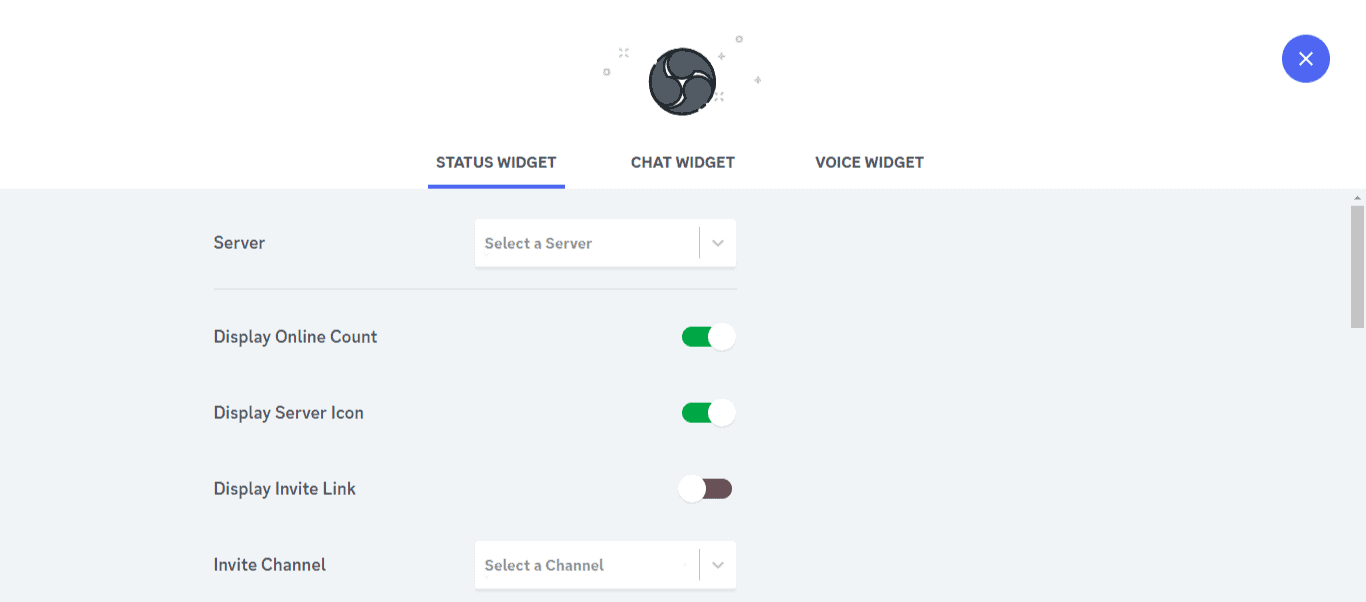
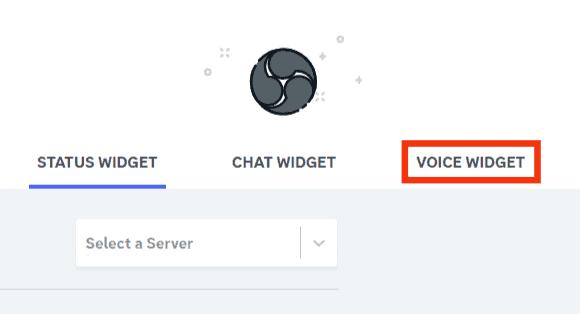
- Select the “Voice Widget” option.
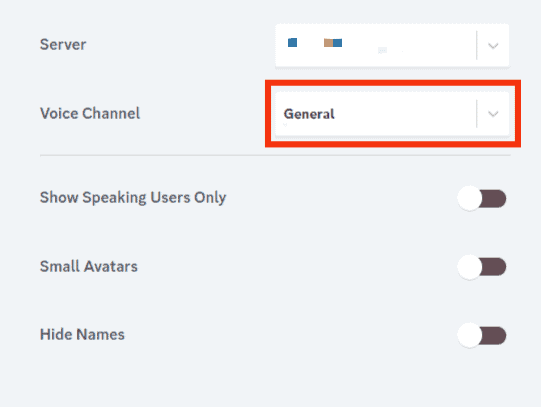
- Select the server on which you wish to install the Streamkit.

- Select the voice channel you want to stream on Twitch.
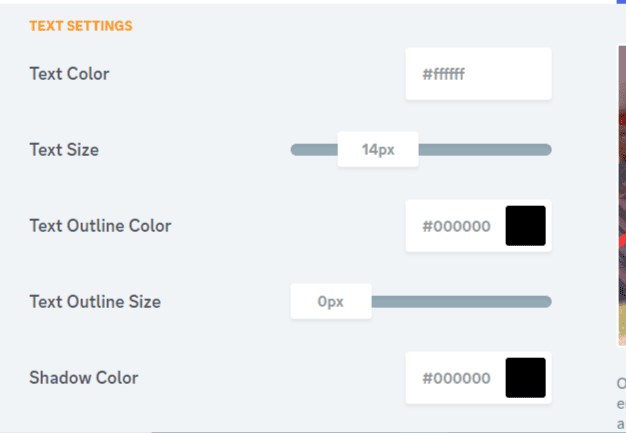
- Change the text color and size, and more.
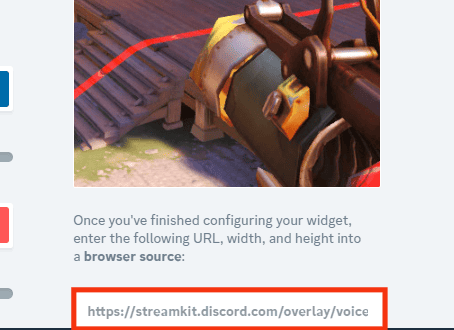
- Copy the voice widget link on the lower-right bar.
- Open the OBS app you had installed earlier.

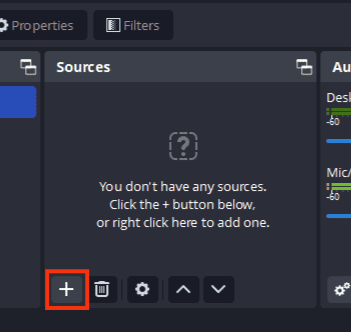
- Click on the plus icon below the “Sources” window.
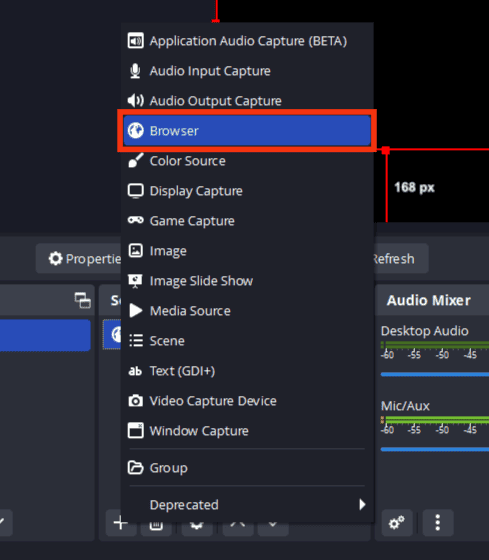
- Click on the “Browser” tab in the drop-down menu.
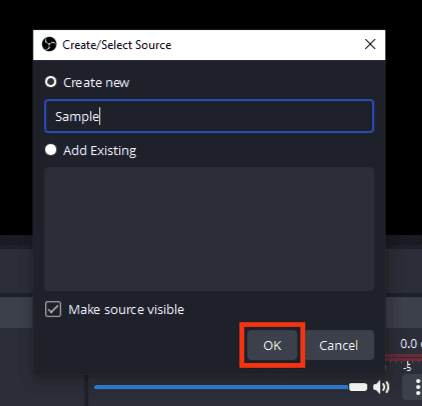
- Enter a name under the “Create New source.”

- Click “OK.”
- Paste the Voice Widget link you copied in the URL box.
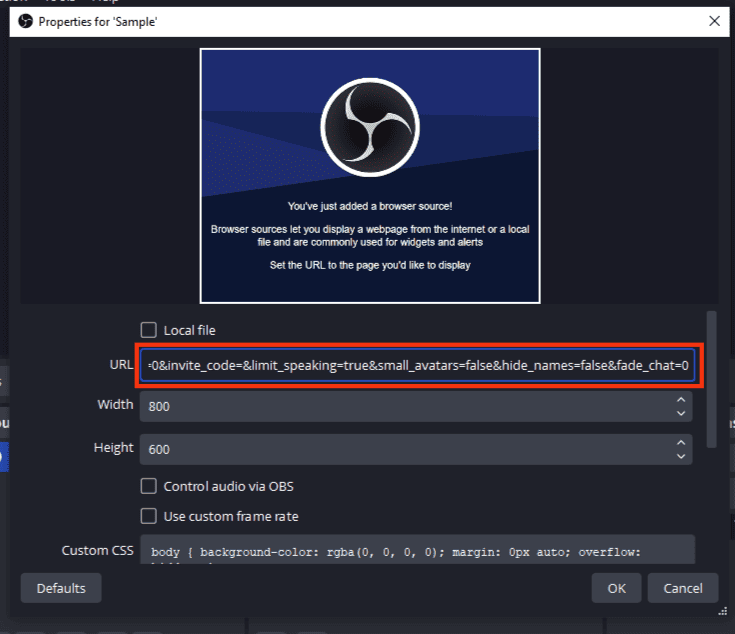
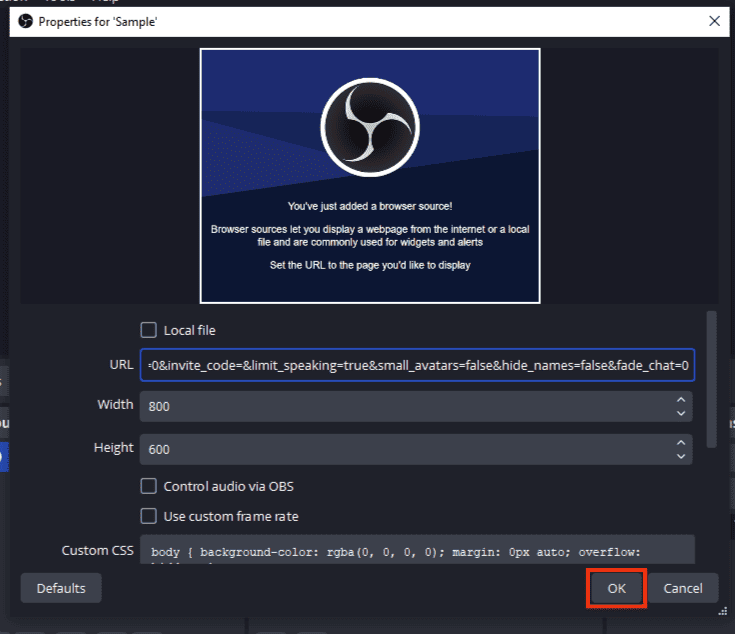
- Click “OK” to save the changes.
After making the changes, start streaming Discord audio on Twitch.
Besides including audio in your Discord stream on Twitch, you can also overlay your Discord messages on Twitch, so you have audio and chat. The process is similar to the audio stream process, as you’ll need to download Discord Streamkit Overlay for OBS. The difference is that you’ll click on the “Chat Widget” instead of the Voice Widget.
After connecting Discord chat to Twitch, you’ll see the chat widget preview in the OBS app window. The widget allows you to resize or drag it to any position.
Please note that Discord web doesn’t have a feature to link your audio or chat to your Twitch account. You’ll have to download the desktop app to complete the process.
Summary
Learning to stream Discord audio on Twitch is an essential skill for Discord users who want to gain more followers, create a niche community, or create a brand.
Before streaming Discord audio on Twitch, you’ll have to link your Twitch and Discord accounts. You can link through the Discord mobile or desktop app. After downloading the OBS app, use Streamkit Overlay for OBS to stream the Discord audio.