When most people use Facebook Live, they want to share more than they can fit on the screen with their device’s camera. This might include presentations from another app or tab, hence the need to share their screen. Formerly, you were required to use third-party apps to achieve this feat. However, Facebook has now given its users an in-built screen-sharing option accessible only from their computers.
To share your screen on Facebook Live, you must log into your account from a computer. First, go to the post section, create a live video, and then navigate to the live producer section. In the menu that shows, tap on “Use Camera,” and in the setup menu, click on “Start Screen Share.” Next, select what you’d like to share and tap on “Go Live.”
This article details how you can successfully share your screen on Facebook Live from your computer, Android, and iOS.
Facebook Live
Many social platforms have incorporated a live video section where you can talk with your friends and followers in real time. This comes with a comments section where they can interact with you on the live video. For example, on Instagram, there’s an additional feature to call someone to join your live video while also interacting with followers who drop comments in real-time.
It’s no surprise Facebook also has a live video feature as a pioneer in the social media space. It works pretty much like Instagram, where you can interact with your friends through comments they leave. But as the platform evolved to house brands and businesses, there is more use for Facebook Live than having a fun real-time chat with your friends.
Brands and businesses now use Facebook Live for demos, presentations, webinars, previews, and other live events. In addition, Facebook Live does not have a limit on people that can tune in to your live stream; hence it’s a fantastic platform to leverage for many brands and celebrities to reach their followers. And with brands especially, they’ll need to share their screen during Facebook Live.
How To Share Your Screen On Facebook Live on A Computer
As established earlier, Facebook now has an in-built feature that lets you share your screen during a live video without using third-party apps. However, this feature is only exclusive to Facebook on your laptop. These are the steps involved in launching screen share during Facebook Live.
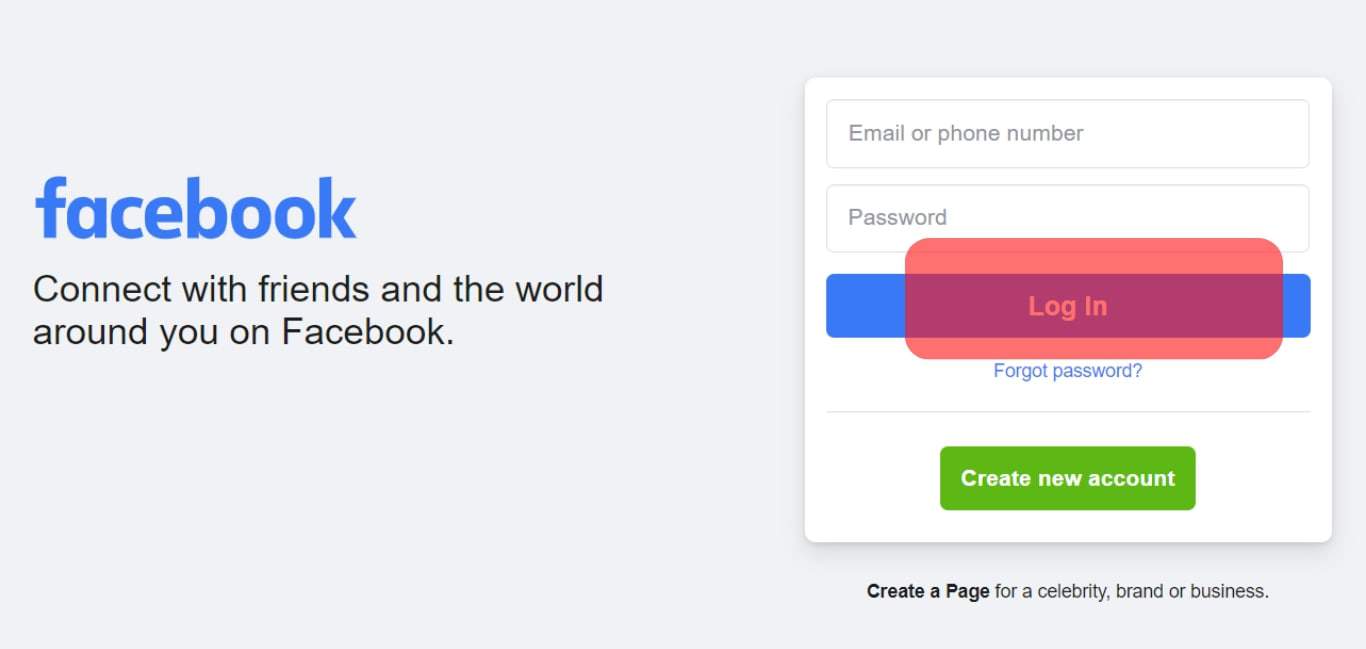
- Log in to Facebook from your computer’s web browser.
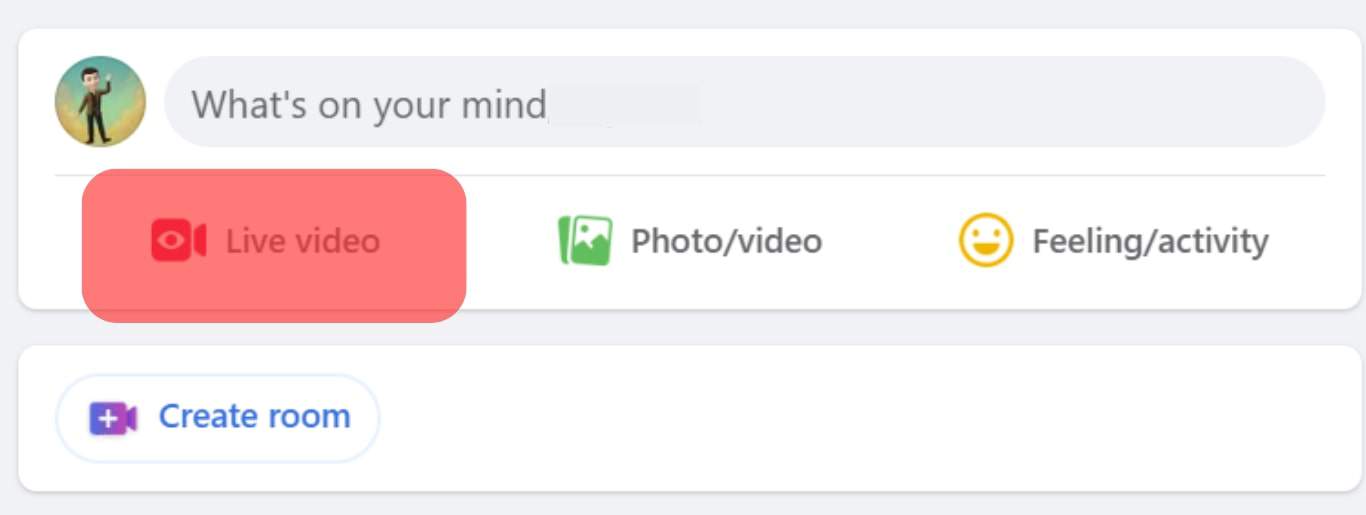
- Find the “Create Posts” section on your Facebook homepage and choose “Create Live” or “Live Video.”
- Choose “Go Live.”
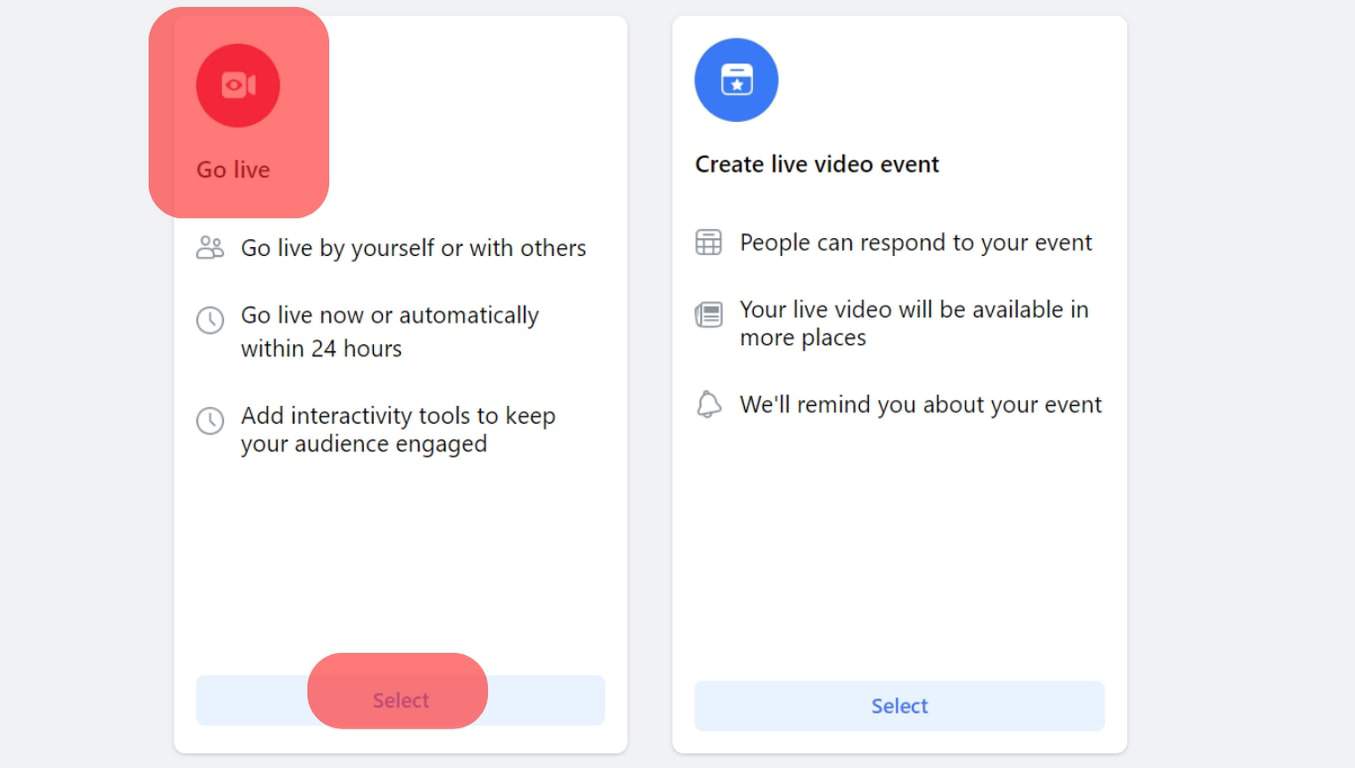
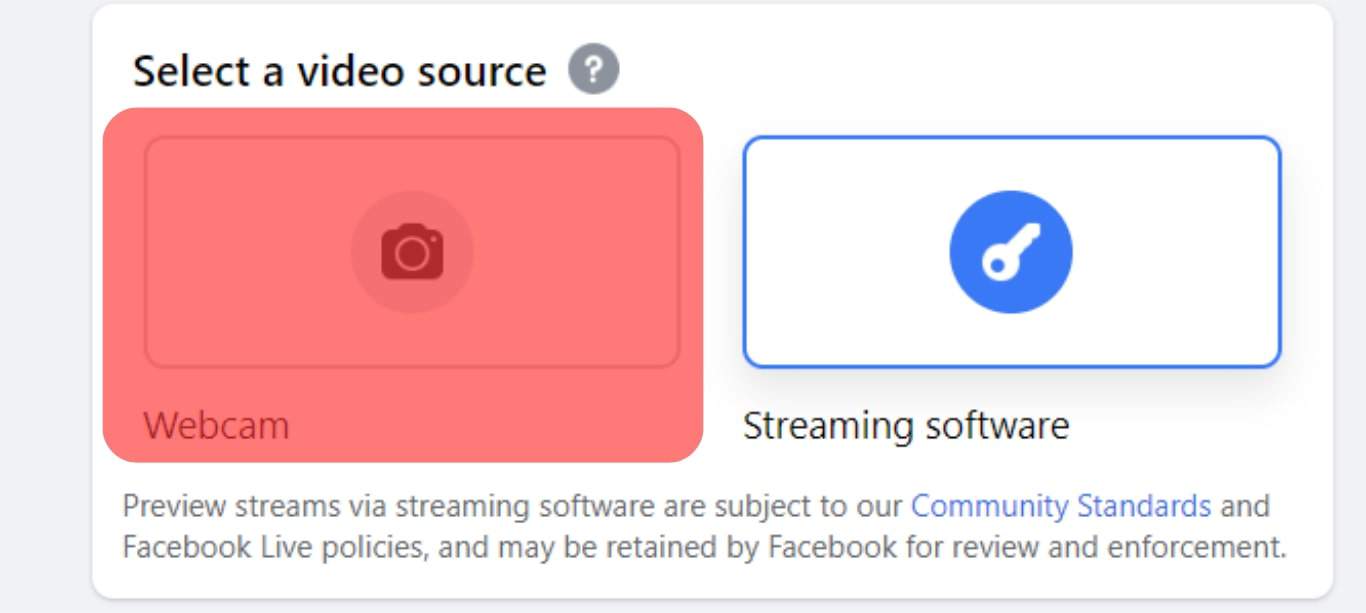
- Select “Webcam” in the get started menu.
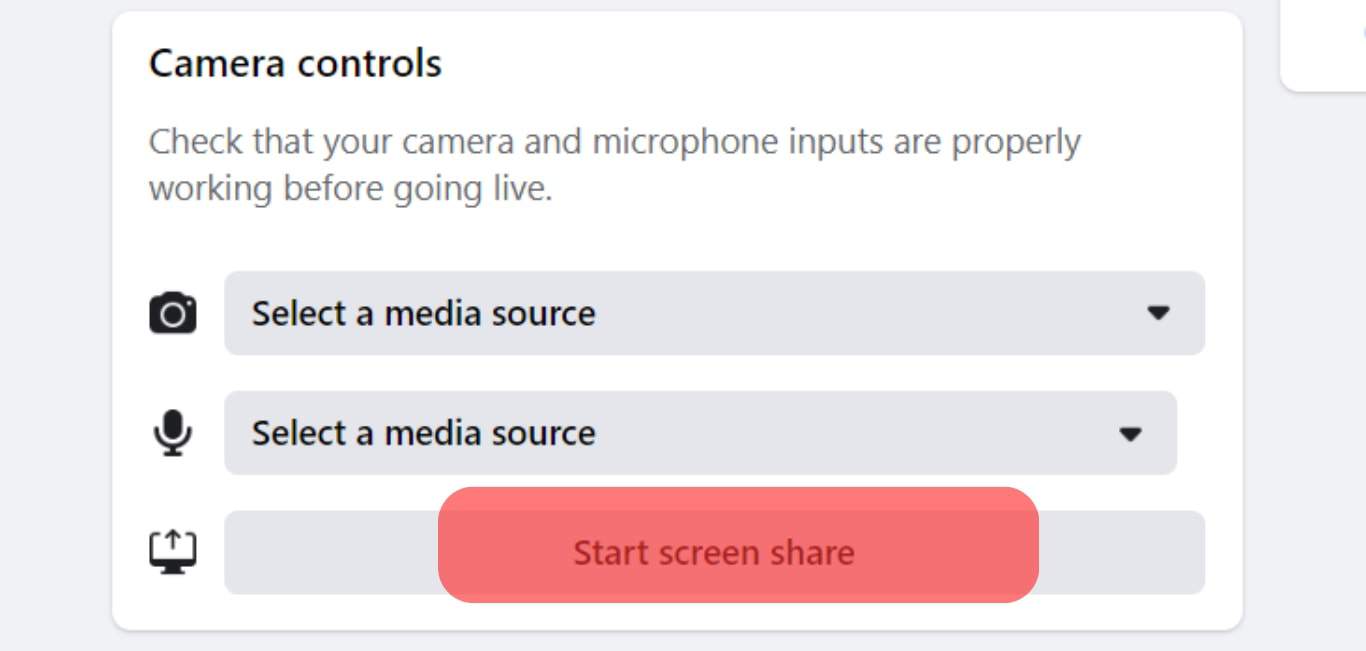
- Click “Start screen share” in the Camera Controls menu, and select the content you want to share.
- Click “Share” and tap “Go Live.”

If you’re using the screen-share feature for the first time, you will be asked to download and install a Facebooks screen sharing extension to your web browser.
Selecting Live Video
If you use a personal account and want to use the Live video and screen share option, you can go to the create posts option. However, if you’re sharing the live video as a brand, business, or public figure, you’ll want the broadcast to appear on the page and not your personal profile.
Hence, follow these steps if you want to start a live video on a page/group.
- Log into your Facebook account from your computer’s web browser.

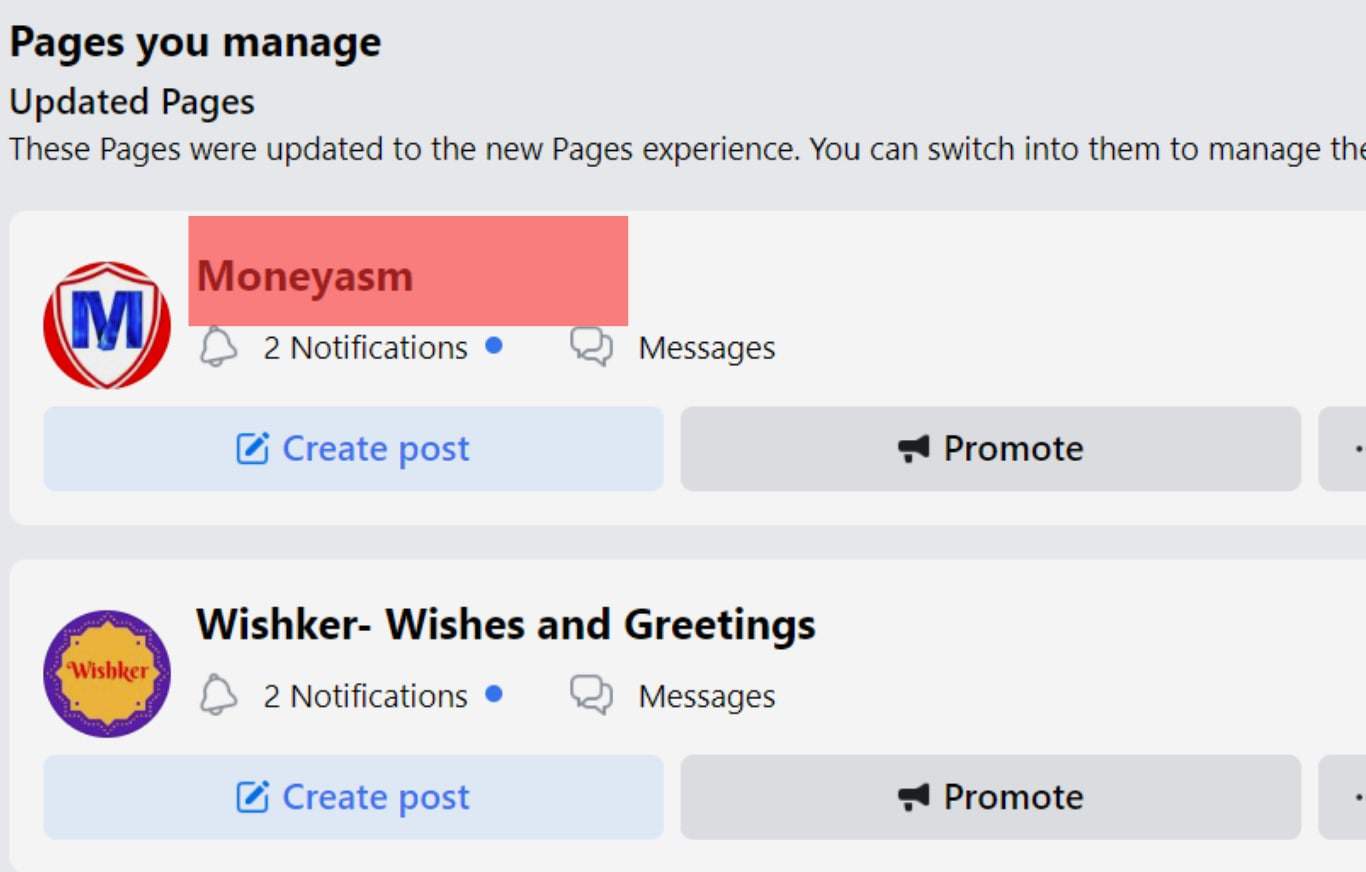
- Go to Facebook’s menu and select group or page.
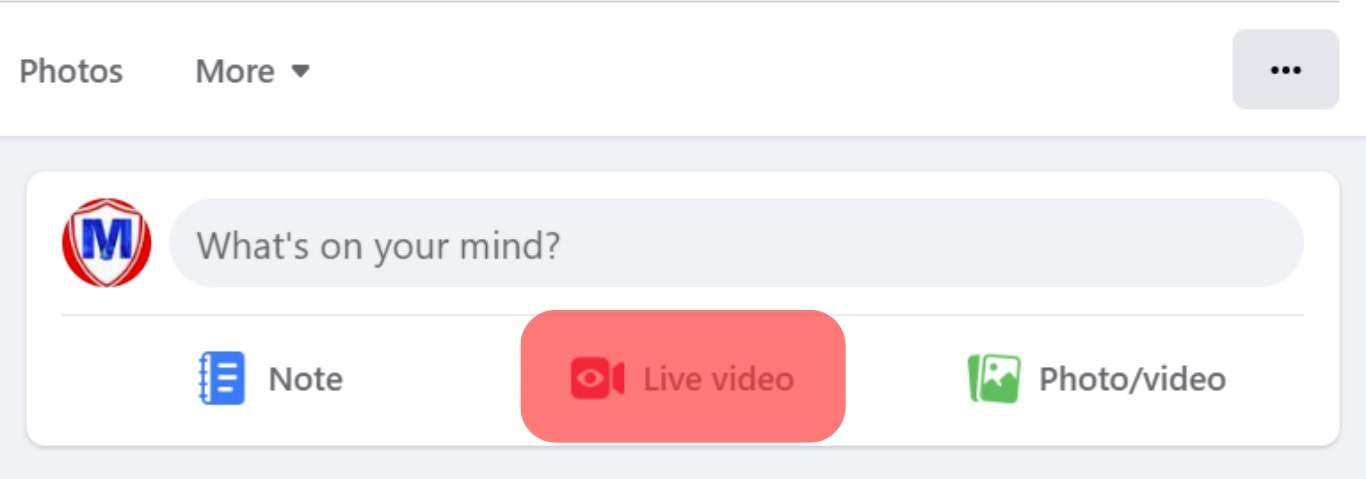
- Go to the “Live Video” option in the Create section.
Choosing Broadcast Options
When you start a live video on your profile, your timeline will be the default location where it appears. If it’s on a page, that’ll be the location where the live video starts, and the same goes for a group or event. In the live producer section with the options to “use camera” and “share screen,” you can pick either of the options throughout your live screen.
For instance, if you’re making a presentation, you can decide to either use your camera or share your screen showing another window or tab. However, once your live broadcast starts, you can switch between these options. When sharing your screen, you’ll see an “End Screen Share” option at the bottom to end everything once you’re done with your broadcast.
If you have more than one mic and camera attached to your computer, select the one you wish to use. And when you tap on the share screen option, you’ll be presented with options to share a Chrome tab, an app window, or your entire screen. If you’re sharing your entire screen, your viewers can see everything you open on your computer while on that Live.
It’s best to keep the sharing option to a tab, so you can still have some modicum of privacy. Once you have everything ready, click the “Go Live” tab, and you’ll communicate with your followers in real time.
How To Share Your Screen on Facebook Live With an Android
Facebook keeps its in-built screen-sharing feature only available for computer users, but you can still share your screen with your mobile device. For instance, on your Android device, you can share a screen with a third-party app like CameraFi. However, note that you’ll be giving a third-party app access to your Facebook account if you choose this route.
Download the application from your Play Store, follow the instructions, and share your screen on Facebook Live.
How To Share Your Screen on Facebook Live With iOS
You can also share your screen on Facebook Live if you’re using an iPhone with the model iOS 11 and above.
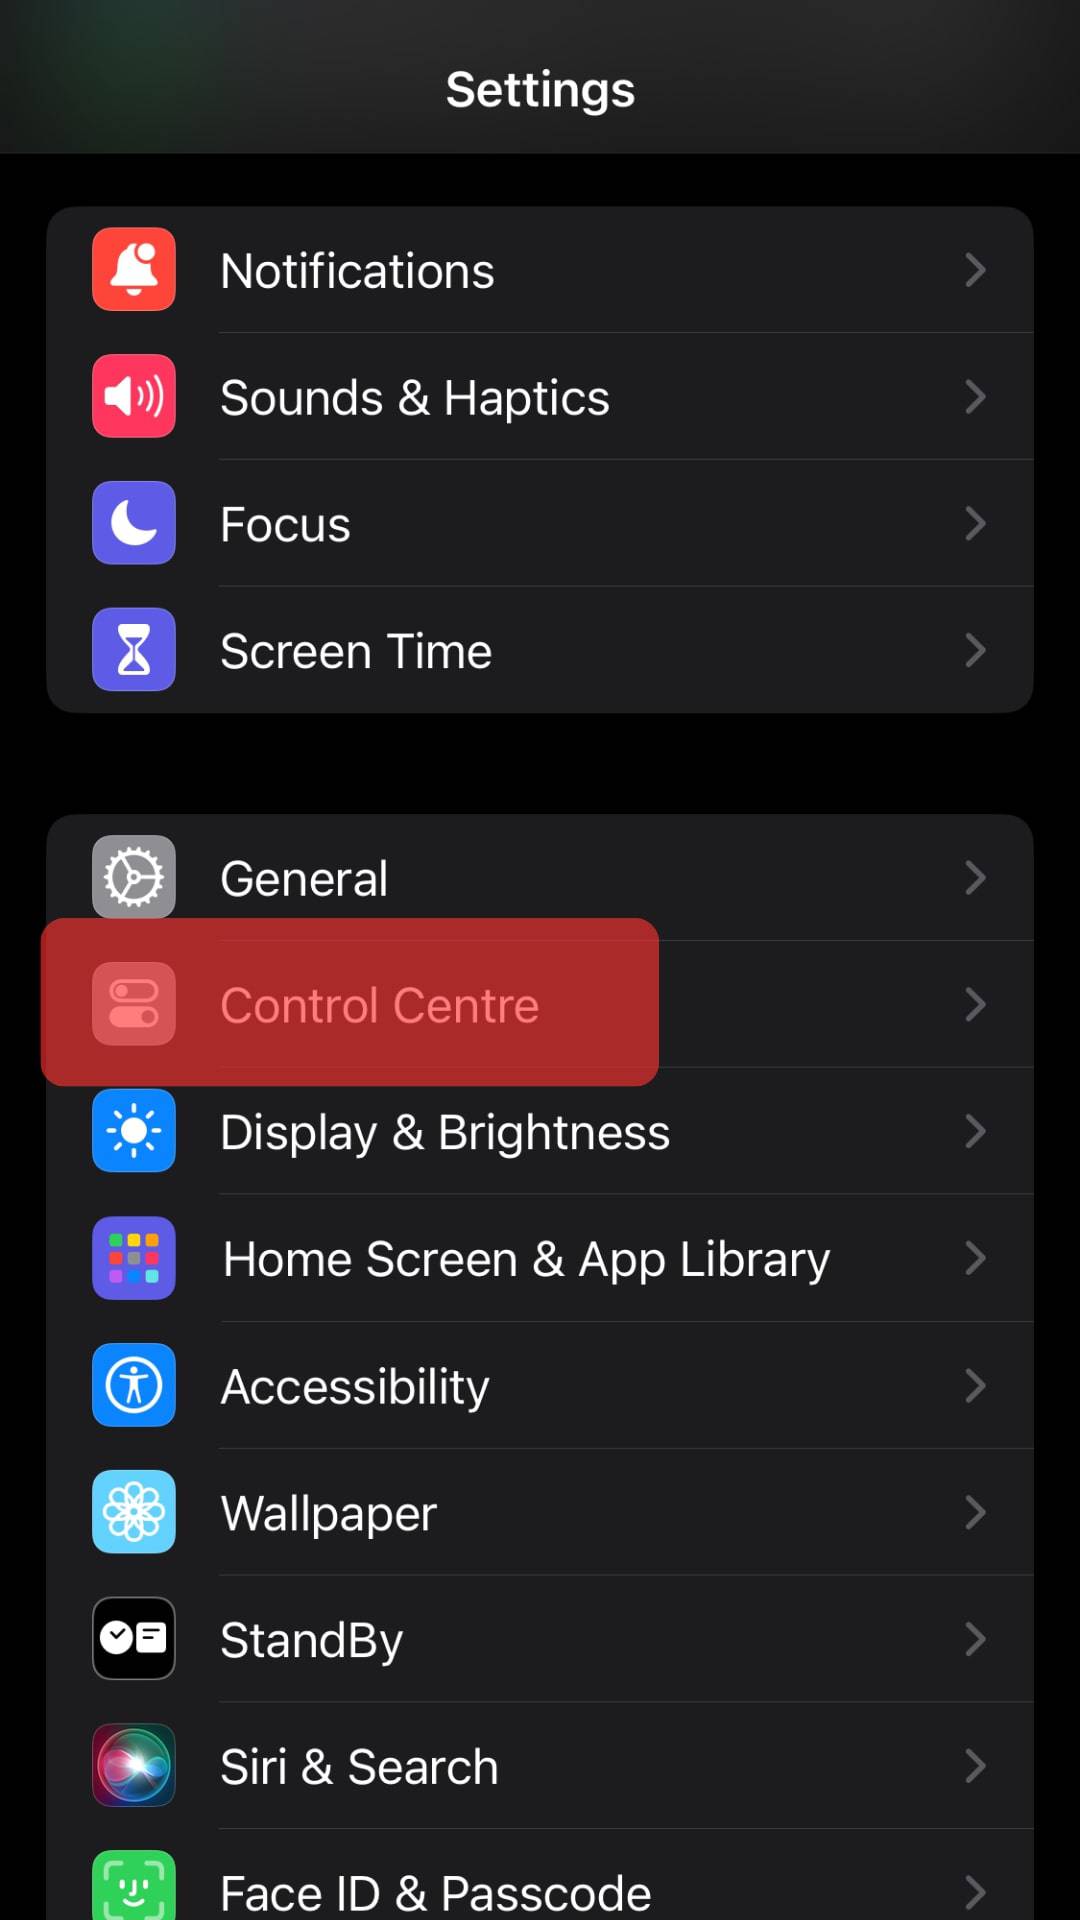
- Navigate to your iPhone settings and go to the “Control Centre.”
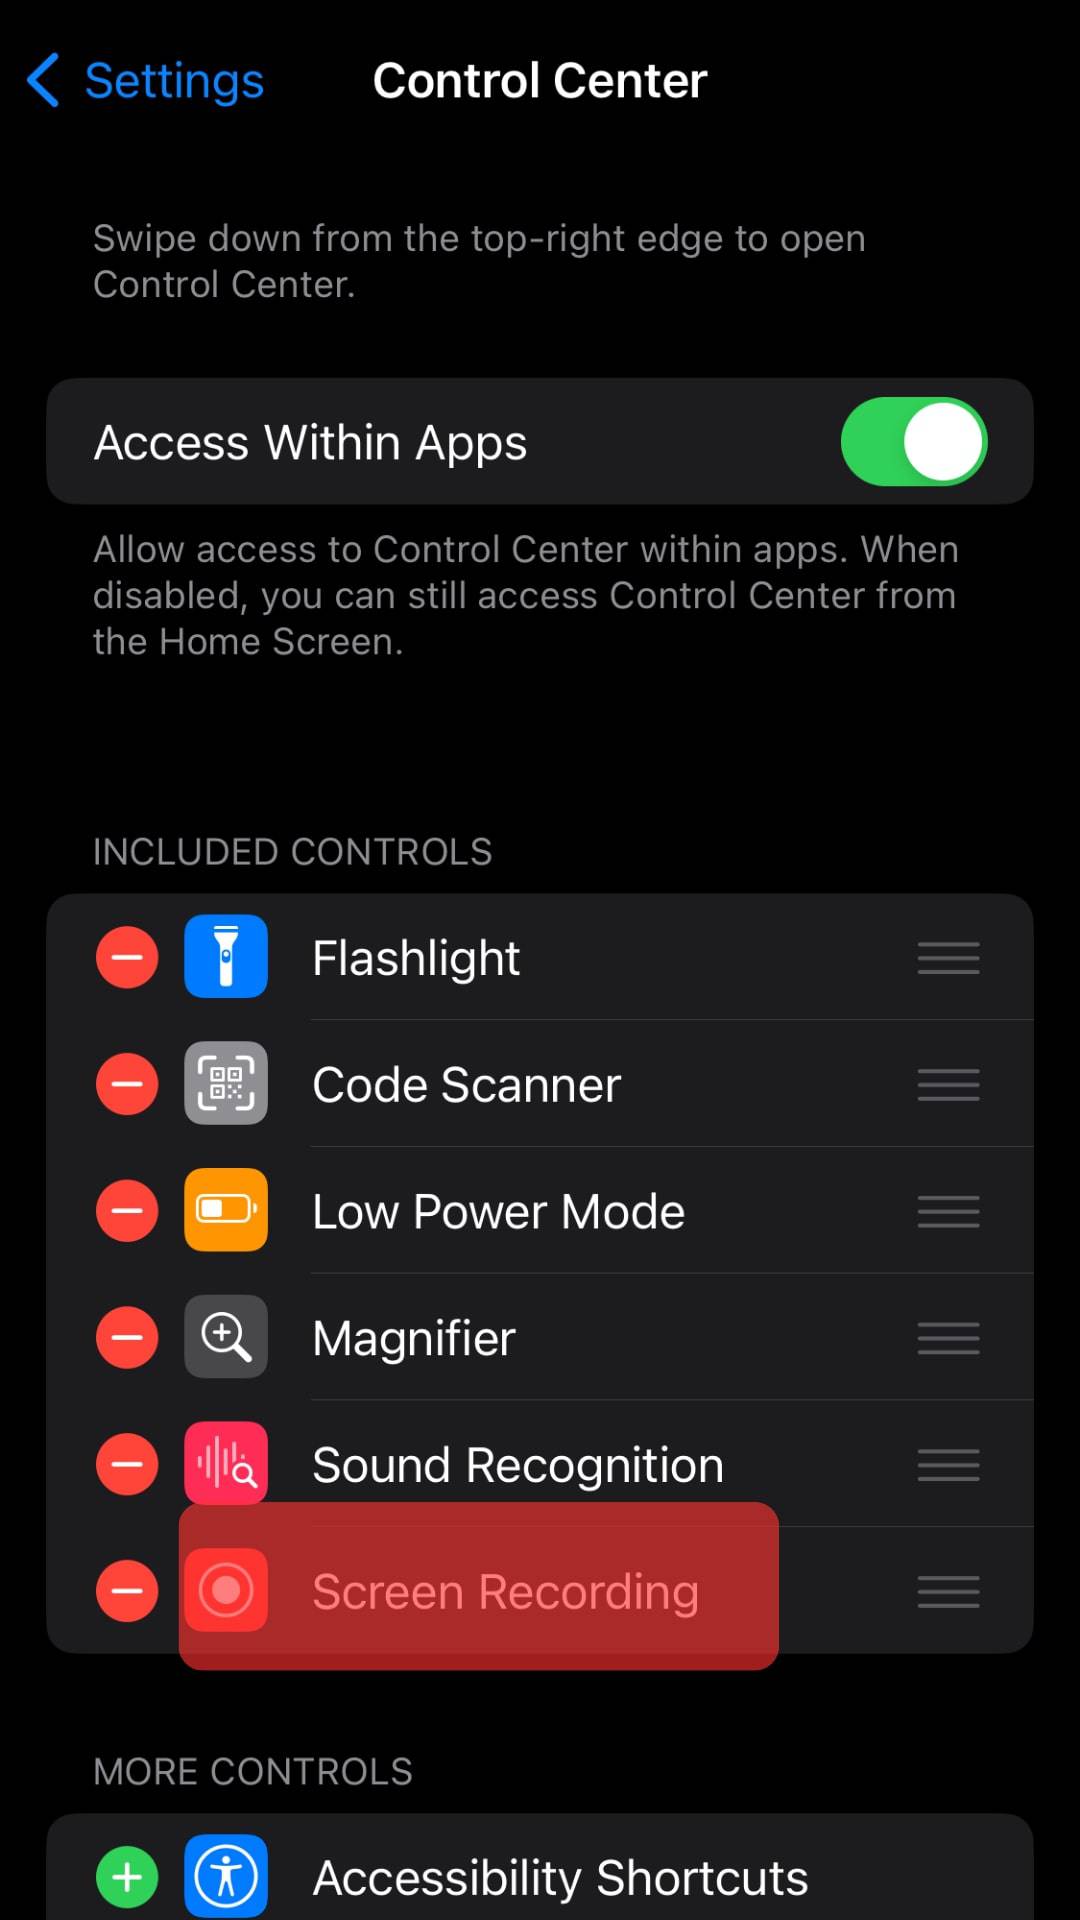
- Enable the “Screen recorder” feature.
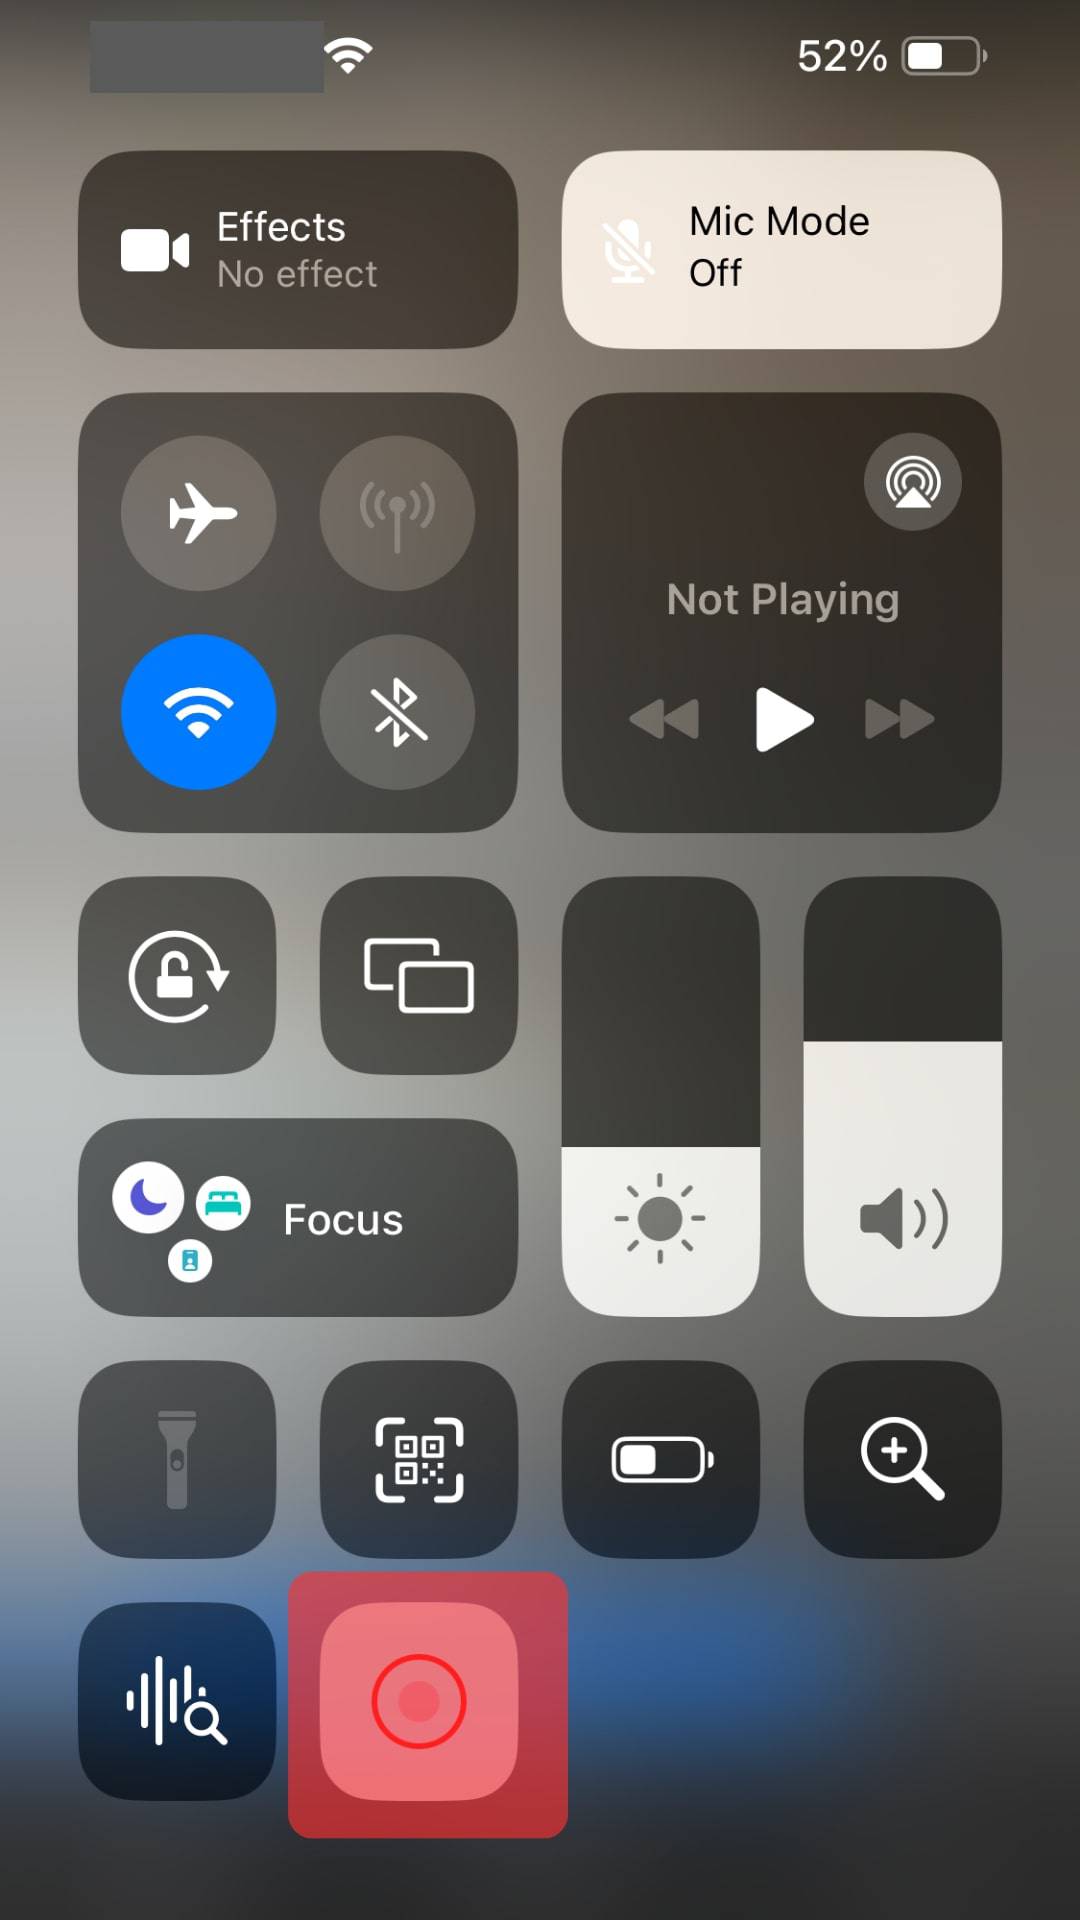
- Next, start live streaming your screen by recording your screen and tapping on Facebook.
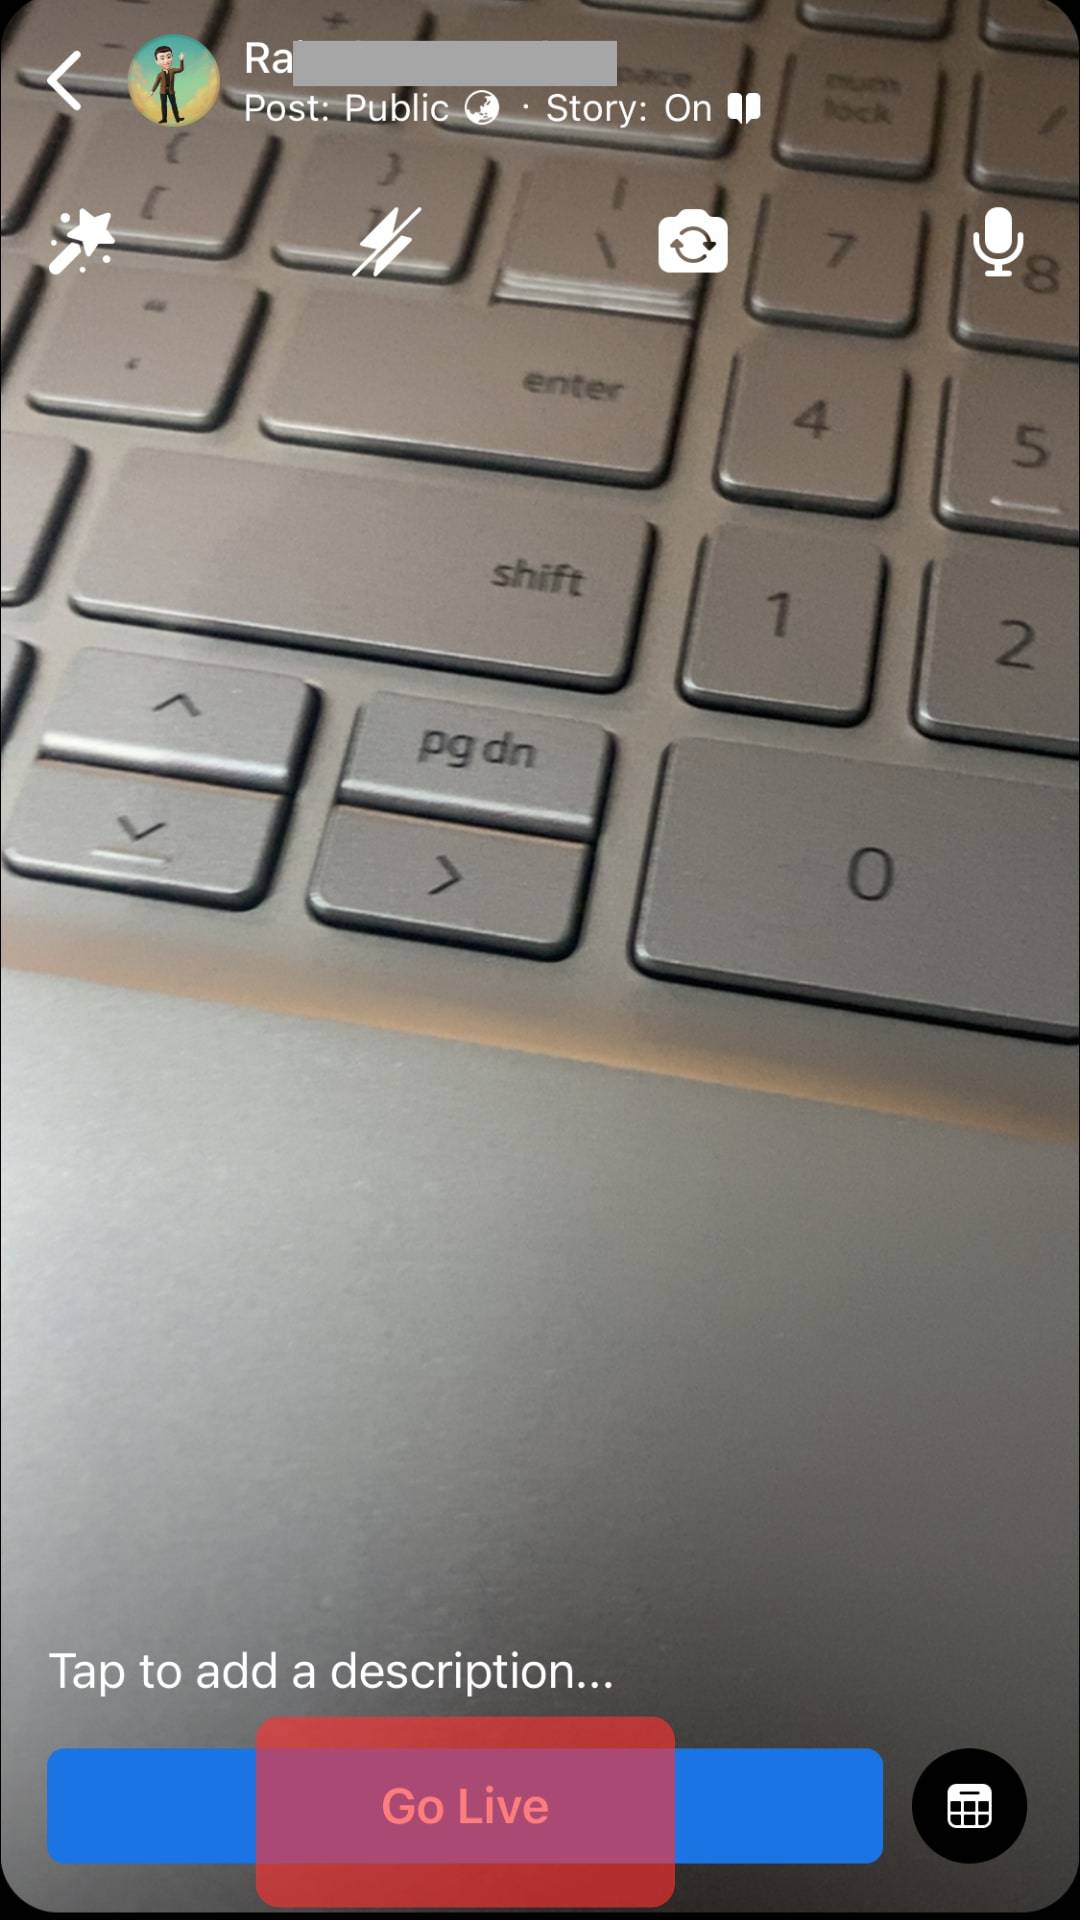
- Then, click on “Start Broadcasting” to share your iPhone screen to Facebook Live.
Conclusion
With this knowledge, you can now share your screen on Facebook Live on several devices. In all cases, remember to have strong internet or WiFi connection for a seamless experience!
