iMessage is popular for its similarity to instant messaging apps in that it uses an internet connection instead of a cellular network. It also has various features unavailable in the native messaging app, including higher-resolution photos, read receipts, screen effects, and handwritten notes.
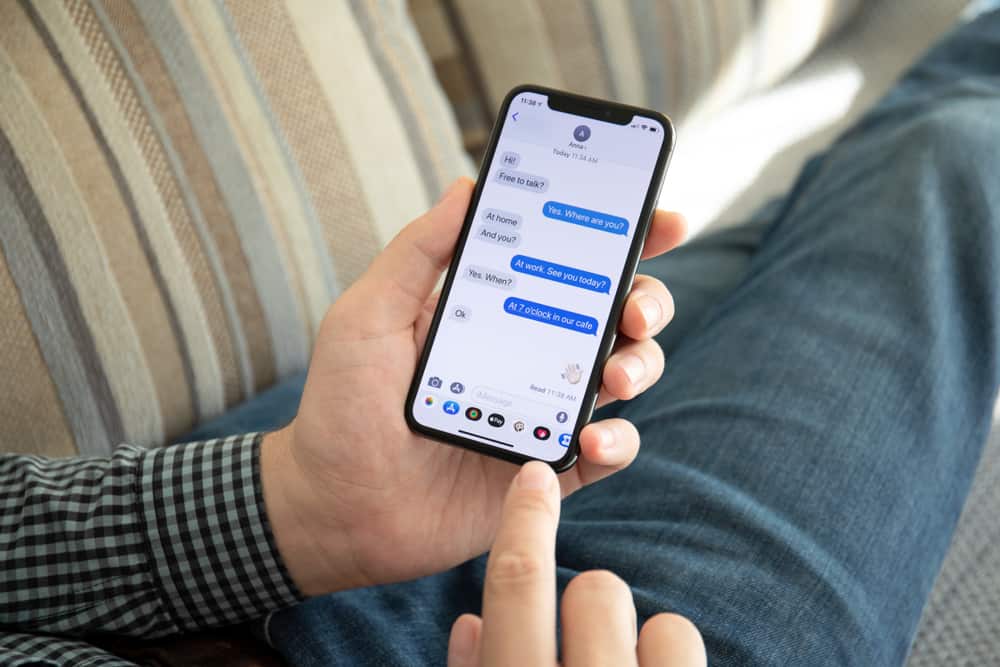
If iMessage is your primary messaging app, you’ve likely encountered a situation where you want to take a screenshot of a conversation to keep it for reference or to share with another person. However, typical screenshots only capture the part of the conversation fitting the screen.
To screenshot an entire iMessage conversation, open AppStore, install, and open StitchPics. Allow the app access to all photos. Open iMessage and then the conversation. Take normal screenshots of the entire conversation by pressing the volume up and side buttons. Open StitchPics and tap “Tap To Add Pic.” Select the screenshots you took and tap “Done” and “Next.” Under “Scrollshot,” tap “Save.”
You’re not alone if you’re struggling with screenshotting your entire iMessage conversation. This post will highlight different ways to take a scrolling screenshot of your iMessage on your iPhone.
Overview of Taking Screenshots of iMessage
Taking a screenshot of your iMessage conversation is an excellent way to store messages for future reference. This is especially crucial for meaningful discussions. Another reason people take screenshots is to have and keep evidence of a conversation.
If you’re discussing a critical matter with serious implications, screenshots can prove the other person’s contribution and potentially exonerate you from undue consequences.
Screenshots also come in handy when you want to share your iMessage conversation with a third party. You can take a screenshot of the conversation and share the file instead of forwarding a single iMessage after the other.
To take a normal screenshot on an iPhone, simultaneously press the volume up and side buttons to capture what’s on your screen. However, this cannot capture the entire iMessage conversation.
If you want to capture more, i.e., the entire iMessage conversation, you must take a scrolling screenshot. However, scrolling screenshots on iPhone can only be taken on the Safari browser and not iMessage.
Next, we’ll cover the steps to take a screenshot of an entire iMessage or what is referred to as a scrolling screenshot.
Step-by-Step Guide to Taking a Screenshot of Your Entire iMessage
There are two ways to take a screenshot of your entire iMessage conversation: a scrolling screenshot or a screen recording. We break down these methods further in the sections below.
Method #1: Using a Third-Party App
You can use several third-party apps to take a scrolling screenshot on an iPhone. We’ll use StitchPics in this guide because it’s completely free. Here’s how to use StitchPics to screenshot an entire iMessage conversation.
- Open AppStore, search for “StitchPics” and tap on it.
- Tap on the download icon and wait for the app to download and install.
- Open the app when installation is finished.
- Choose whether or not to allow the app to track your activity across other apps and websites.
- Tap “Allow Access to All Photos.“
- Navigate to iMessage and tap on a conversation.
- Take normal screenshots of the entire conversation by pressing the volume up and side buttons.
- After you’ve screenshotted the entire conversation, open StitchPics.
- Tap on “Tap To Add Pic.“
- Select the screenshots from the conversation you screenshotted earlier.
- Tap “Done” and then “Next.”
- Under “Scrollshot,” tap Save.
- If you see “Save successfully,” tap “Done.”
- If you want to share the screenshots, tap “Share Photo or Share PDF” to share with others
To find the scrolling screenshot you saved earlier, open Photos, and you’ll see it.
Method #2: Through Screen Recording
Another way to take a screenshot of your entire iMessage is to screen-record the whole conversation.
- Open the Settings app and tap on “Control Center.”
- Navigate to the “More Controls” section and tap the plus icon next to the “Screen Recording” tab.
- Scroll to the “Included Controls” section and check that “Screen Recording” has been added to the list.
- Exit settings and open iMessage.
- Navigate to the iMessage conversation you want to screenshot.
- Open Control Center by swiping down from the top-right edge of the screen.
- Tap the screen recording button, and you’ll see a countdown then the button will turn red.
- Close Control Center to go back to iMessages.
- Scroll down the entire length of the conversation.
- Open Control Center and tap the screen recording button to stop.
The screen recording of iMessages will be saved in your files as a video.
Summary
Taking a screenshot of your entire iMessage is essential, especially when you want to keep proof of the messages for future reference or to share the conversation with a third party.
There’s no inbuilt iOS function to take a long screenshot on iMessage. For this reason, you’ll need to use a third-party app like StitchPic, Tailor, StitchIt, or Picsew.
Alternatively, you can take long screenshots of an entire iMessage conversation through screen recording.