
Years ago, Instagram users only posted pictures that they took using their cameras. Shoot, add filters, write a description, and post – that was it. But today, the platform is filled with photos that have text on them, and you may be wondering how you can create posts similar to those, so your photos don’t look plain.
Adding text to Instagram photos is pretty easy, and there are two ways to do that. One is by editing your image using the Story feature on Instagram, and the other is through the help of a third-party photo editing tool that you can download or use online for free.
As of writing, Instagram doesn’t allow users to add text to photos using the built-in photo editor in the app. You can only add filters and do some basic modifications to the picture before you post it. It will make things easier if they add a text tool, but for now, you can use Instagram Story or a photo editor.
We will show you how to add text to Instagram photos. There are two methods of doing so, and we provide the steps for both. Let’s dive in!
How To Add Text to Instagram Photo
Sometimes, you will feel that adding text to an Instagram photo is necessary because the image can’t relay the message you want to tell your audience without any text, texts are part of your brand’s style, or you want to include a powerful word on the photo to catch your audience’s attention.
Regardless, here are the two ways to add text to Instagram photos!
Method #1: Add Text Using Instagram Story
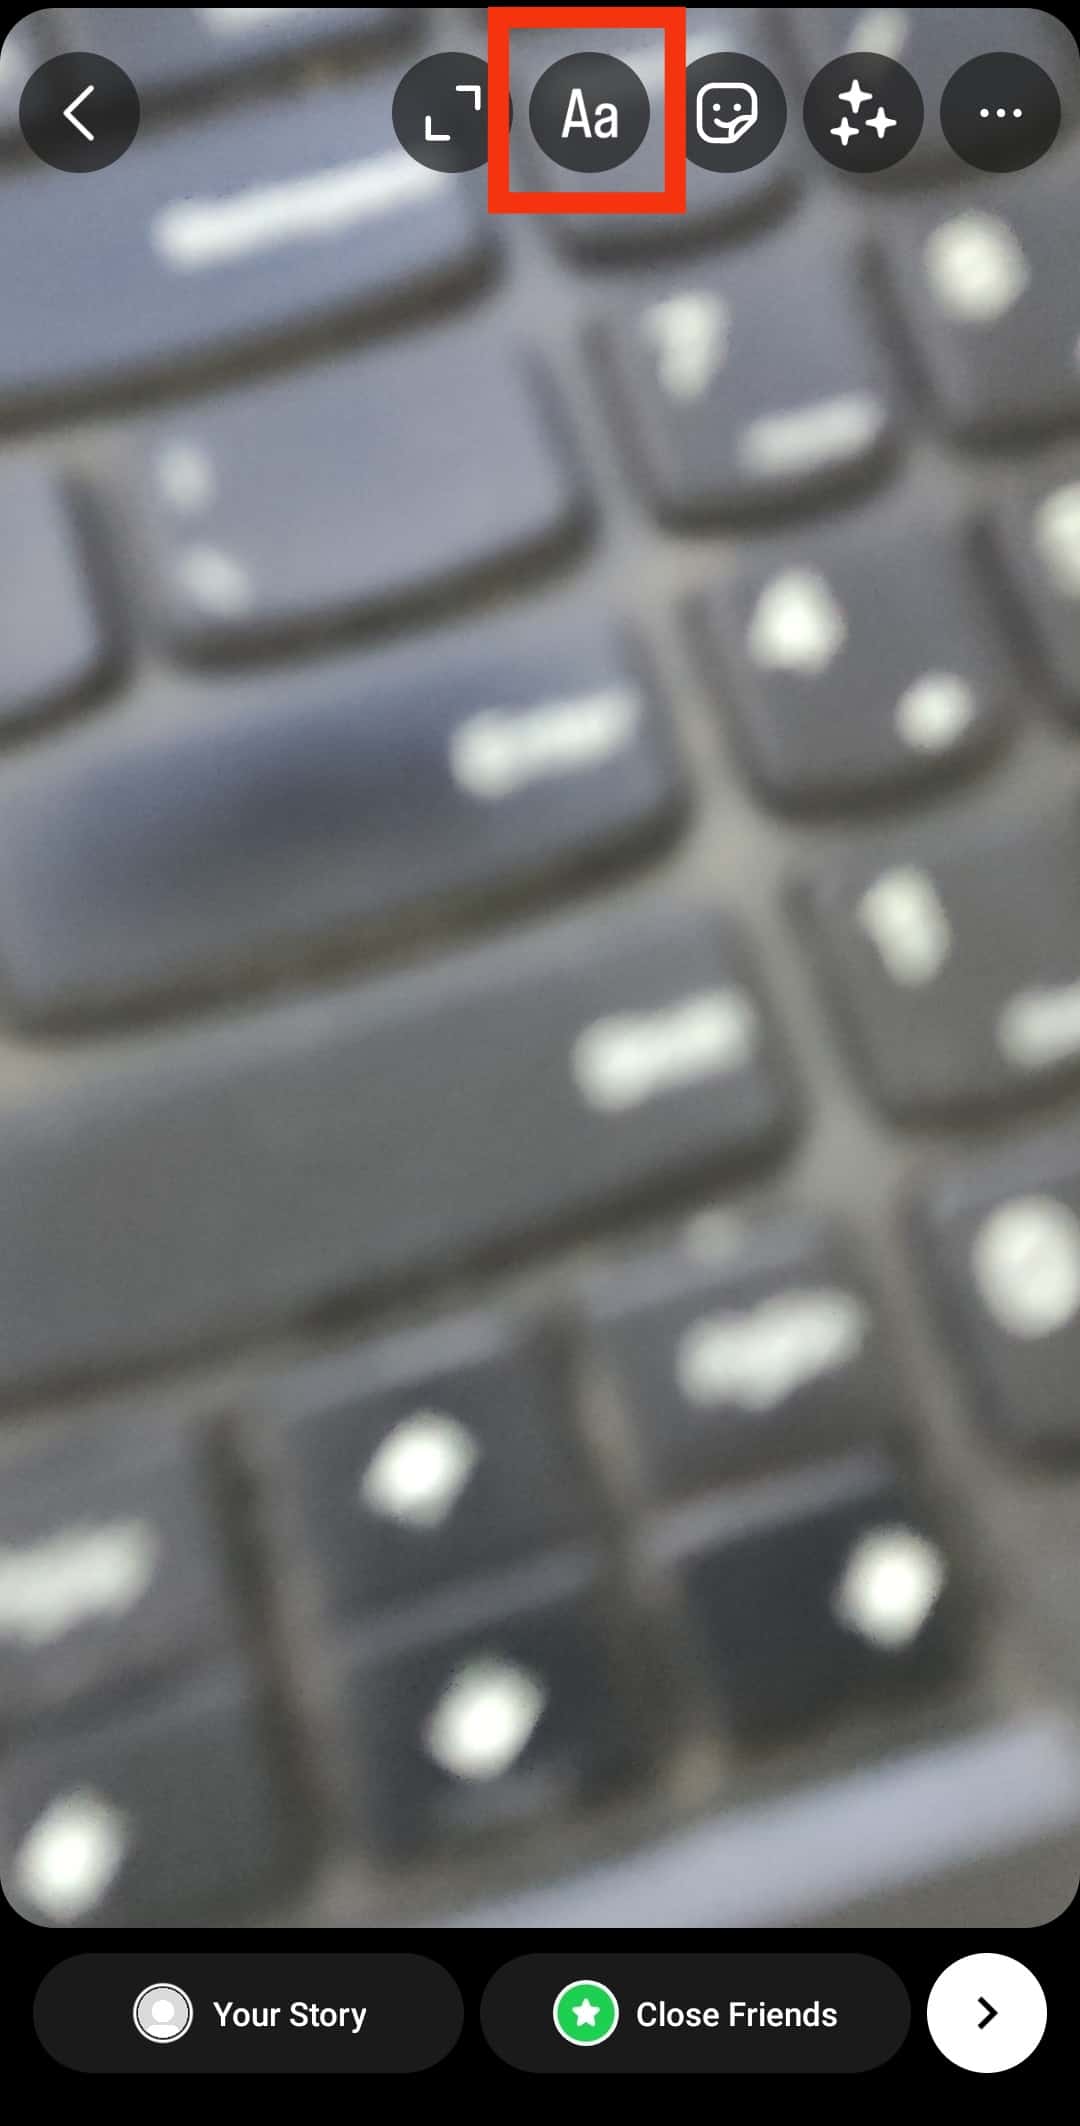
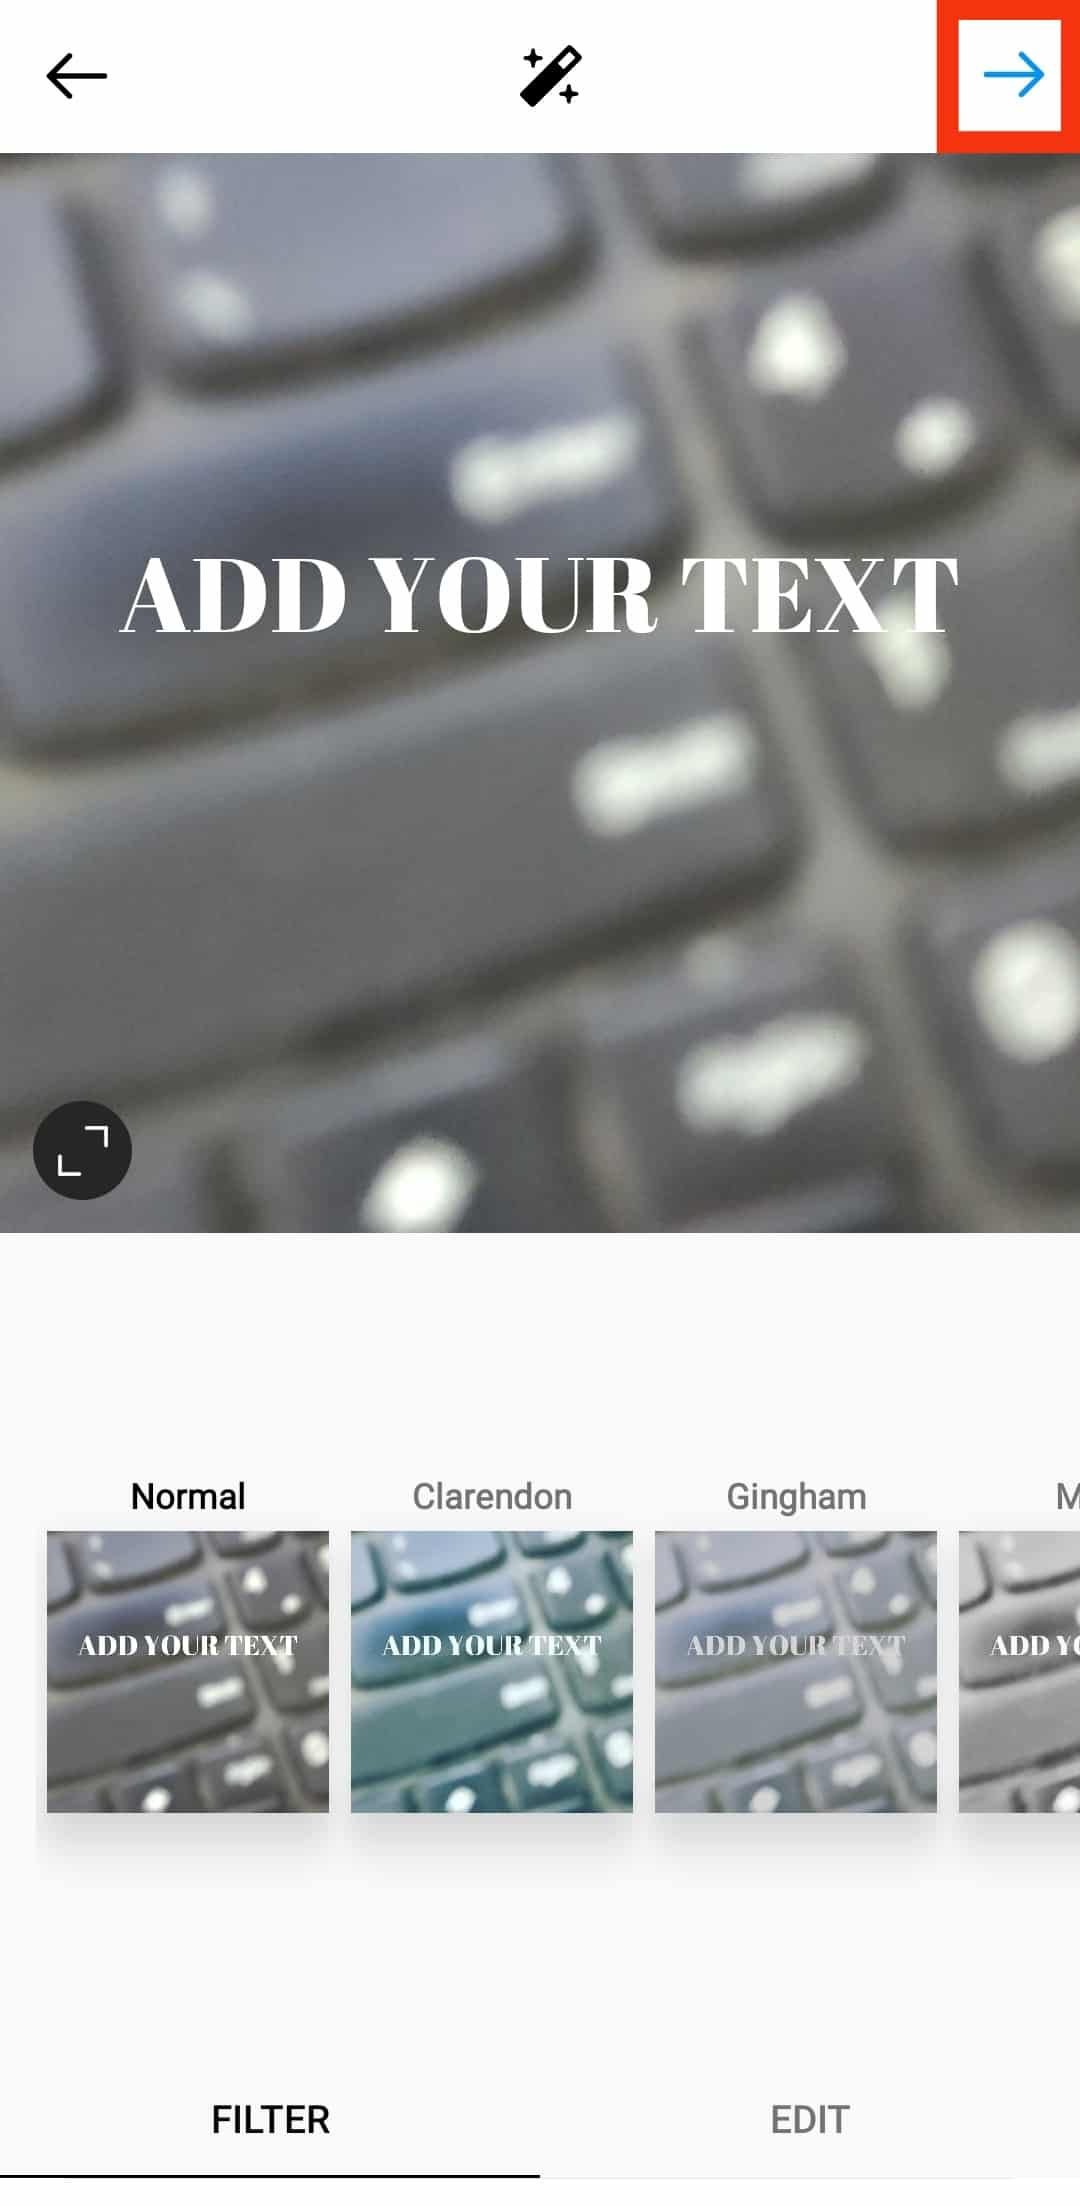
Adding text to Instagram photos using Instagram Story may sound odd, but that’s the only way if you want to do that in the Instagram app. If you have tried posting Instagram Stories, you probably have seen the text tool, which is the Aa icon at the top. That is what you will use to add text to Instagram photos.
Here is the process:
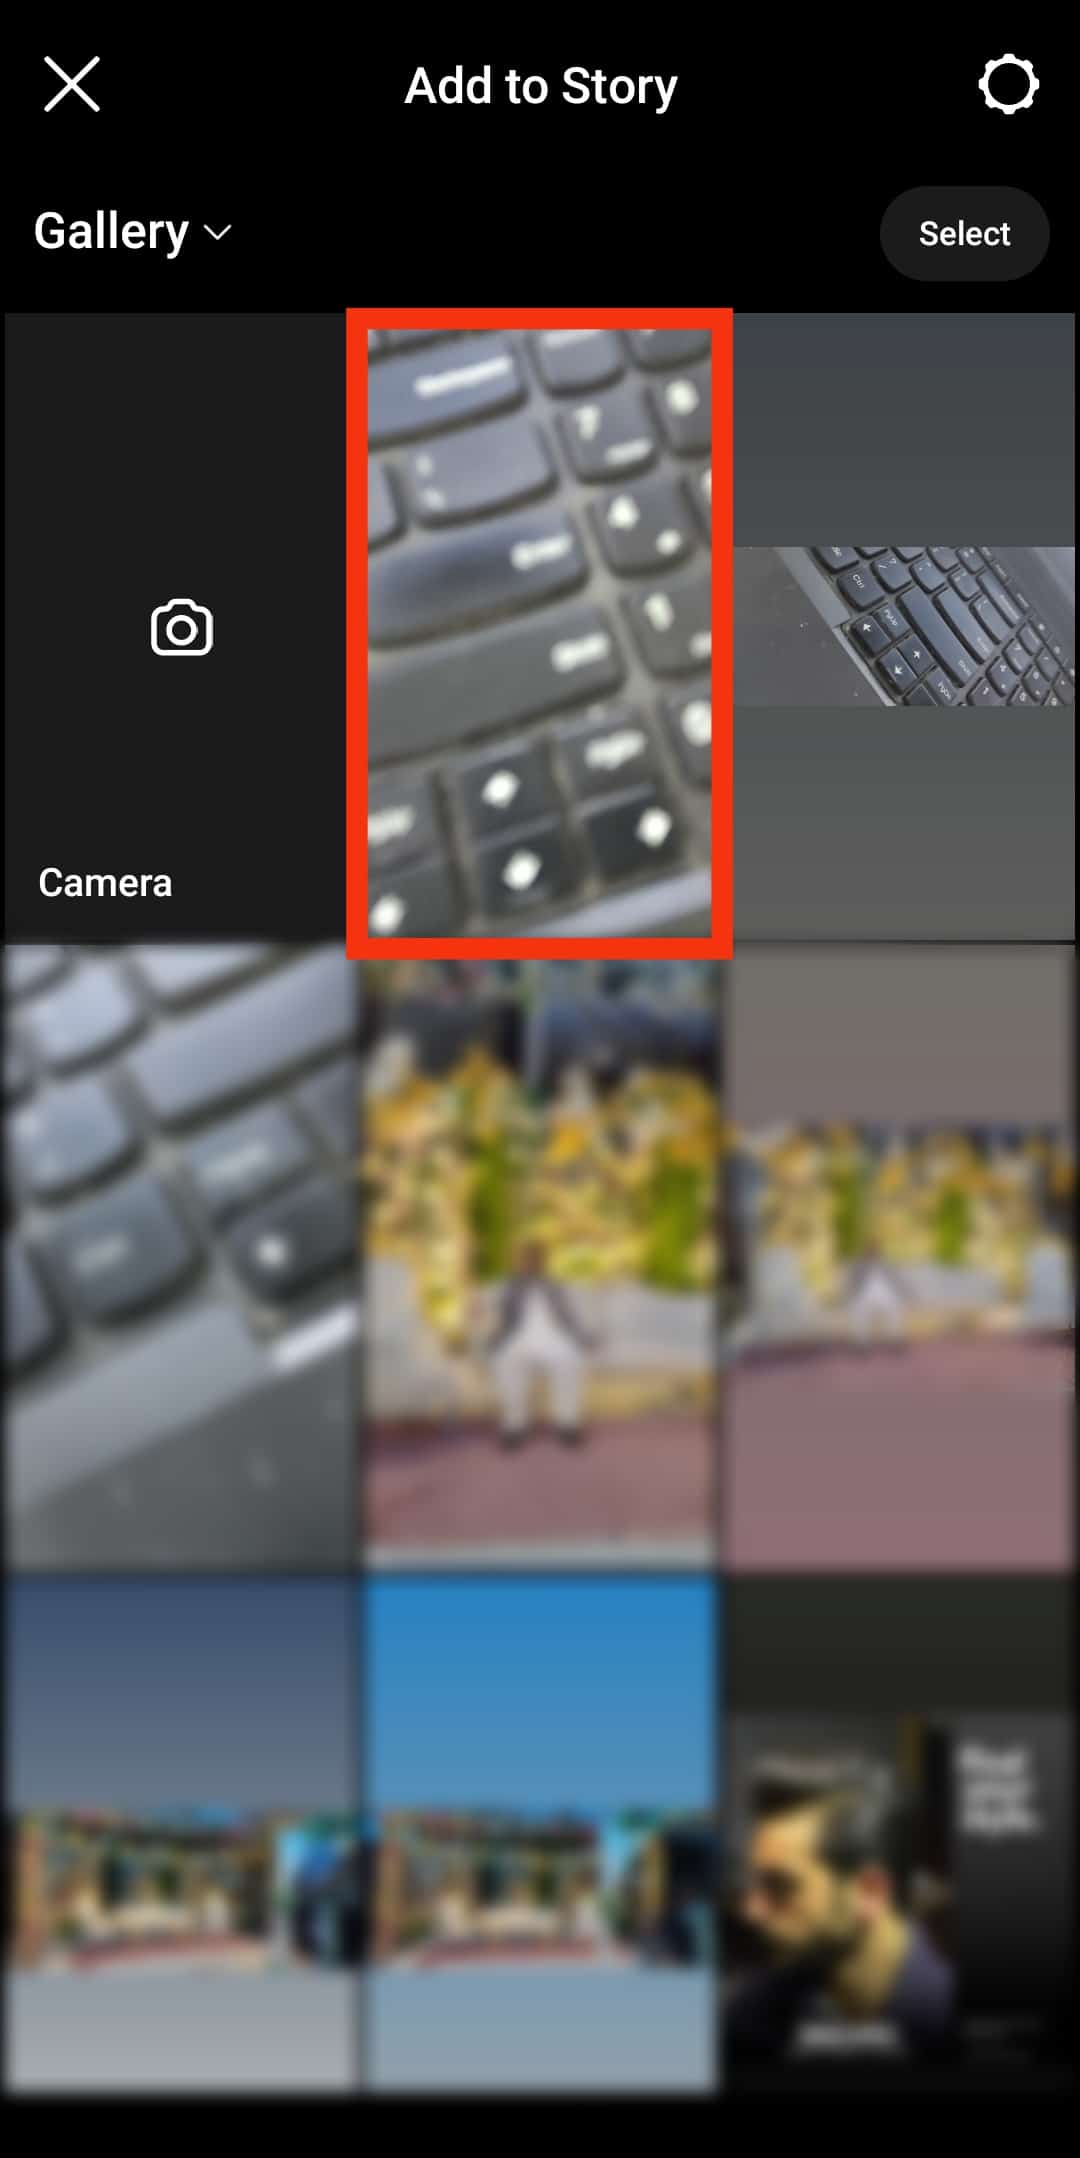
- Open the Instagram app.

- Tap “Your Story” in the upper-left corner of the home feed to go to Instagram Story. You can also tap the plus icon on your profile feed.

- In Instagram Story, open the photo you want to add text to.
- Tap the Aa icon at the top of the screen.
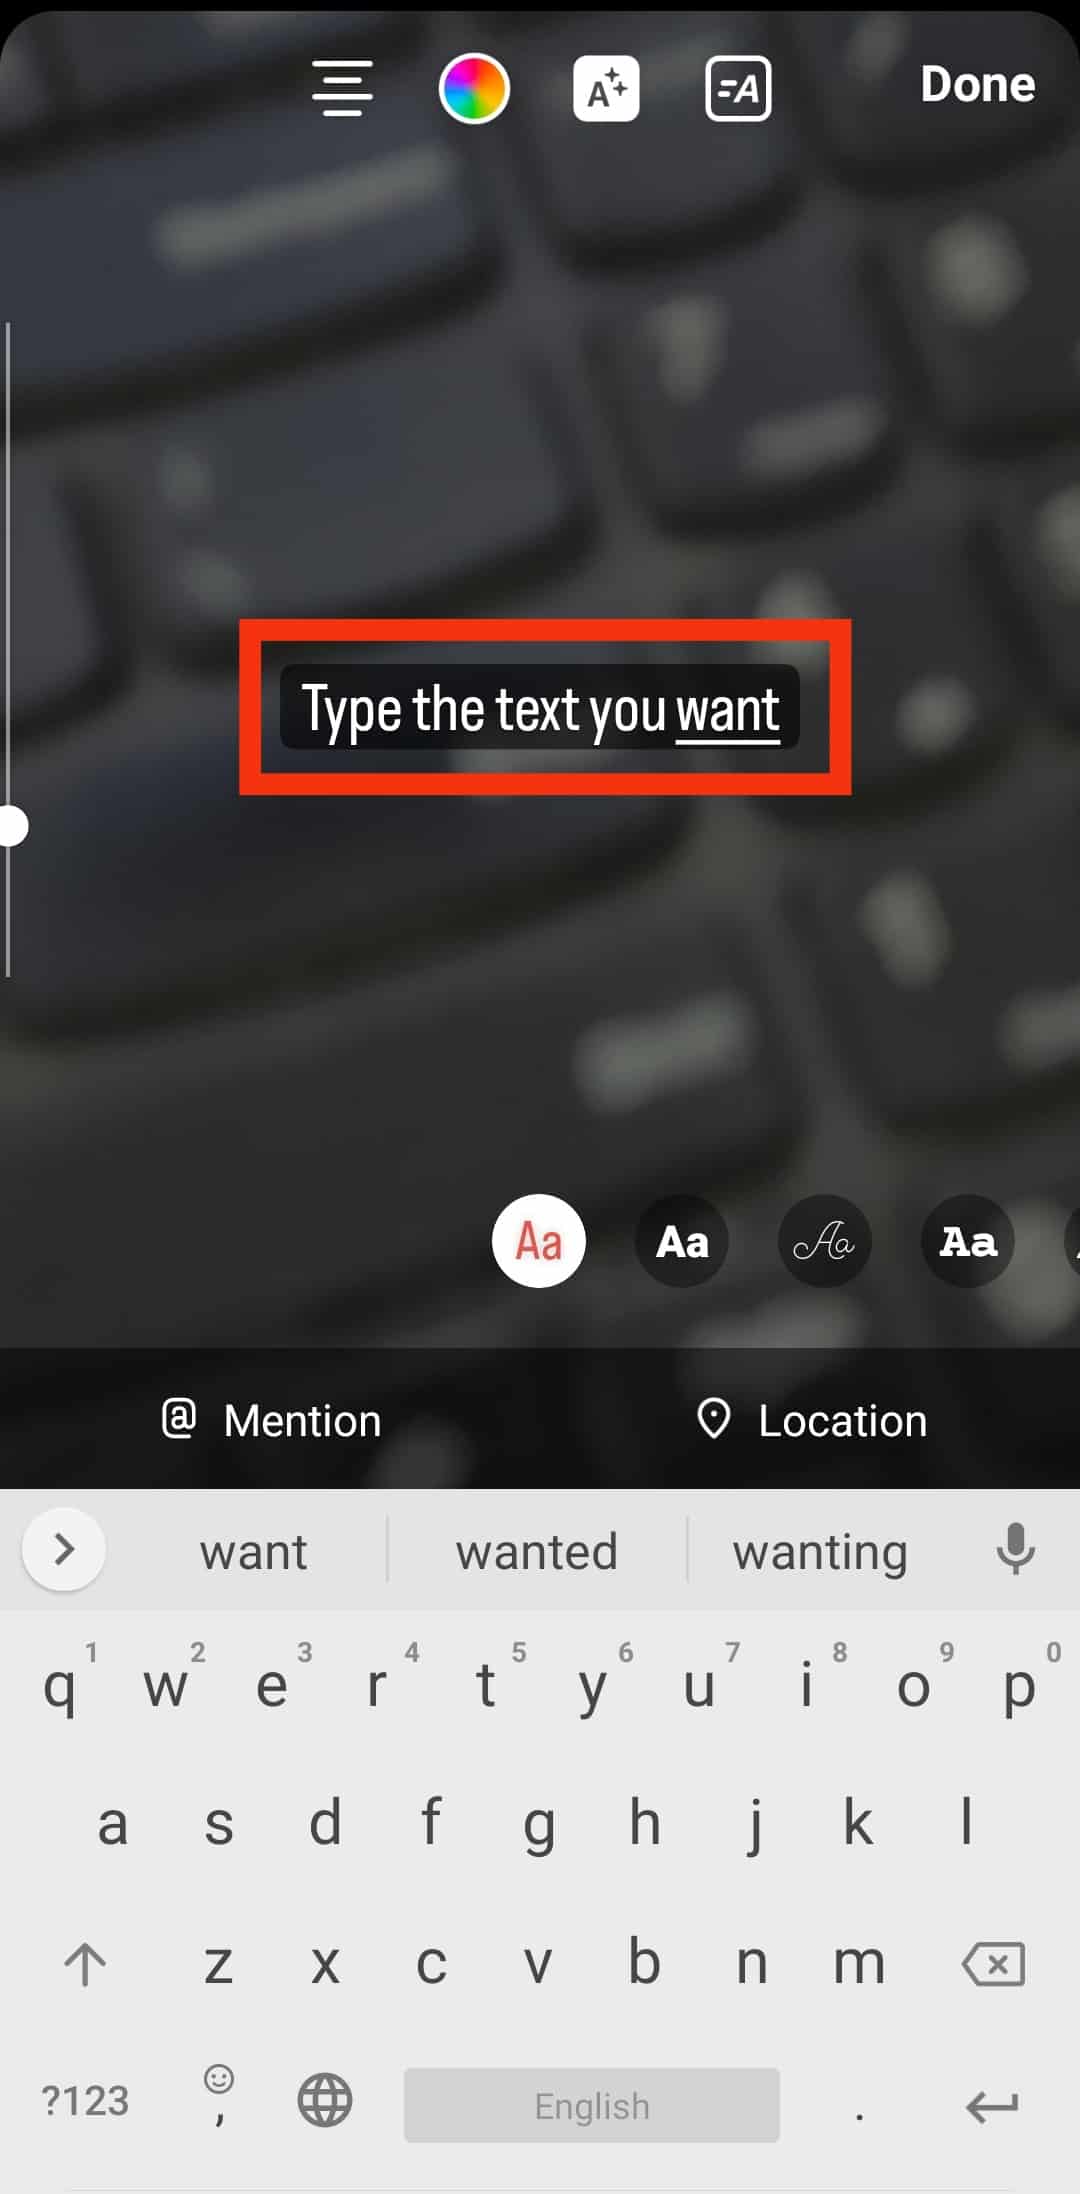
- Type the text you want to add.
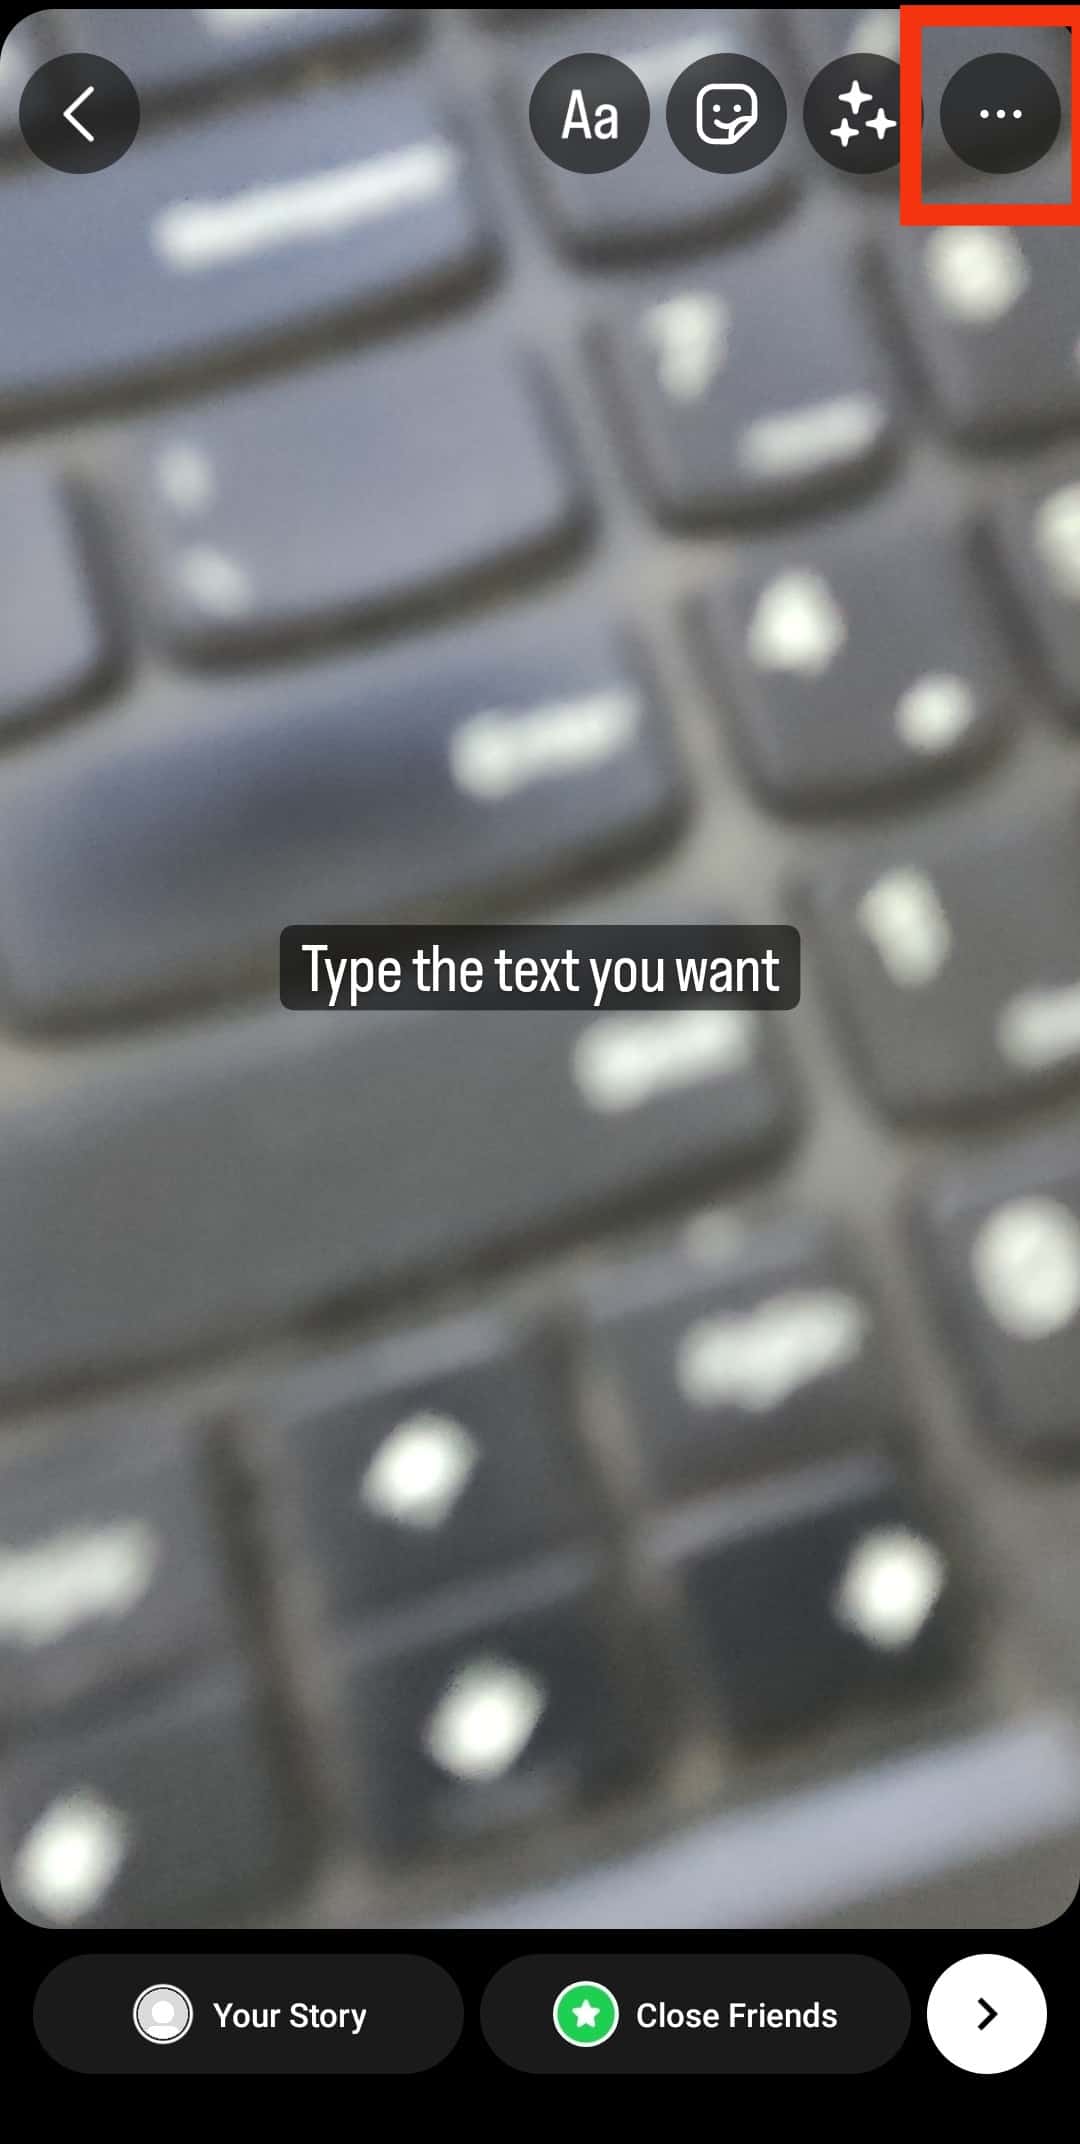
- Don’t post the Story but save it to your camera roll. You will find a three-dot icon at the top right of the screen. Tap that.
- Now tap on the “Save” option.

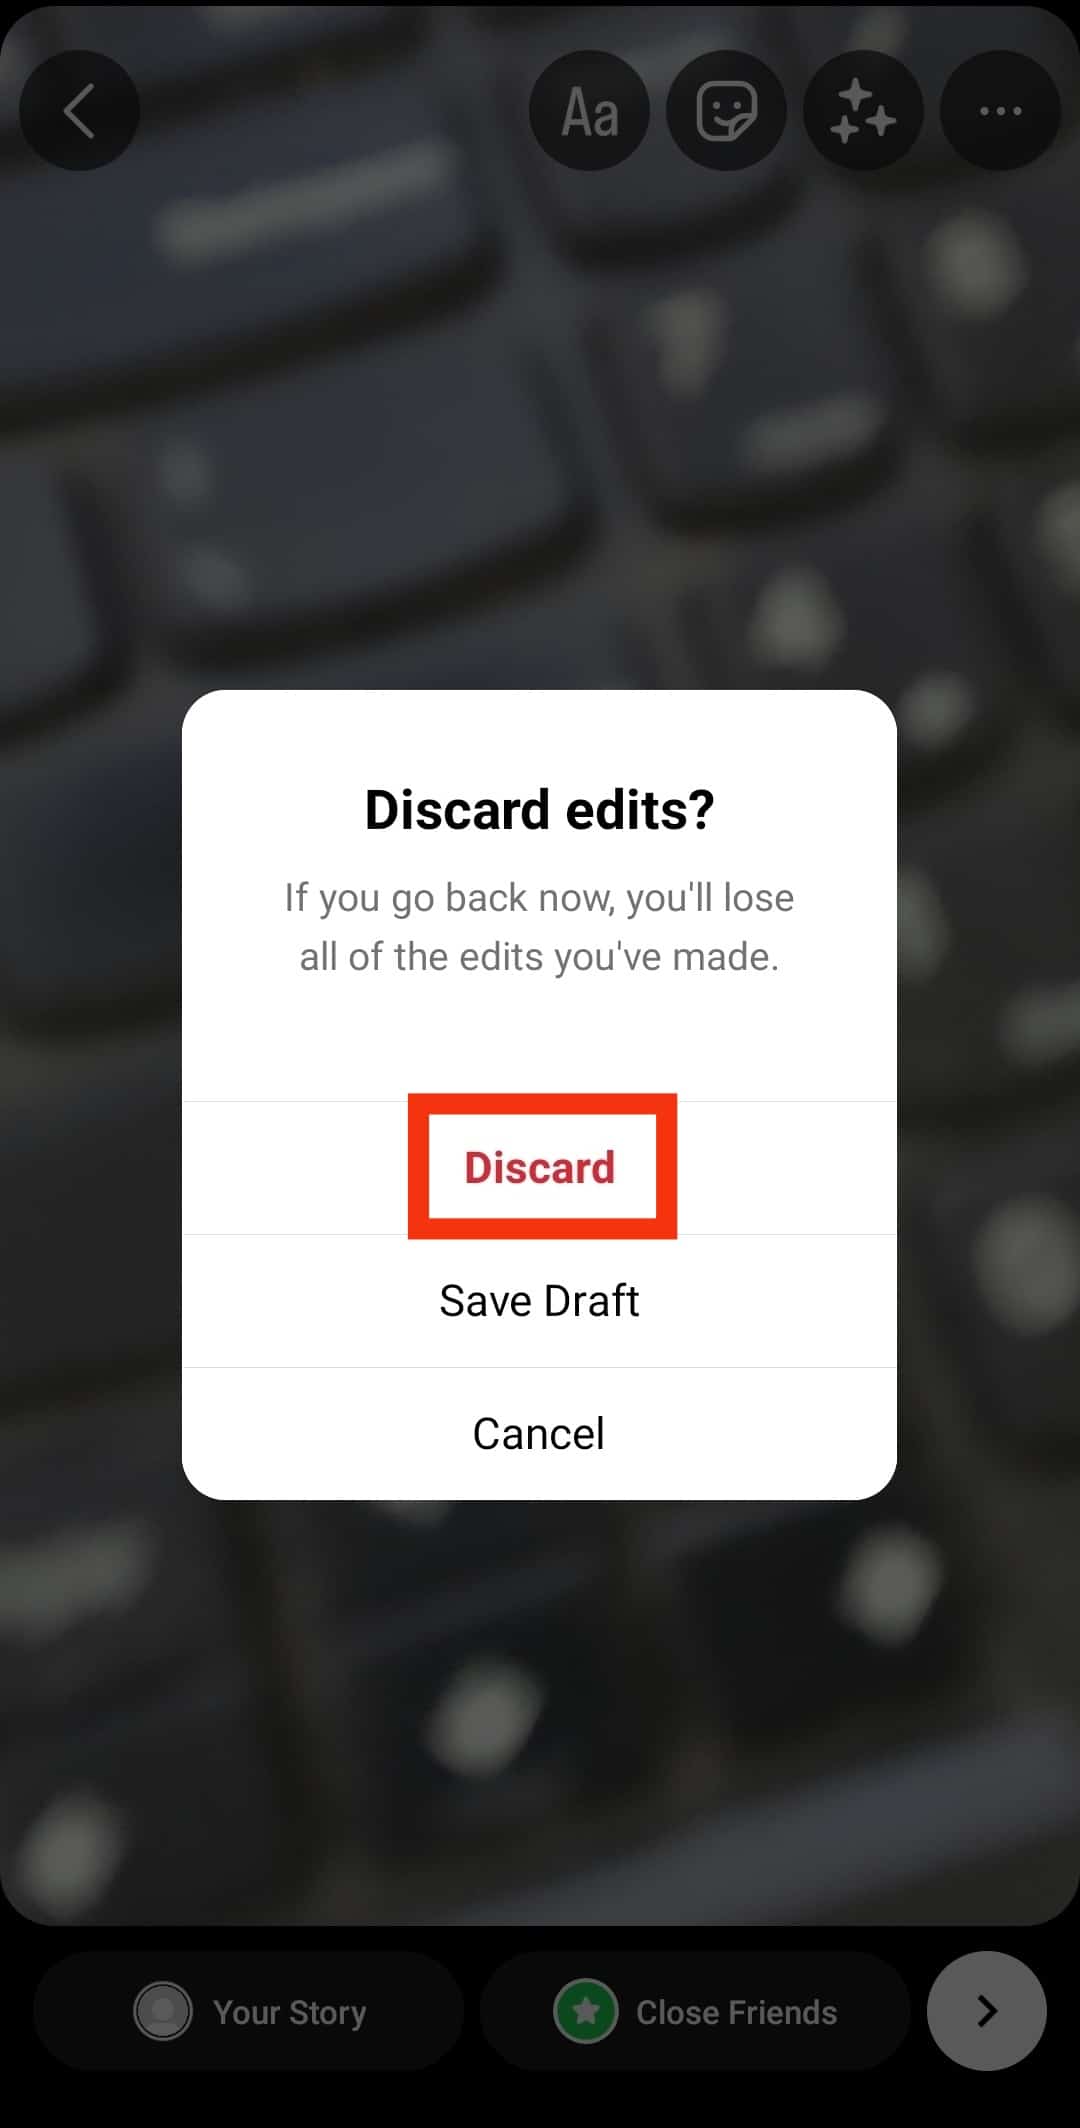
- Exit Instagram Story by tapping on the arrow icon at the top left of the screen.

- On the pop-up, tap on “Discard”.
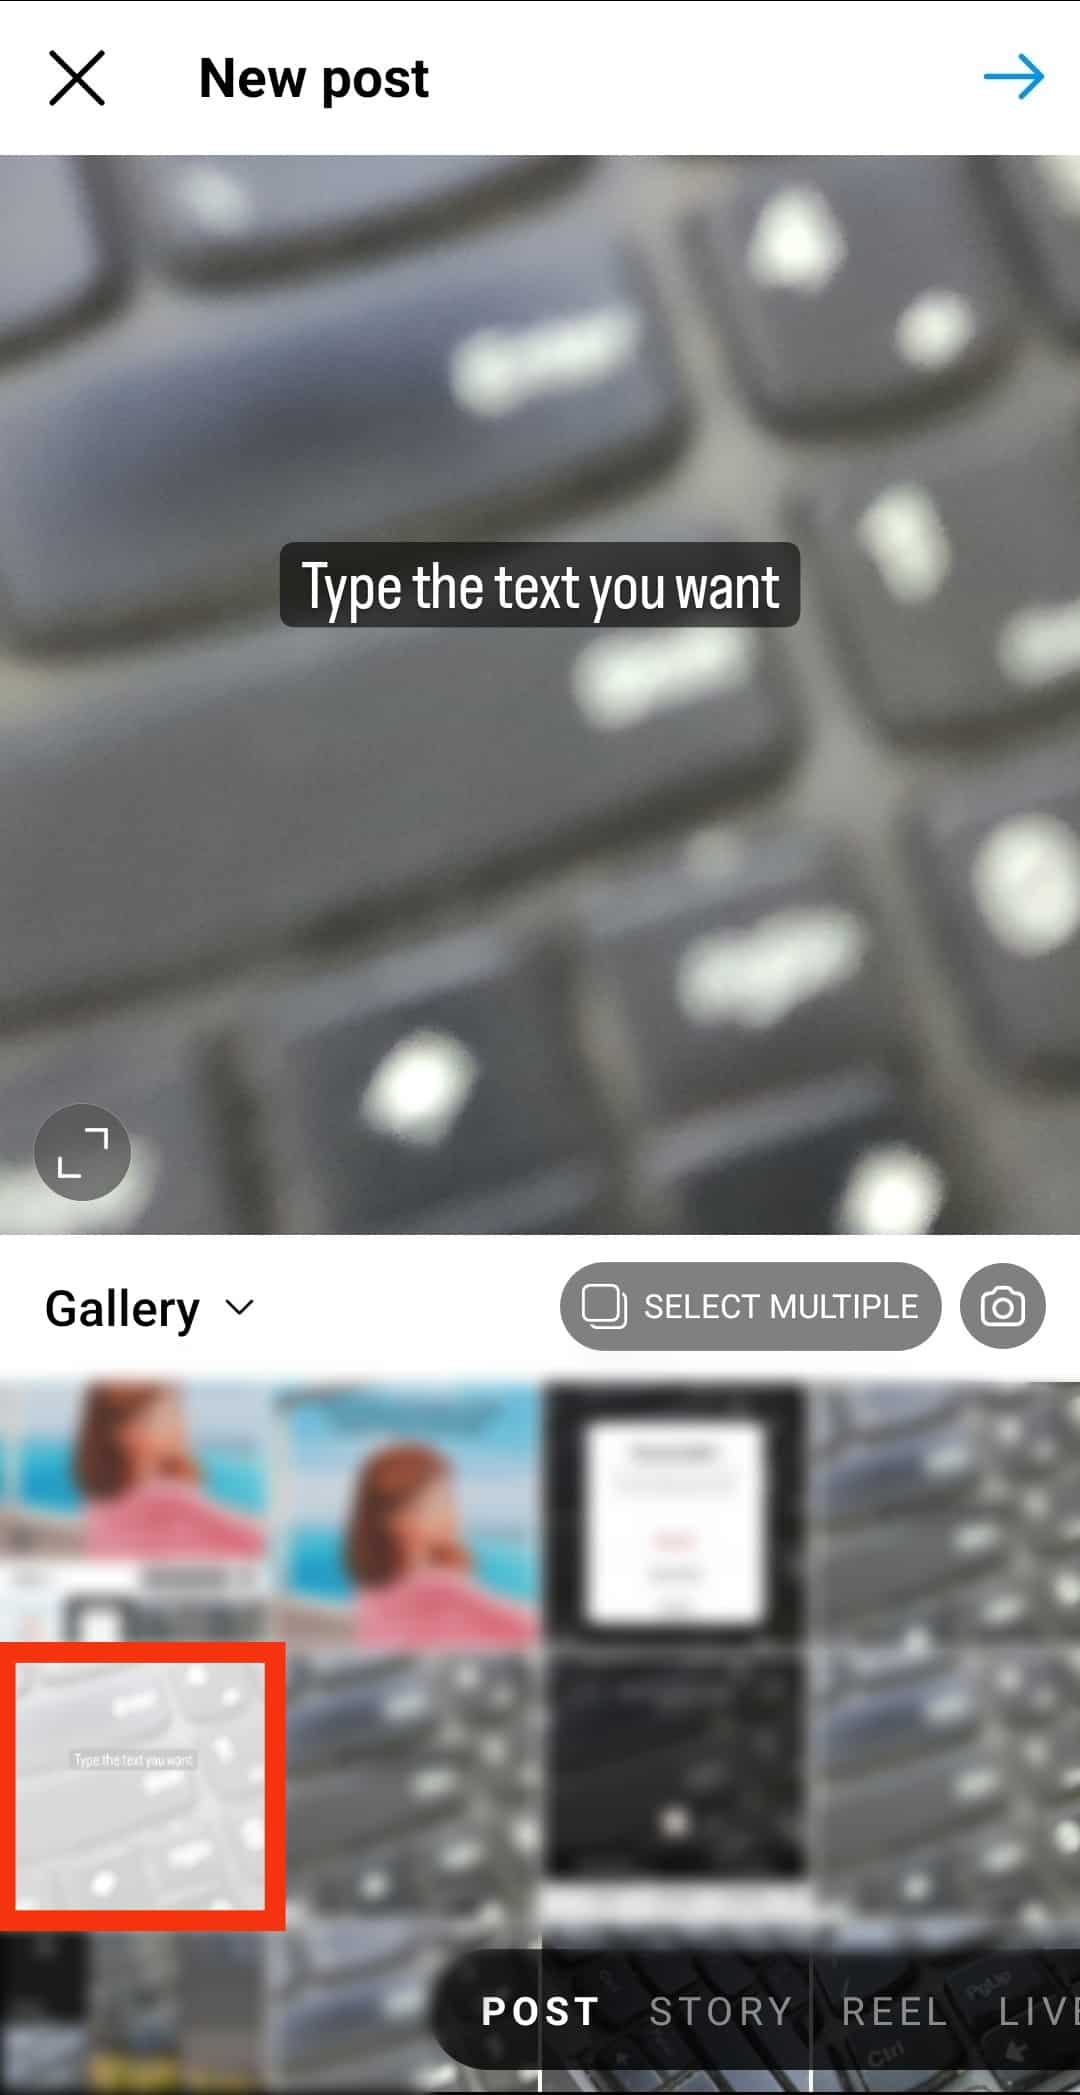
- Tap the plus icon to post the photo to Instagram.

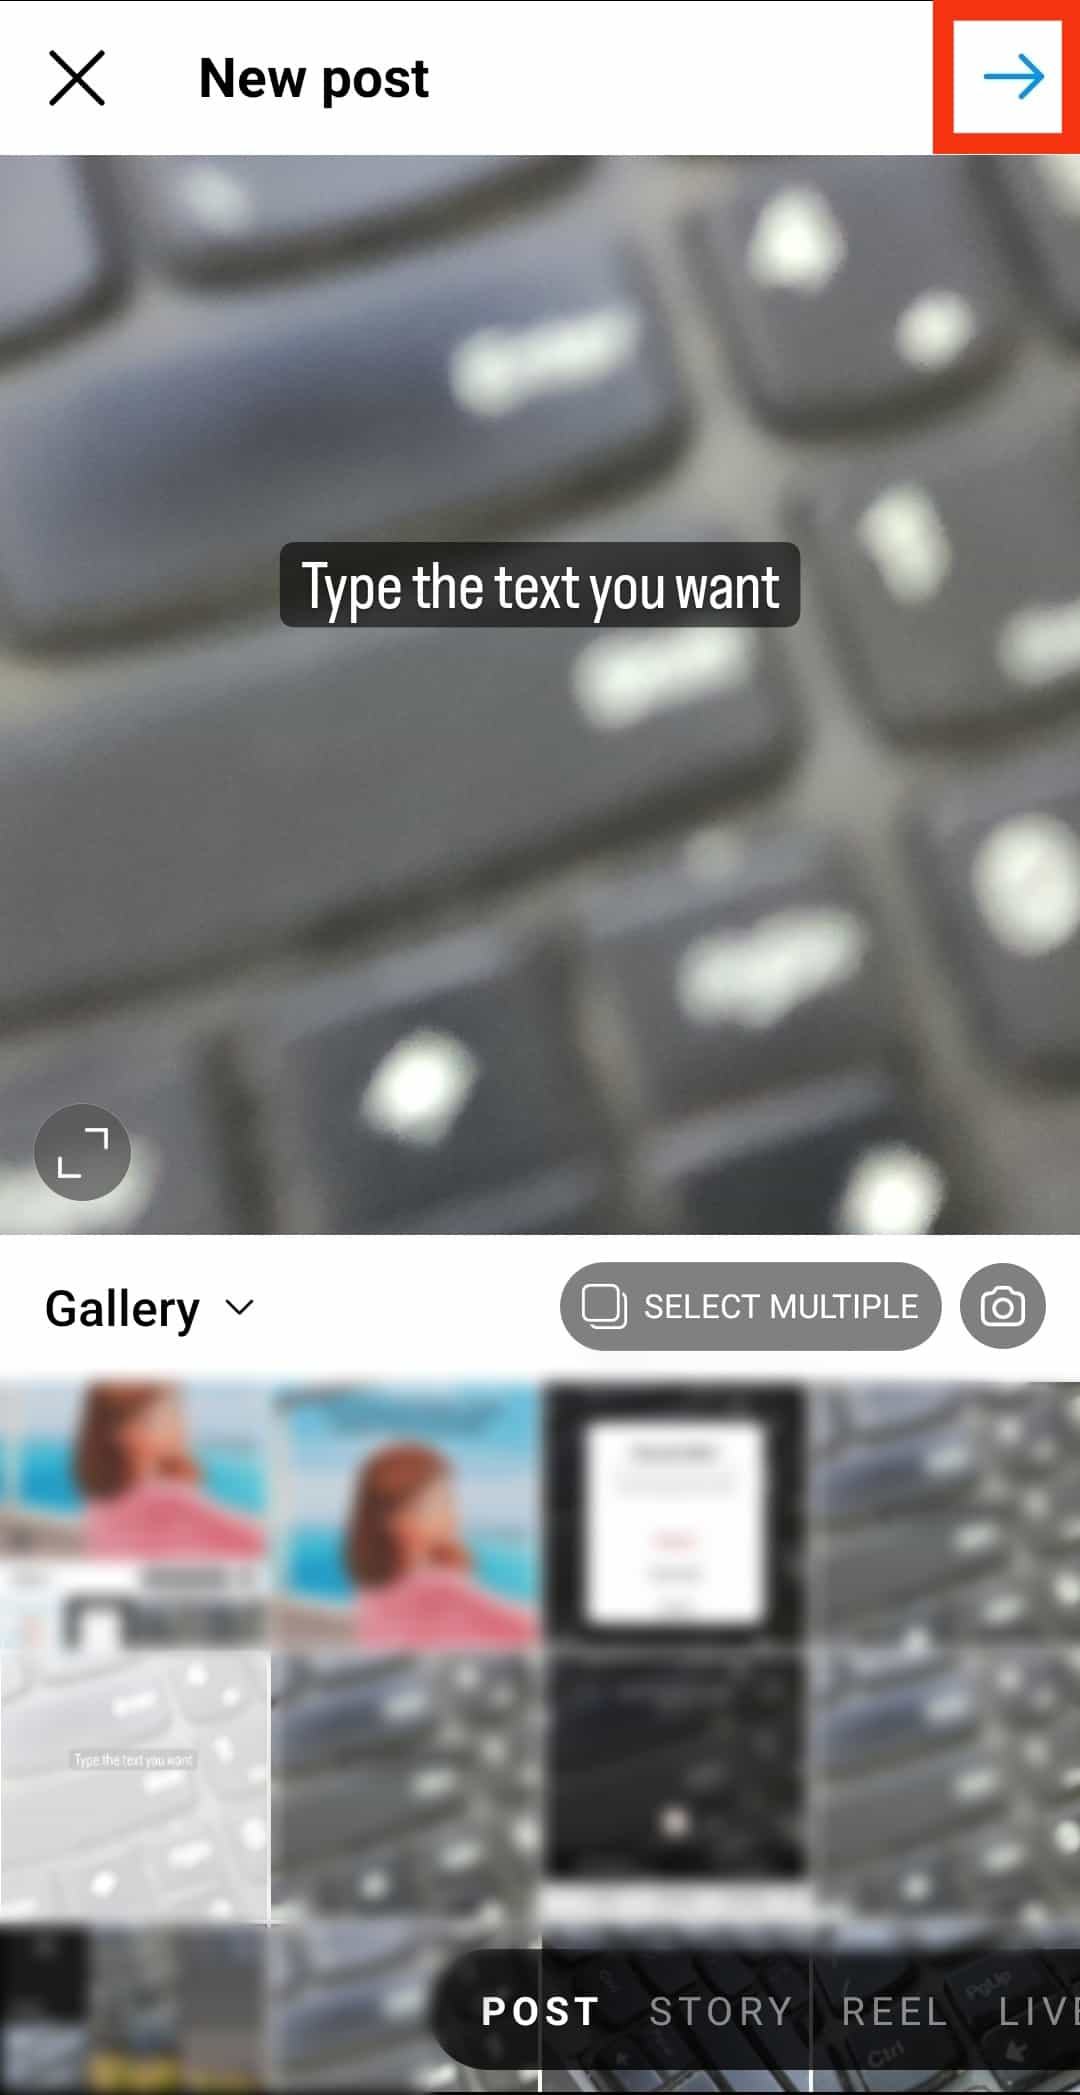
- Open the photo you just edited. It should be the first photo on your camera roll.
- Tap on the right arrow in the top right corner.
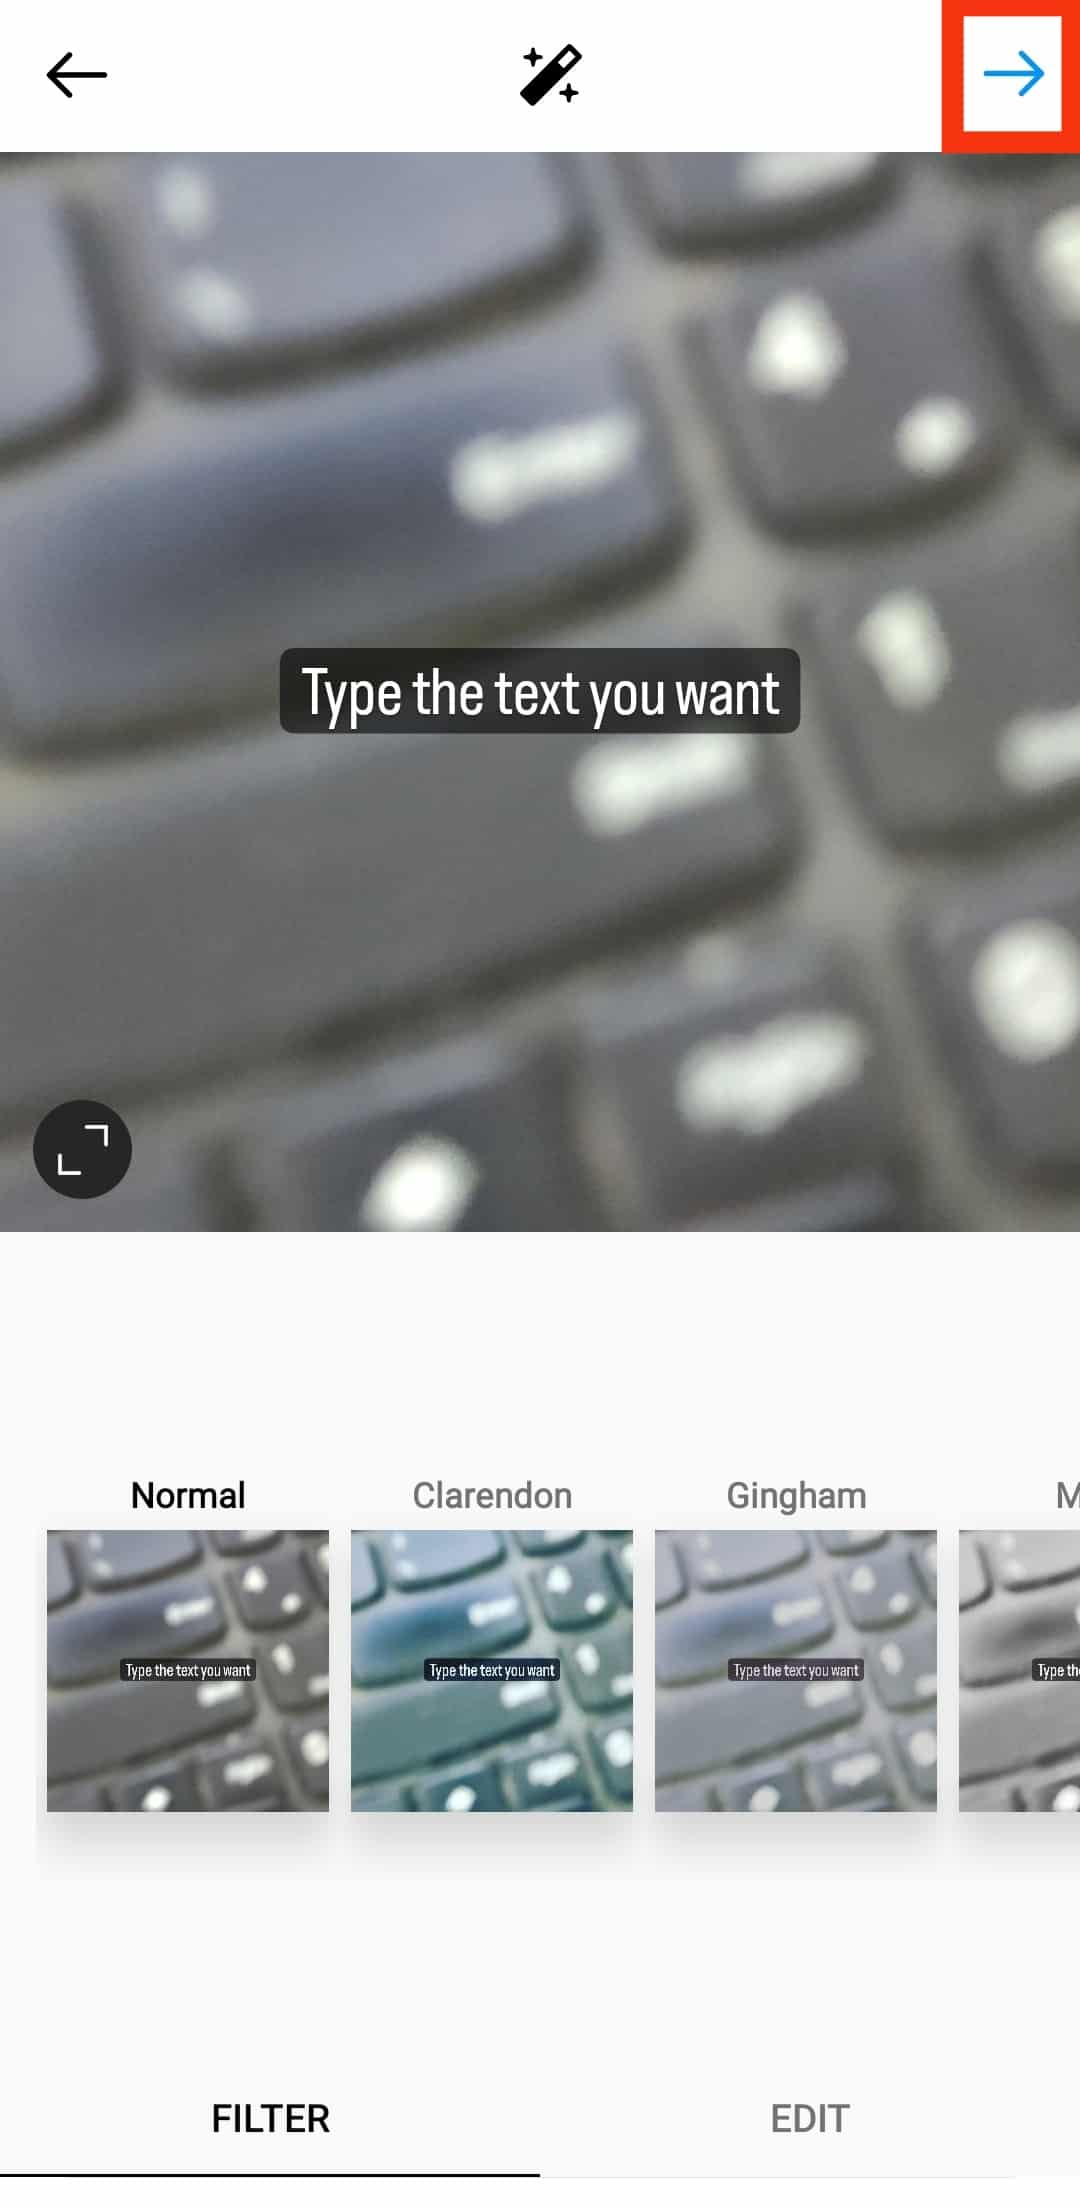
- Add filters if you want.

- Tap on the right arrow at the top.
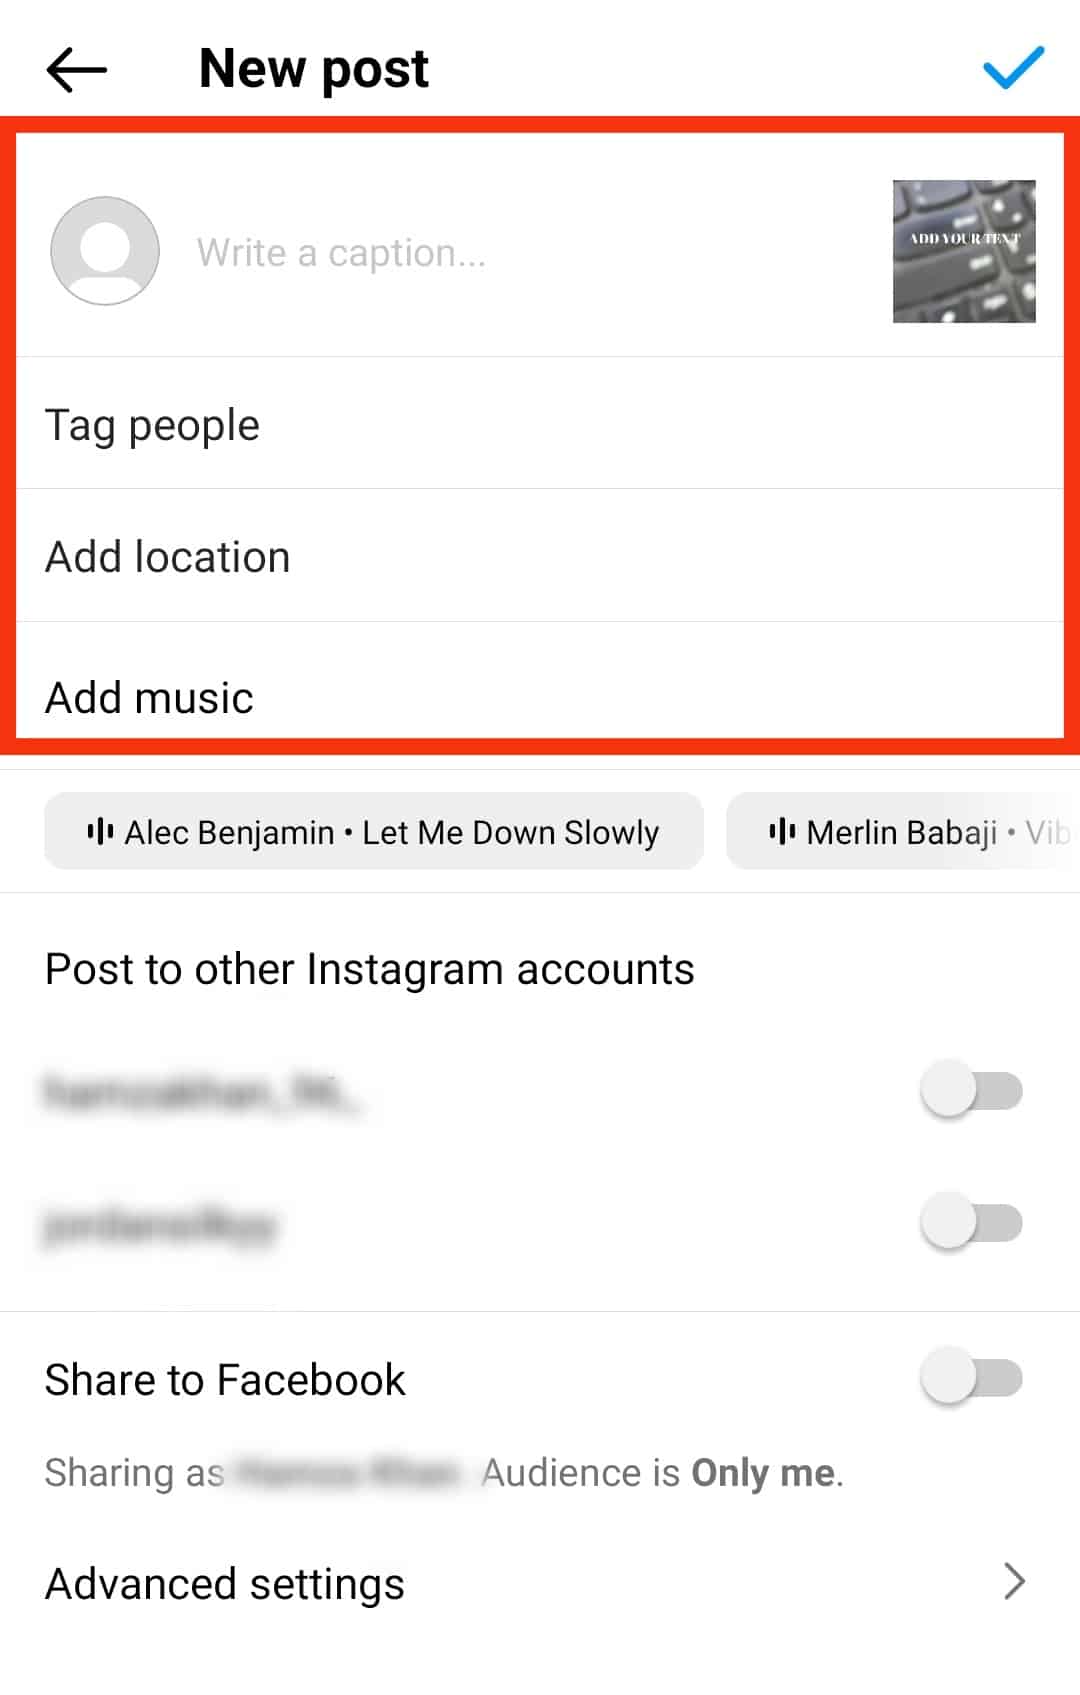
- Write the post description, including hashtags, add the location, and set your preferences.
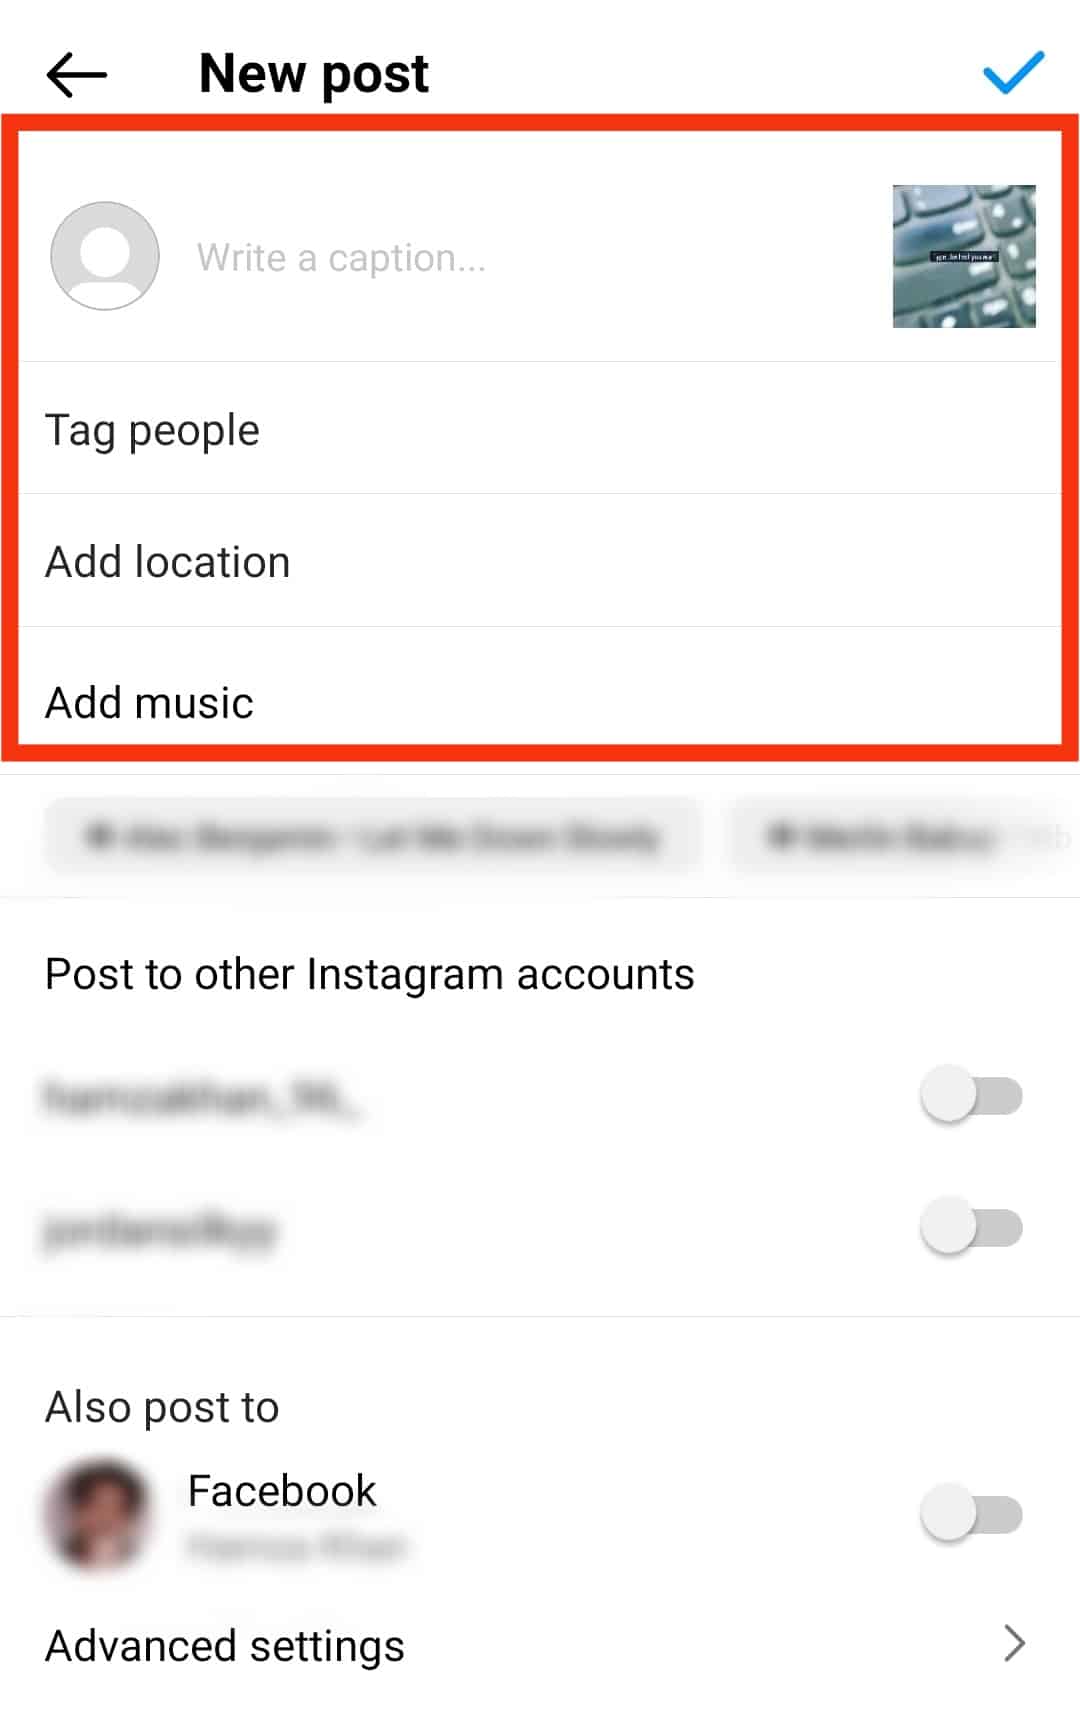
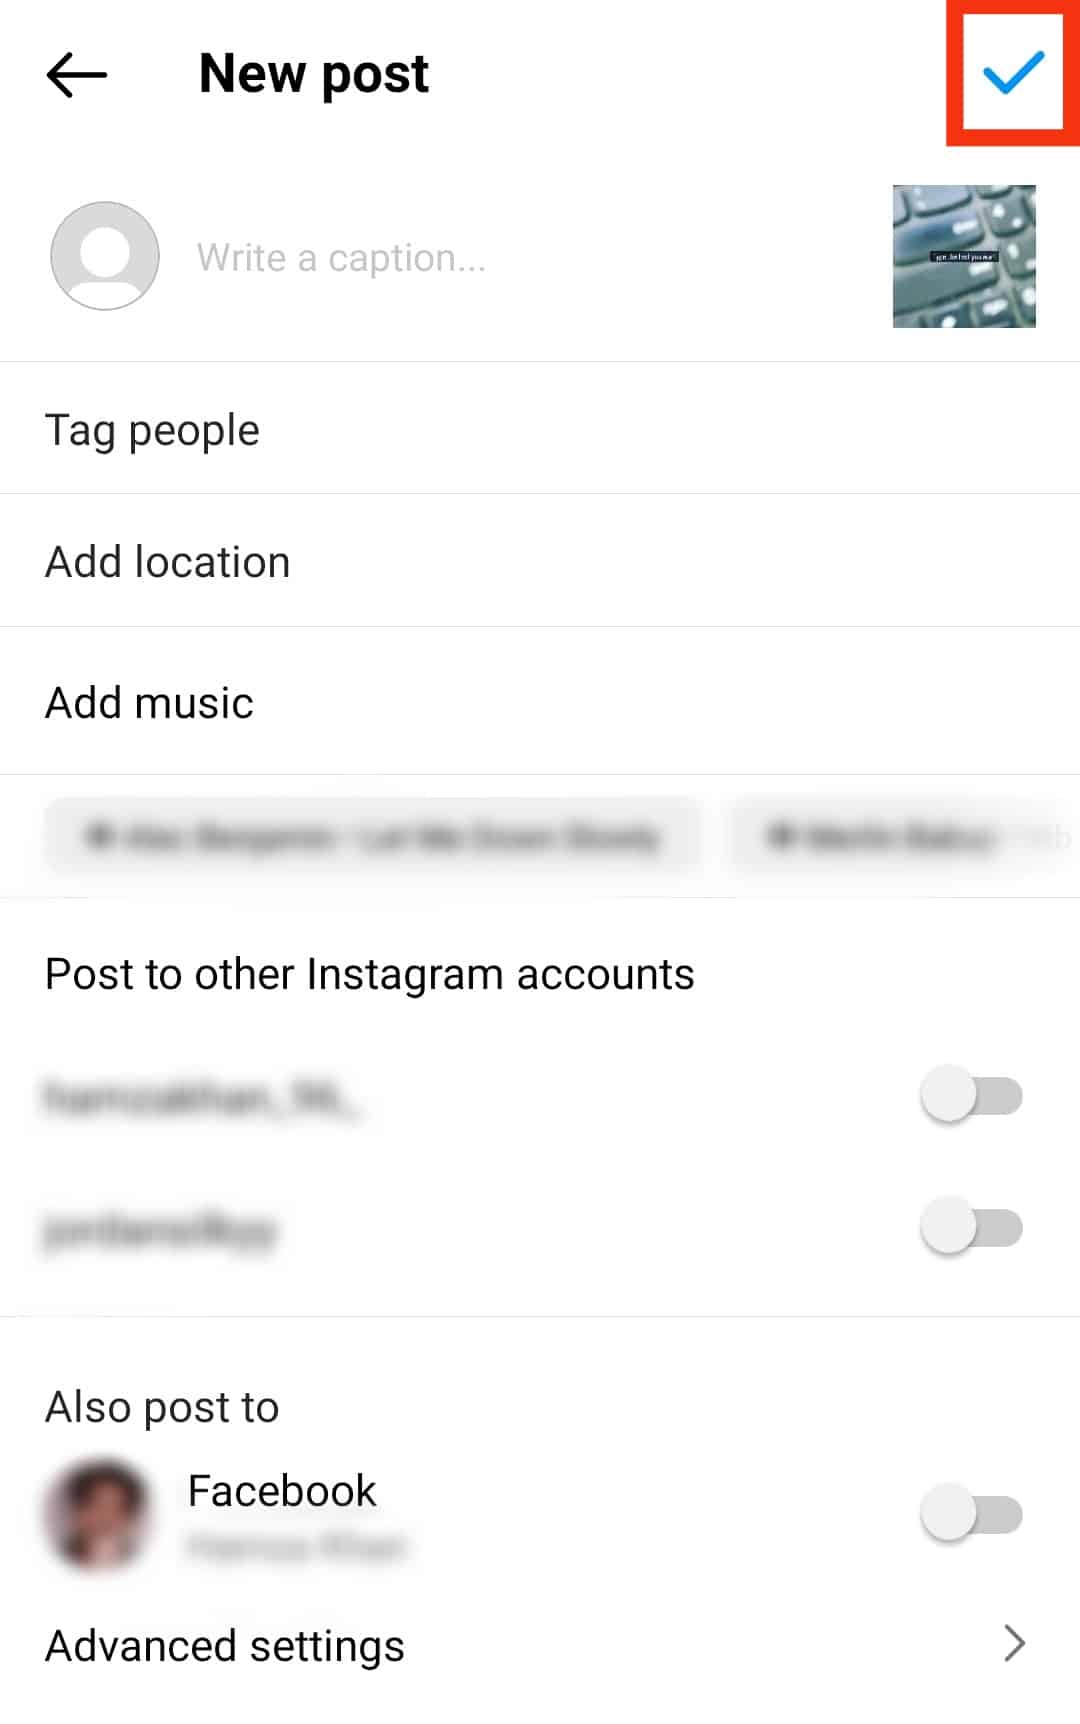
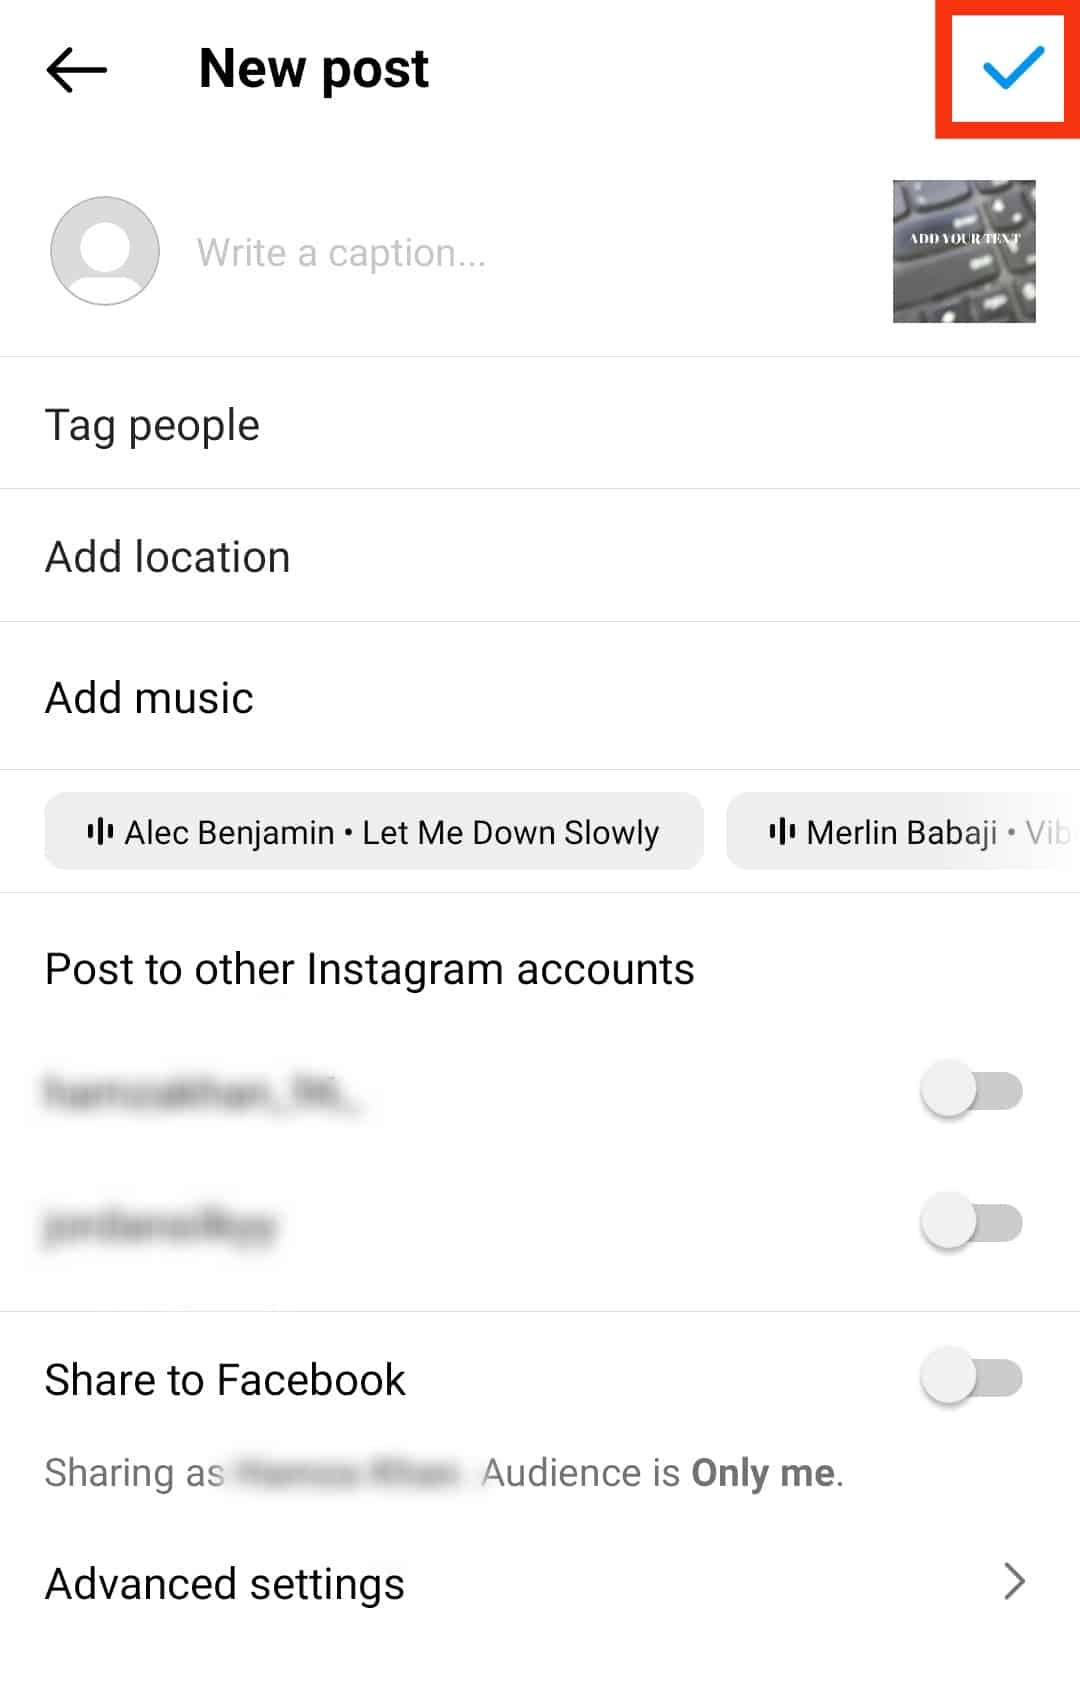
- Once done, tap on the checkmark icon at the top right to publish the photo.
This method involves twelve steps, but rest assured that it’s easy and will take just a few minutes to do!
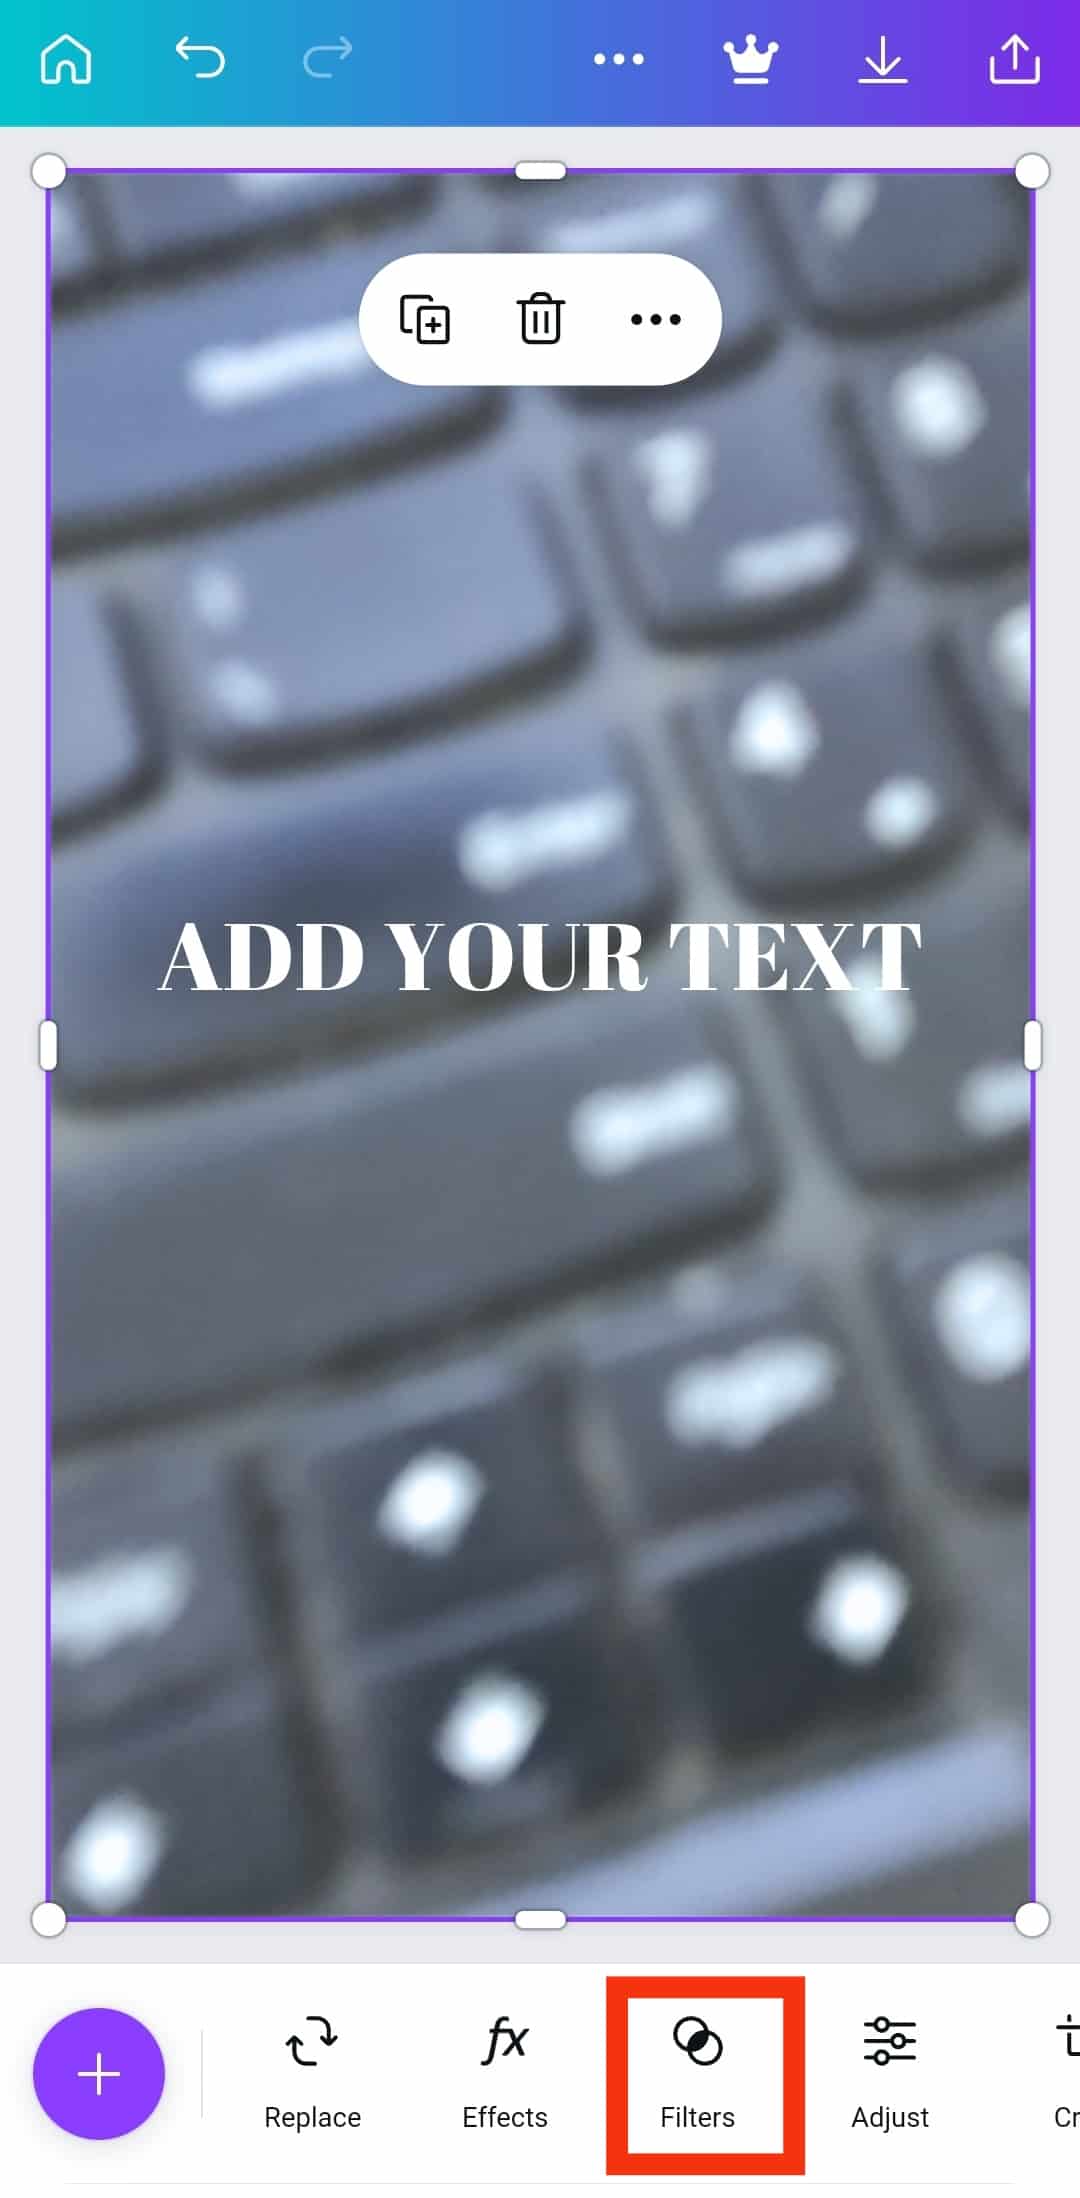
Method #2: Use a Photo Editing Tool
There are limited font styles you can choose from if you add text using Instagram Story. If you want more flexibility and use fonts that are fancy and decorative, you can use a third-party photo editing tool to add text to your Instagram photo. To do that:
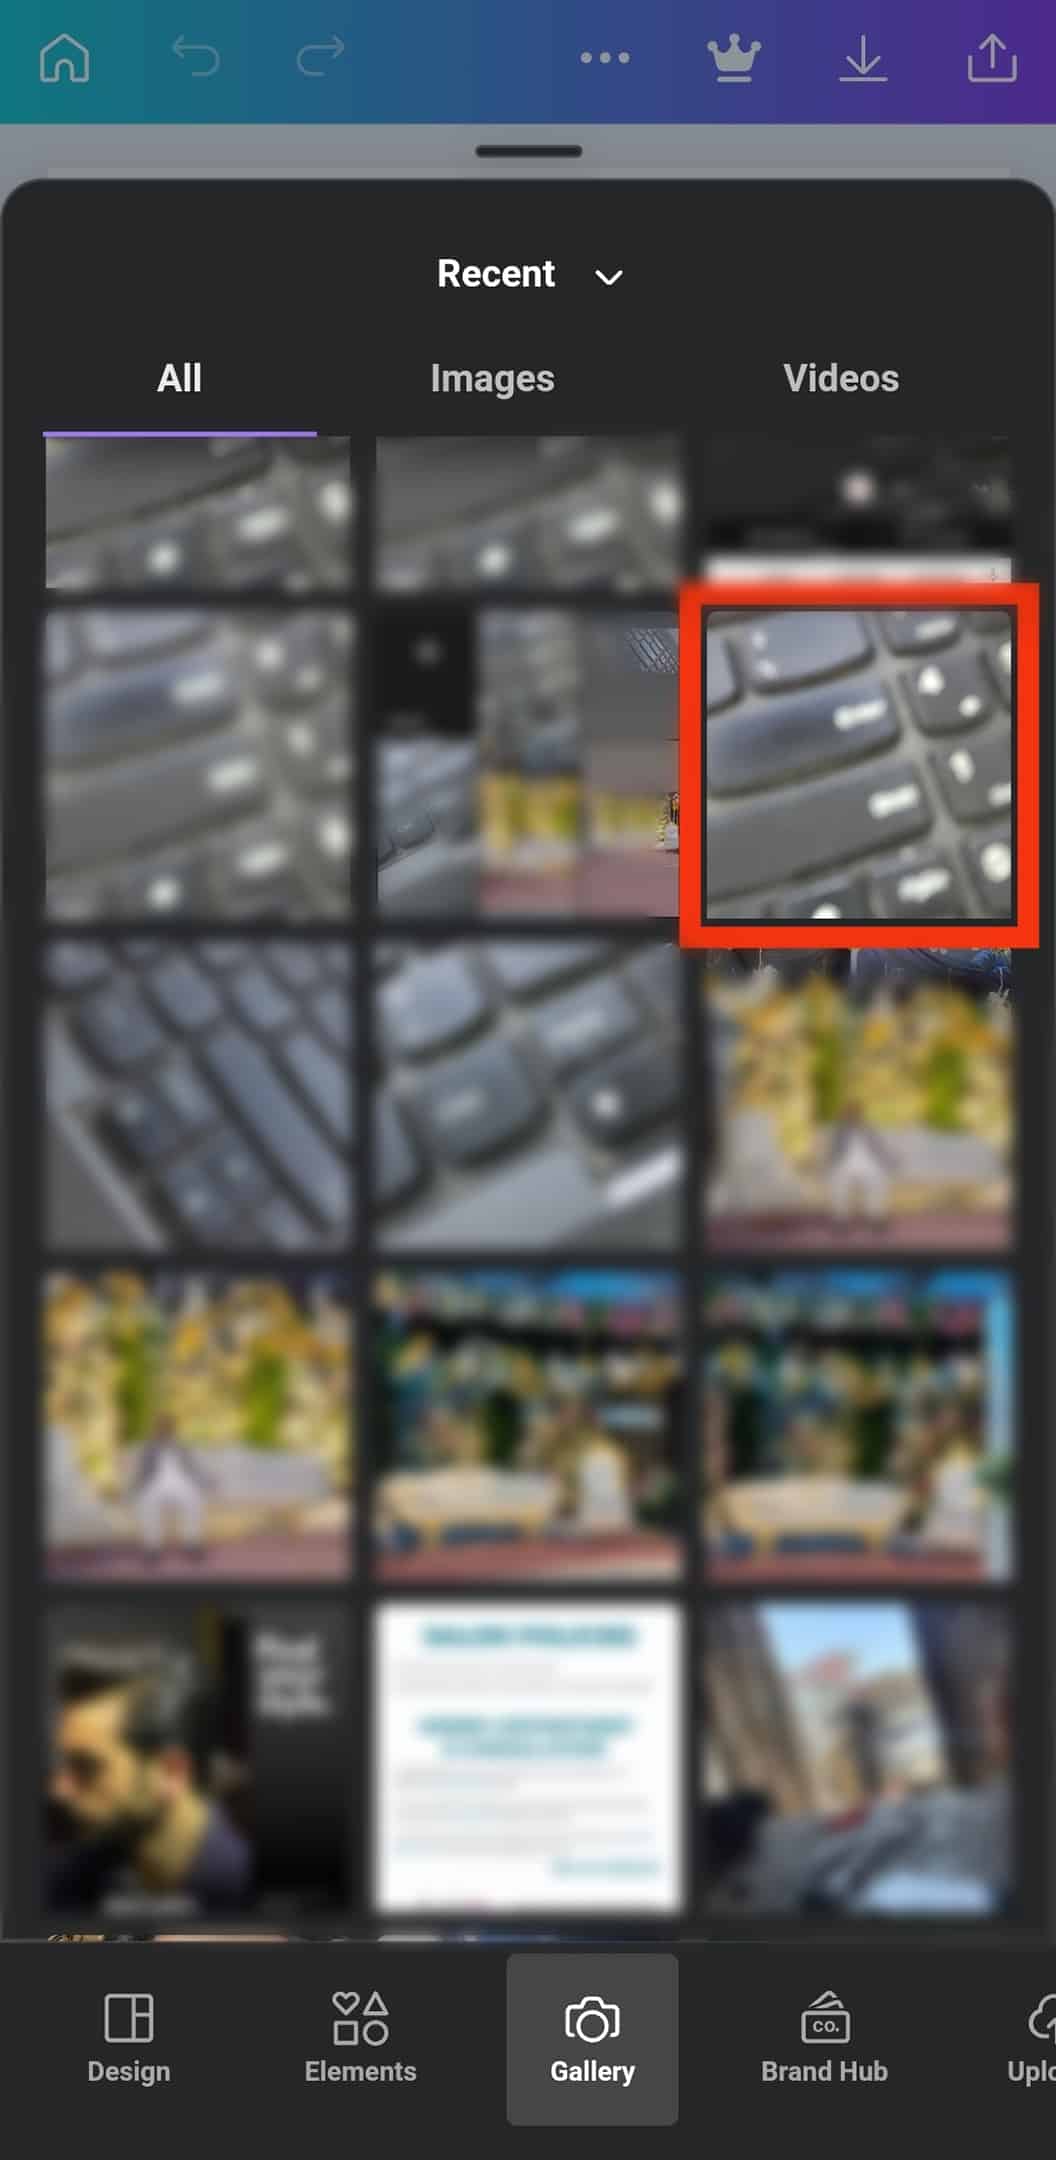
- Open the photo editing tool. It could be an online tool you can use directly on a web browser or a downloaded app.

- Open the photo you want to add text to. The process of opening the image depends on the tool.
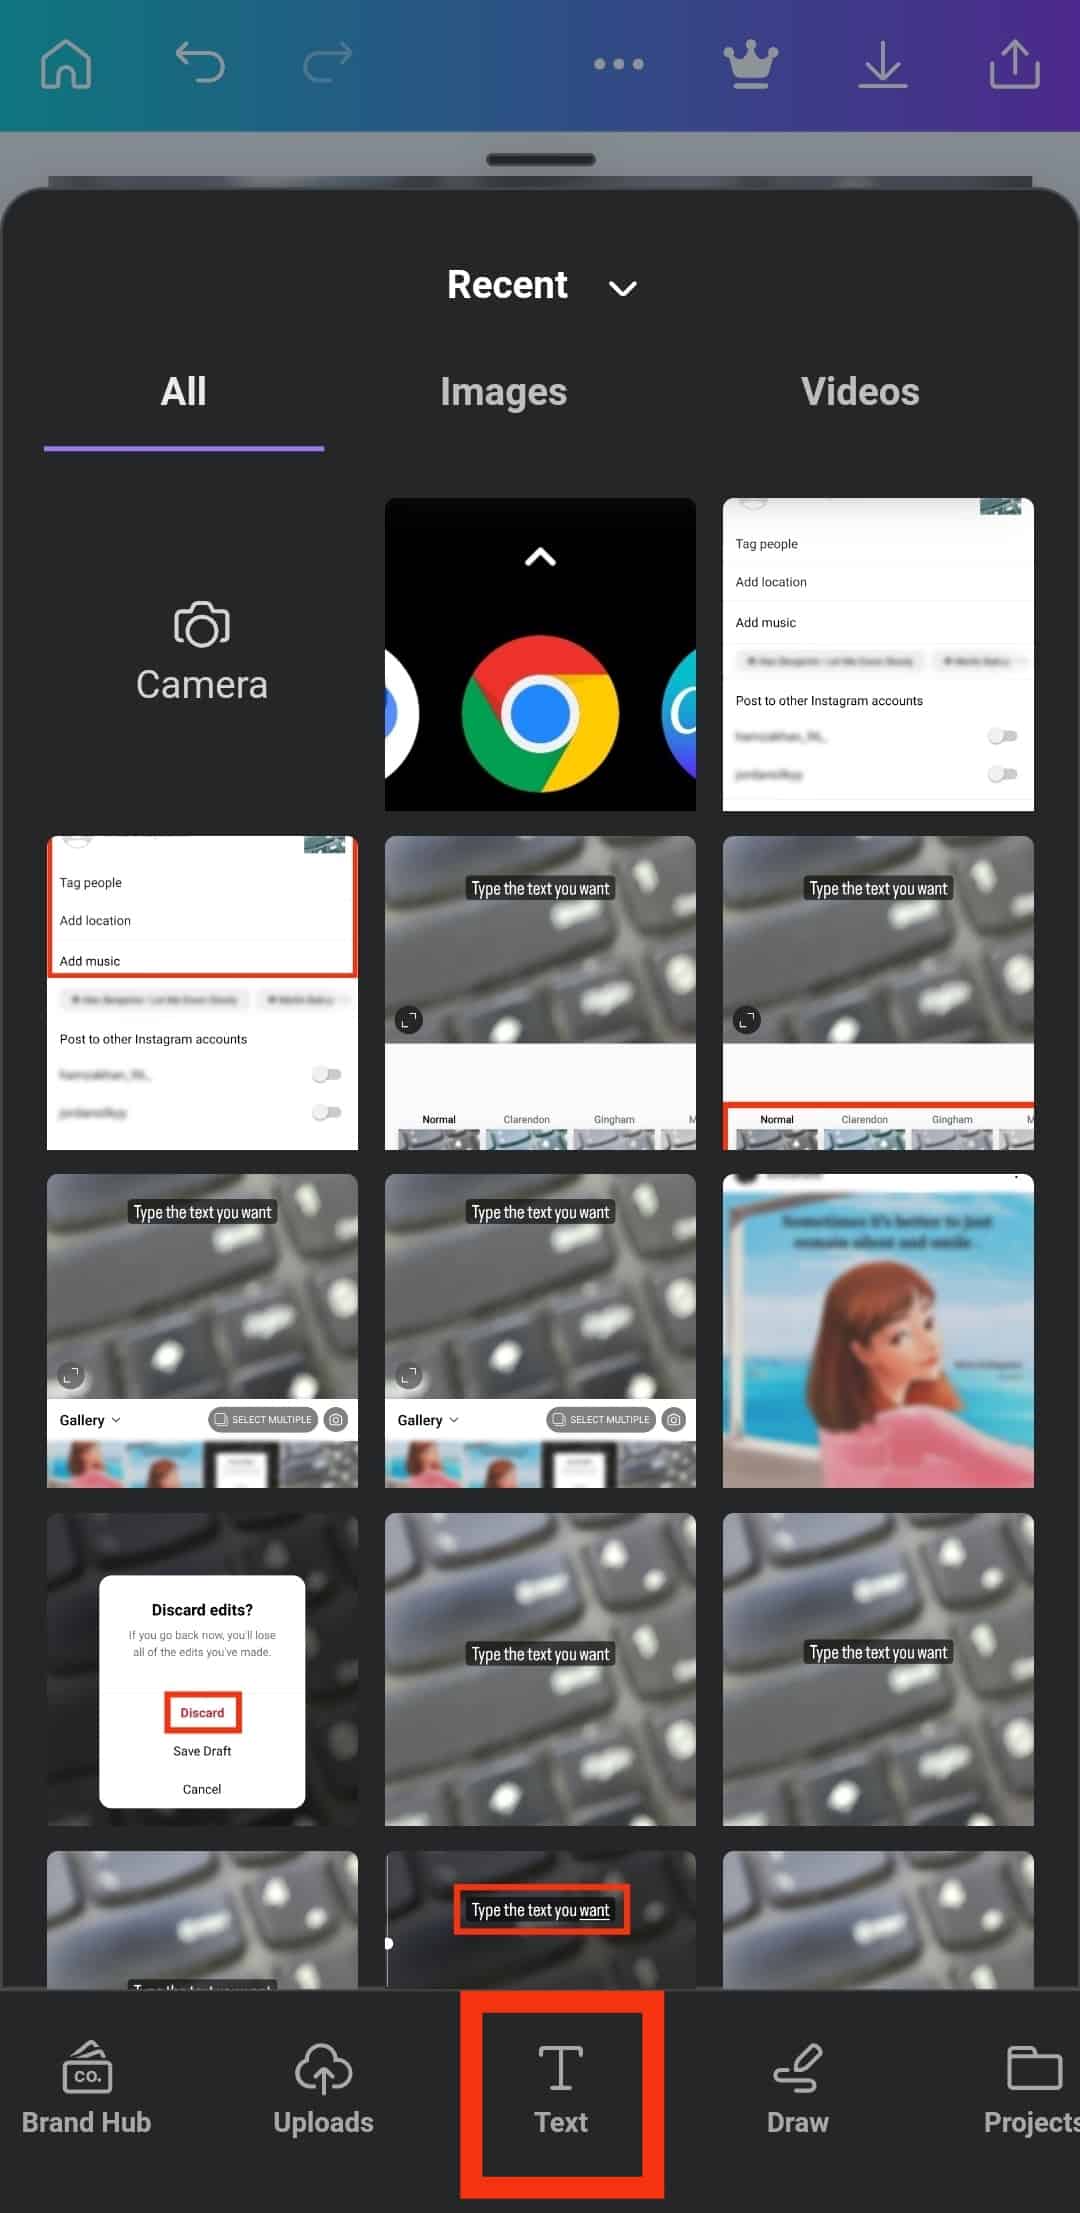
- Use the text tool to add the text.
- You can also add filters using the photo editing tool, so you don’t need to do that in the app.
- Export or save the photo to your camera roll.
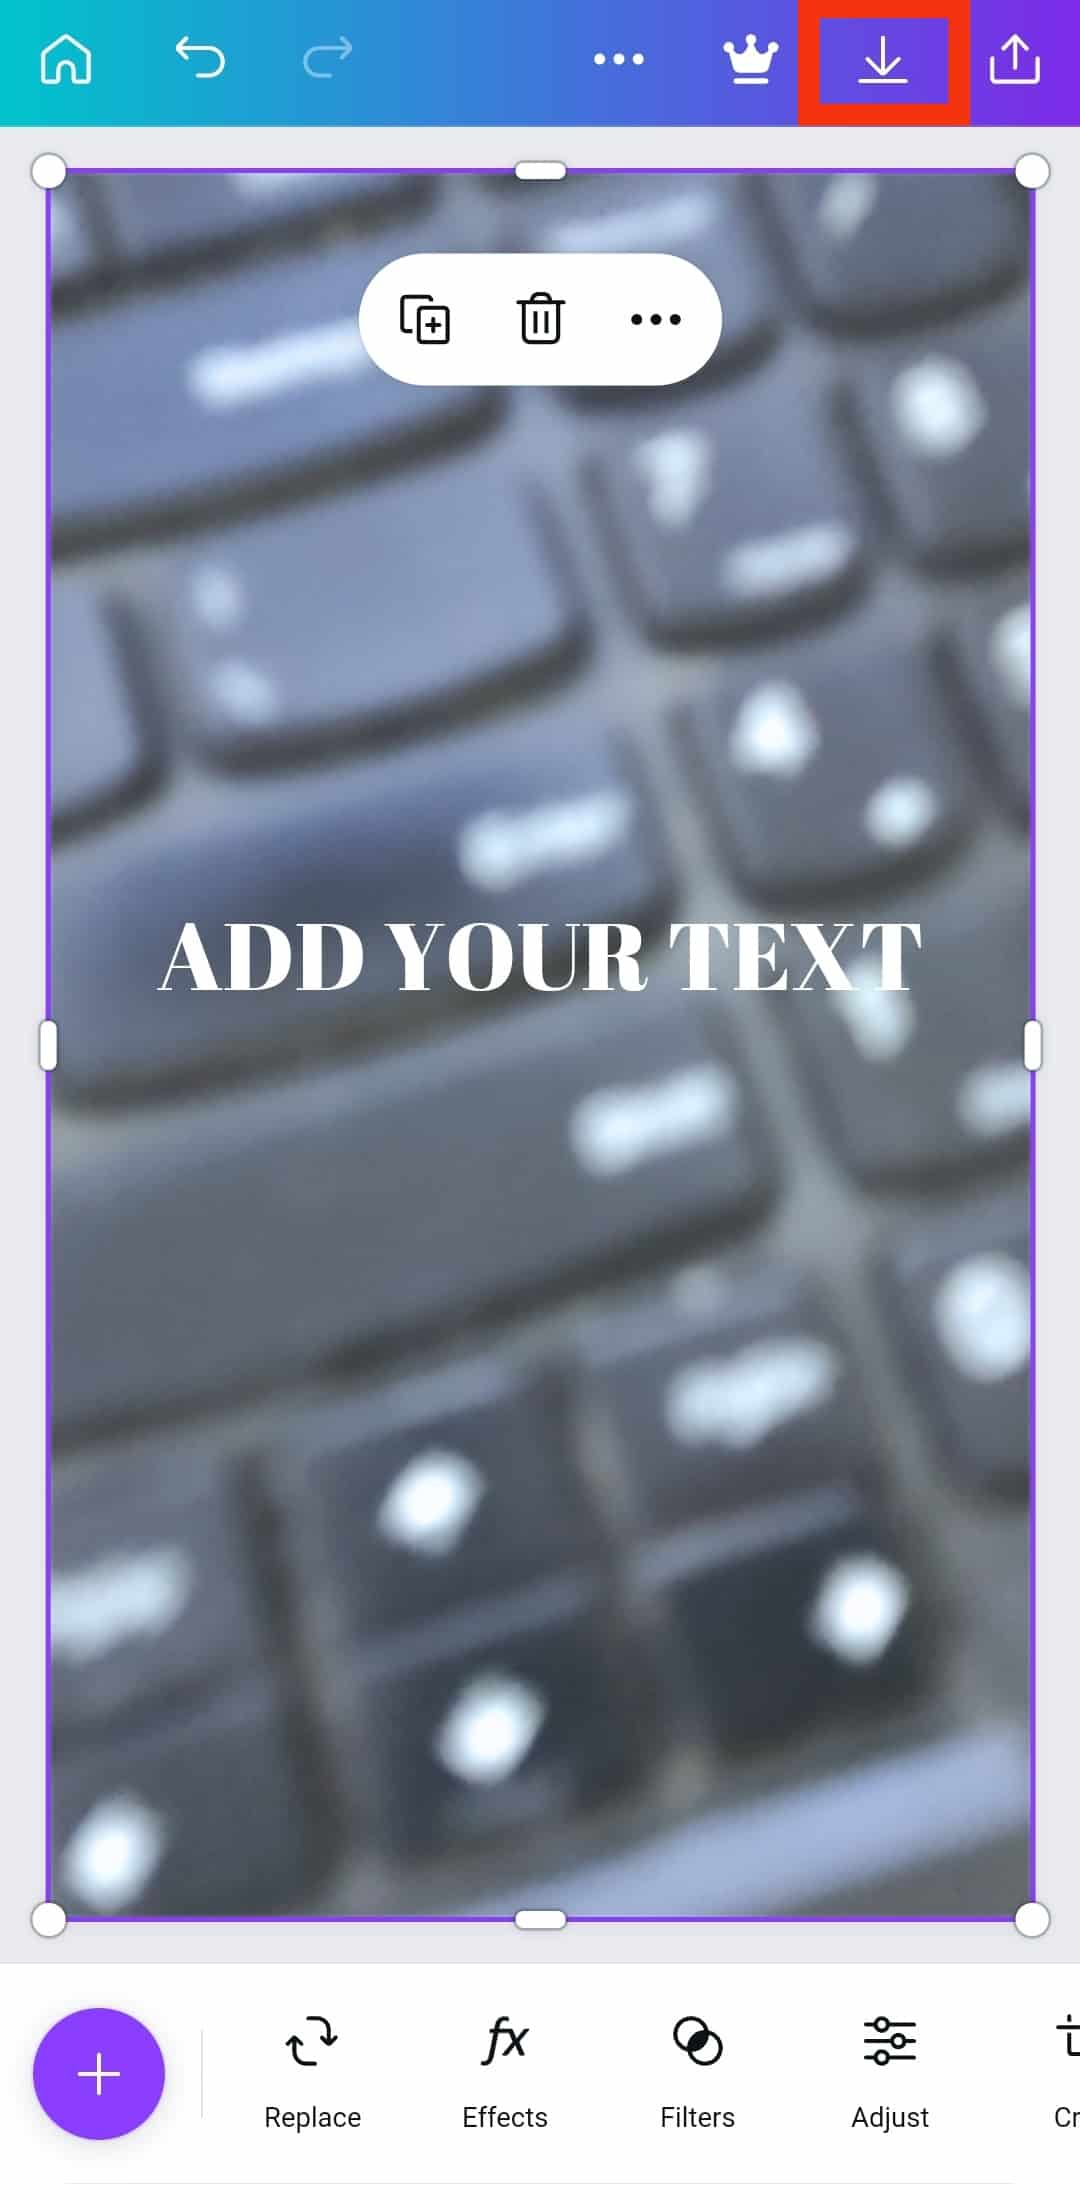
- Open the Instagram app.
- Tap the plus icon to post the photo to Instagram.
- Open the photo you just edited. It should be the first photo on your camera roll.
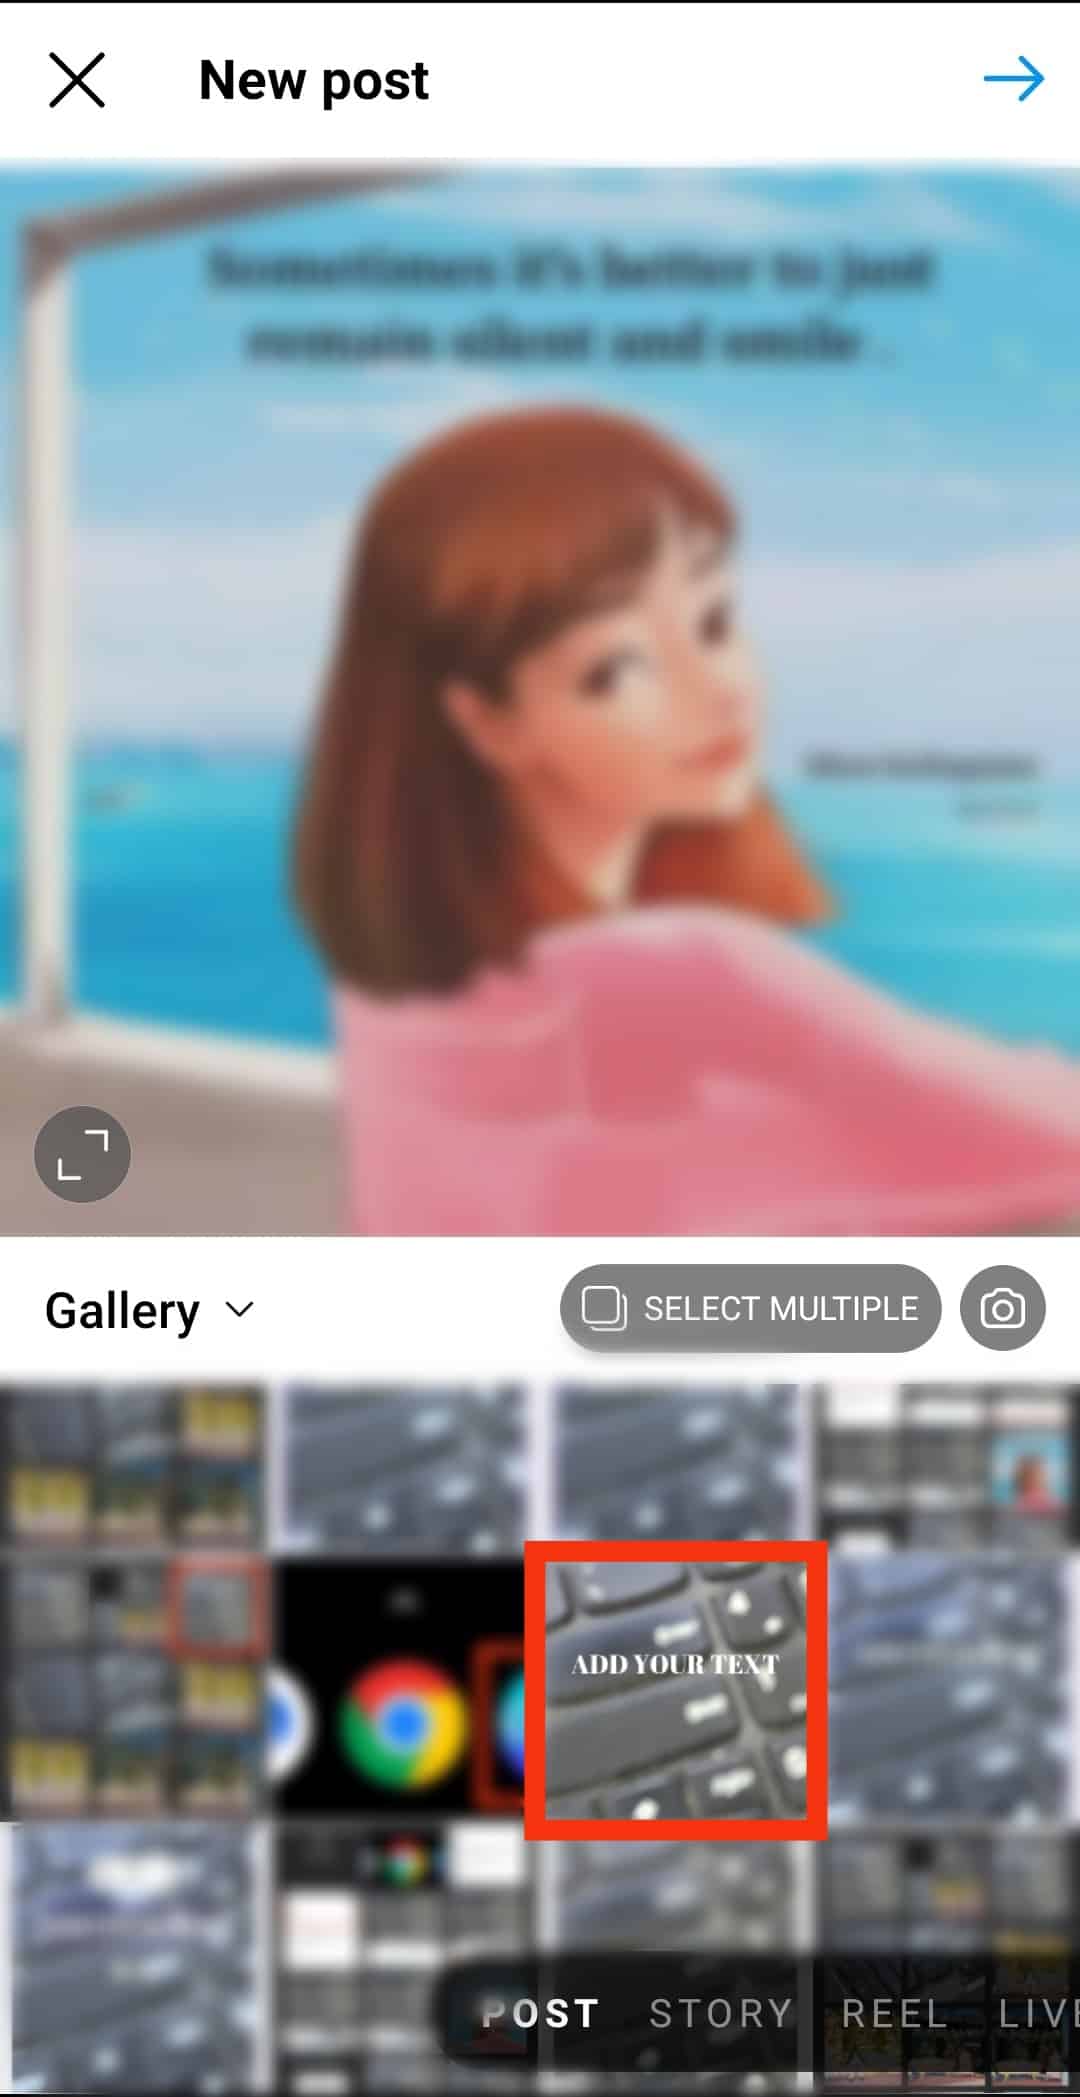
- Tap on the right arrow in the top right corner.

- If you haven’t added filters to the photo using the photo editing tool, you can do that in the Instagram app.
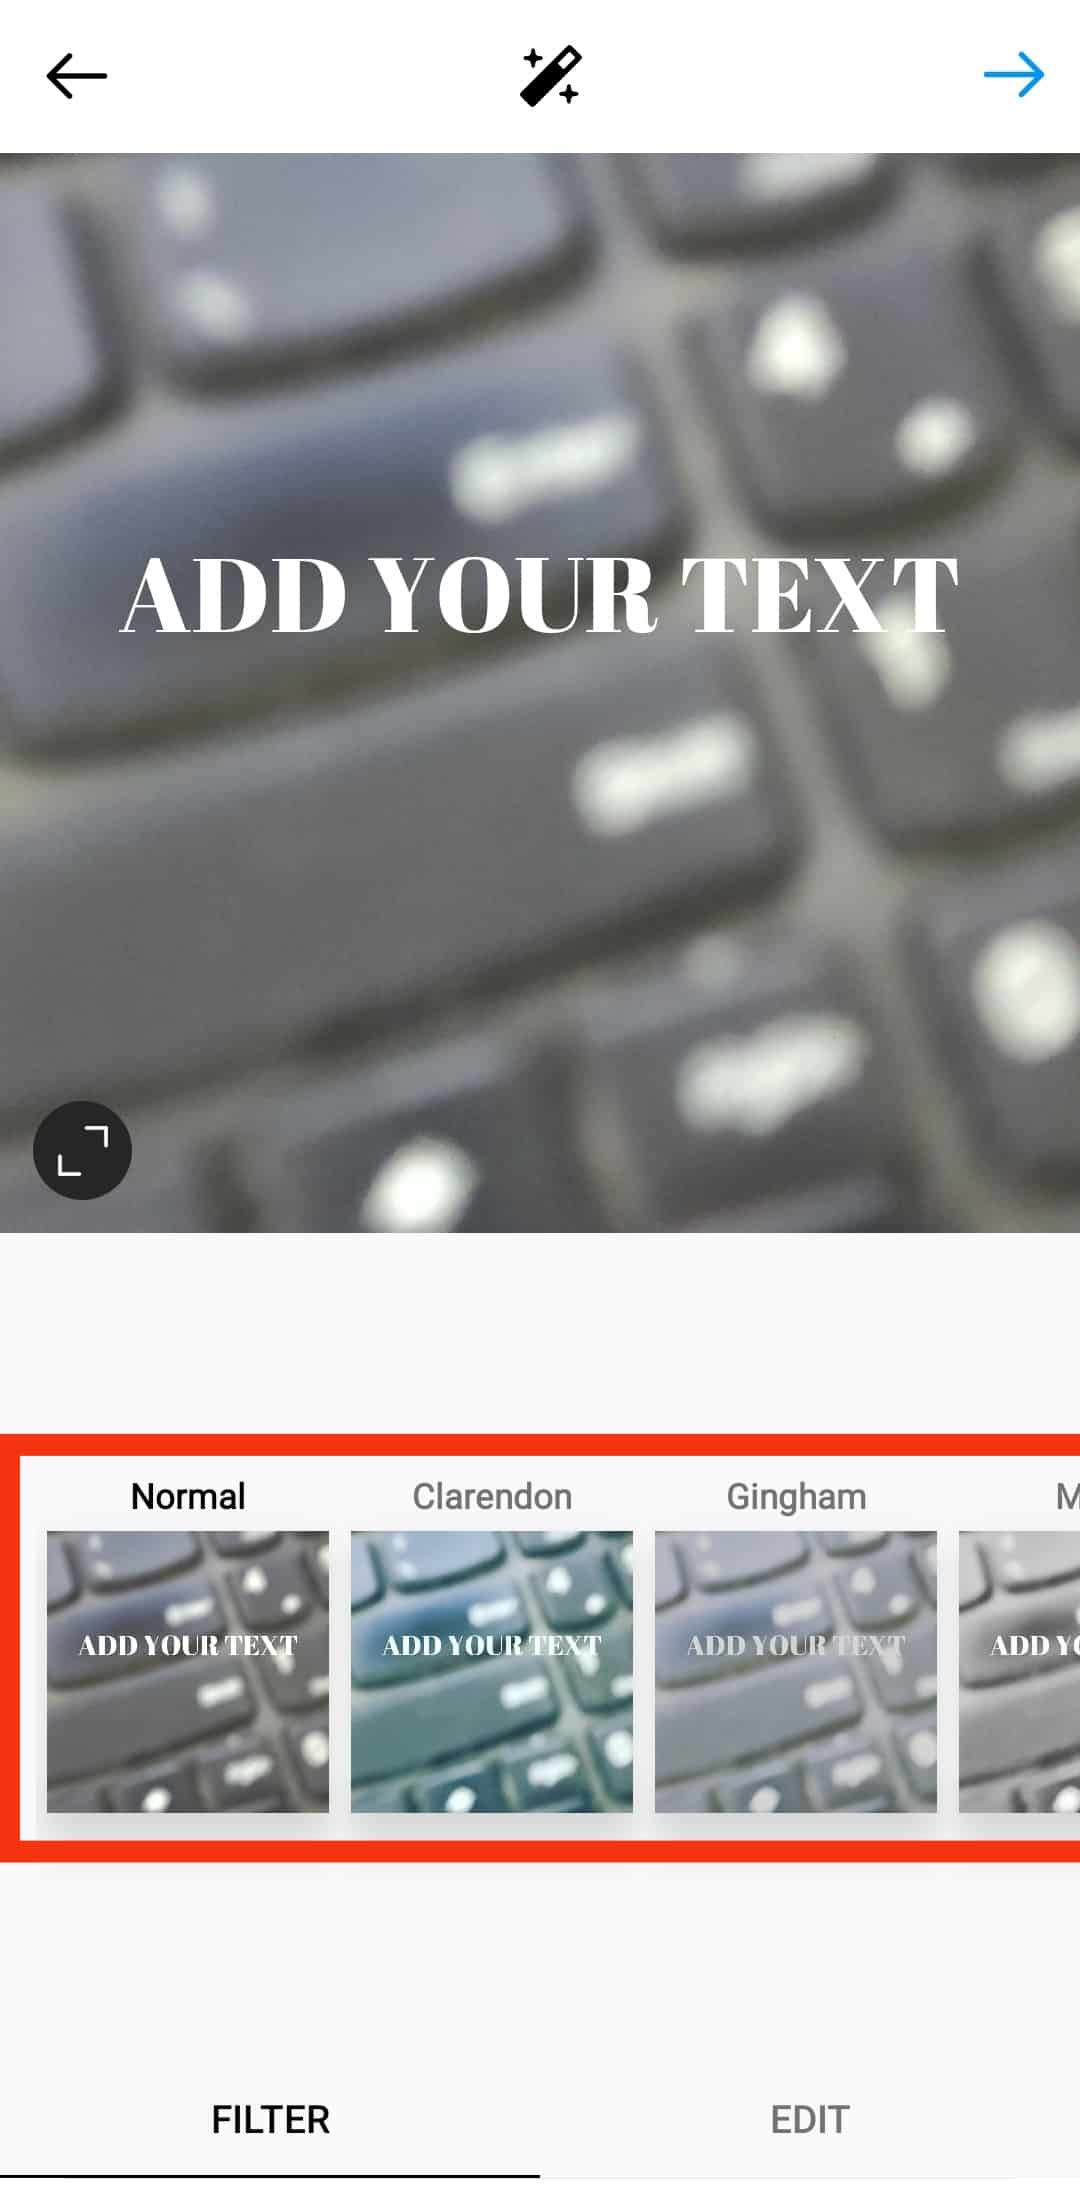
- Once the photo is edited, tap on the right arrow at the top.
- Write the post description, including hashtags, add the location, and set your preferences.
- Once done, tap on the checkmark icon in the top right corner to publish the photo.
That’s it.
Conclusion
Instagram has evolved so much, and it has become a platform not only for photos but also for graphical content. If you examine your Instagram feed or the posts posted on Instagram these days, you will surely come across a graphic with some text on it, and it is getting engagement from other users!
Visually appealing content is essential on Instagram. But making your message clear also matters, especially if you are a business or a brand that wants to attract an audience that will stick with you for a long time. One way to avoid miscommunication is by adding text to the Instagram post, which you can do in two ways.
Gone are the days when Instagram was only for plain photos. Today, it is acceptable, and brands are encouraged to add creativity to their posts because due to the number of brands currently on the platform, the competition is strong, and they need to up their game to get noticed by people who, based on research, have short attention spans!