When you are an admin of a given Discord server, you must know how to add various bots.
Bots have made managing Discord servers easy, and users don’t have to perform every function as the bots can.
One of the famous bots on Discord is the OwO bot.
Read this guide if you are wondering what it takes to start using it on your server!
It is easy to add the OwO bot on Discord. You must find the OwO bot invite link on Google and click it to invite OwO to your Discord server. You will see a server list from which you can choose your server, then give it permission access and the roles it would perform on your server. Once you activate OwO, you can start using it on your server.
The introduction of bots on Discord is a new era. You can add many bots to your server, but you may not achieve your aim if you don’t know the steps. The post has explained an OwO bot and how to add it to your Discord server. Please read this guide to learn how to start using the OwO bot on Discord!
What Is OwO Bot on Discord?
OwO bot was built to enable users to hunt for animals and sell or battle against each other.
The main theme of the bot is building a zoo and performing various commands on animals, like hunting and selling.
OwO has a zoo where you can find several wild animals.
You can build your zoo and grow it with the animals you hunt, making you a better hunter. Moreover, if you love battles, you can battle against another zoo owner and other things.
If you are a person that finds fun in things to do with hunting animals and seeing animals battling against each other, OwO is the perfect bot that enables you to achieve the fun.
How To Add OwO Bot to Discord Server
OwO bot is easy to add and use on your server.
The bot offers much more fun for server members besides the zoo game.
To add OwO to your Discord server, follow the guidelines that follow.
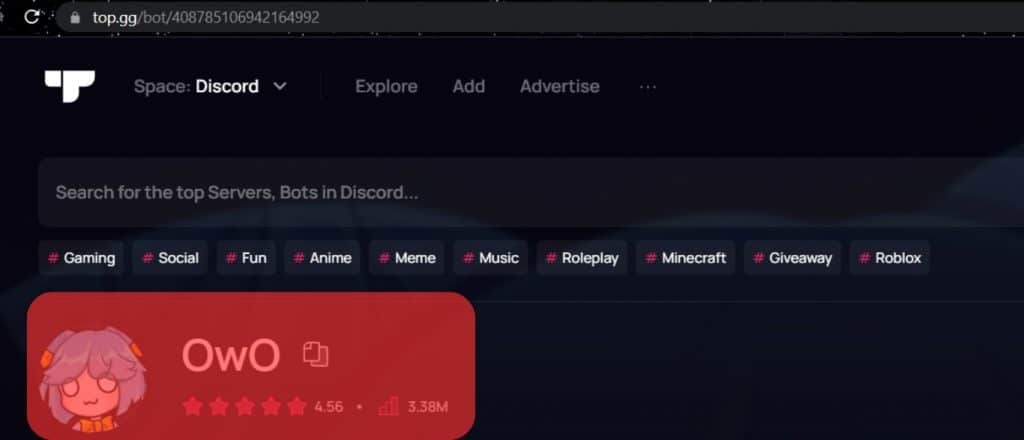
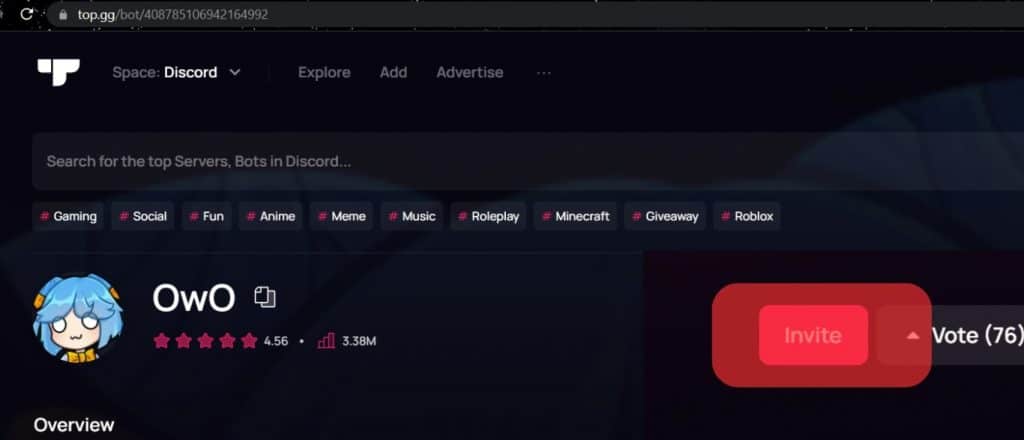
Step #1: Find the Official OwO Bot Invite Link.
You can use Chrome or any other suitable browser to search for the official website containing the bot’s invite link.
Step #2: Click the “Invite” Button
You will see an invite link once you open the OwO bot’s official website.
Click on the link, and you may get prompted to log into Discord if you are not logged in.
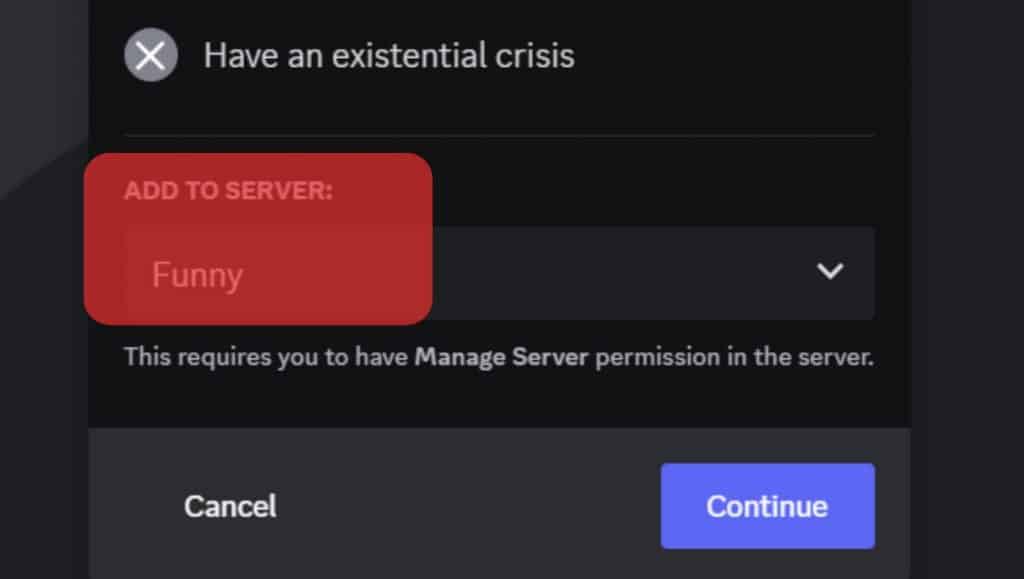
Step #3: Choose Your Server
Once you are requested to log into Discord, you will see a list of server names.
Choose the server where you want OwO to get added.
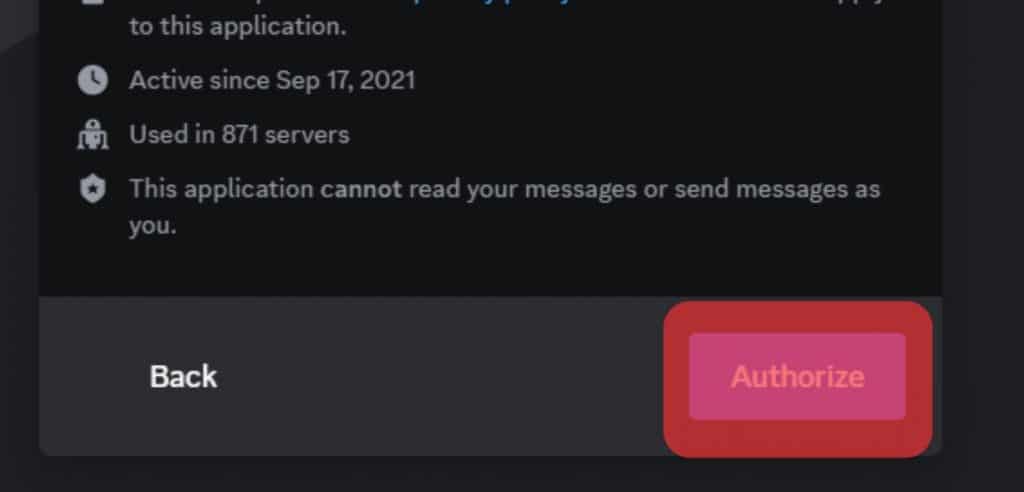
Step #4: Grant OwO Permission Access
Once OwO is added to your server, it will be given access as the administrator.
If you don’t want OwO to be given admin permission, choose the permission access you will grant it.
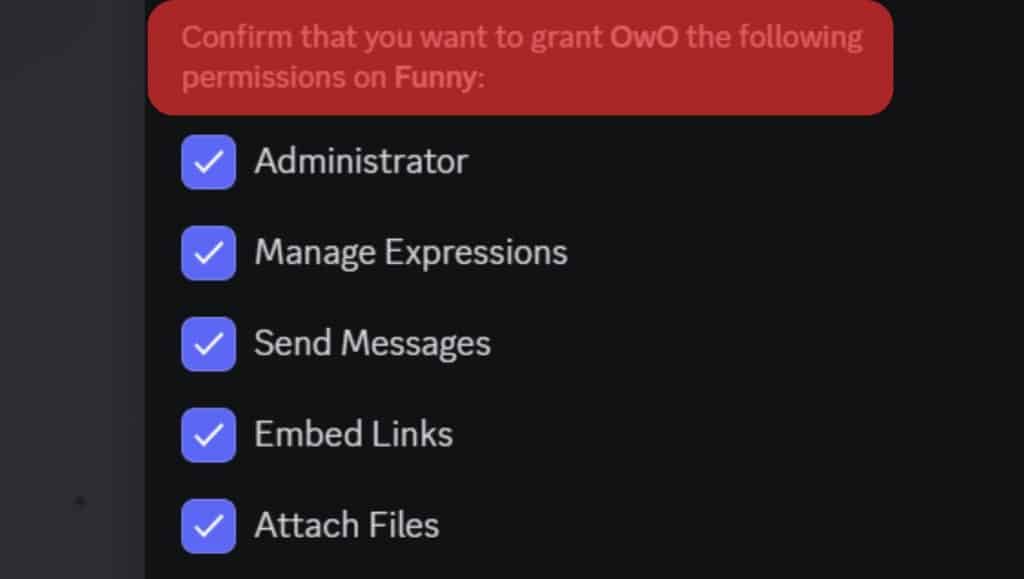
Once you have selected the permission, click the “Authorize” button.
Step #5: Activate OwO Bot
Adding an OwO bot on your server is not enough if it is inactive.
The next thing you must do is accept the OwO rules to make it active.
Type “OwO daily” and click the thumbs-up icon to make OwO active.
Once OwO is active, you can start using it.
How To Use OwO Bot on Discord
OwO bot is easy to use once it is active on your server.
Once the bot is activated, you can explore its various features and commands of the bot.
If you don’t know any command, type “OwO help,” and you will receive a list of commands you can use.
It is unnecessary to cram the OwO commands because you can easily type “OwO help,” get all commands and use the one you wish.
Moreover, if you encounter any problem using the OwO bot, you can join the OwO community server to share your issue and get help.
Conclusion
OwO bot is a great bot for people interested in playing zoo games.
The bot not only runs your server but also offers fun games that members of your server can enjoy.
If you don’t know how to add OwO to the Discord server and start using it, read this guide for comprehensive steps.