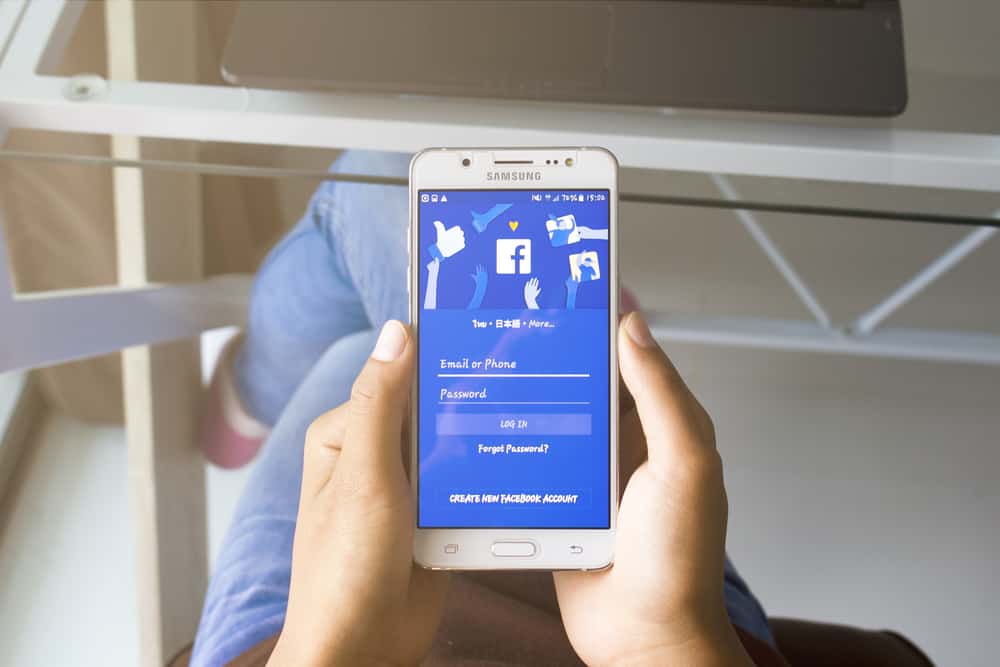
Facebook is one of the most popular social networking apps with a loyal following. It’s not surprising that many people use it for purposes such as sharing photos, playing games, and chatting.
Facebook automatically saves your photos to its servers. It may not be the best option for backing up your phone because you can only access these photos through Facebook, which is inconvenient if you want to share them with friends.
There are a few ways to transfer your Facebook photos to your device, including copying them manually through the web browser, downloading them from the Facebook app directly, or via a third-party app. You can access the photos you downloaded from the Gallery app on your phone and send them via text or email, assign them to contacts or use them as your background.
If you’re looking for a way to download photos from Facebook, here is a quick guide. You can also use this method on other social media websites like Instagram and Twitter.
Method #1: Using the Facebook App
Facebook’s photo feature makes downloading photos to your Android phone easy. The Facebook app can be used to save pictures on your phone from the menu button that can be pressed when you view your photo in full-screen mode.
Here’s how you can save a photo in your gallery:
- Open the photo.
- Tap on it to enter full-screen mode.
- Tap the three vertical dots at the top-right corner of your screen.
- Select “Save to Phone”.
Here you go. Your photo has been downloaded. To access it, you need to go to your Gallery app. You’ll find it there.
Method #2: Using a Website App in Your Device Browser
This method can be used to download high-quality pictures and videos. Expert Tool is a web app that can help you download images from Facebook and other social media outlets. You can use it on desktop computers and smartphones, making it simple no matter where you happen to be!
Here’s how to use it:
- Open the Facebook App.
- Go to the photo you want to download.
- Tap the three vertical dots at the top-right corner of your screen.
- Click on the “Copy link” button.
- Go to the Expert Tool.
- Paste the link in the web app.
- Click “Download”.
The downloadable file will be in PNG format, which is generally acceptable for most people. It will also work on desktop browsers.
Method #3: Taking a Screenshot
Facebook users may be able to save a photo from their app by using the Android device’s screenshot function.
Using the screenshot feature of your phone might not produce the same quality as in-app or third-party apps. However, it will work if you are in a hurry to get your picture. Still, it’s a handy option, especially if you don’t have time.
To take a screenshot:
- Open the Facebook App.
- Go to the photo you want to capture.
- Press the Power and Volume down buttons simultaneously.
If that doesn’t work, Press and hold the Power button for a few seconds. If none work, you can Google the steps to take a screenshot on your device. - Go to your Gallery app, and you’ll find an album of the screenshots you take.
Method #4: Downloading All Data via Facebook App
This is a quick and easy method of downloading your Facebook data in just a few minutes and preserving it for a long time, including all your precious pictures.
Facebook has been a social media site that everyone uses to stay connected with friends and family. It is no surprise that Facebook also has a backup feature, which is helpful to those who need to recover lost data or just want an extra copy of it. This backup feature is simple and easy to use, but many people still don’t know how to use it.
How to download your data files:
- Open the Facebook App.
- Tap the three vertical dots at the top-right corner of your screen.
- Click on “Settings & Privacy”.
- Click on “Settings”.
- Click on “Access your information”.
- At the bottom, click “Download your information”.
- Check what you want to download.
- Click “Create File”.
Here you go; Facebook will provide you with a copy of your archives, including all your images in one file.
I like this method because the process is quick. I backed up all my data in just a few minutes, which means that if I decide to close my Facebook account, everything will be accessible. Besides media files, you can also export your friend’s list and chat logs.
One downside of this method is the quality of exported photos is not as good. You can’t specify which album or photos you want to pull, which can be a pain if you combine these with images in another album or on a different photo.
Method #5: Using a Third-Party App
The only drawback to downloading your photos from the Facebook app is that you must do it one at a time. An app, like GetThemAll, downloads all your photos at once, so nothing ever gets left behind.
GetThemAll is a free application that makes downloading content from all over the internet easy. It integrates various file types into the same interface. It provides a batch feature to download lots of files simultaneously.
How to use the app to download your photos:
- Open the app.
- Create an account.
- Go to the Facebook app.
- Go to the image you want to download.
- Tap the three vertical dots at the top-right corner of your screen.
- Click on the “Copy link”.
- Go to the Getthemall app.
- Paste the link into the picture tab.
- Click on “Download”.
Conclusion
The options above have pros and cons, so the final decision is up to you! It all depends on what you wish to achieve after the post-download process.
Android provides you with the ability to back up your Facebook photos. You can also download those photos as your phone’s wallpaper or set a specific picture as the background for your home screen.
But whatever your reasons, it is possible to manage and download your Facebook photos on Android.