When you have a Discord server, you will need a way to quickly solve user-raised issues as the server grows in popularity and membership. You achieve this by using the ticket system you can implement on Discord.
Although Discord has no ticket system, you can add a ticket bot that your server members can use to open a ticket.
With the Ticket Tool bot, you can select a server where all issues will privately be handled in your server. Users must find and join the ticket channel when they want to open a ticket in your Discord server. Once they do, they can click the option to create a ticket, and the bot will respond with a ticket number. Clicking on this ticket number will open a private space where the user can share their issue and wait for a moderator or the server admin to respond to the raised issue.
First, we will understand how raising tickets works on Discord. Next, we will see how to use the Ticket Tool bot on Discord. Lastly, we will see how to open a ticket on Discord.
How Do Tickets Work on Discord
Using tickets is the best approach when you want an organized way of handling issues. With tickets, tracking raised issues and responding to them becomes easy.
For Discord, a ticket system is implemented using the Ticket Tool bot. The bot allows the server admin to create their ticket system, from adding the bot to the server to selecting the channel to open tickets.
When members raise their issues, the moderators can access the opened ticket, respond to the query, and close it. That way, matters raised won’t be shared in the main text channel. Hence, no issues will be missed, and a moderator will respond neatly and effectively.
How To Create a Ticket System on Discord
We are using the Ticket Tool website to create our Discord ticket system.
- Open the Ticket Tool website on your browser and tap on Login to sign in with Discord credentials.
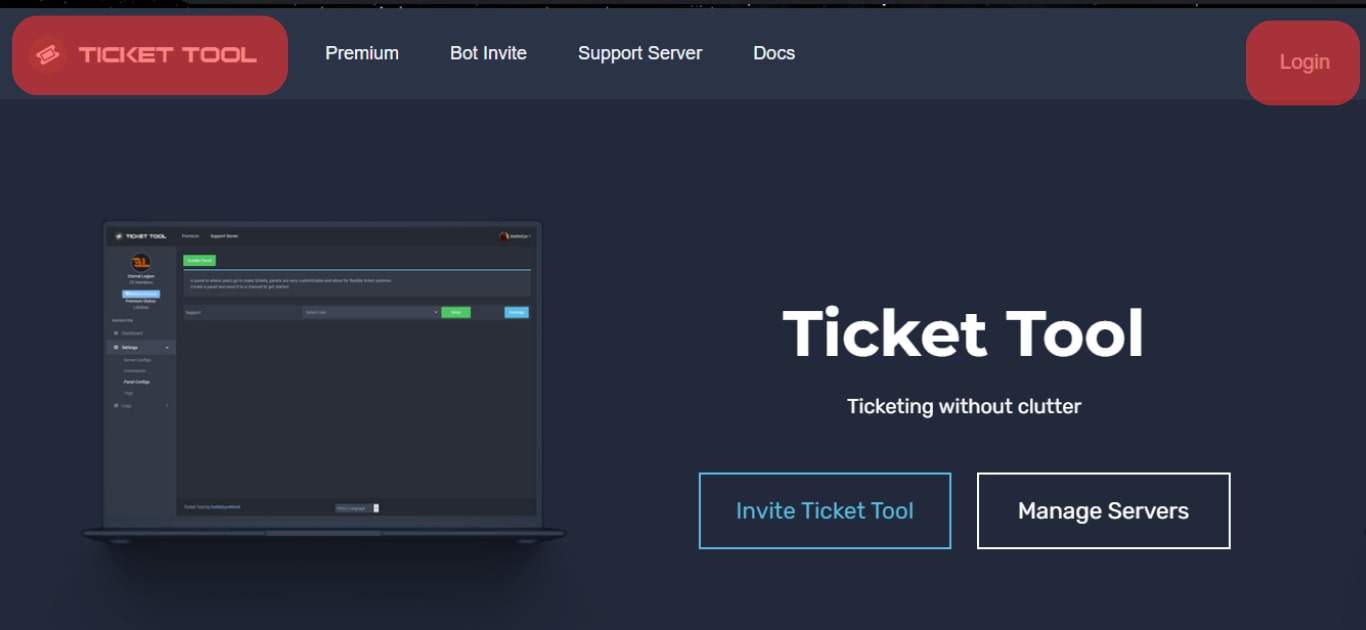
- Click the option for “Invite Ticket Tool.”
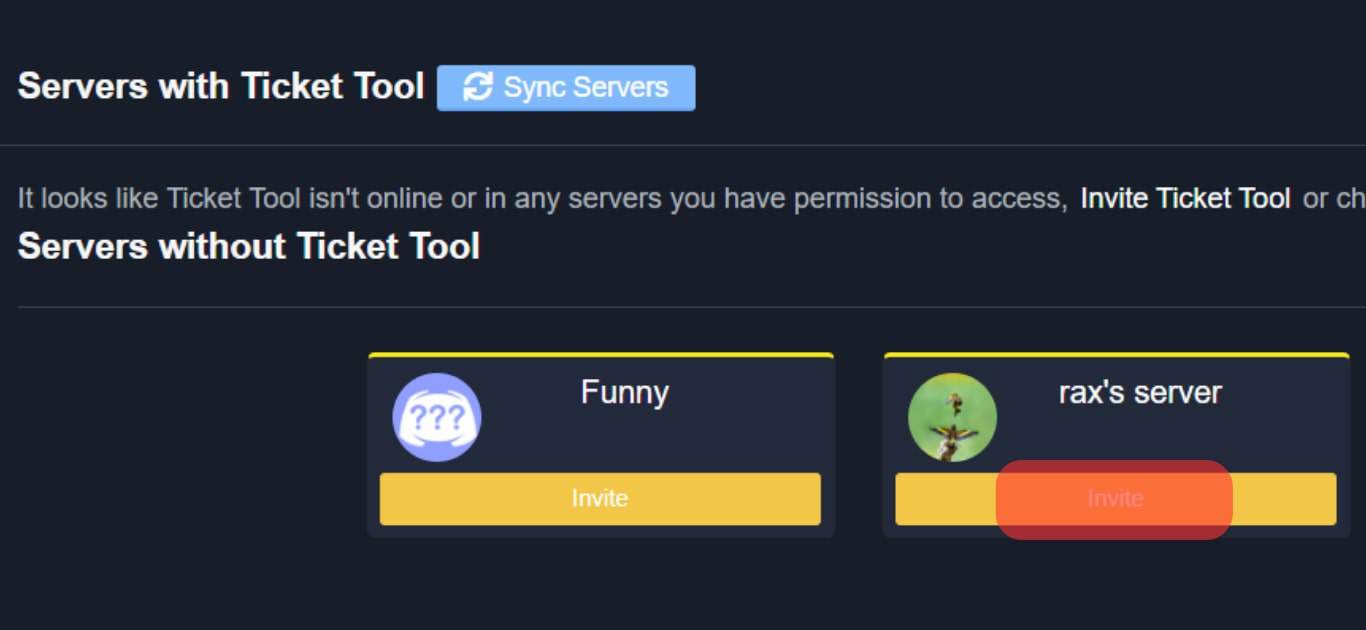
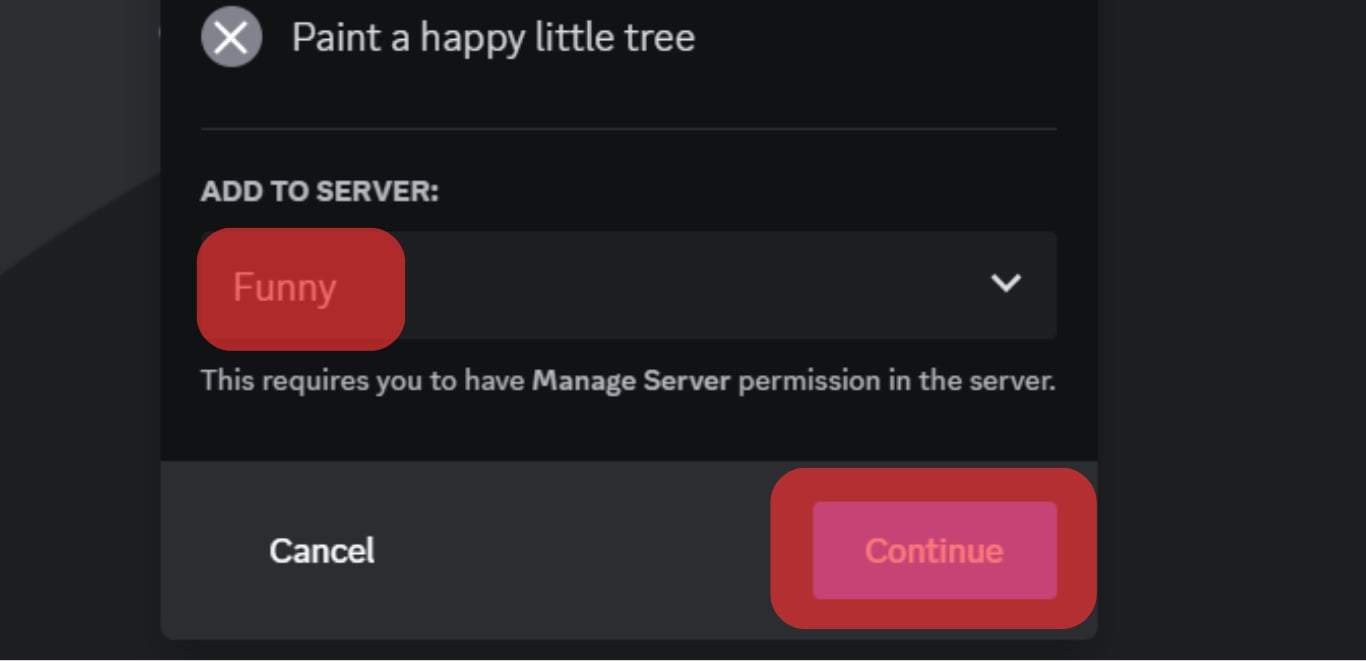
- Choose your Discord server where you want to create the ticket system and press the “Continue” button.
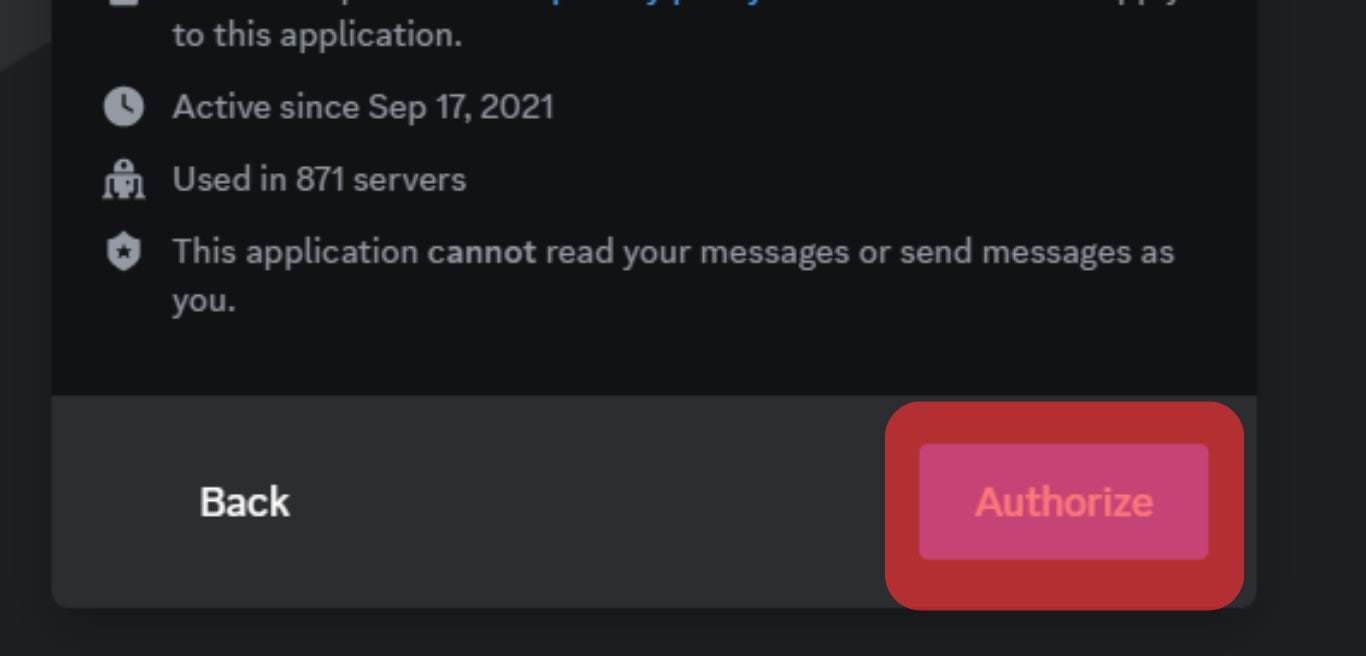
- A list of permissions the Ticket Tool bot requires will appear. Grant it all these permissions by clicking the “Authorize” button.
- Open your Discord app.
- Access the server you selected earlier.
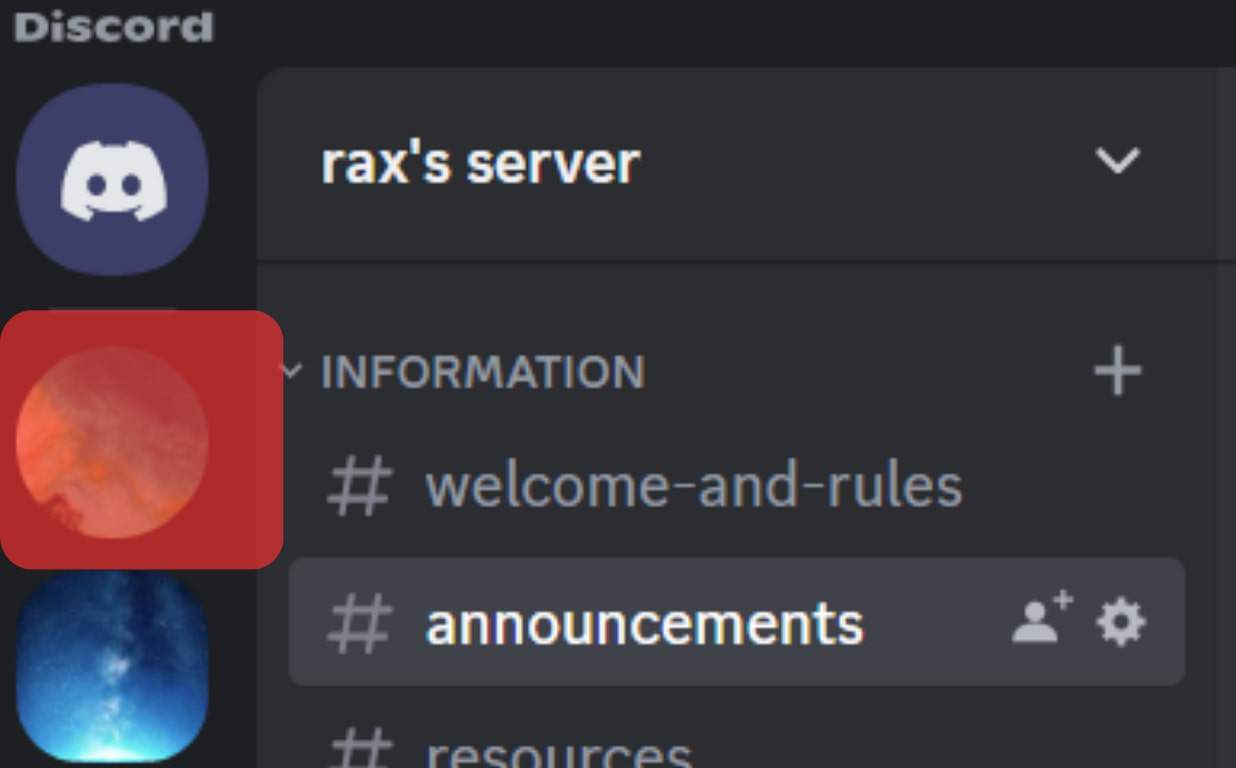
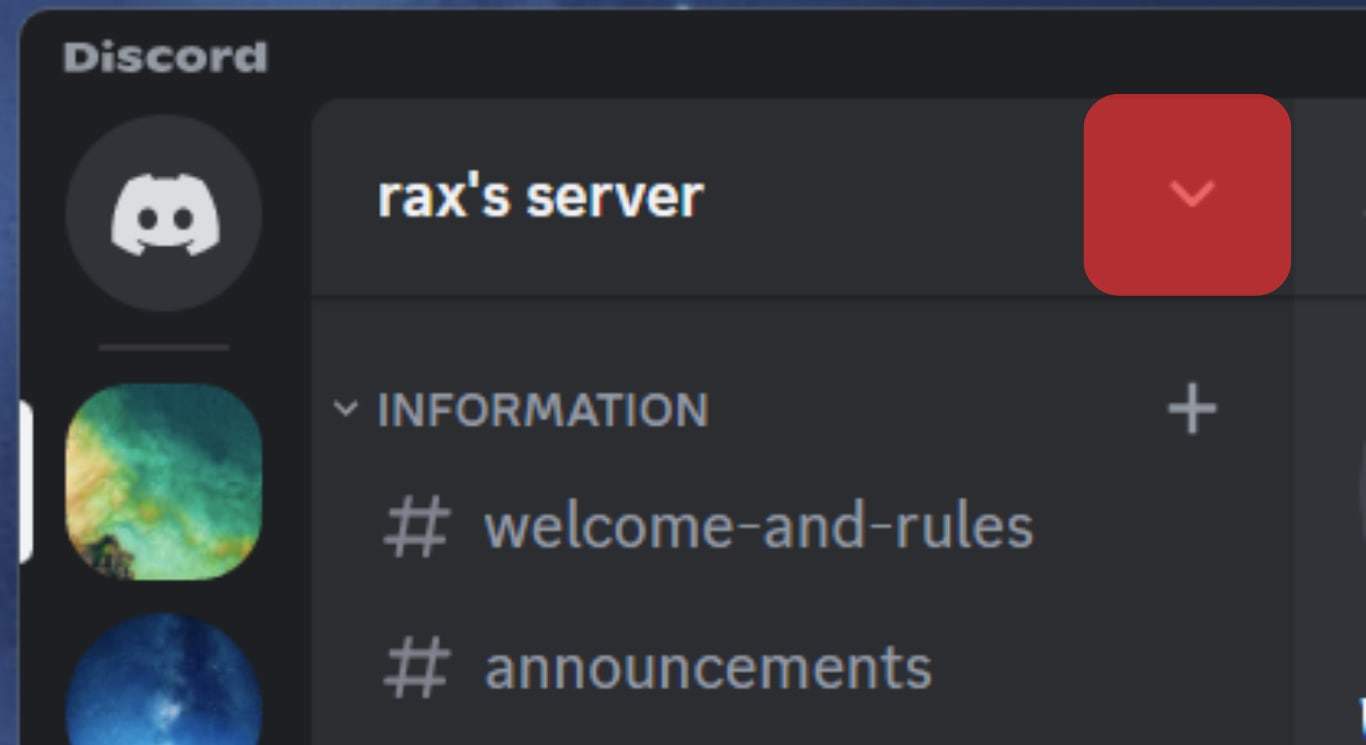
- Click the down arrow at the top, next to a server name.
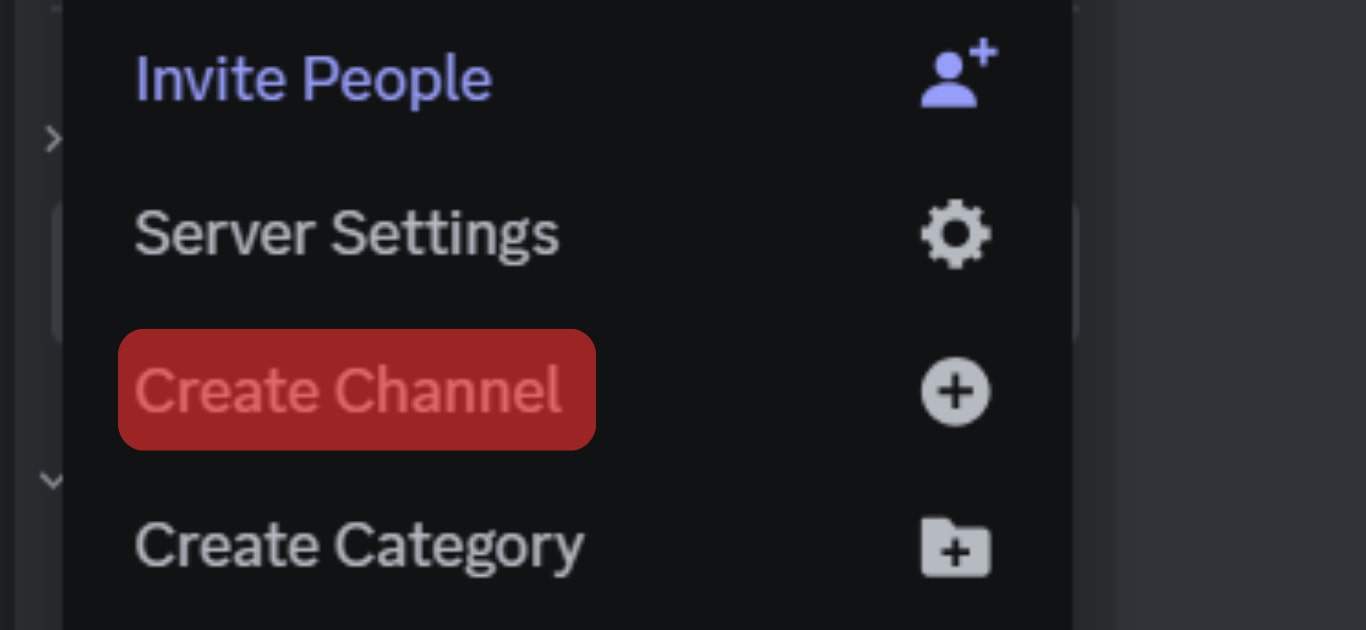
- Select the “Create Channel” option.
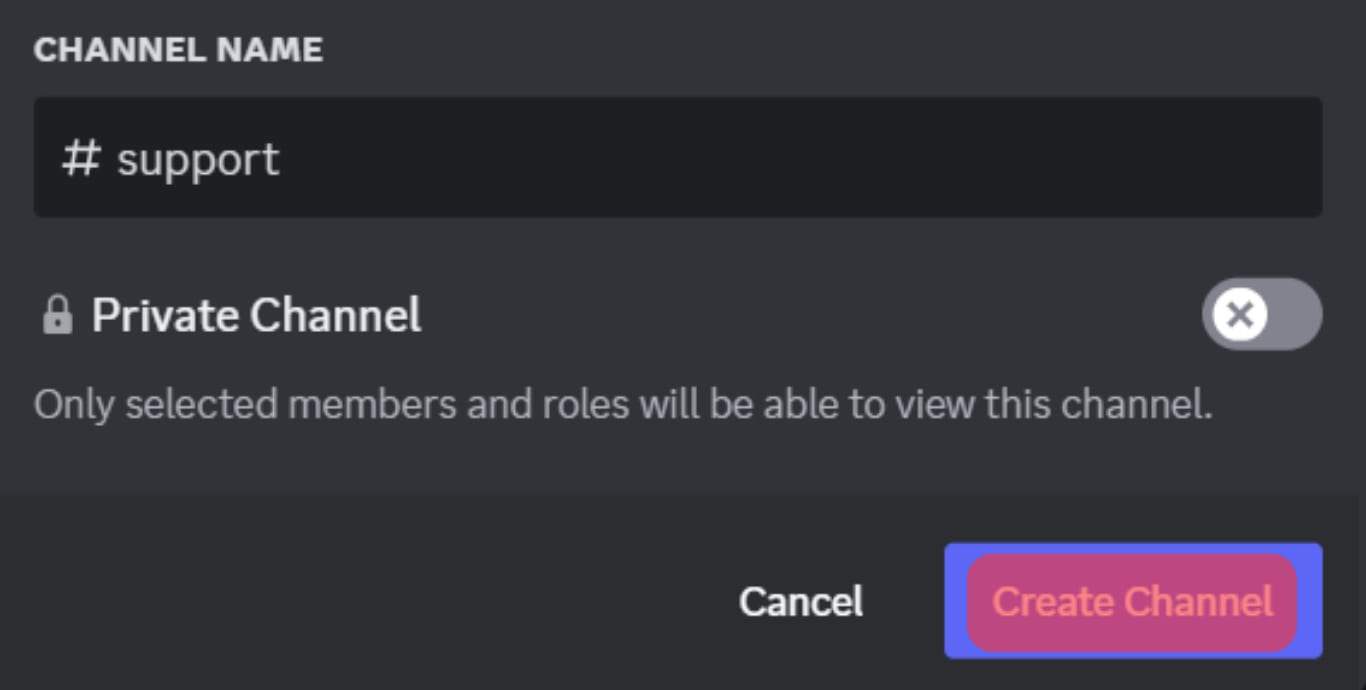
- In the pop-up, set your channel as a text channel, add its name, and click the “Create Channel” button.
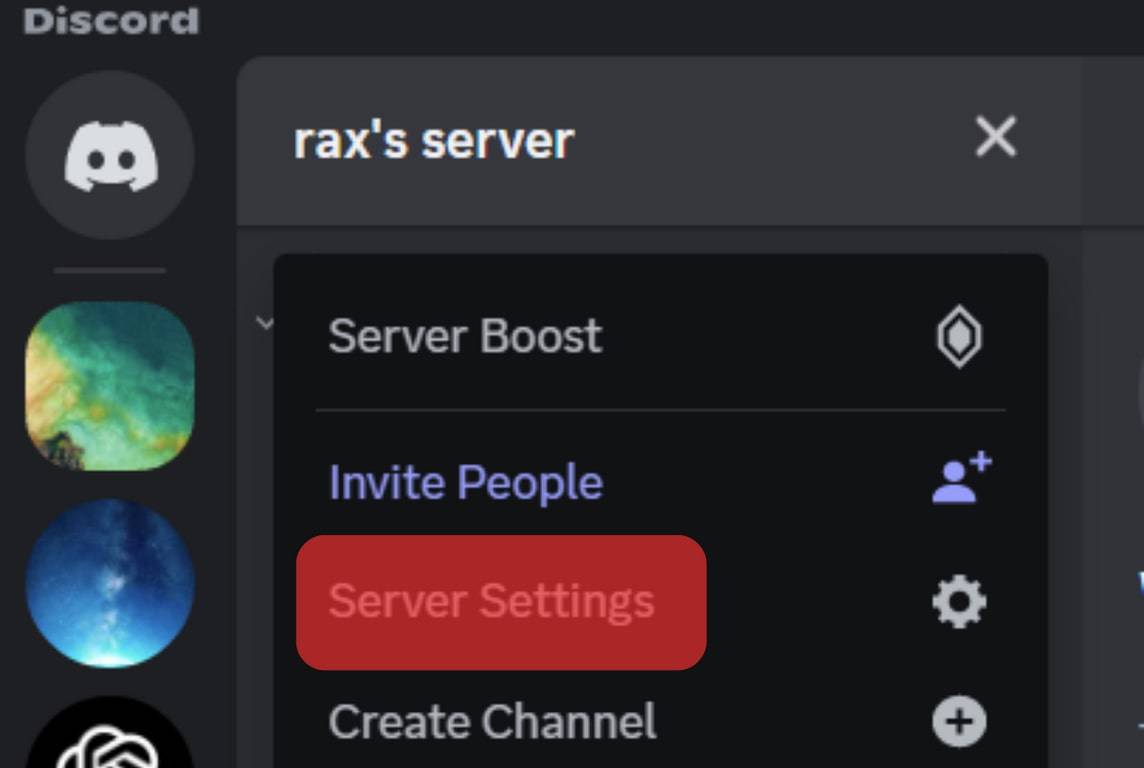
- Access the “Server Settings” page.
- Click on the “Roles“ tab.
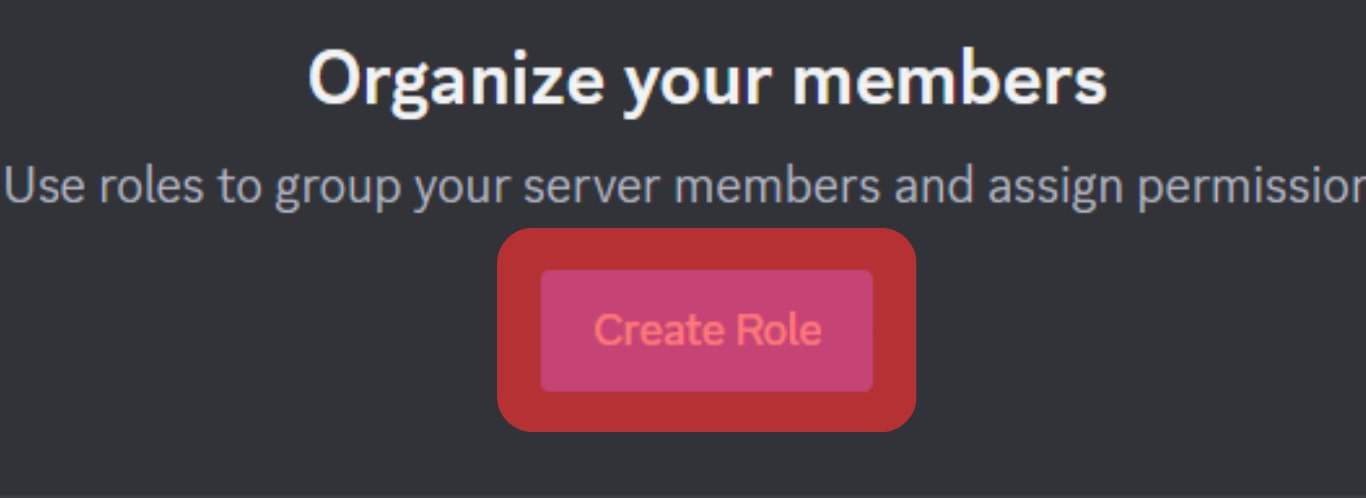
- Click on the “Create Role” button and create a Support role.
- Go back to the Ticket Tool website.

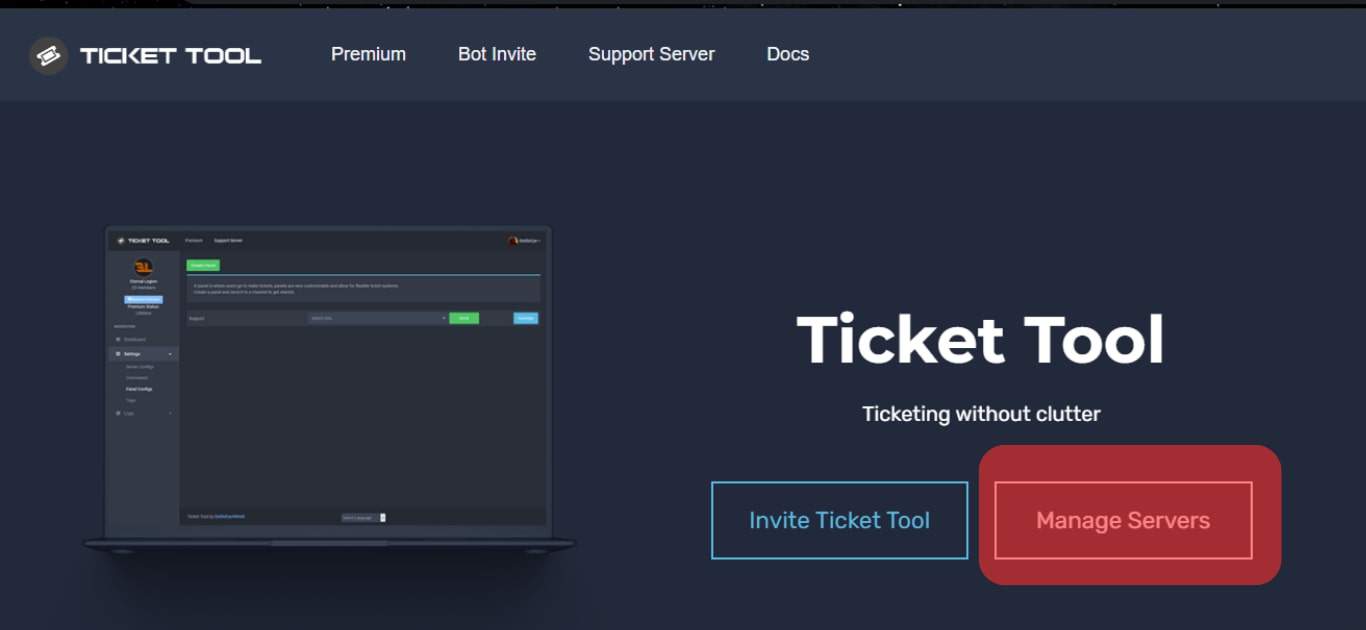
- Click the “Manage Servers” option.
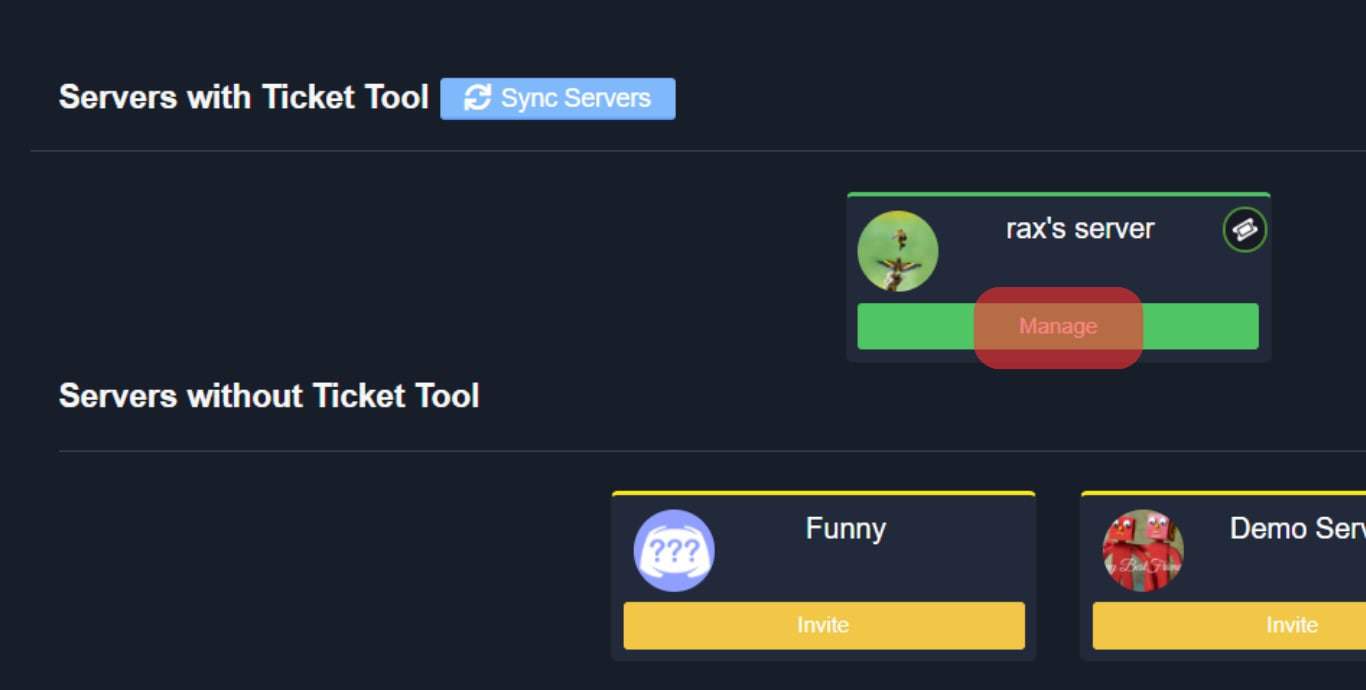
- Locate your server and click the “Manage” button below it.
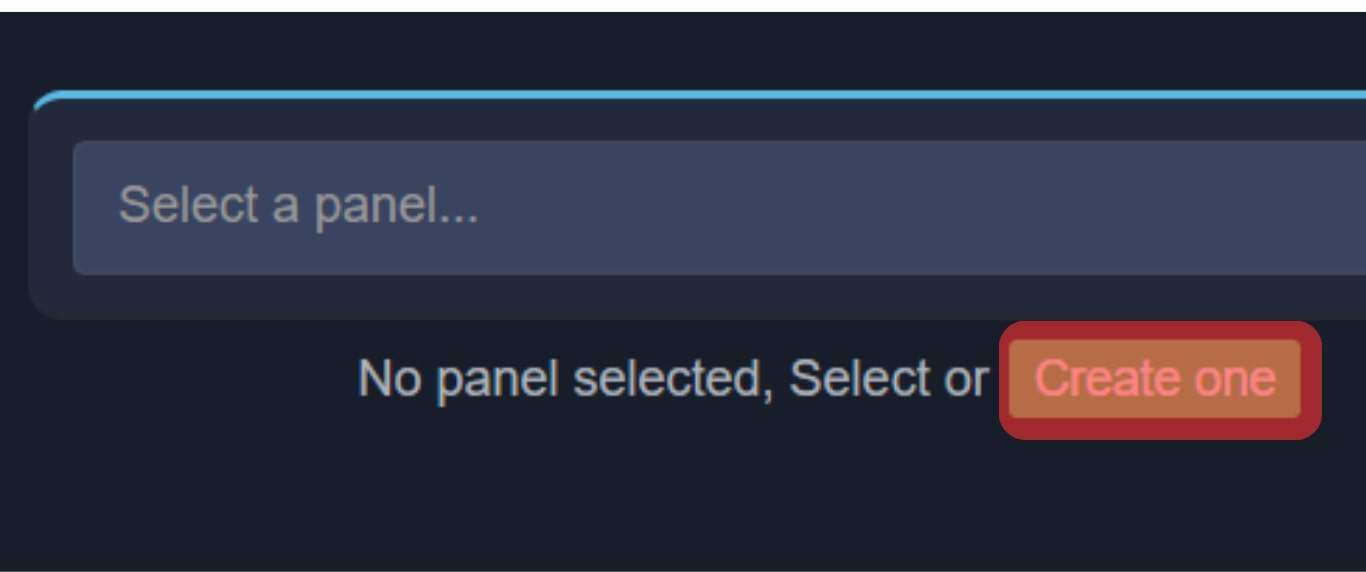
- Once the dashboard opens, open the Panel Configs tab and Click the “Create One” option (a green button with a plus icon).
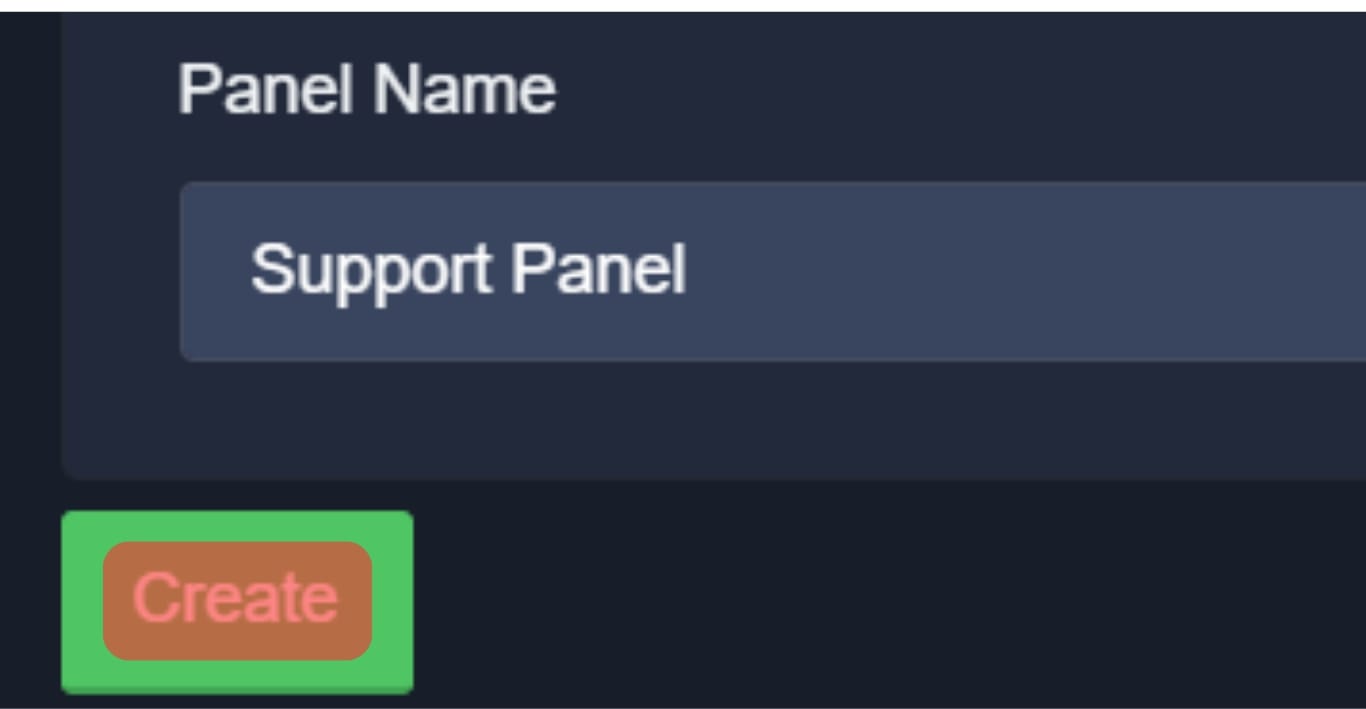
- On the window that will appear, add a name for the panel and click the “Create Panel” button.
- Select the role you created earlier, select a channel for the ticket system, and save changes.
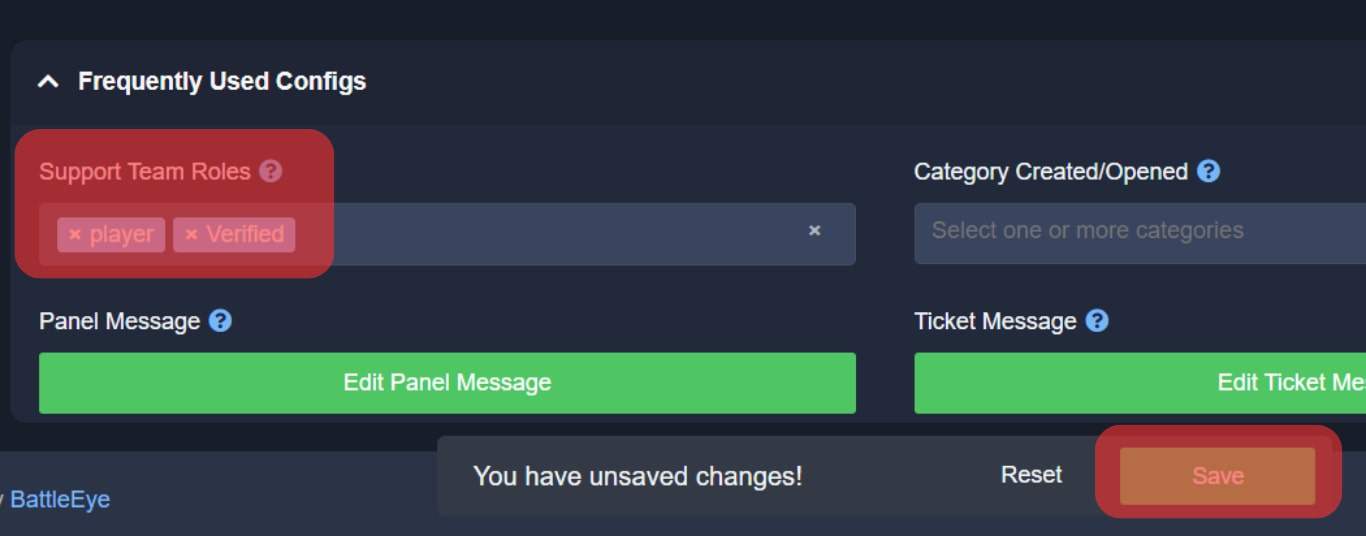
Your ticket system is ready for use, and members can open tickets.
How To Open a Ticket on Discord
Below is the guide to opening a ticket on Discord.
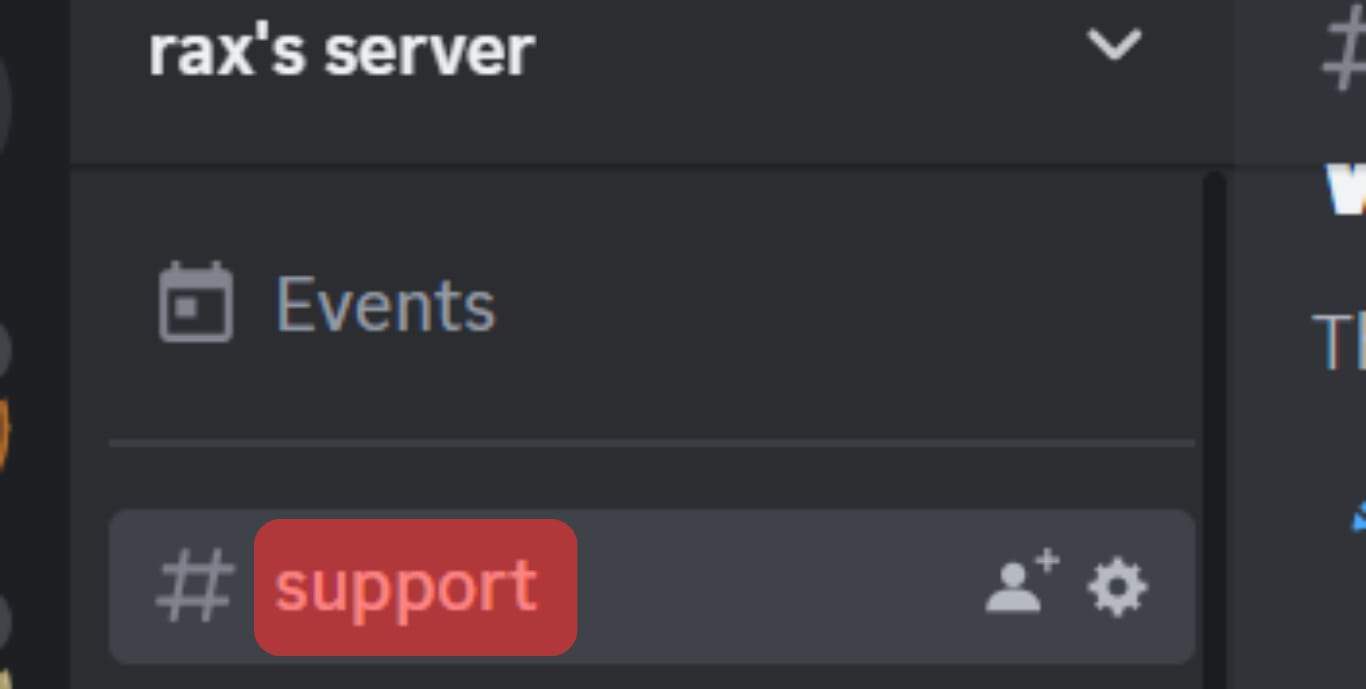
- In the server where the Ticket Tool bot has been added, click the support channel created for handling tickets.
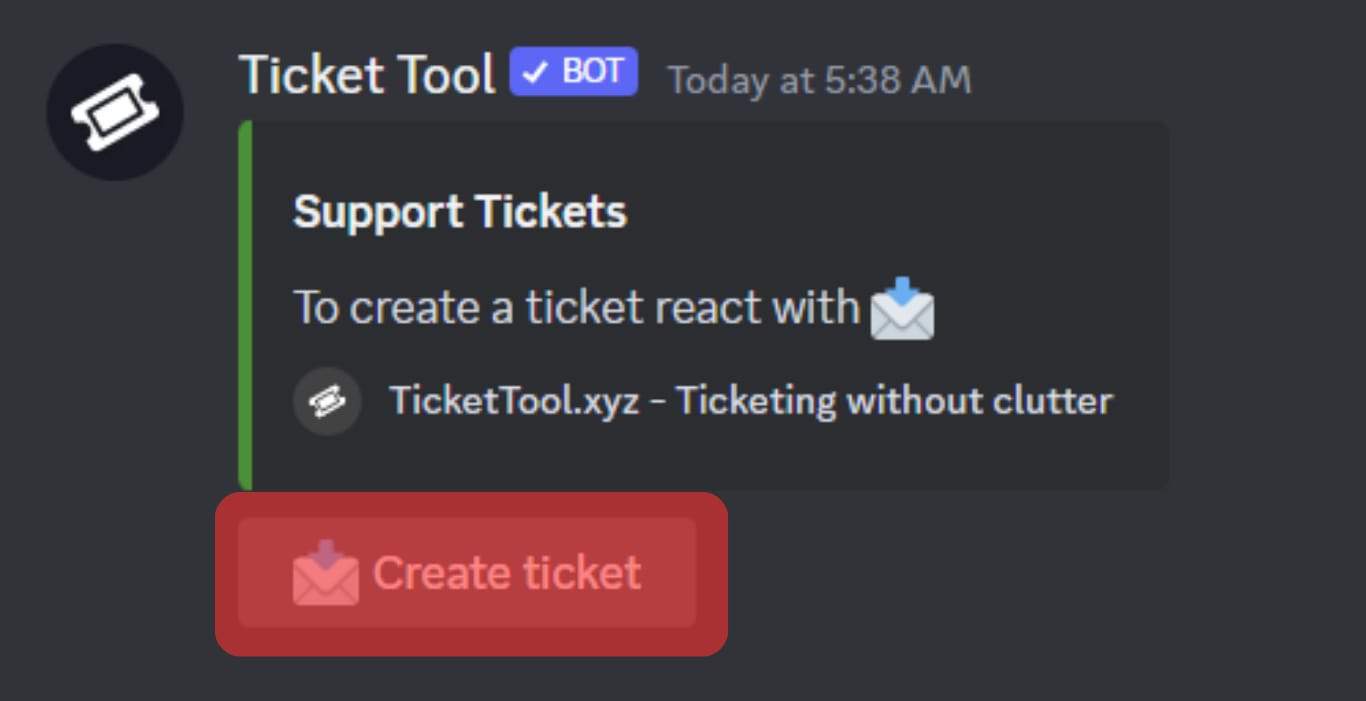
- Inside the channel, click the “Create Ticket” button.
- Once the bot replies with the ticket number, click on this number.
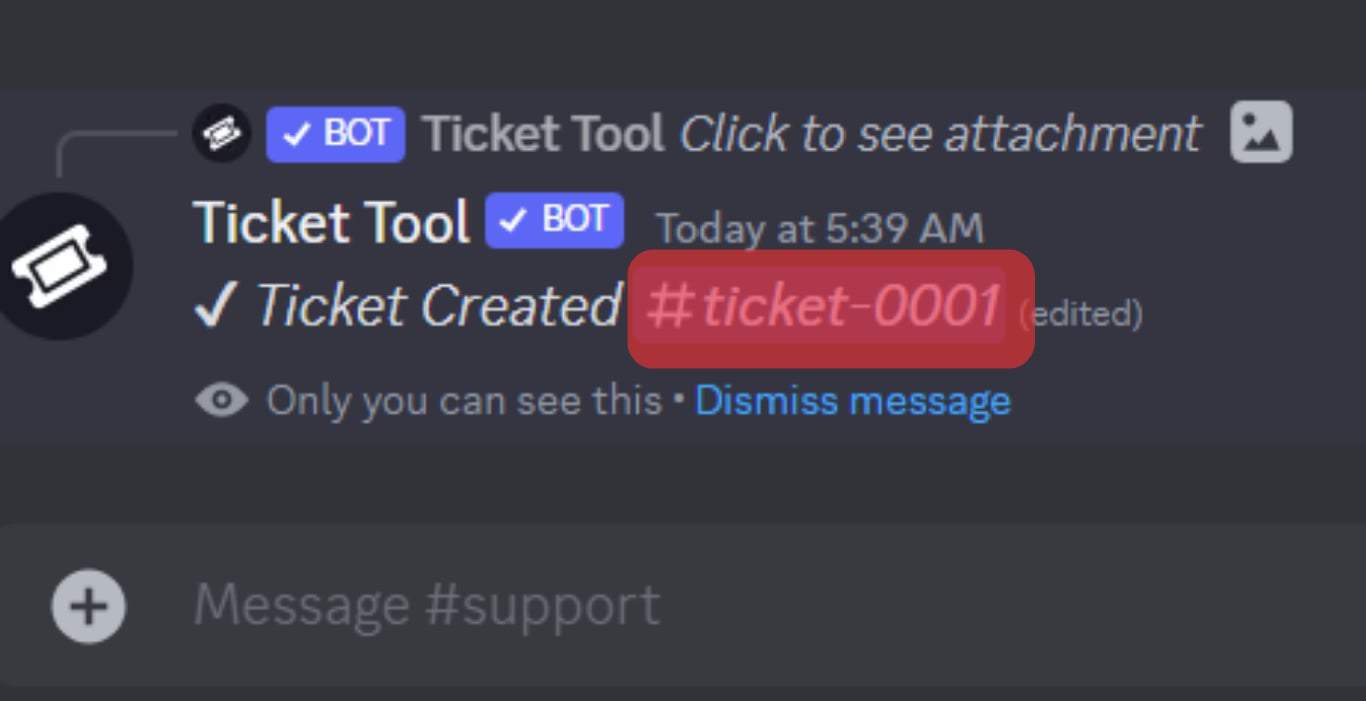
- Type your issue and wait for the moderator to join the channel and respond.
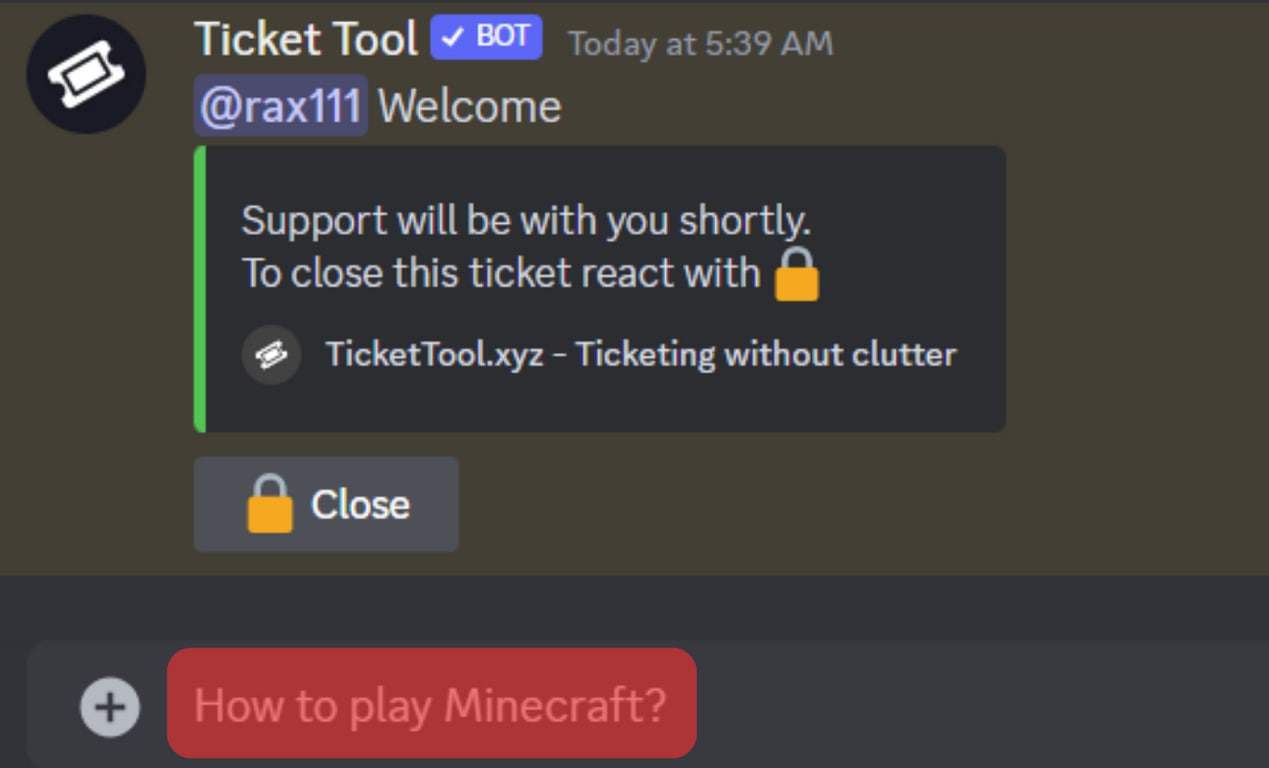
Once the issue is handled, you can close the ticket.
Conclusion
Creating a ticket system on Discord is easy. We’ve detailed all the steps, including opening a Discord ticket.

