Social media has changed our lives in every conceivable way! Before its arrival, we over-relied on texts to share pretty much everything: our thoughts, feelings, emotions, ideas, stories, etc.
Today, images, videos, and emojis have redefined how we communicate with others. On Facebook, people generally want to share their best pictures and photos, something like a sweet memory from their favorite bakery.
Or the months of hard work you put in to lose that extra weight and it finally paid off. For whatever reason you want to upload a profile picture on Facebook, you probably want to upload it in full size and don’t want to crop it.
When you are full of enthusiasm to upload a new profile picture, you don’t want to find out that you cannot upload the whole picture unless you crop it. What a heartbreak that would be!
This issue has led to numerous complaints by users who rightfully feel frustrated at having to crop their pictures. With such frustrated Facebook users in mind, we will share a couple of methods you can use to upload a full profile picture without the need to crop.
By the way, the Facebook user experience is not the same for everyone! Did you know that?
How To Upload a Facebook Profile Picture Without Cropping
To enhance your Facebook user experience, especially when uploading full pictures to your profile, we have decided to show you not one but three ways around that problem. Ultimately, our goal is to ensure that you upload your new profile picture without losing any part of it.
Method #1
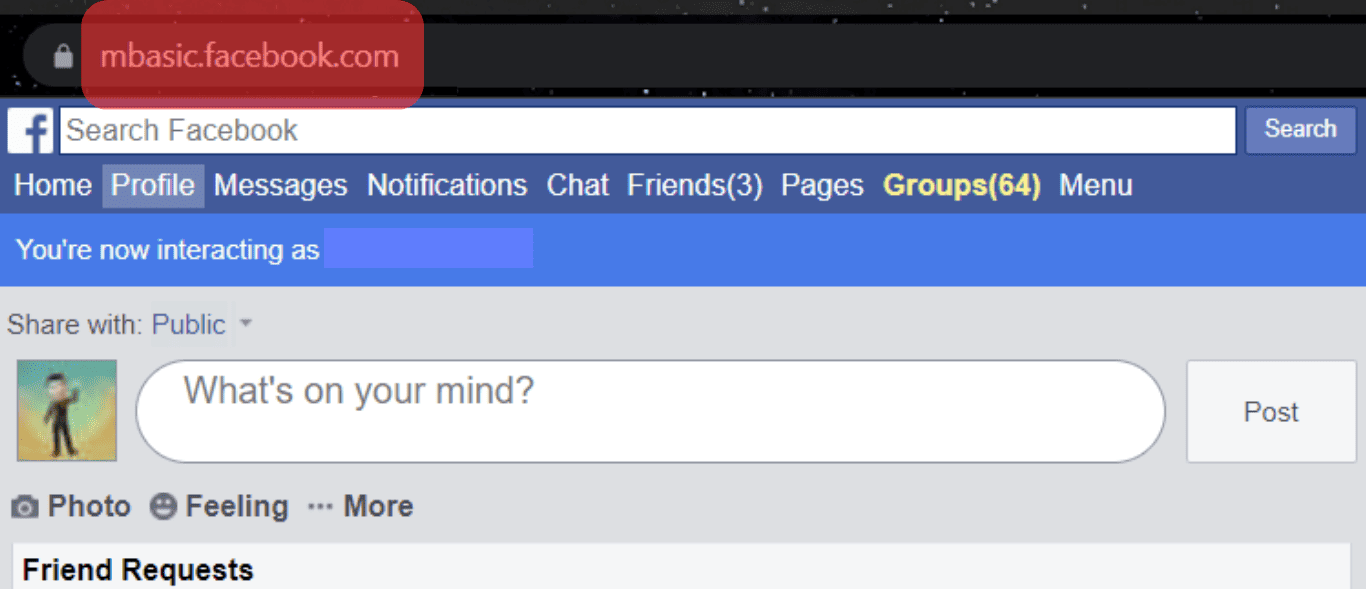
When you visit your Facebook page, the URL you most likely use is www.facebook.com. Well, for this tutorial, we recommend that you change the URL to mbasic.facebook.com.
- Navigate to mbasic.facebook.com and log in.
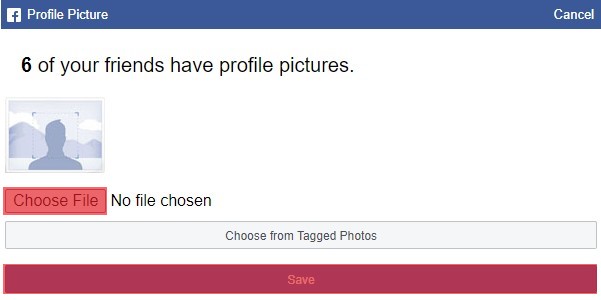
- Click on your existing profile picture.
- Click on the Choose File prompt and select the photo you want to use as your new profile picture. If it’s done, click Save.
Refresh your Facebook page, and there you go! Your new profile picture is exactly as you want it – uncropped!
Method #2
This second method is more or less similar to the first one, although with minor modifications.
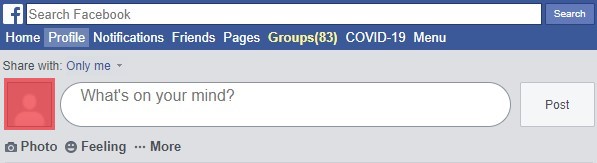
- Once you have logged into your Facebook app, go to your photo upload section by clicking the Photo option.

- You should be able to see an open file explorer window. Select the image you want to use as your new profile picture.
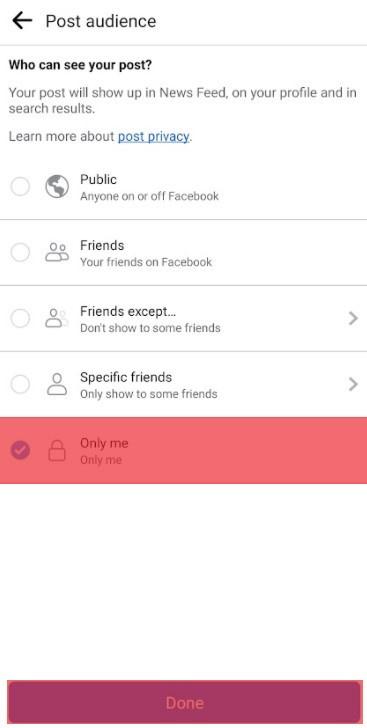
- Changing the privacy setting to Only Me may also be necessary. This means that only you can see the photo before you post it as your new profile picture. To do this, click privacy options.

- Choose Only Me and click Done.
- Now, everything should be fine and just click Post.

- When you are satisfied with the picture and its quality, open your web browser, go to facebook.com and log into your account.

- Go to your profile by clicking on your current profile picture.

- Scroll down til your uploaded picture. Open the picture by clicking on it.
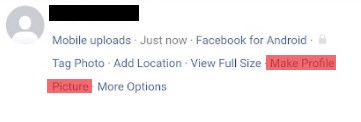
- Now you should see options under your photo, click Make Profile Picture.
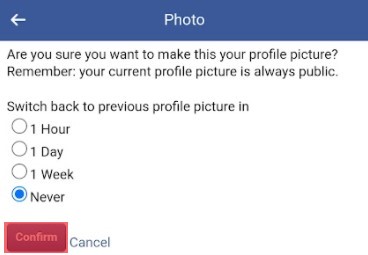
- Facebook now wants to know, if you want to switch back to the previous profile picture in some time. If you don’t want to switch back, select “Never” and click “Confirm”.
Refresh your Facebook page and you should see your new Facebook profile picture in full-length.
Method #3
This third method is a bit more lengthy, but it gets you the same result. So without much ado, here’s how to go about it.
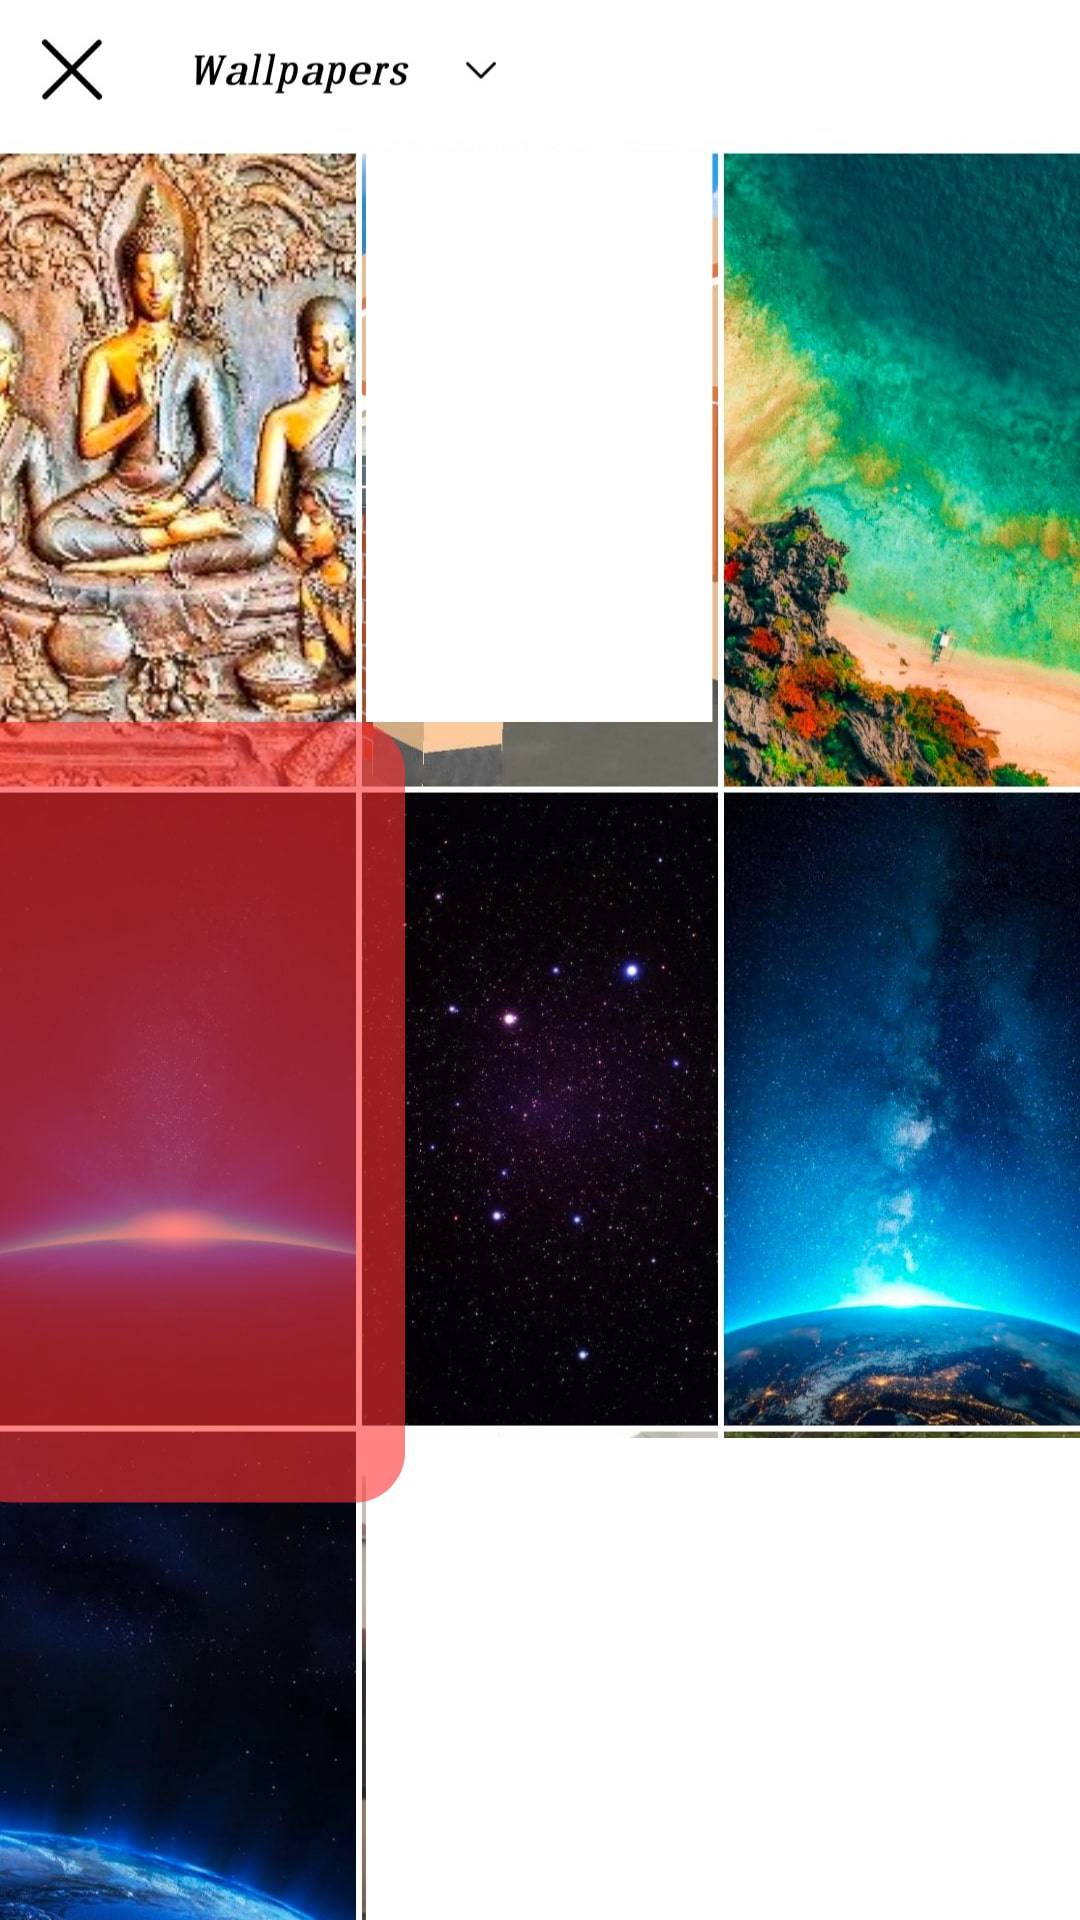
- Go to your phone photo gallery and select the full-length picture you want to use as your new profile photo.
- Tap on “Share”.

- Select Facebook News Feed. But if you have only the Facebook option, select it and follow our next step, otherwise, you can skip only the next step.
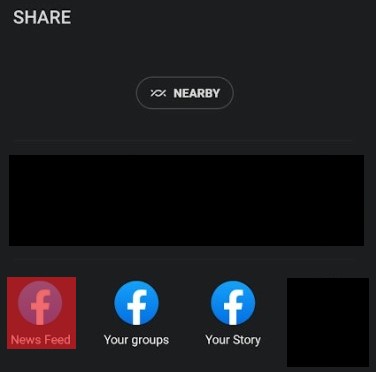
- Once the picture is exported to Facebook, you will see “Choose Where to Share”, and select “News Feed”.

- Check privacy settings, if it’s something other than “Only Me”, then you have to change it. Otherwise, you can continue from step 7. Click on privacy settings.
- Ensure that your privacy settings are set to “Only Me”, then click “Done”.
- Click “Post” on the top right corner. You have now shared the picture on Facebook, which only you are able to see.
- Refresh your Facebook page. You should be able to see the newly shared picture in the Feed section.
- Open a web browser, go to facebook.com and log in to your Facebook page.
- Scroll downwards and find the picture in the Feed section. Click on the photo. This should open several options on what to do with the photo.
- Select the “Make Profile Picture” option.
- Facebook will then ask whether you intend to switch back to the previous profile picture. Select “Never” and click “Confirm”.
Refresh your Facebook page and you should see that your full profile picture has been uploaded successfully.
On your timeline, scroll down to the picture you uploaded before and delete it, then it features only as your profile picture.
Conclusion
That’s it! You have three methods of uploading a full-length profile picture to your Facebook page. Choose the option that looks easiest to you and try it out.
No more worries about having to crop out parts of your favorite photos!