When you have a Discord server, you need a way to moderate the server, including managing user queries.
Although admins can respond to queries, they can easily miss questions asked as text in the server due to the many messages shared.
However, Discord has different bots that you can use.
One of the available bots will help you create a ticket system, where any queries raised can be handled as a ticket and closed when solved.
So, how can you make a ticket system on Discord?
To create a ticket system in Discord, visit the Ticket Tool website and log in. Once logged in, click the “Invite Ticket Tool” button and proceed to add the bot to your server. Once you have the bot in your server, create a support channel for users to raise their queries as tickets. Once you create the ticket system for your Discord server, server members can click the “Create ticket” button and submit their tickets. The admins will open the ticket, handle the query, and close the ticket.
This guide discusses a ticket system in Discord. We will see how to add the bot to our server and create a ticket channel to set up the ticket system. Still, we will mention how the ticket system works in Discord.
Can You Create a Discord Ticket System?
When you create a Discord server, members often have different queries they need answers to.
For instance, if your server is about an NFT project, you expect to have multiple questions as people try to get comfortable with your project.
When you create server admins, one of their tasks is to respond to user queries. Responding to these queries is challenging, especially since the questions are posted as messages.
Most queries will be missed due to the influx of messages in the server. A better way is to create a ticket system.
With a ticket system, members can post their queries as a ticket. The admins can then open the ticket, respond to it, and close it.
How To Make a Ticket System in Discord
We must use the Ticket Tool bot to make the ticket system in Discord.
Let’s begin:
- Open your browser and visit the Ticket Tool website.
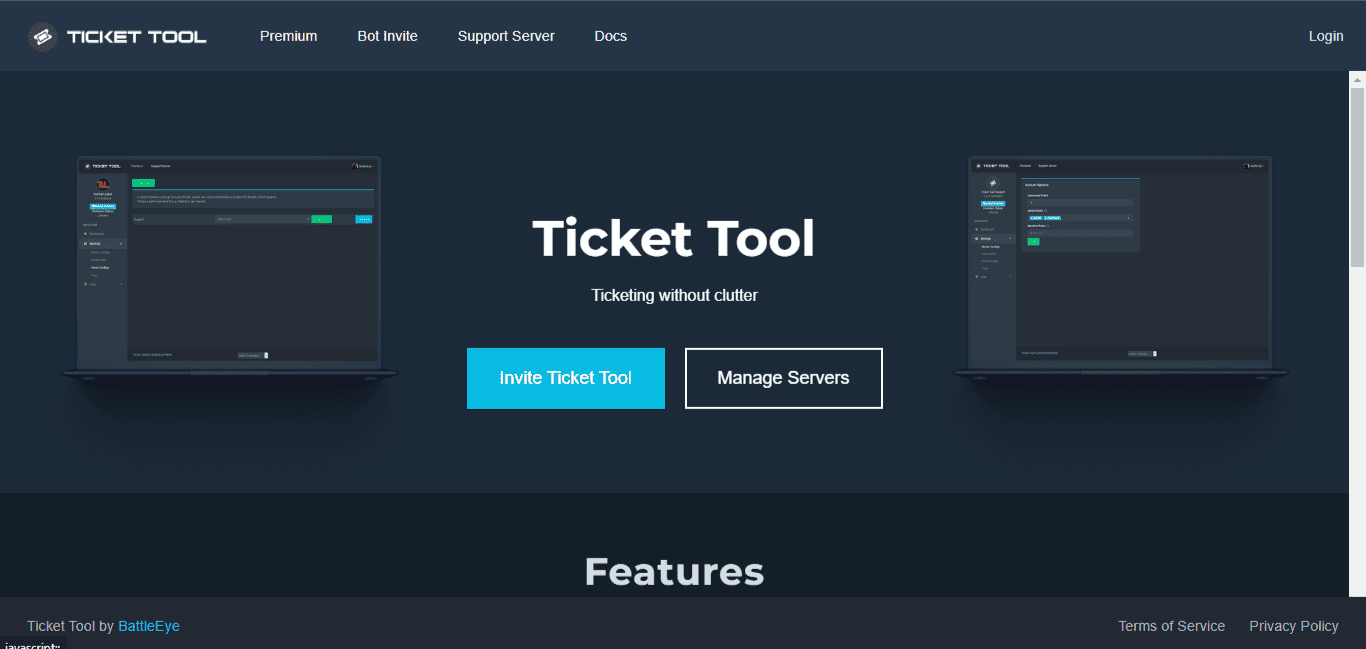
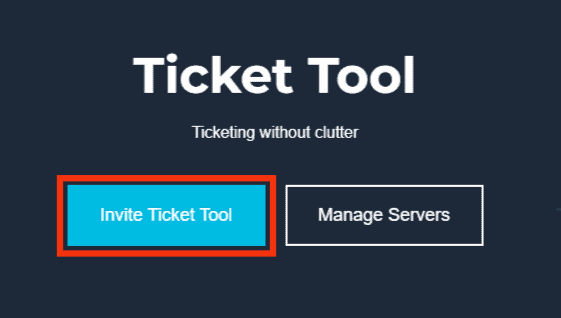
- Click the “Invite Ticket Tool“ button on the homepage.
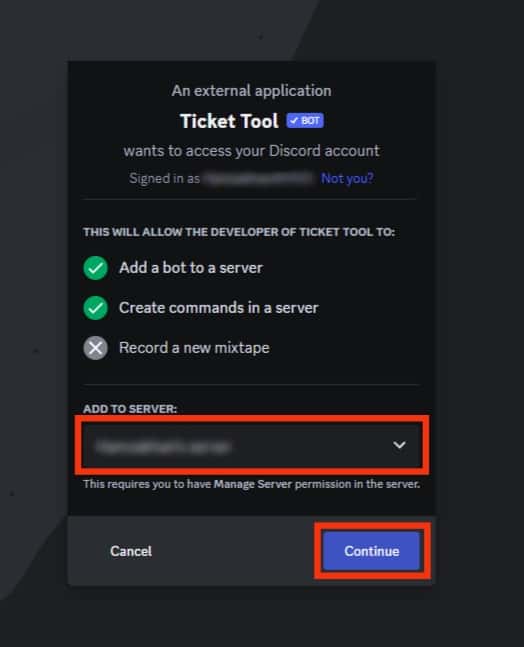
- Select your Discord server and click the “Continue“ button.
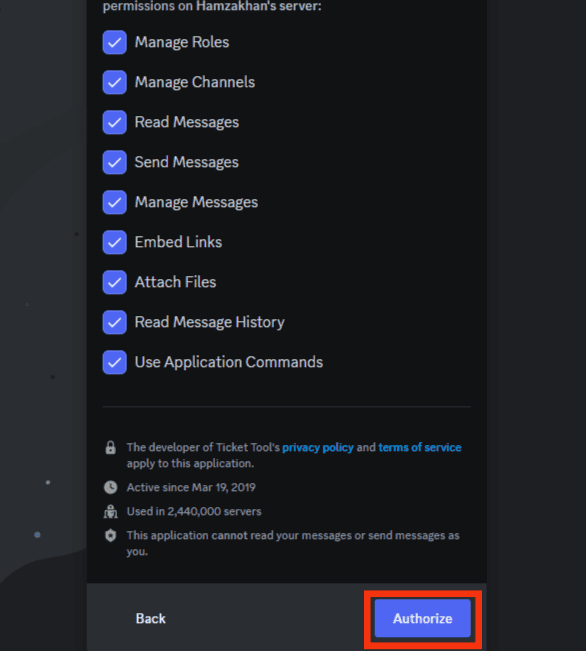
- The bot’s permissions will appear. Click the “Authorize“ button at the bottom.
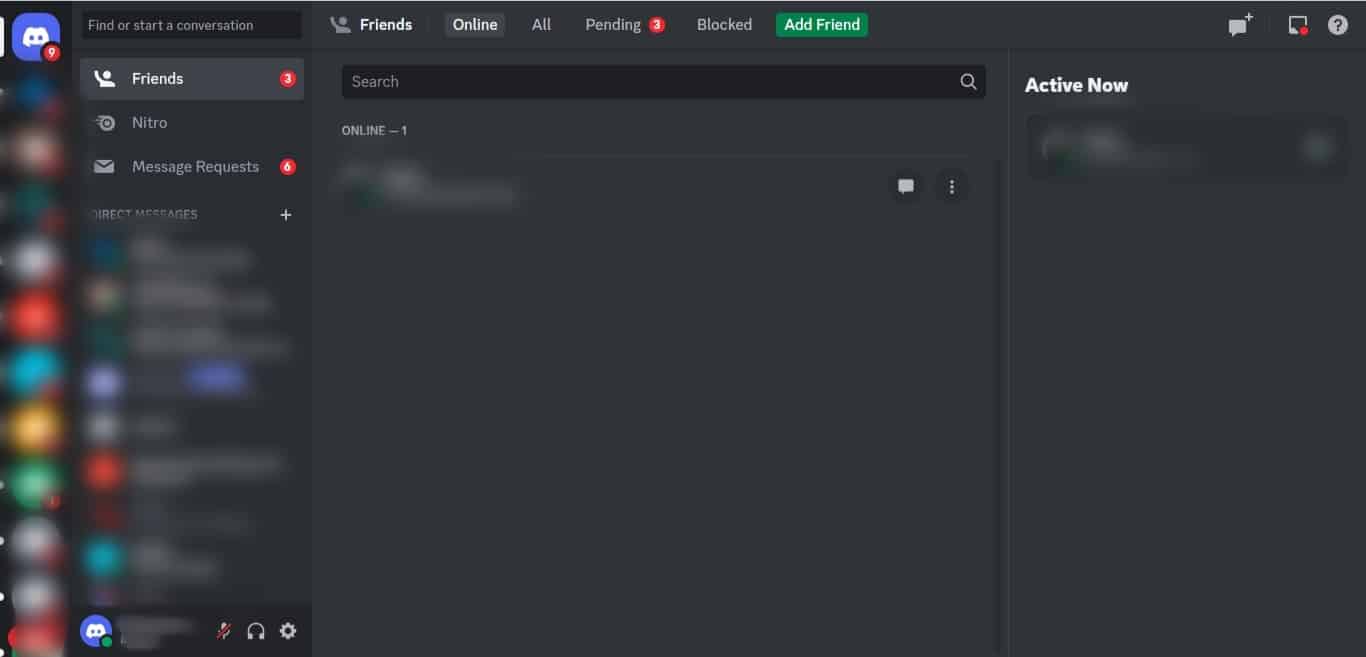
- Open the Discord application.
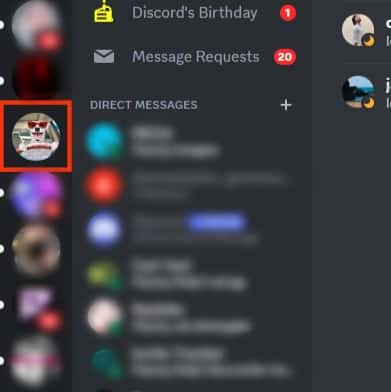
- Click on the server where we added the bot.
- Click the create channel option.
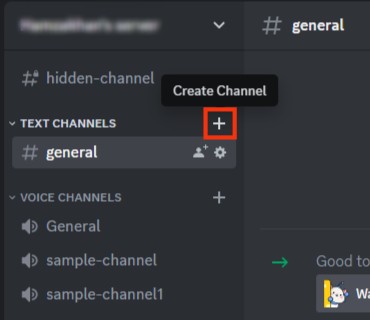
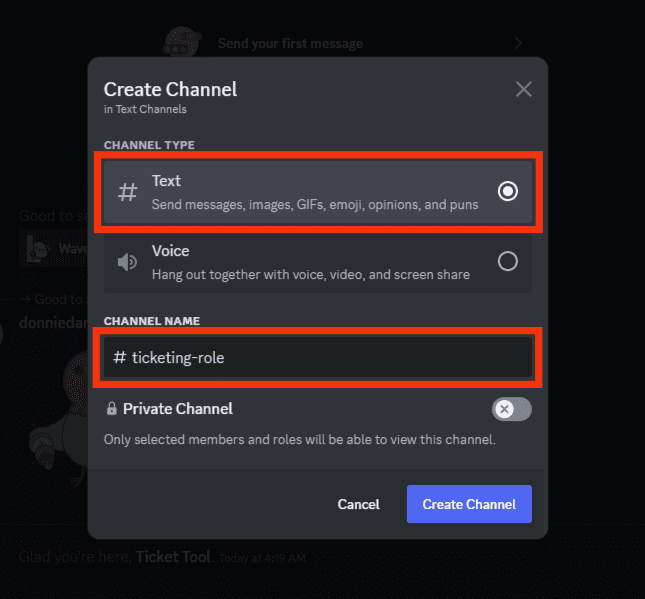
- Add the channel’s name and ensure it is a text channel.
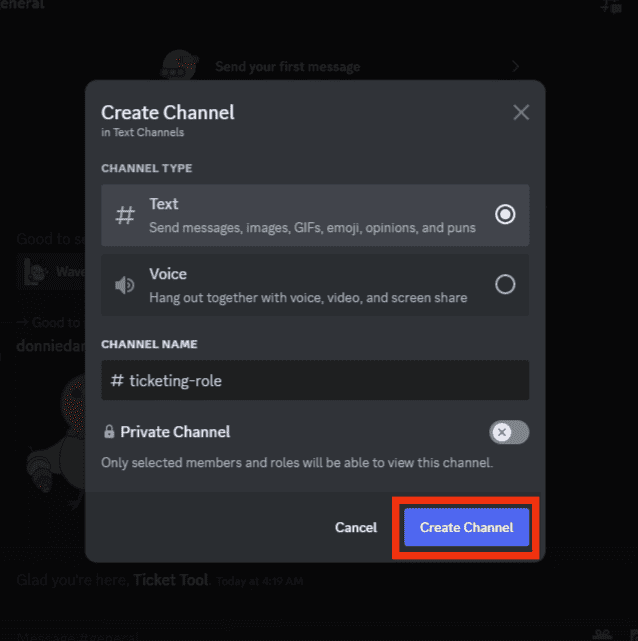
- Click the “Create Channel“ button at the bottom.
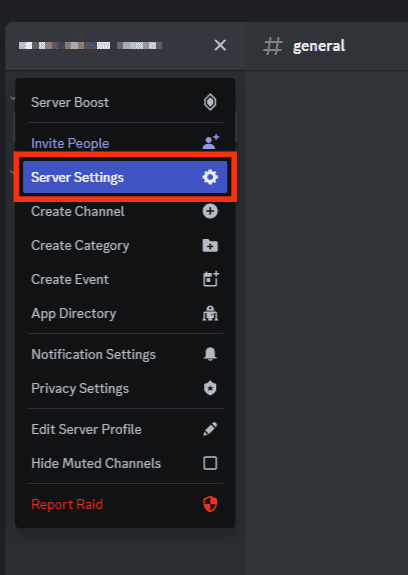
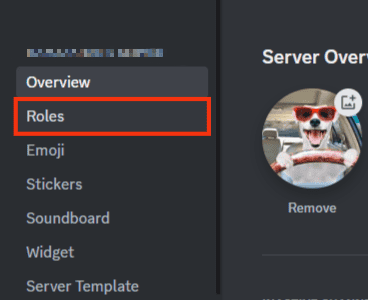
- Again, click the server’s name and open “Server Settings.”
- Open the “Roles” tab.
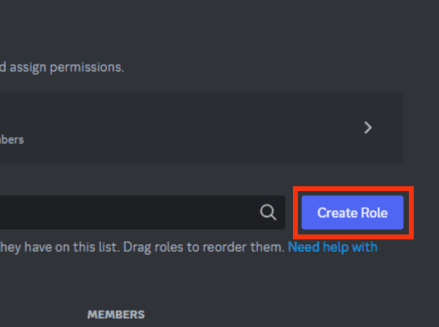
- Click the “Create Role“ button.
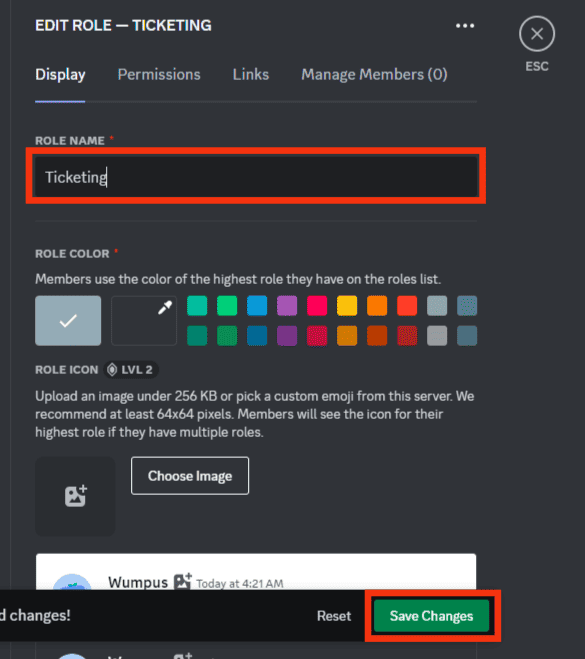
- Add the Role’s name and click the “Save Changes“ button.
- Go back to the Ticket Tool website.

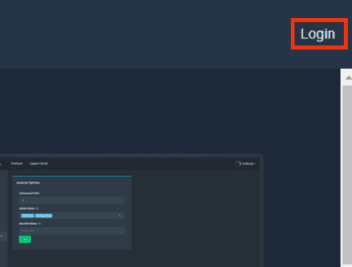
- Click the “Login“ button at the top right and use your Discord credentials to log in.
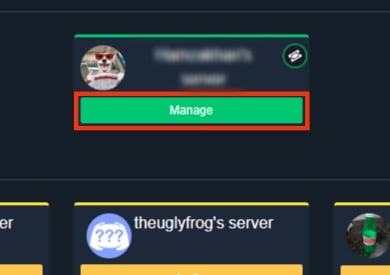
- Once you see your Discord server, click the “Manage“ button below to open its dashboard. If you don’t see it after login, click the “Manage Servers“ button.
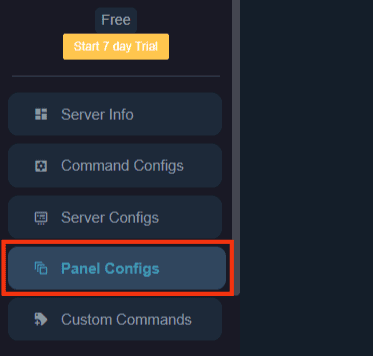
- Click the “Panel Configs“ option on the dashboard at the bottom left.
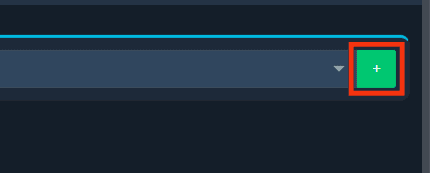
- Click the “+“ option on the right.
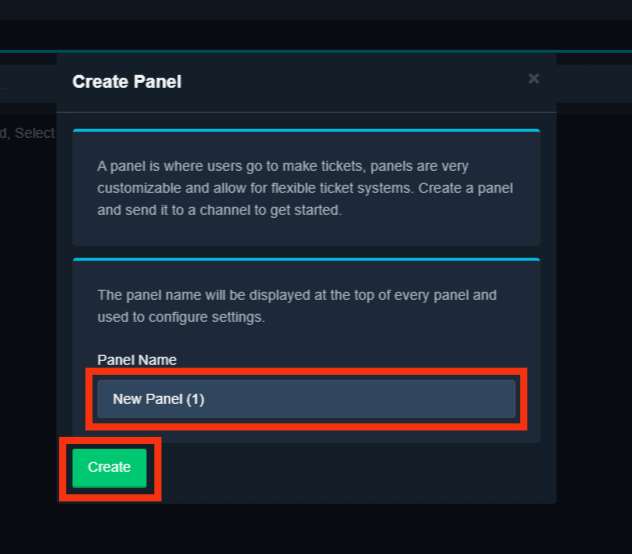
- Name the panel and hit the “Create” button.
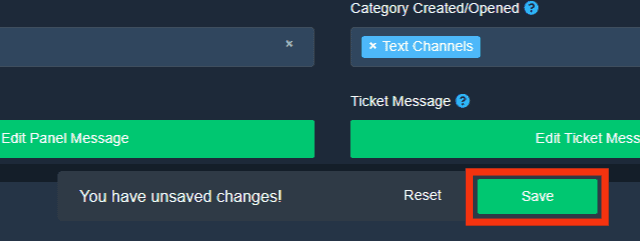
- In the new dashboard that appears, scroll down and select the Role we created earlier, and add a text channel.

- Save the changes.
You now have your Discord ticket system created in the particular Discord channel. Server members can now raise tickets based on their queries, and admins can conveniently respond.
On the support channel you created, server members can click the “Create Ticket“ button, and the bot will reply with the ticket number. Clicking on it will open the ticket channel, and the member can raise their query.
Your admins will see the newly created ticket, open it, respond to it, and close it.
Conclusion
Creating a ticket system on Discord offers a reliable way of managing user queries in your Discord server.
We’ve detailed the process of creating and using the ticket system in Discord.


