
Skype is an excellent video chat platform. It has different features to help individuals and businesses communicate with other people.
You may run into an error that forces you to clear the Skype cache when using Skype.
It could be you researched the problem online and saw one of the solutions requires you to clear your Skype cache but don’t know what steps to follow.
In that case, we got your back.
Different reasons call for you to clear your Skype for Business cache. You can clear this cache on your Windows or Mac. First, log out of your Skype, delete your sign-in details, and exit the application. For Windows, access the Skype folder by opening your file explorer to find the Skype folder. For Mac, you must also use the Finder program to access the /library folder and delete the relevant files associated with your Skype for Business.
We will understand the circumstances that make you want to clear the Skype cache. Later, we will cover the detailed steps for clearing the Skype cache on your Windows or Mac as a quick fix for your problems.
Why Clear Skype Cache?
Every application relies on its cache to enhance performance. The cache is a temporary storage for frequently accessed information, so it will be accessed quickly when the same information is required again.
Ideally, a cache is one way a program increases its speed and performance.
However, different circumstances can make you want to clear the existing cache. For the case of Skype, here are the common reasons.
- If you are getting an error when trying to log in to your Skype, yet you are entering the correct credentials, the cache could be corrupted.
- The cache is to blame if you use Skype for Lync, and its integration with Outlook is problematic.
- Clearing the cache will help extract updated contacts when your contacts are outdated.
- Some users also experience errors when searching for users in Skype for Lync. Such a case also requires you to clear the Skype cache.
If you are facing other issues with your Skype, it’s possible that they, too, can be fixed by clearing the cache. We will see the steps to follow in the next section.
How To Clear Skype Cache
All the files for your Skype are located on your computer. Thus, when you want to clear the cache files, you must access them locally on your Mac or Windows.
On Windows
For Windows, you can clear the cache files with these steps:
- Log out of your Skype.

- Click “Sign out and Forget.”

- Exit the Skype app.

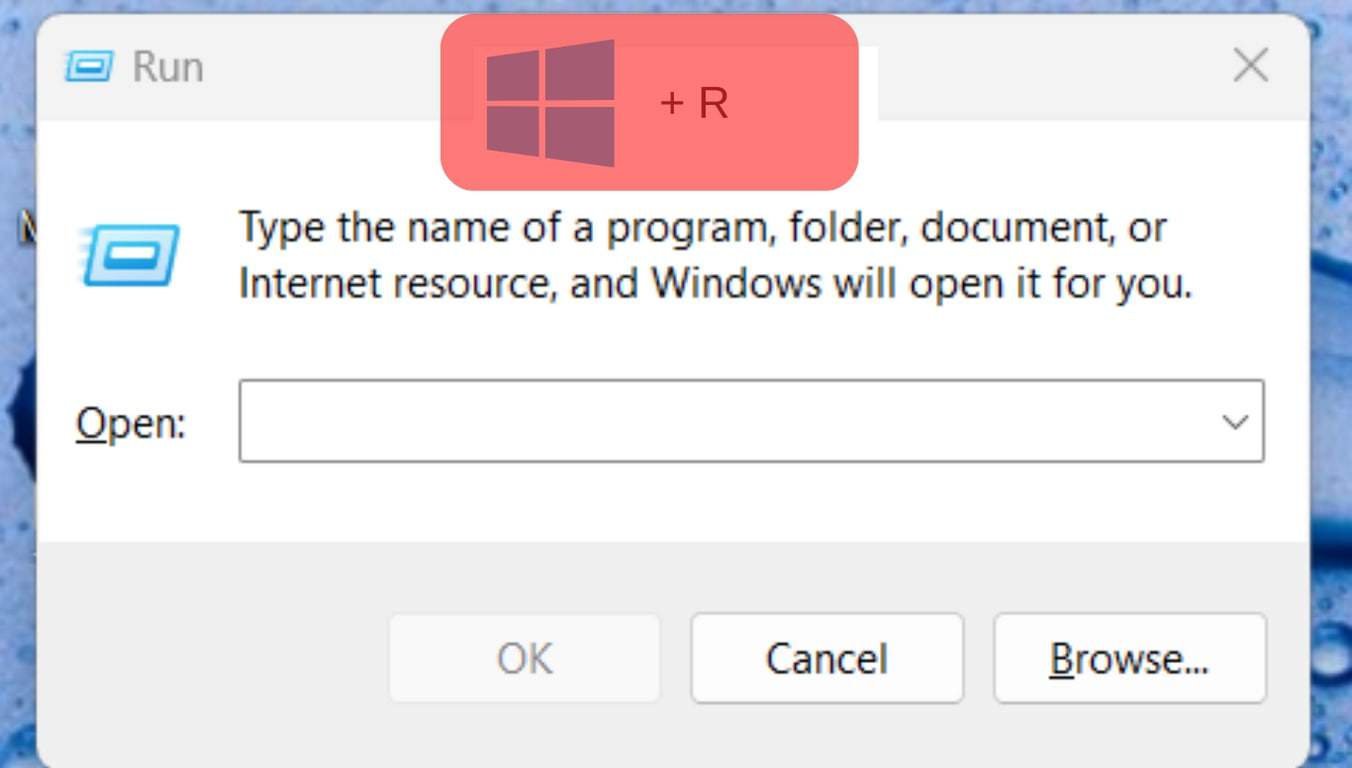
- Press the Start button on your keyboard and search for “Run.” Alternatively, press the “Window Key + R” keyboard keys simultaneously.
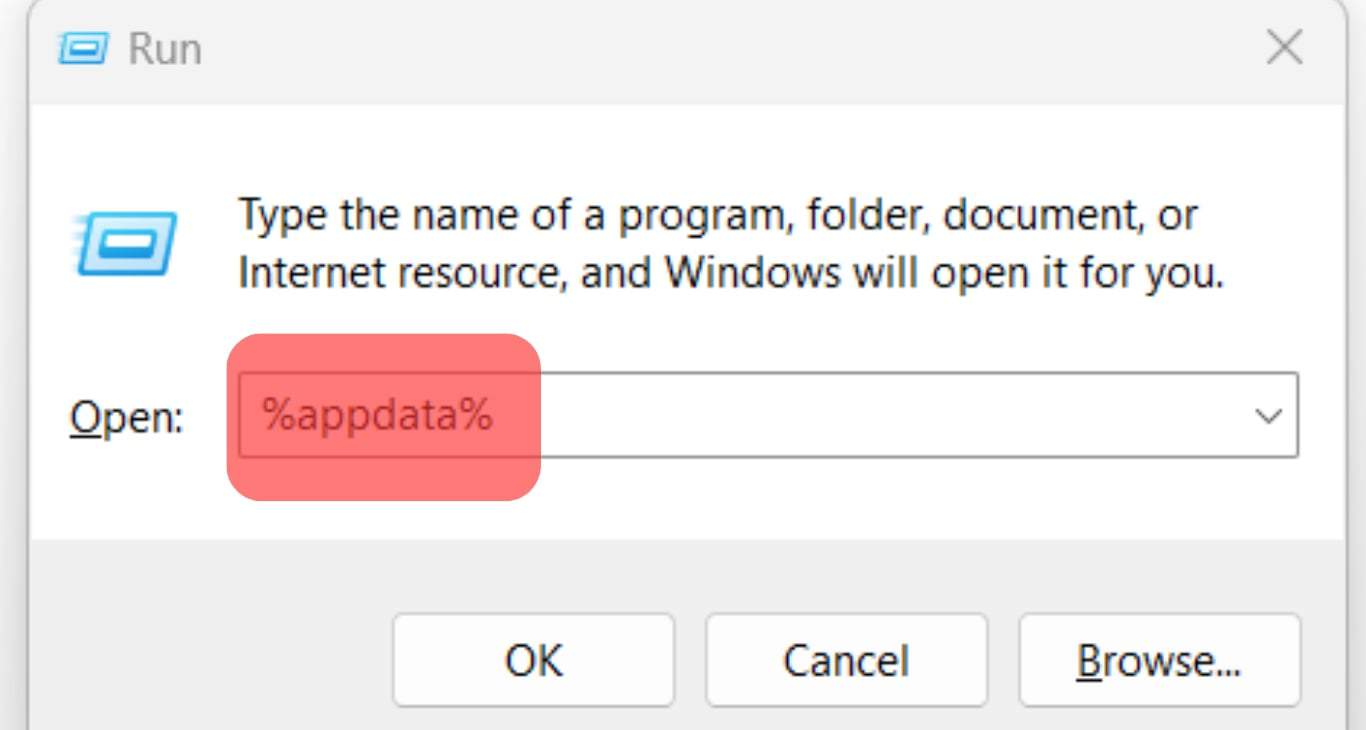
- Type “%appdata%” and click the “OK” button.
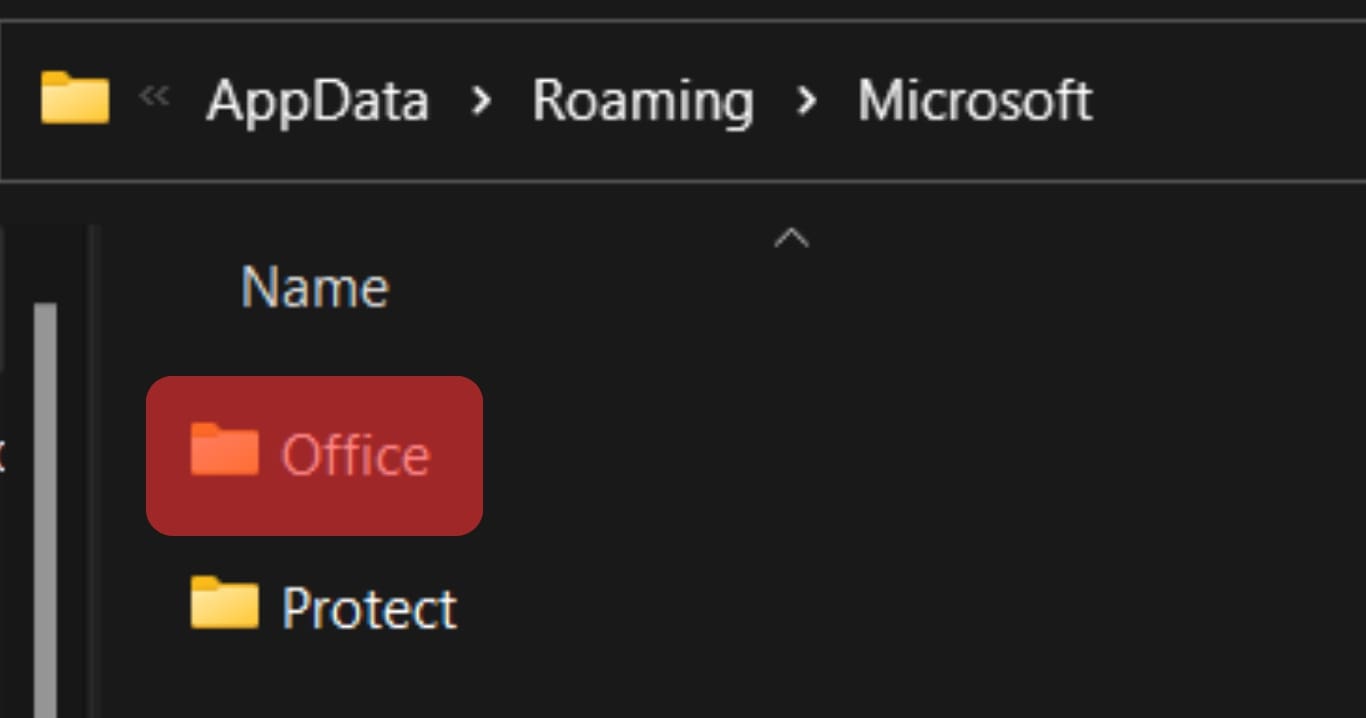
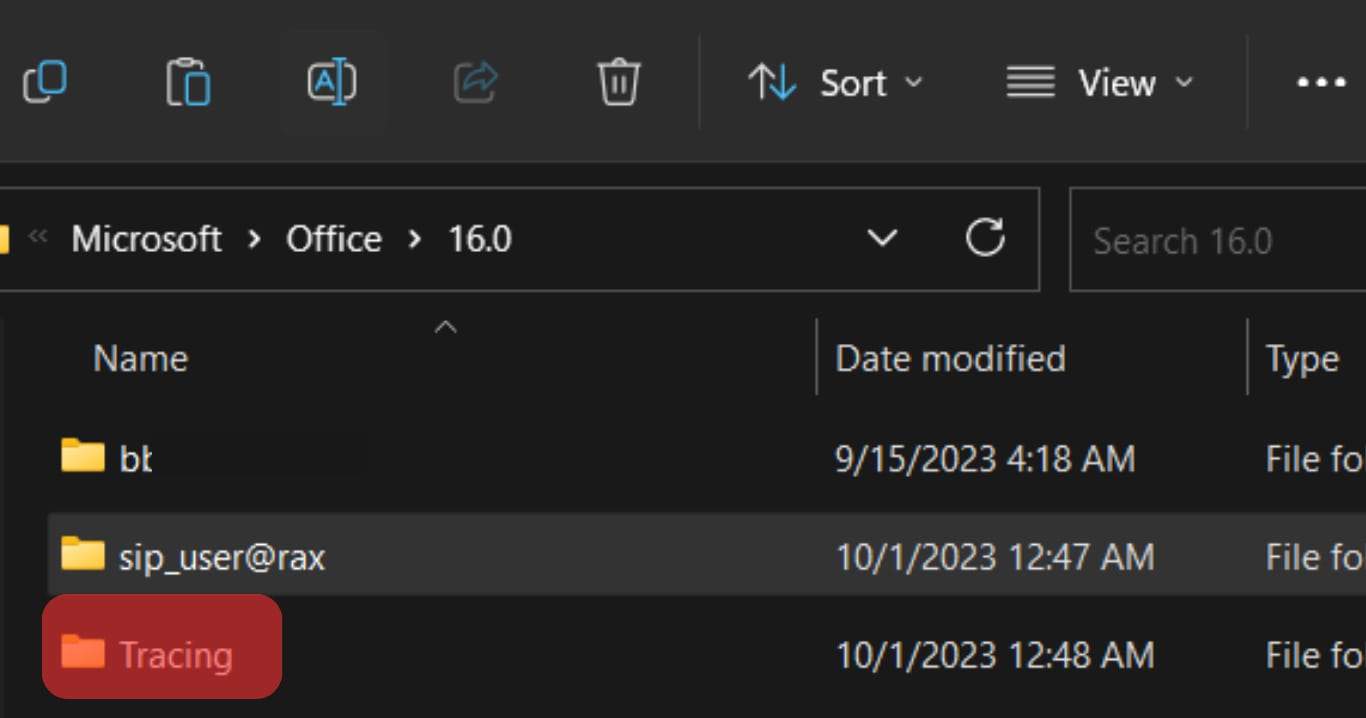
- Navigate to the “Microsoft” folder and the “Office” folder.
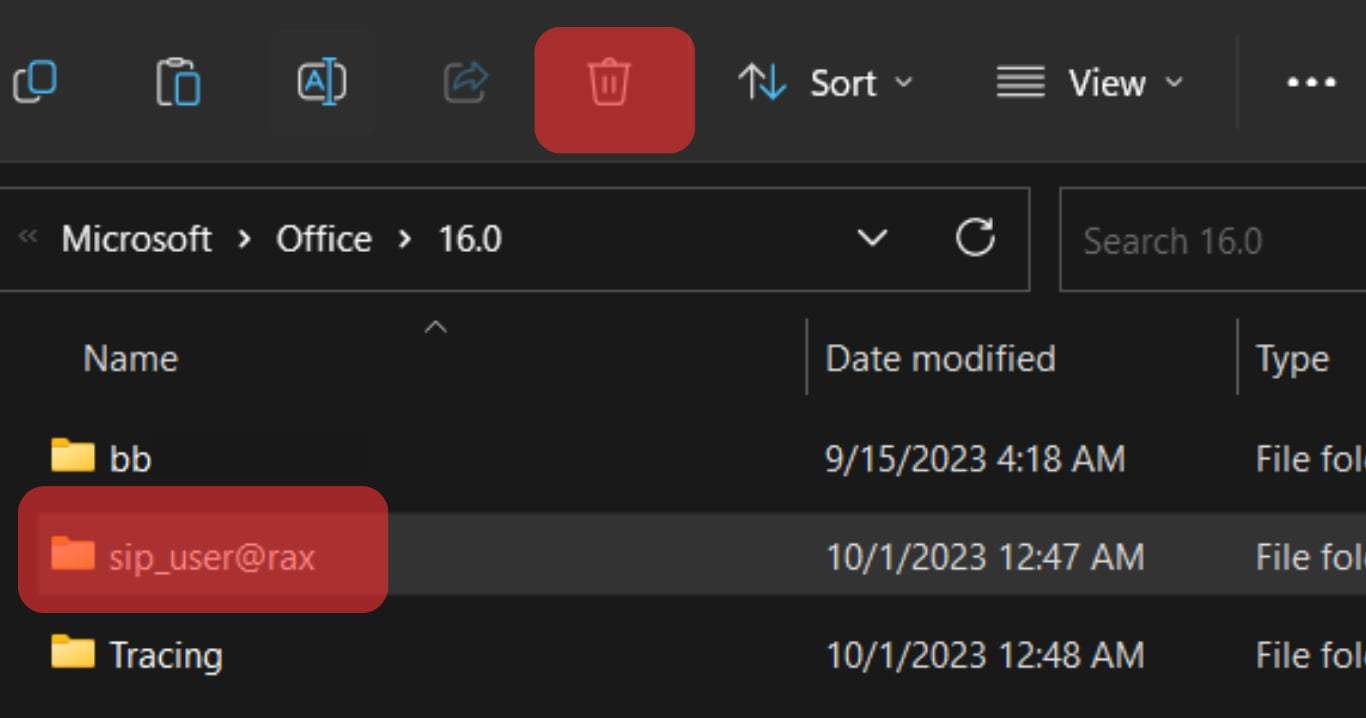
- Next, click on your Skype for Business version, such as “16.0.”

- Inside the folder, locate your “sip_user@yourname” folder, right-click on it, and delete it.
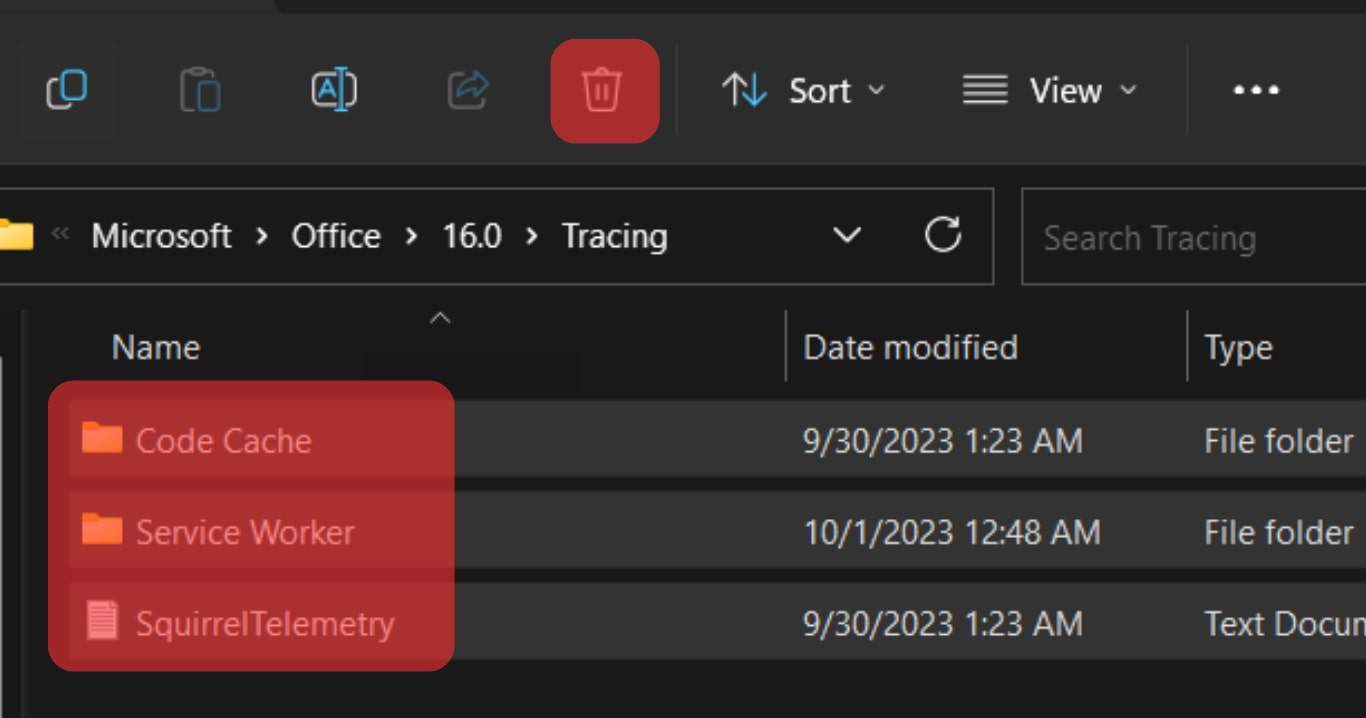
- Open the “Tracing” folder.
- Select all the files, right-click, and delete them all.
- Open the Command Prompt program on your Windows.

- Once it opens, type the “/flushdns” command and press the enter key.
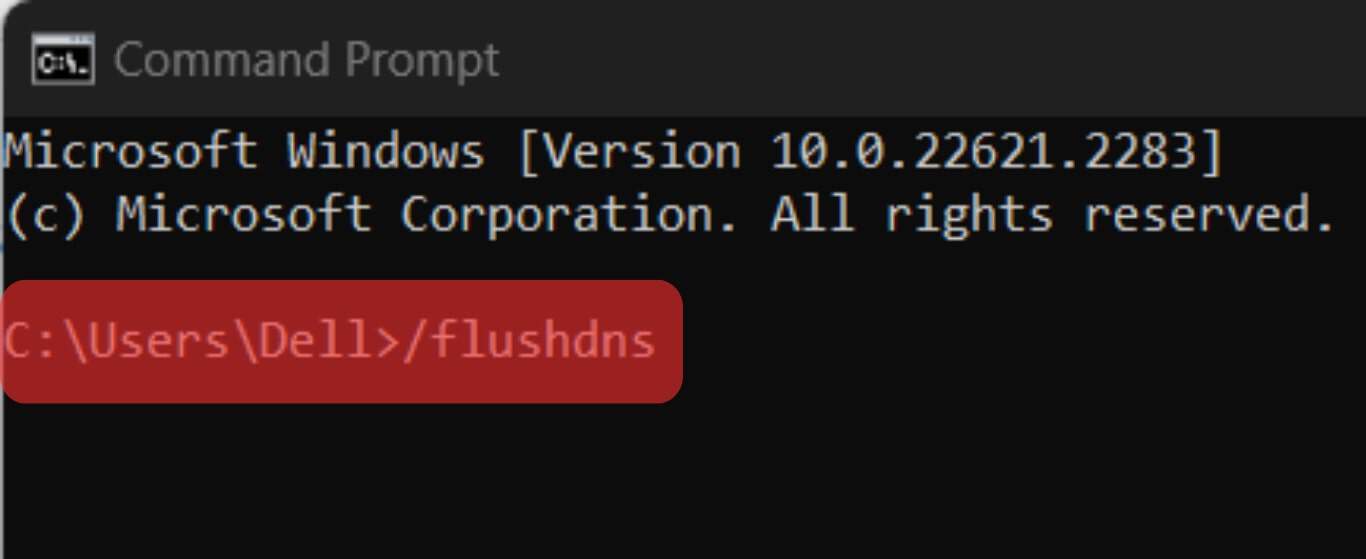
That’s it. You’ve cleared the Skype cache on your Windows.
On Mac
For Mac users, follow these steps to delete the cache for Skye for Business.
- Log Out of your Skype.
- Close the Skype app.
- Open the Finder program.
- Press the command + Shift + G keyboard keys simultaneously.
- On the search bar, type ~/Library, search for it, and delete the files below.
- Open the ~/Library/Containers folder and delete the “com.microsoft.SkypeForBusiness.”
- Open the ~/Library/Application Support and delete the “Skype” folder.
- Open the ~/Library/Internet Plug-Ins and delete the “MeetingJoinPlugin.plugin” file.
- Open the ~/Library/Logs and delete the “LwaTracing“ file.
- Open the /Applications/Utilities folder and access the “Keychain Access.”
- Find all keychains that start with “Skype for Business” and delete them.
Conclusion
This guide has presented the detailed steps to clear the Skype cache on Windows or Mac.
Follow the steps that represent your device.