
Ugh! Warnings suck, and so do account warnings on Facebook. Facebook issues these warnings to users who post content that violates Facebook’s Community Standards. You got that warning because Facebook thought your post was inappropriate.
The account warning comes with no restriction. But you’ll keep seeing ‘Warning’ on your account status. You can remove the Account Warning Status from your account. Simply delete your violation or request Facebook’s help team to revoke the account warning status.
There are various ways to remove the account warning status from your account on Facebook. We’ll discuss these ways so you don’t have to worry about the account warning ever again.
Here is a detailed guide about account warning status, why users get warnings, and how you can get rid of the warning on your Account Status.
- What’s an Account Warning on Facebook?
- How To Check Account Warning Status
- Why Do You See the Account Warning Status?
- What Are You Not Allowed To Post?
- Content That Incites Violence
- Uncensored Graphic Content
- Fraudulent Content
- Content That Promotes the Selling or Buying of Restricted Goods or Services
- Eating Disorders, Suicidal or Self-Injury Content
- Nudity, Abuse, or Sexual Exploitation
- Copyright Violation
- Bullying
- Hate Speech
- Spammy Behavior
- Misinformation
- What Are You Not Allowed To Post?
- Checking Violations on Facebook
- How To Remove the Account Warning?
- Final Thoughts
- FAQs
What’s an Account Warning on Facebook?
Facebook issues a strike each time an account holder violates community standards or behaves suspiciously.
- The first strike comes as an account warning. You’ll have an account warning status with no restrictions.
- Two strikes progress the account warning status to account restricted status. You’ll get a 24hrs restriction from creating content or commenting.
- Three strikes translate to a 72hrs restriction.
- Four strikes lead to a 7-day restriction.
- Five or more strikes lead to 30 days suspension.
If a user ignores the warnings and restrictions, Facebook can permanently delete or disable such an account.
How To Check Account Warning Status
- Navigate to Facebook on your PC or open the Facebook mobile app.
- Go to your Facebook profile.

- Click on the three dots next to the “Edit Profile” button.

- You’ll see options associated with your account, including an “Account status” option.
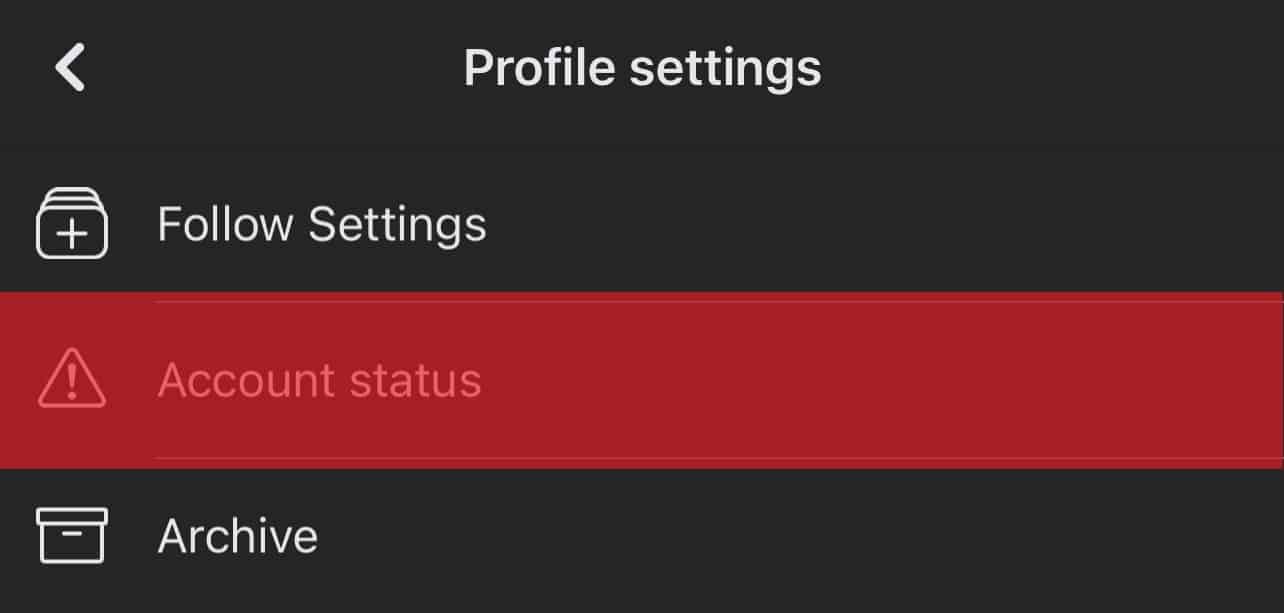
If you have an account warning, you’ll see “Warning” besides the “Account status” option.
Why Do You See the Account Warning Status?
Have you recently posted any content that goes against Facebook’s community guidelines? Facebook expects account holders to adhere to rules when online. Facebook recently unleashed content not allowed on Facebook to keep the community safe.
What Are You Not Allowed To Post?
You’re not allowed to post any following content.
Content That Incites Violence
Don’t post any content that facilitates or incites any form of violence.
Uncensored Graphic Content
You can post graphic content to create awareness. You cross the line when you use language that supports or celebrates affliction of pain on or humiliation of another person.
Fraudulent Content
Don’t post content that intentionally deceives, exploits, or defrauds others for financial or property gain.
Content That Promotes the Selling or Buying of Restricted Goods or Services
Facebook prohibits selling, buying, gifting, or donating:
- Firearms and firearms accessories
- Non-medical drugs
- Pharmaceutical drugs
- Marijuana
- Endangered plants or animals
- Living animals expect from livestock
- Human blood
- Tobacco
- Alcohol
- Weights loss pills, drinks, or creams.
- Historical artifacts
Eating Disorders, Suicidal or Self-Injury Content
You can talk about it. Facebook encourages users to create awareness and educate others about eating disorders, suicidal thoughts, and self-injury.
But don’t celebrate or promote suicide or self-injury.
Also, don’t mock anyone dealing with eating disorders, suicidal thoughts, or self-injury.
Nudity, Abuse, or Sexual Exploitation
Don’t post content that:
- Sexually prey on or endanger children.
- Promotes adult sexual violence or exploitation.
- Mocks victims of sexual violence or exploitation.
- Leads to or encourages sexual solicitation.
Copyright Violation
Verify any content before sharing it. Ignoring copyrights and intellectual property rules will result in an account warning.
Bullying
Condemn but don’t celebrate, demean or harass others.
Hate Speech
Facebook prohibits content that directly or indirectly promotes hate speech.
Spammy Behavior
Sending lots of unwanted requests or content can result in an account warning.
Misinformation
Facebook is very adamant about information that may mislead other users. If you love posting informative posts, verify before posting.
Checking Violations on Facebook
Before attempting to remove the account warning, check your violations. Follow the Following Steps:
- Go to the “Menu” tab.

- Select “Help & Support.”
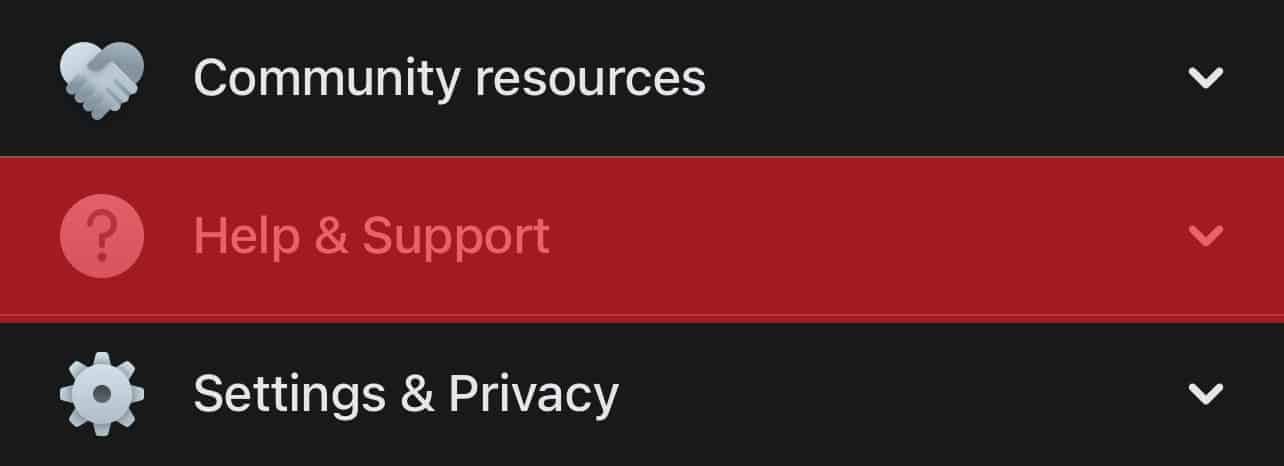
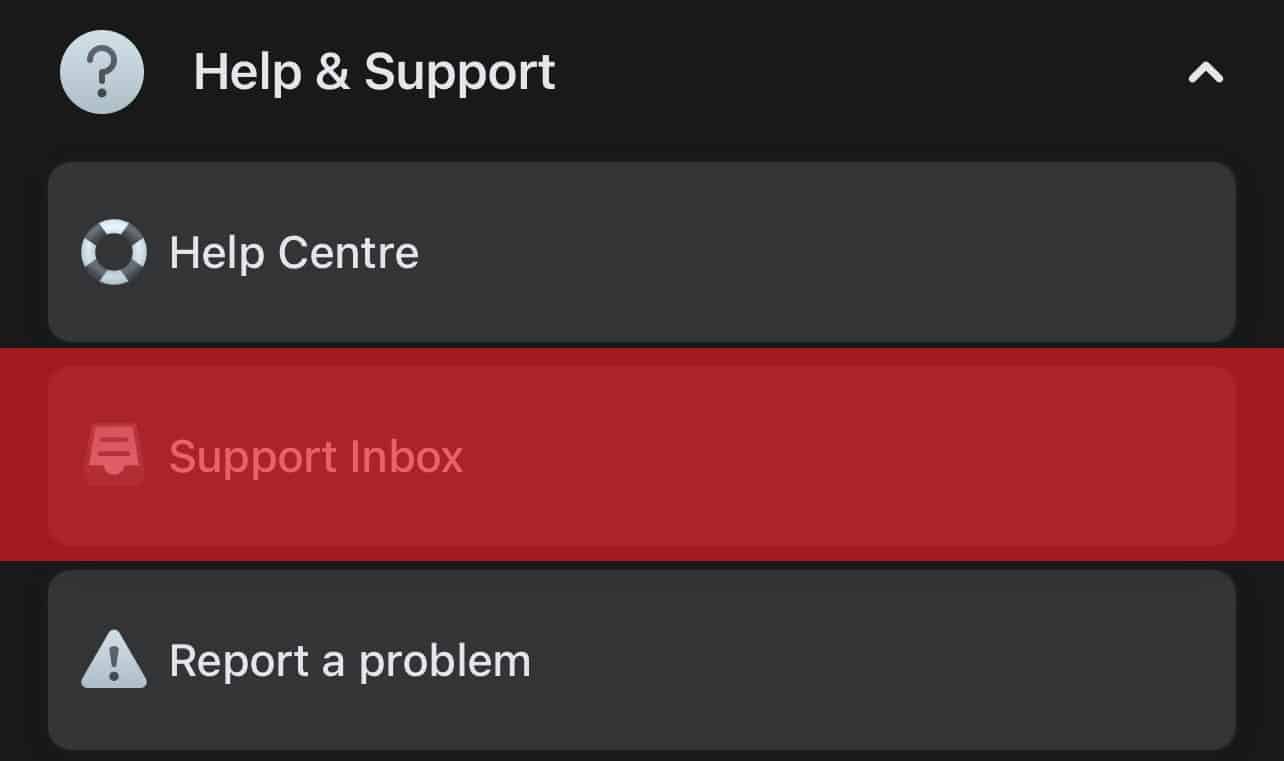
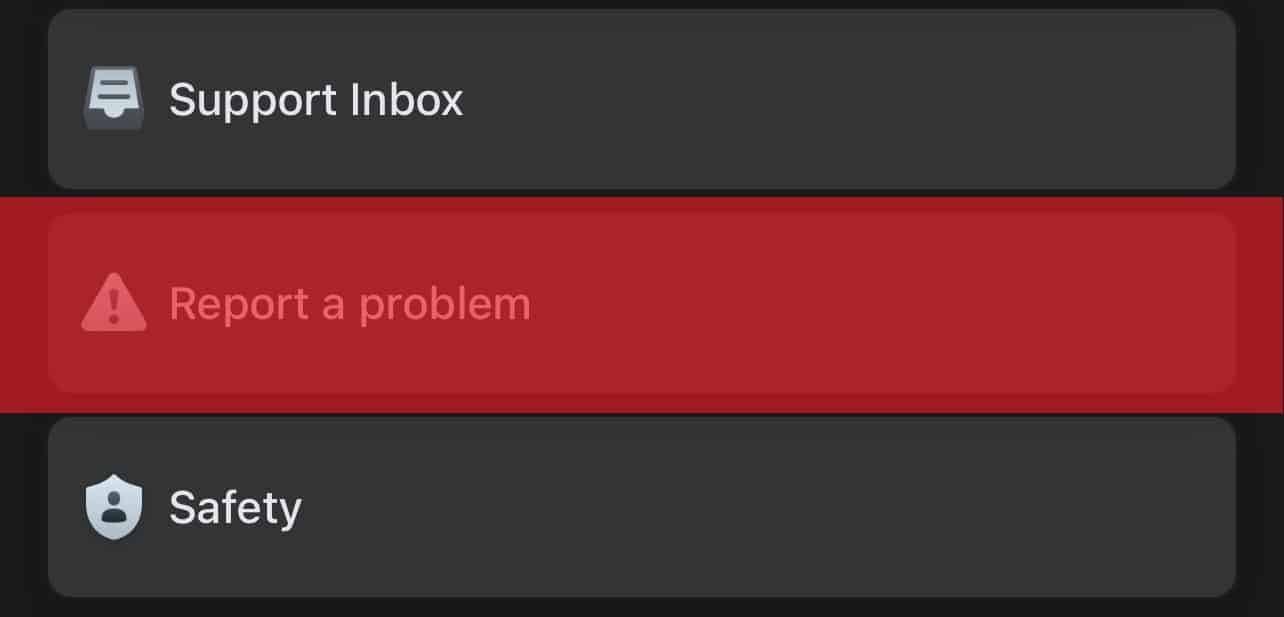
- You’ll see several options (Help Center, Support Inbox, Report a Problem, Safety, and Terms & Policies). Select “Support Inbox.”
- Click on “Your violations.”
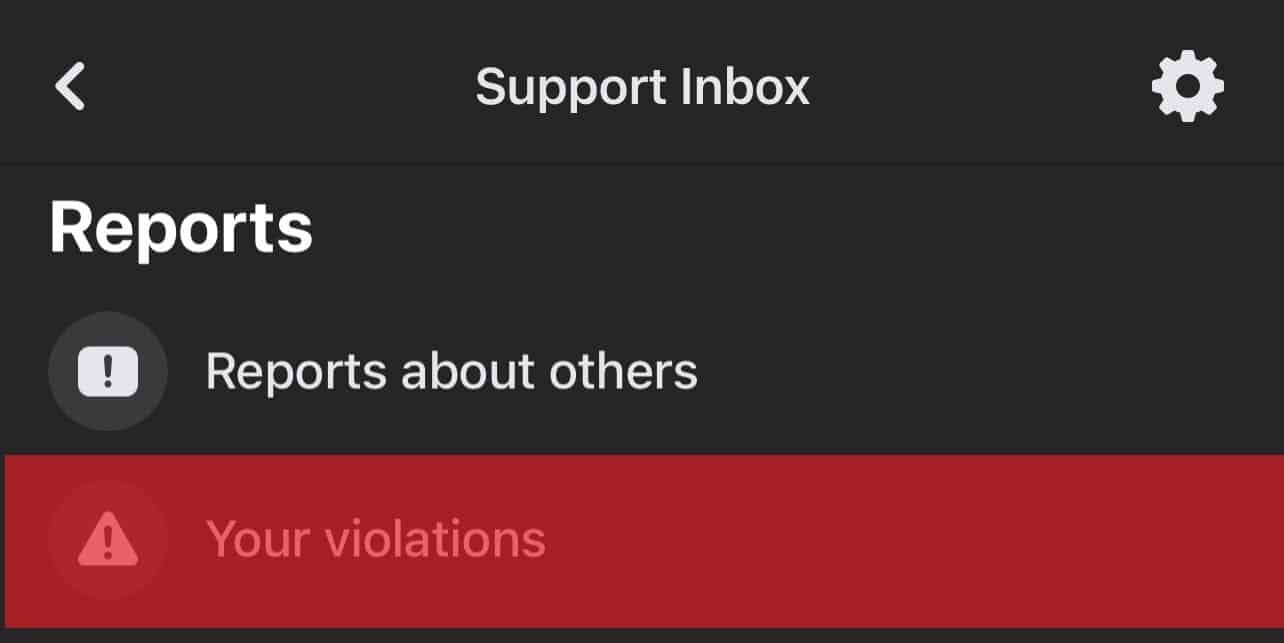
You’ll see details about your posts and how you violated the community standards.
How To Remove the Account Warning?
Method #1: Delete Violation Posts
Go to Your Violations and delete all the posts that violate the community standards.
Method #2: Appeal
If you believe the warning strike issued to your account was a mistake, you can appeal to Facebook.
Go to the “Your violations” page by following the steps above. You will see your violations.
- Select the violation.
- Click on the “See” Option.
- Click “Continue.”
- You’ll see a “How we make decisions” page. Click “Continue.”
- A ‘What would you like to do‘ page will appear. Click Disagree With Decision and click “Continue.”
- Select an option that suits your appeal. If you believe Facebook misunderstood your post, click on the first option and click “Continue.” If you think you didn’t violate any community standard, choose the third option. If you have other reasons, click the last option.
- You’ll see a final page that shows Facebook gives room for appeal. Click “Close” to submit your report.
Wait for a review notification. Check the “Support Inbox” after a few hours or a day to see facebook’s reply.
Method #3: Report the Problem
- Go to your Facebook profile.
- Tap three dots.
- Select “Account status” and take a screenshot of the page.
- Go back to the “Menu” tab.
- Select “Help & Support.”
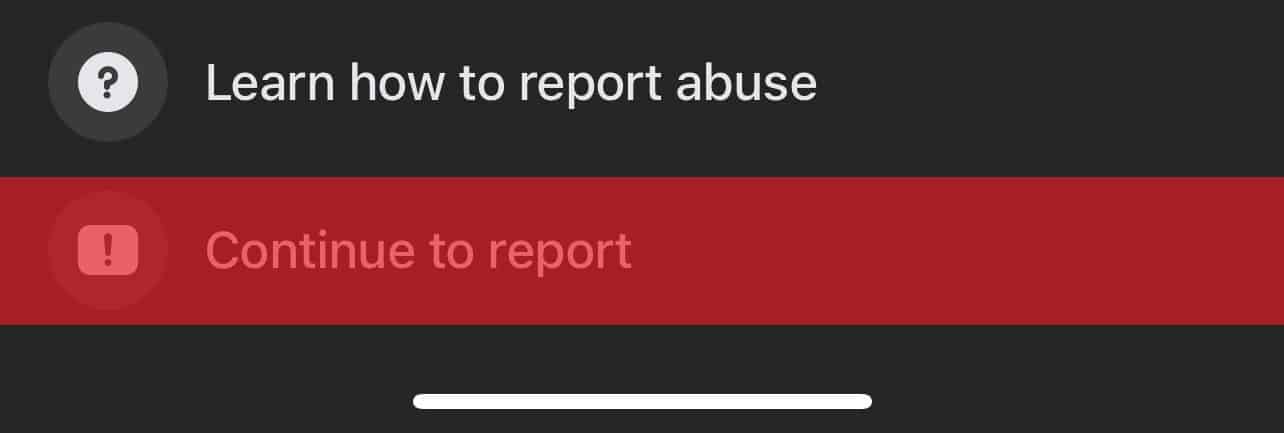
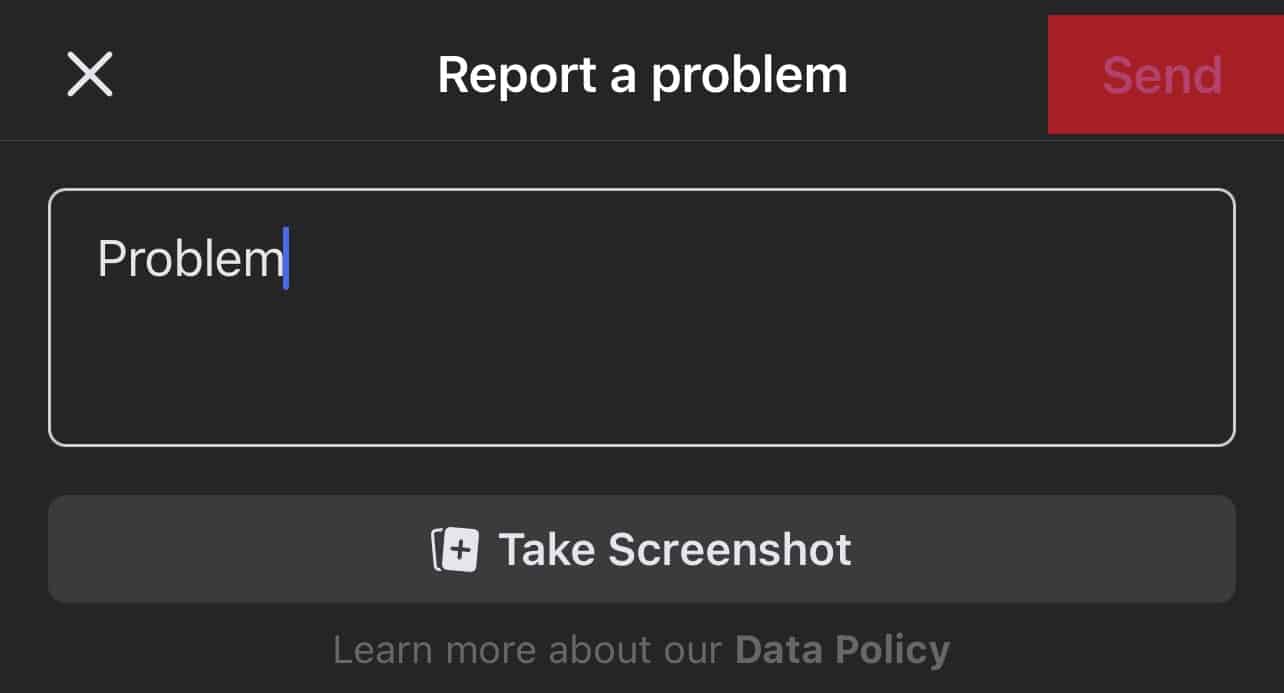
- Tap on “Report a problem.”
- Select “Continue to report.”
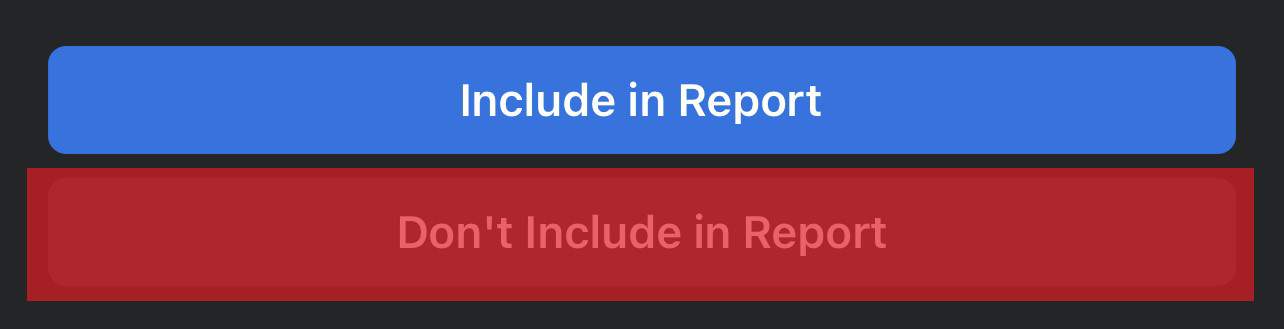
- Select “Don’t Include in Report” because this is irrelevant to the matter.
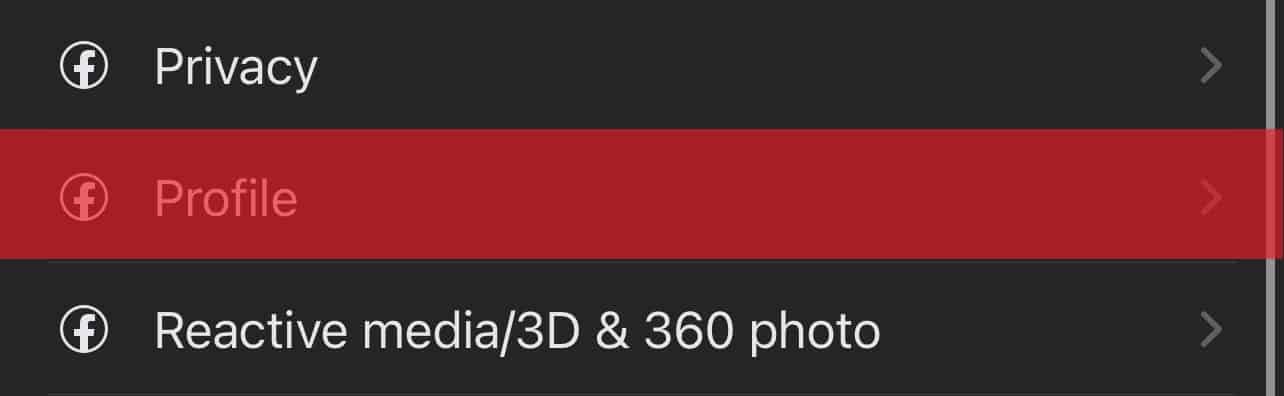
- Choose “Profile.”
- Describe why you think your Facebook account didn’t deserve the account warning status. Or you can simply request them to remove the account warning. I know you’re frustrated but be kind.
- Add the screenshot.
- Click “Send” to submit your explanation.
Facebook will thank you for reporting the problem
Method #4 Shake Your Phone
- Go to your profile.
- Tap the three dots.
- Select “Account status.”
- Shake your phone.
- Tap “Report a problem.”
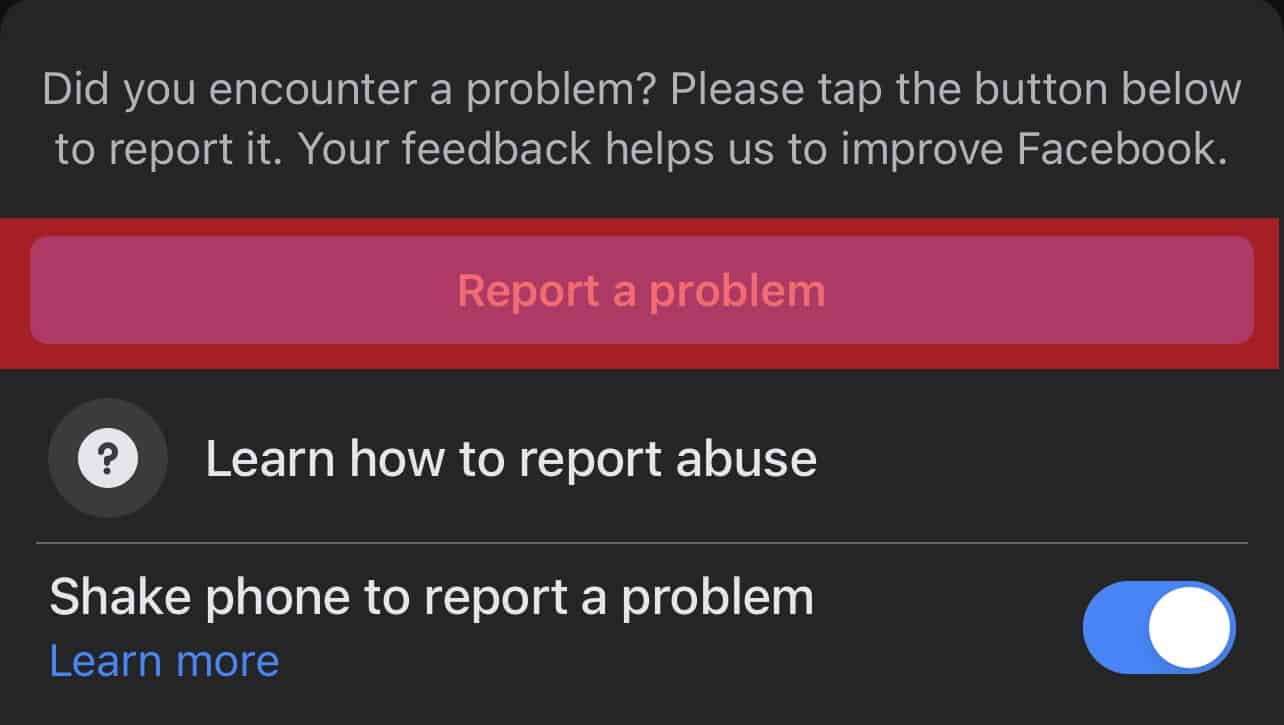
- Select “Don’t Include in Report” because this is irrelevant to the matter.
- Type your explanation and click “Send” to submit your report.
Final Thoughts
Be cautious when posting anything on Facebook. It’s getting more strict each day. Don’t post any content that goes against the community standards. Better yet, go through facebook’s community standards to avoid any warnings or restrictions.
FAQs
It takes 24 hours to get a response from Facebook. Facebook will remove the account warning status if they accept your appeal. If they reject the appeal, request for a second review. You only have a short time to repeal. So, keep on re-appealing to remove the warning status. Once the appeal period expires, you’ll have to wait another 12 months to get cleared. Facebook warnings expire after one year.


Thanks for the info on Facebook restrictions it was very helpful. What I’d like to know is who can see the fact that you have or had a restriction
Hello!
Thank for posting the question!
Typically, only the account holder and Facebook admins can see that the account is/was restricted.