So, I used Oracle’s VirtualBox because I had some difficulty running this guest OS on Microsoft’s Virtual PC as well as VMWare’s Workstation. At first, I did have some trouble getting Windows 8 stabilized on VirtualBox, but I tuned some of the settings found in the properties of the guest configuration and quickly got the OS to run properly.
Follow these steps so that you can have a trouble free running version of Windows 8 Developer Preview:
- Make sure your computer support Hardware Virtualization Technology. To run some guest operating systems, virtualization software and virtual machine hardware virtualization settings should be enabled. You’ll find that most of the latest processors and motherboards support virtualization technology. If you are not sure if your computer supports it, check your motherboard vendor about this support and how to enable or disable this in BIOS.
- Download the Windows 8 Developer Preview. Select the proper ISO file based on your computer processor type: x86 (32bit) or x64 (64bit). My host system was running Windows 7 Enterprise Edition, x64.
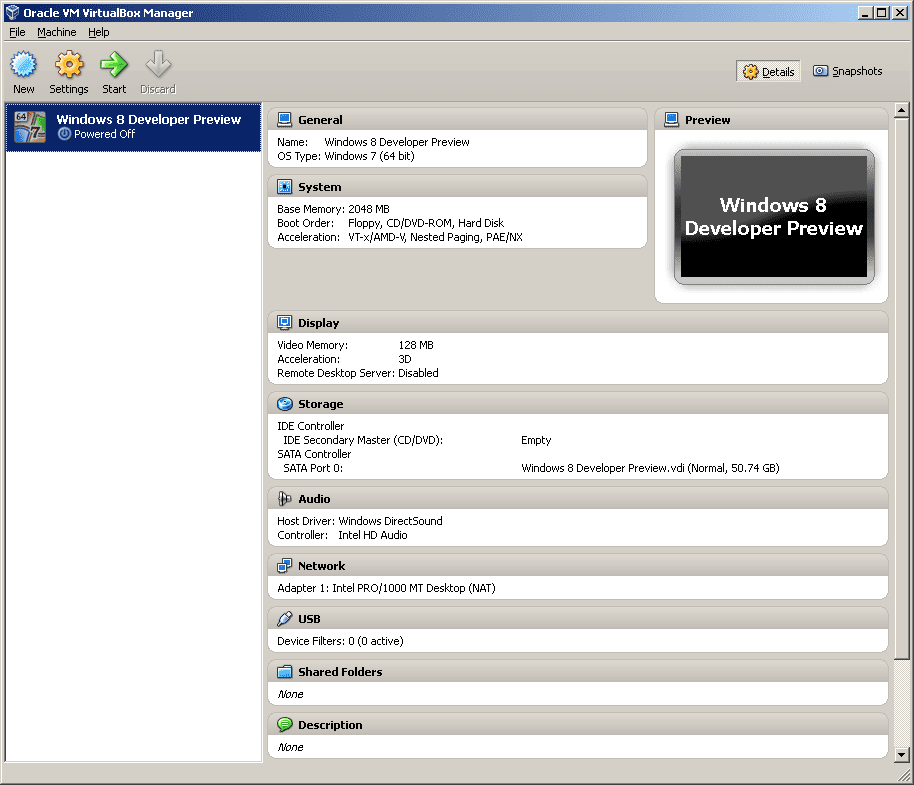
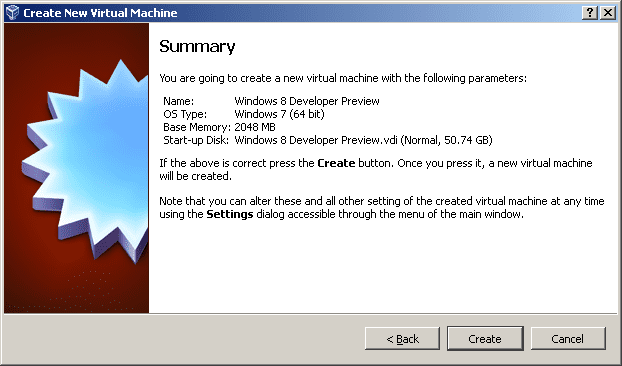
- Create a new virtual machine in Oracle VirtualBox. Complete the steps in the wizard. Note-Select ‘Windows 7’ as OS version. I chose Windows 7 (64bit) because I had downloaded the 64-bit version of Windows 8 Developer Preview. Also, note that my guest configuration included 2 GB of RAM and 50 GB of storage. That should be adequate to run this guest VM.
- Next, access the properties of the newly created VM. Do not start the VM until these options are enabled.
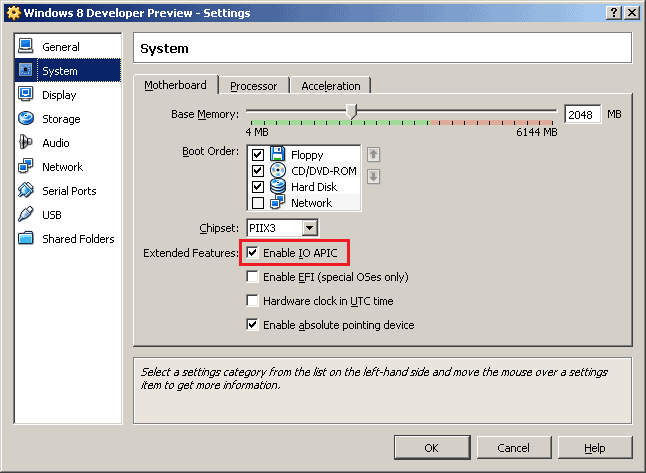
- Enable the IO APIC setting found in the system tab/motherboard tab.
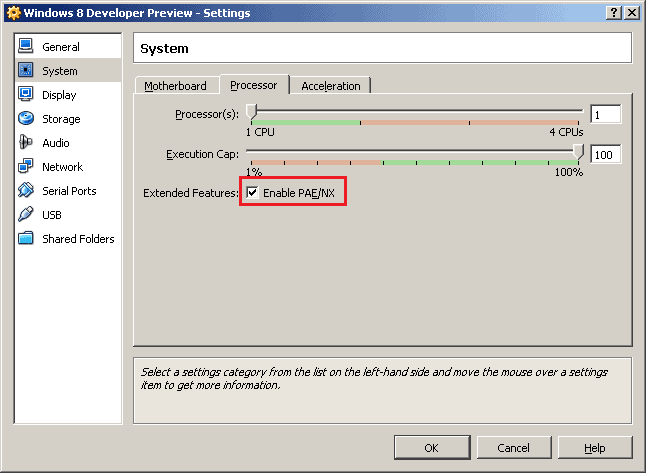
- Enable PAE/NX under the processor tab. You can change the processor numbers according to physical processor cores. I chose 1 processor.
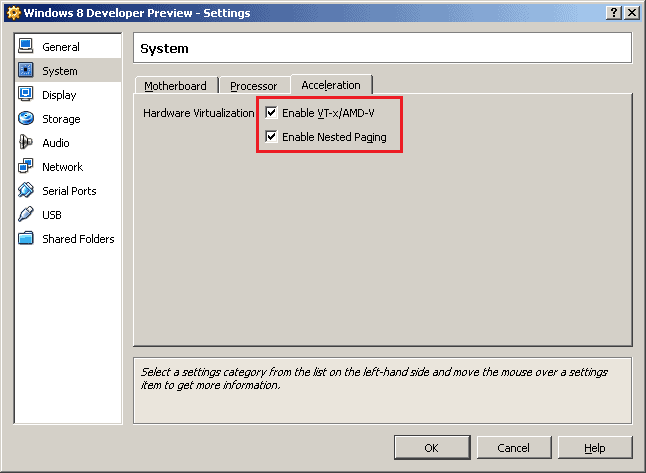
- Enable VT-x/AMD-V and Nested Paging options found under the Acceleration tab.
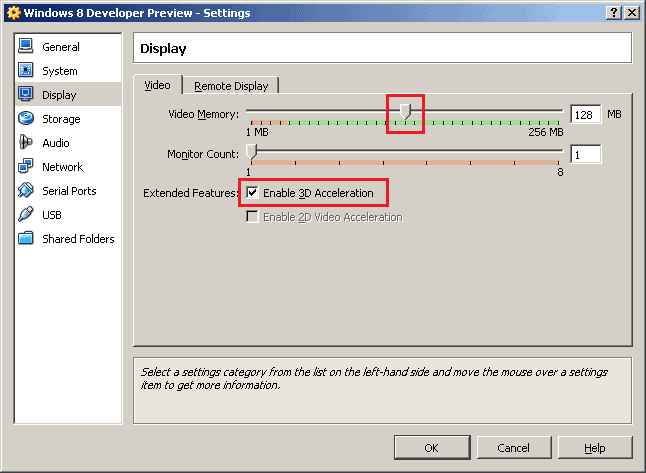
- On the display tab, Enable 3D Acceleration. I provided 128 MB of video memory.
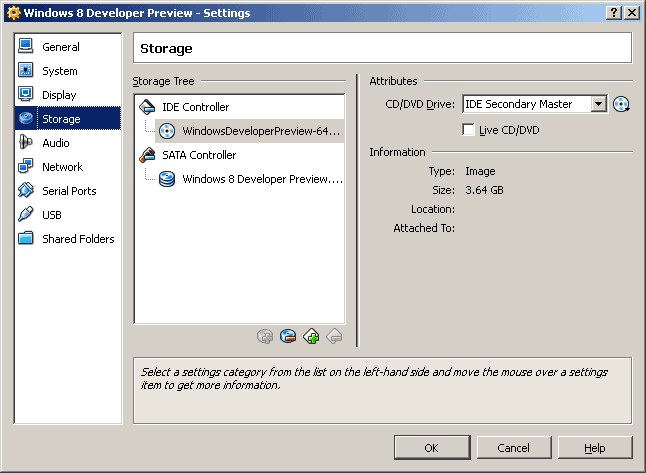
- Mount the downloaded ISO file.
- Start the virtual machine. The installation process will begin.