Domain Name System, or DNS, is a system that is used in TCP/IP networks for mapping friendly host names to IP addresses. These names can be those of existing computers or network services.
When a DNS host name is used in an application, the DNS services on the network are used to resolve the name to the actual IP address of that computer or network service.
Windows DNS
If you are familiar with managing DNS in Windows Server 2000-2008, you will find that managing DNS in Server 2012 is very similar. However, The DNS Server service in Windows Server 2012 has greatly enhanced support for DNS Security Extensions (DNSSEC). With regard to DNS and Active Directory, the DNS role in 2012 is basically the same as in previous operating systems.
When DNS Server is installed on a domain controller, DNS zones can be integrated into the Active Directory Domain Services to store and replicate DNS zones. As with previous versions, this allows for the secure transmission of DNS data during the replication of the zone, or zones.
DNS and DHCP integration is also the same in Windows Server 2012 as in previous operating systems. DNS and DHCP integration enables DNS resource records to be dynamically updated for new computers and devices, or when IP addresses of existing devices change on the network.
Installing DNS
Setting up a DNS server simply involves adding the DNS server role to an existing Windows Server 2008 server. On networks that contain Microsoft network services, it is common to install the DNS server role when you install the Active Directory Domain Services role.
This is the preferred method for installing the DNS Server role if you want to integrate your DNS domain namespace with the AD DS domain namespace. However, for an external server servicing DNS queries, it is common to install the DNS role on a dedicated server. To install the DNS server role in Server 2012, you can use the Server Manager administrative console.
Considerations
It is highly recommended that you configure the DNS server to use a static IP address. If the DNS server is configured to use DHCP-assigned dynamic address, this could introduce potential name resolution issues on your network. When the DHCP server assigns a new IP address to the DNS server, the DNS clients that are configured to use that DNS server’s previous IP address will not be able to locate the DNS server.
Once the DNS server is up and functional, you should use the DNS MMC console to manage your DNS server, zones, and records. The preferred method is to install the Administrative tools on your workstation. It is not necessary to log on locally to the DNS server to manage it.
With regard to standard, primary zones, use the Admin console to create and modify records in the zone. While the zone is stored as a text file, it is not recommended that you use a text editor to manage the zone. It is easy to introduce errors into the text file which could cause issues for the DNS server.
Step by Step
The following steps depict a high-level process for adding the DNS Server Role on Windows Server 2012. For a more detailed explanation, please feel free to watch the video linked to this tutorial.
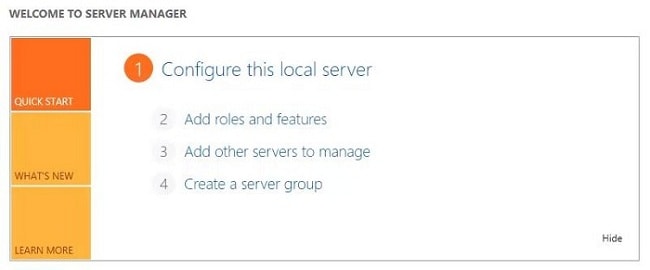
- Start by Clicking on the Add Roles and Features in the Server Manager Dashboard. The wizard will start.
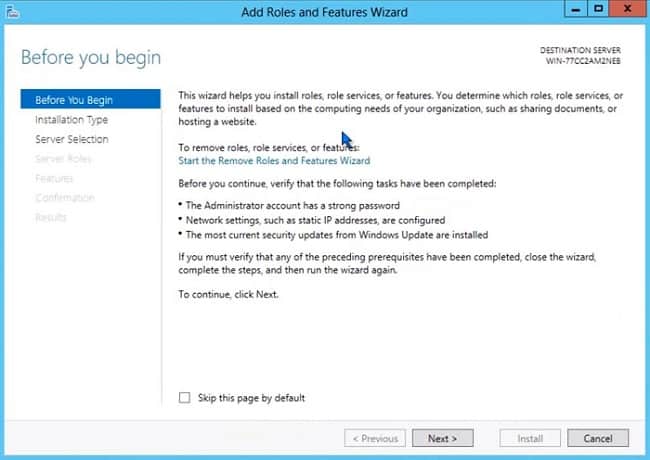
- The “Before you begin” screen provides basic information about roles and features. Click Next.
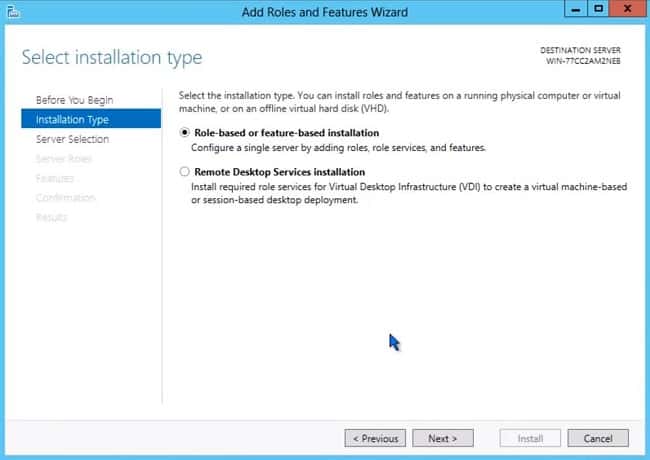
- For most role implementations, you will choose the first option. The first option applies to servers that are online whether they be physical servers or virtual guests. Click Next.
- Select the server (or virtual hard disk file for offline system) that you want to install the role to. The server can be a local or remote system. Click Next.

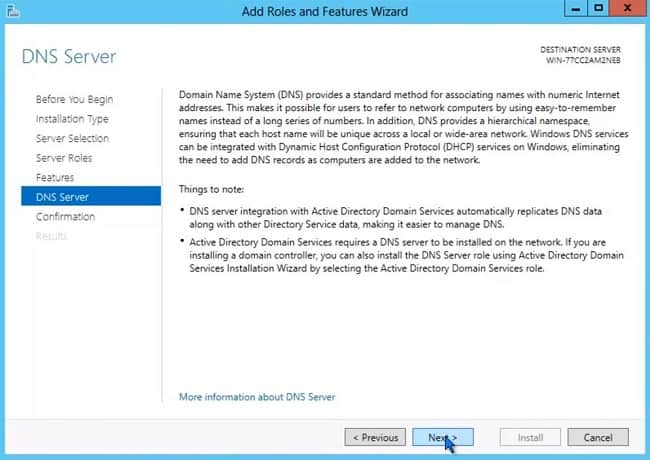
- Select the DNS role and click Next.

- Read over the DNS role summary and click Next.
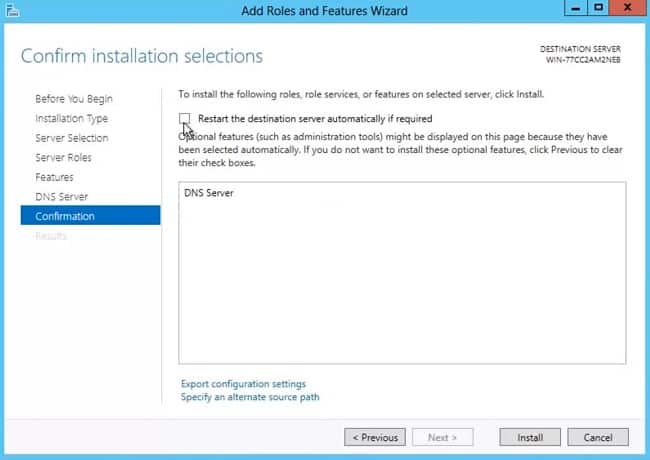
- Decide how to handle a required reboot. Click Install.
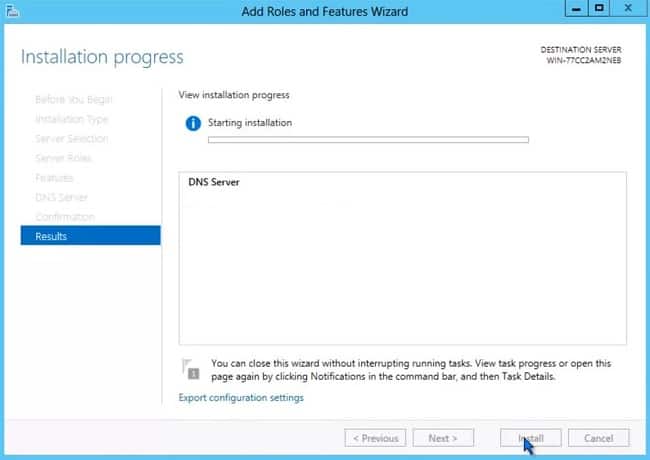
- Follow the installation process until it is completed.
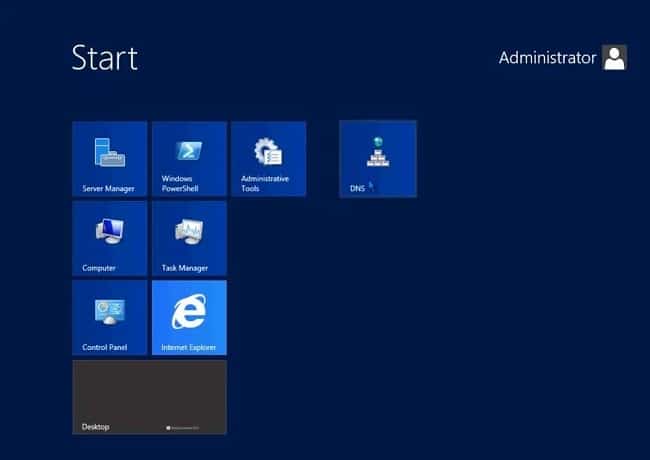
- Once the DNS role is installed, you can proceed to the start menu where you will have a tile for the DNS Admin console.